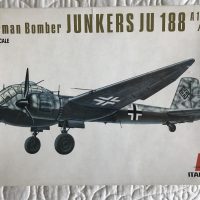
Italeri 1/72 Ju-188 E1
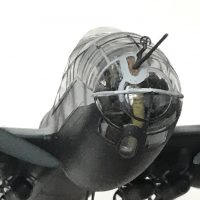
One of the members in our club recently built the Dragon 1/48 Ju-188 E1, and it inspired me to pull out the old Italeri A/E kit I had in the stash. It was a pretty low-parts-count kit, so thought it might be a fairly quick build, but pretty early on I decided a) to sand off all the raised panel lines and re-scribe, and b) since there was almost zero in the cockpit (which is under a big glass bubble), I needed to add some detail.
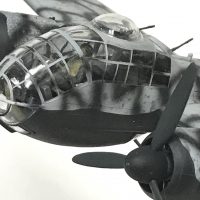
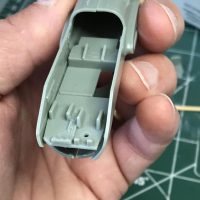
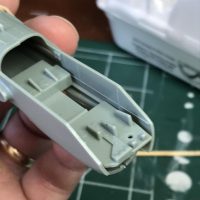
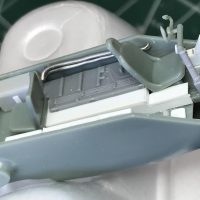
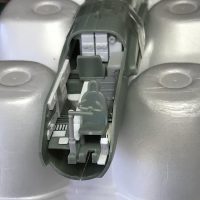
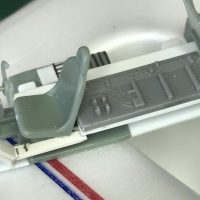
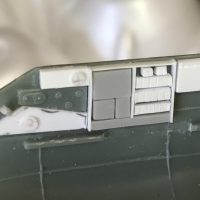
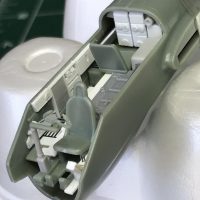
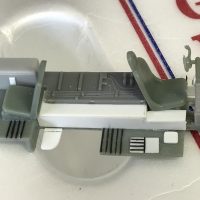
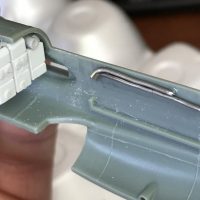
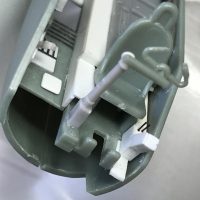
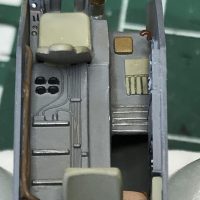
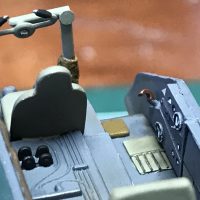
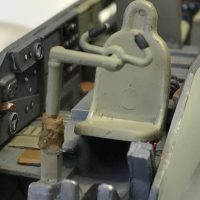
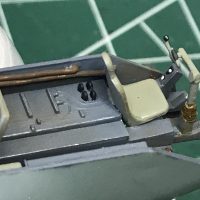
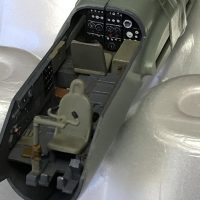
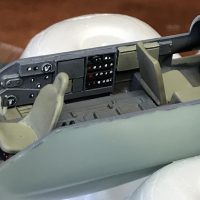
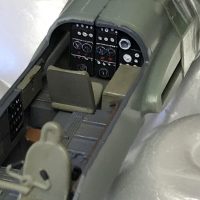
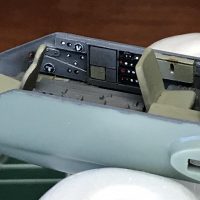
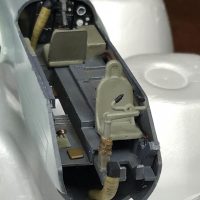
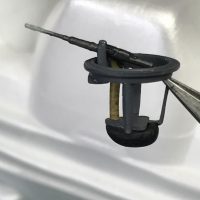
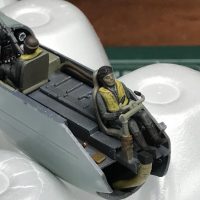
You can see from the two pics of the raw cockpit, that it's fairly empty. The only things missing from those pics that were kit-provided were the seats and a straight-up control column, plus the crew. I started by cutting up the floorboard area to more resemble the real McCoy. I used some remnants from the spares box, bits of sprue, styrene sheet, and some fairly think soft wire to add a lot of detail. The last couple of cockpit pics show the shell ejector chutes I created with some bent stretched sprue (not ideal, but behind that thick cockpit plastic they present ok), including to the top gun stand, along with the collection receptacle I added beneath the stand with blue tac.
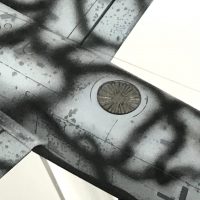
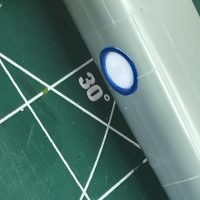
I realized as I got into the build and was looking at reference photos that it was missing the EZ 6 direction finder radar on the upper fuselage. I found a round ring in my spares box, sanded it down to size (close anyway), then cut a disc of styrene in a circle and etched the "radar blades" in it. Although a lot of images of other models seemed to show an uncovered well, references indicated this was actually covered with plexiglass, so I cut some acetate, painted it with a bit of Tamiya smoke, and covered the well.
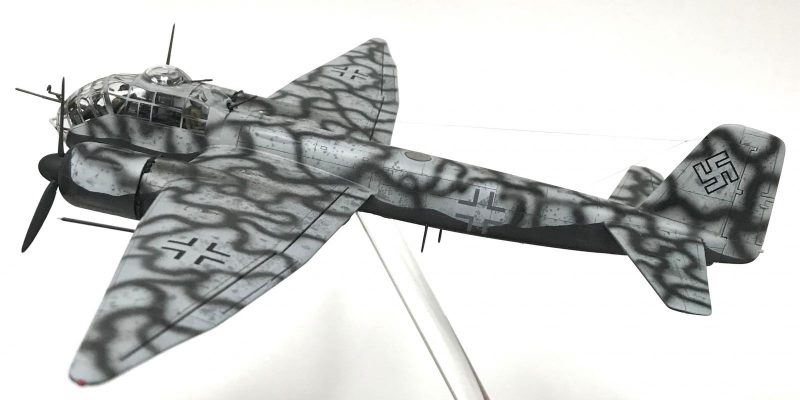
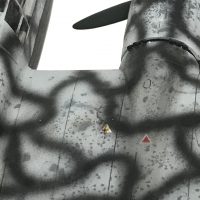
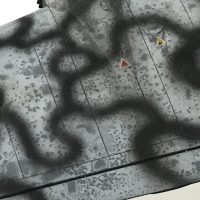
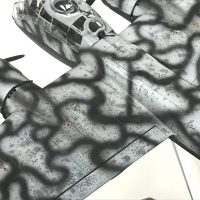
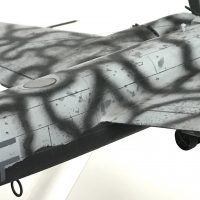
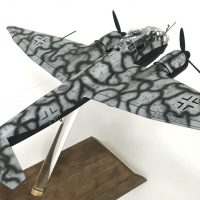
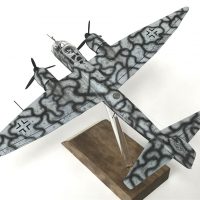
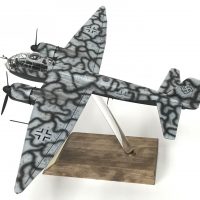
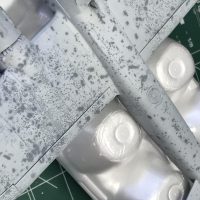
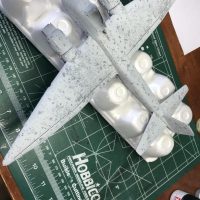
I originally was going to use a stencil to paint the darker top color over the base color, but after the effect I achieved with the salt weathering on the Fi-167, I thought I'd use that here for a faster way to get the end result. So I painted the darker color first, then applied water/salt over that and the lighter base color. I had an opposite experience with how the water reacted with the surface! This time, I was applying water to raw paint rather than the paint being top-coated with flat coat, and the water really spread and clung to the entire surface instead of puddling. The salt thus spread out in a more uniform way, and actually created a sort of brine in places, leaving me with a different look than anticipated. I was actually hoping for a larger spot pattern similar to the Fi-167, but instead got a much smaller pattern. Once again, probably somewhat fictional result, but once the Wellenmuster was applied, I think it came out ok.
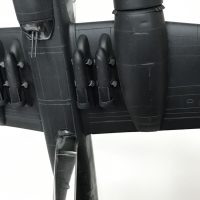
Speaking of squiggles, this was my first attempt to do thinner lines freehand. A little experimentation with pressure and paint/thinner ratios, and off I went. There are a few blemishes, but overall I'm satisfied. I used Tamiya Rubber Black for the bottom and squiggles, which I think gave it the proper "scale black" look.
I had some Mig Panel Washes in various colors, and attempted the Stone Grey for Black for the underside, but it didn't show very well. I had used the Blue Grey on the upper surface, and tried a little on the underside and liked it. Shows the lines and rivets just enough.
To get the nose gun mounted more effectively, instead of the kit-provided bracket that was supposed to be glued to the canopy, I just taped some Tamiya tape to the gun slit, cut a slit in the tape and slid the gun though and added a bit of Gator Grip glue, then painted the back side of the tape leather to resemble the boot. After all the painting (and glueing back on the half of the barrel I had broken off!), I added some tissue dipped in diluted white glue to complete the boot on the outside and painted that as well.
Thank goodness for paint mask sets! I forget what brand (maybe Eduard), but it worked perfectly.
Weathering as usual with AK pencils, pastel chalks and Tamiya Weathering Master sets, though with all that business with the paint scheme, I didn't go nuts on the weathering. I decided not to mess with trying to get some variation of the black on the underside, though I did use the AK pencils to give it some streaking effects both topside and below.
Excellent work, Greg!
This is fantastic, Greg.
Your paintwork turned out very well, I really like this scheme.
This first attempt of freehand thin lines has been performed very well.
Great job Greg. The paint work you guys achieve in 1:72 still amazes me
Looks great, Greg! Love the paint scheme/work
Excellent work on the Squiggles especially for a first try. I love the work you did in the cockpit, really made a difference over the sparse barren kit offering. It looks great.
Nice work Greg - love the late war luftwaffe scheme.
Very impressive indeed. I like the added detail without buying aftermarket detail sets...like the good ole days!
Lovely "little" Rächer! I like the worn look.
Smashing !
Excellent Ju, Greg!
Your scratchbuilts were fantastic, "just right" to present a really busy interior, as it was in reality.
Nice freehand, too, and I like a lot your chosen scheme. it's just cool!
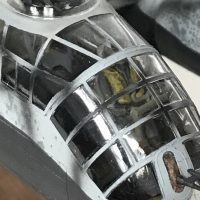
Kudos on your canopy masking; not the easiest thing to do at an 1/72 greenhouse! Well done!
That's a very realistic "field applied" paint scheme, with the wear on the paint as you achieved. As far as the squiggles are concerned, I finally figured out looking at some close-up photos of airplanes with squiggles to remember it was applied by some Feldwebel with a spraygun who wasn't looking for an IPMS neatness award. So your messy squiggles are likely exactly how this looked in full-size.
That's some nice work putting that additional detail under that big bubble.
"Liked."
Nice work all 'round Greg. It's not hard to appreciate the fine work you've put into this kit, as the others have already attested to.
Very cool Greg. Always liked the 188 and the great color schemes as you've done here.
Great work, love the weathered paint and the canopy masking looks flawless.
Very cool, Greg! Nice weathering and fine line painting.
🙂 ... Greetings ... 🙂 :
A very sharp looking build Greg.
You have just done a great work on the painting and more so on the SQUIGGLE SCHEME,
very impressive work.
Well done Greg another fine looking model on a pole from the Kittinger Factory.
You are a glutton for punishment, Greg (@gkittinger). Not only a canopy with a lot of masking, but a really complex paint job. Weathering is well-done. Great model.
Hey Greg ! @gkittinger
I really like what I see here... and that's a lot of glass to mask off ! Your 1/72 scale figures look way better than what I typically can do in 1/32 scale.
These Junkers 188's are some great looking machines. I have one of these larger 1/48 Dragon kits underway. I "borrowed a set of BMW radials from another Dragon Ju-88 kit in the stash. I'm now almost at the exterior painting part of the build, and the hardest part is trying to figure out what scheme to use. As soon as I install the glass parts, and mask them off, it's off to the spray booth.
I like the route you chose. It looks great my friend, and I pressed the liked button too. I have been watching you and Robert with how you have been building some F-4's... One of these days, I'll build up a few of my own.
Stay safe buddy... 🙂 and thanks for the inspiration.
Nice work, Greg. That’s still a solid kit and I’ve come to appreciate my bombers in 1/72!
I just saw this Greg. Very well done especially for this scale.