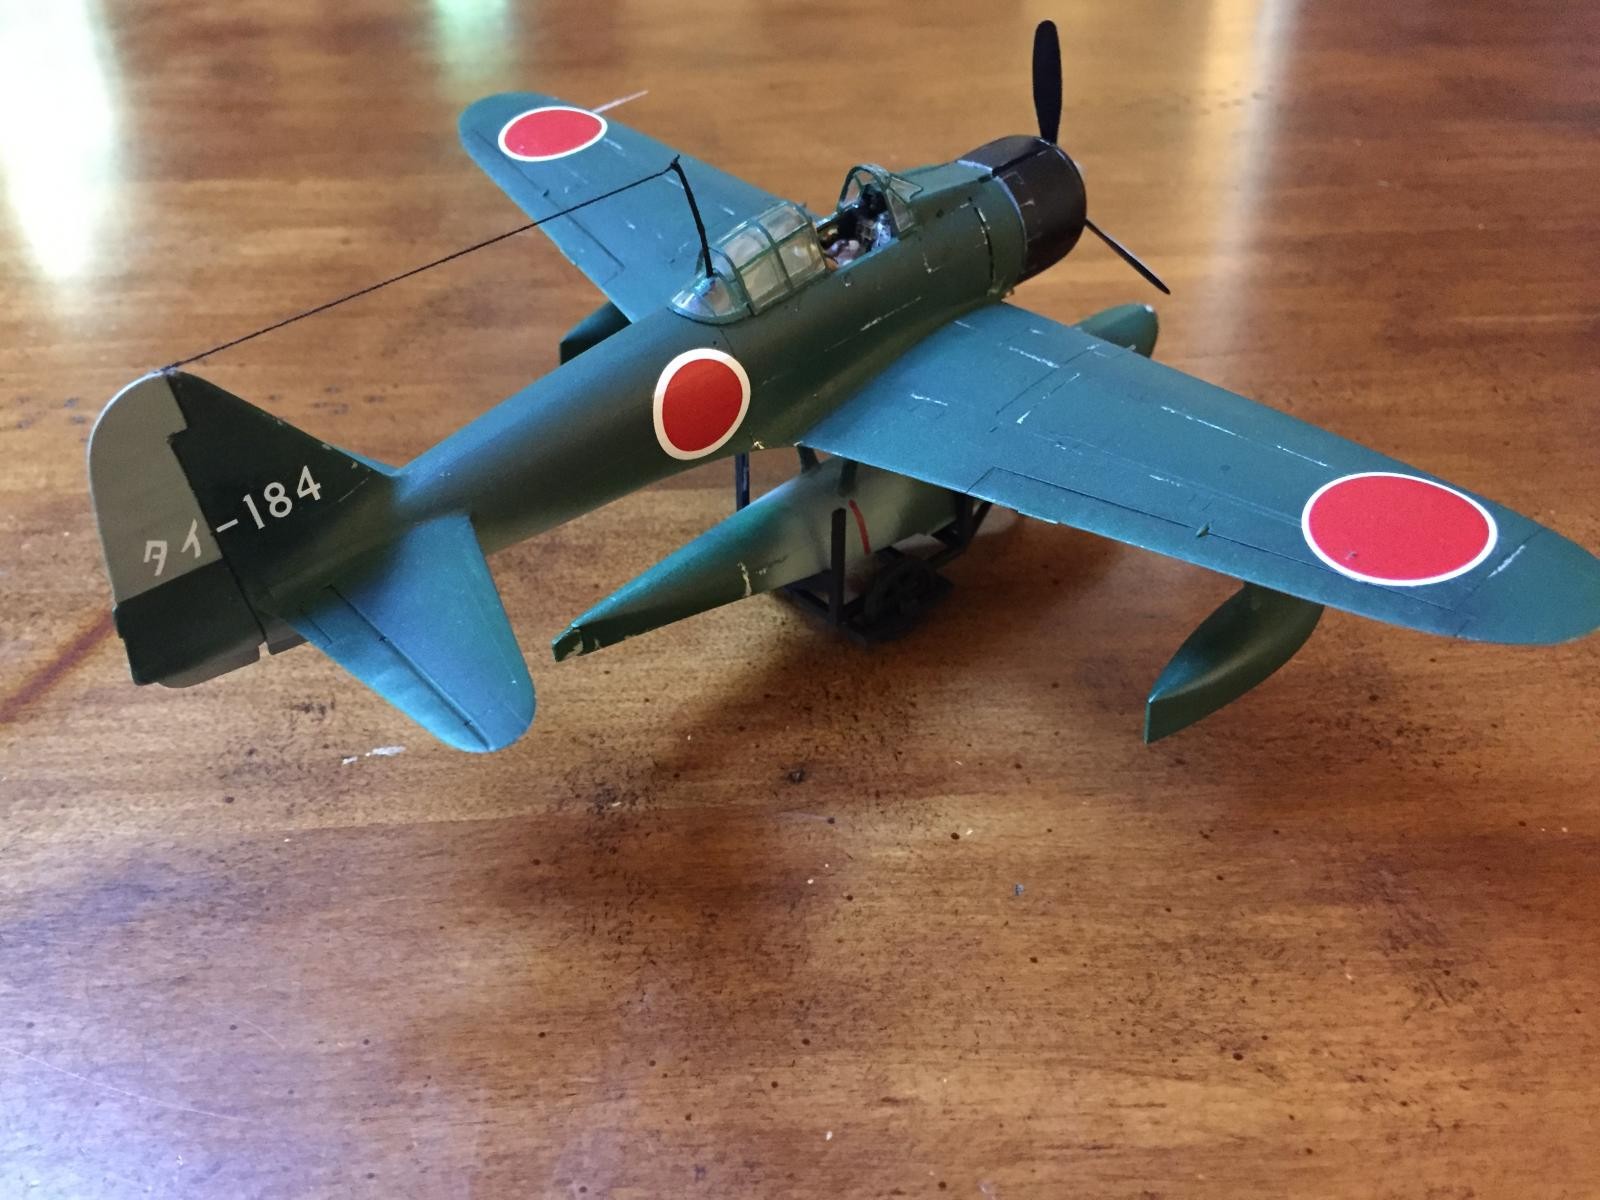
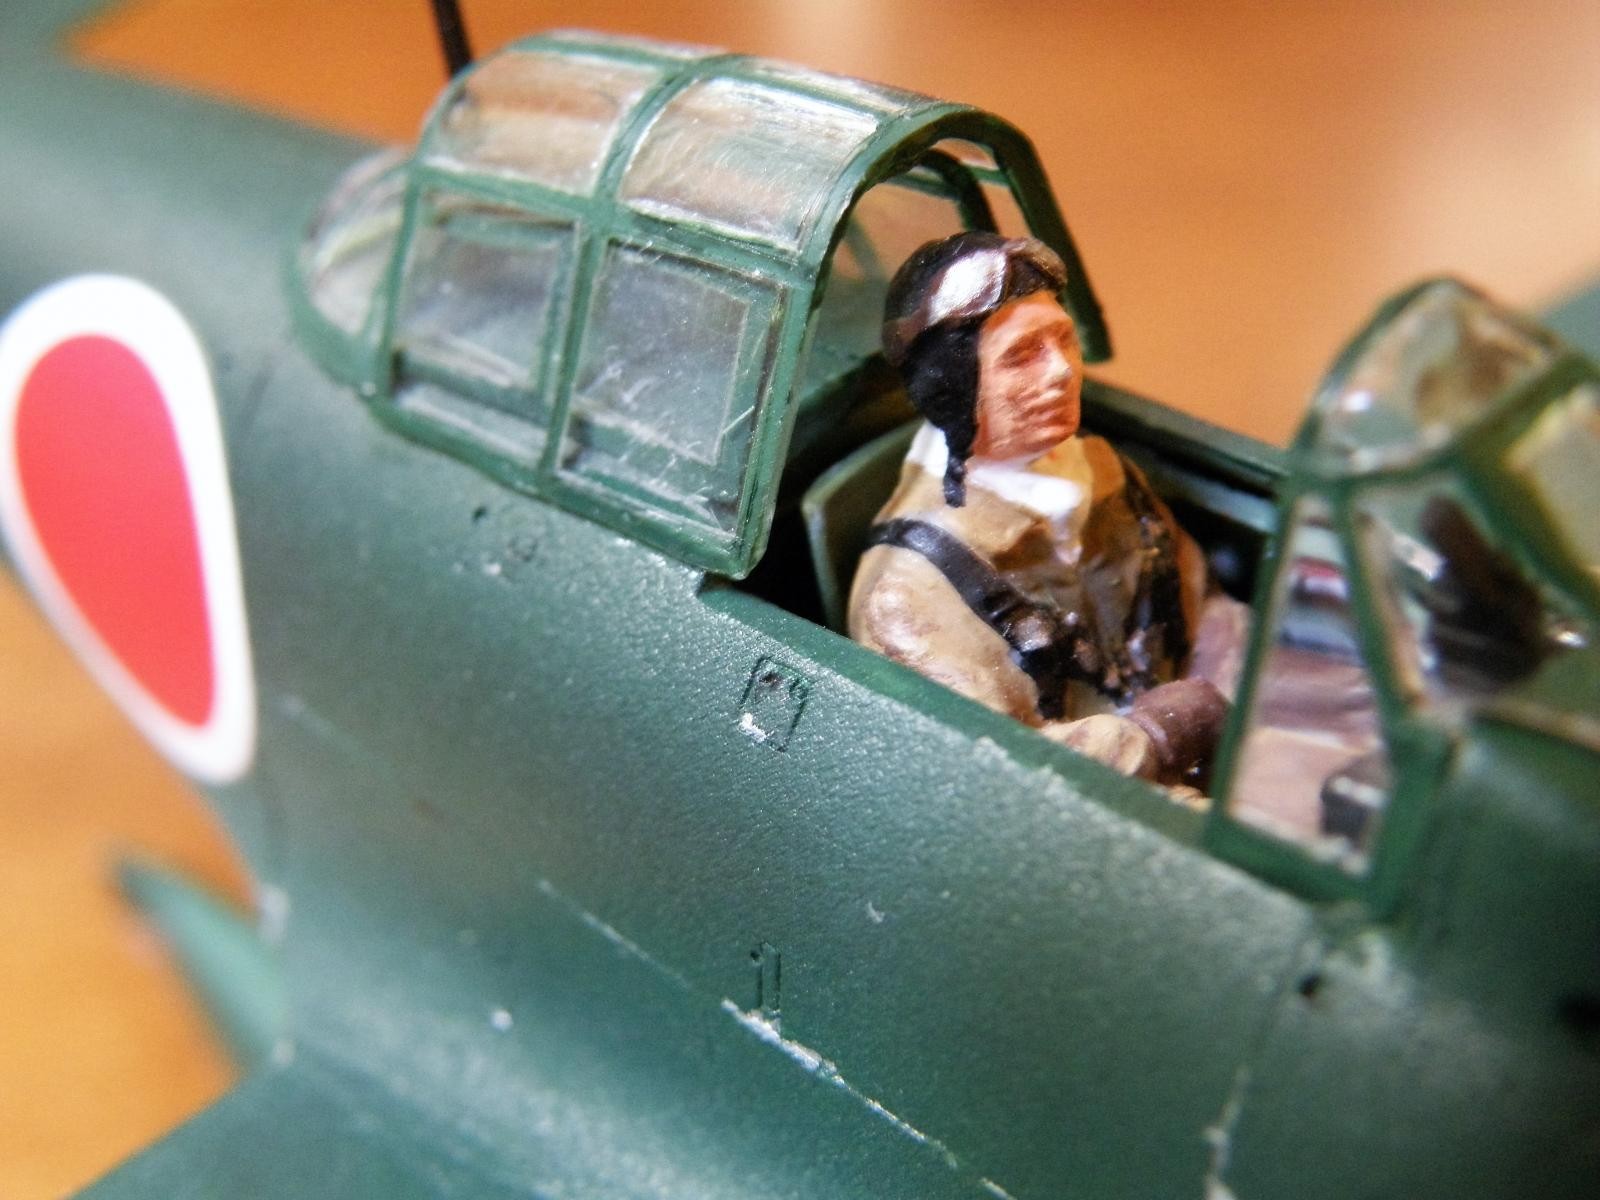
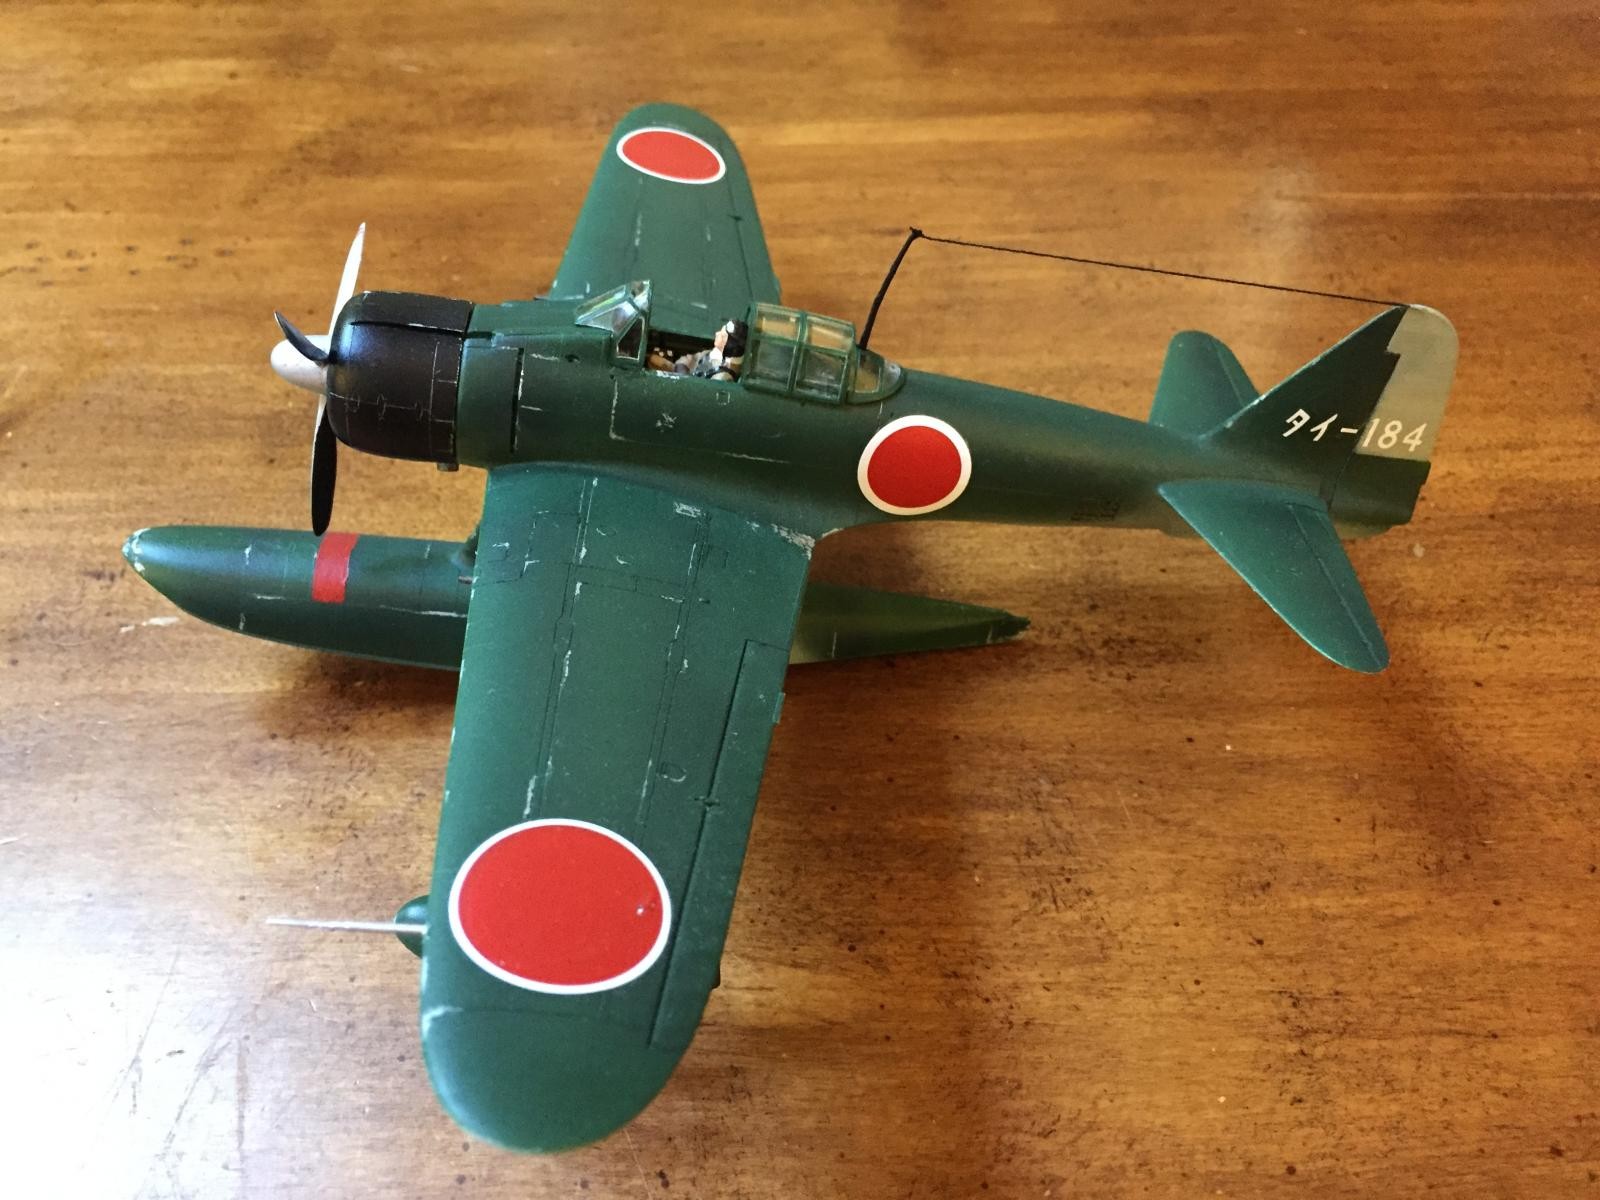
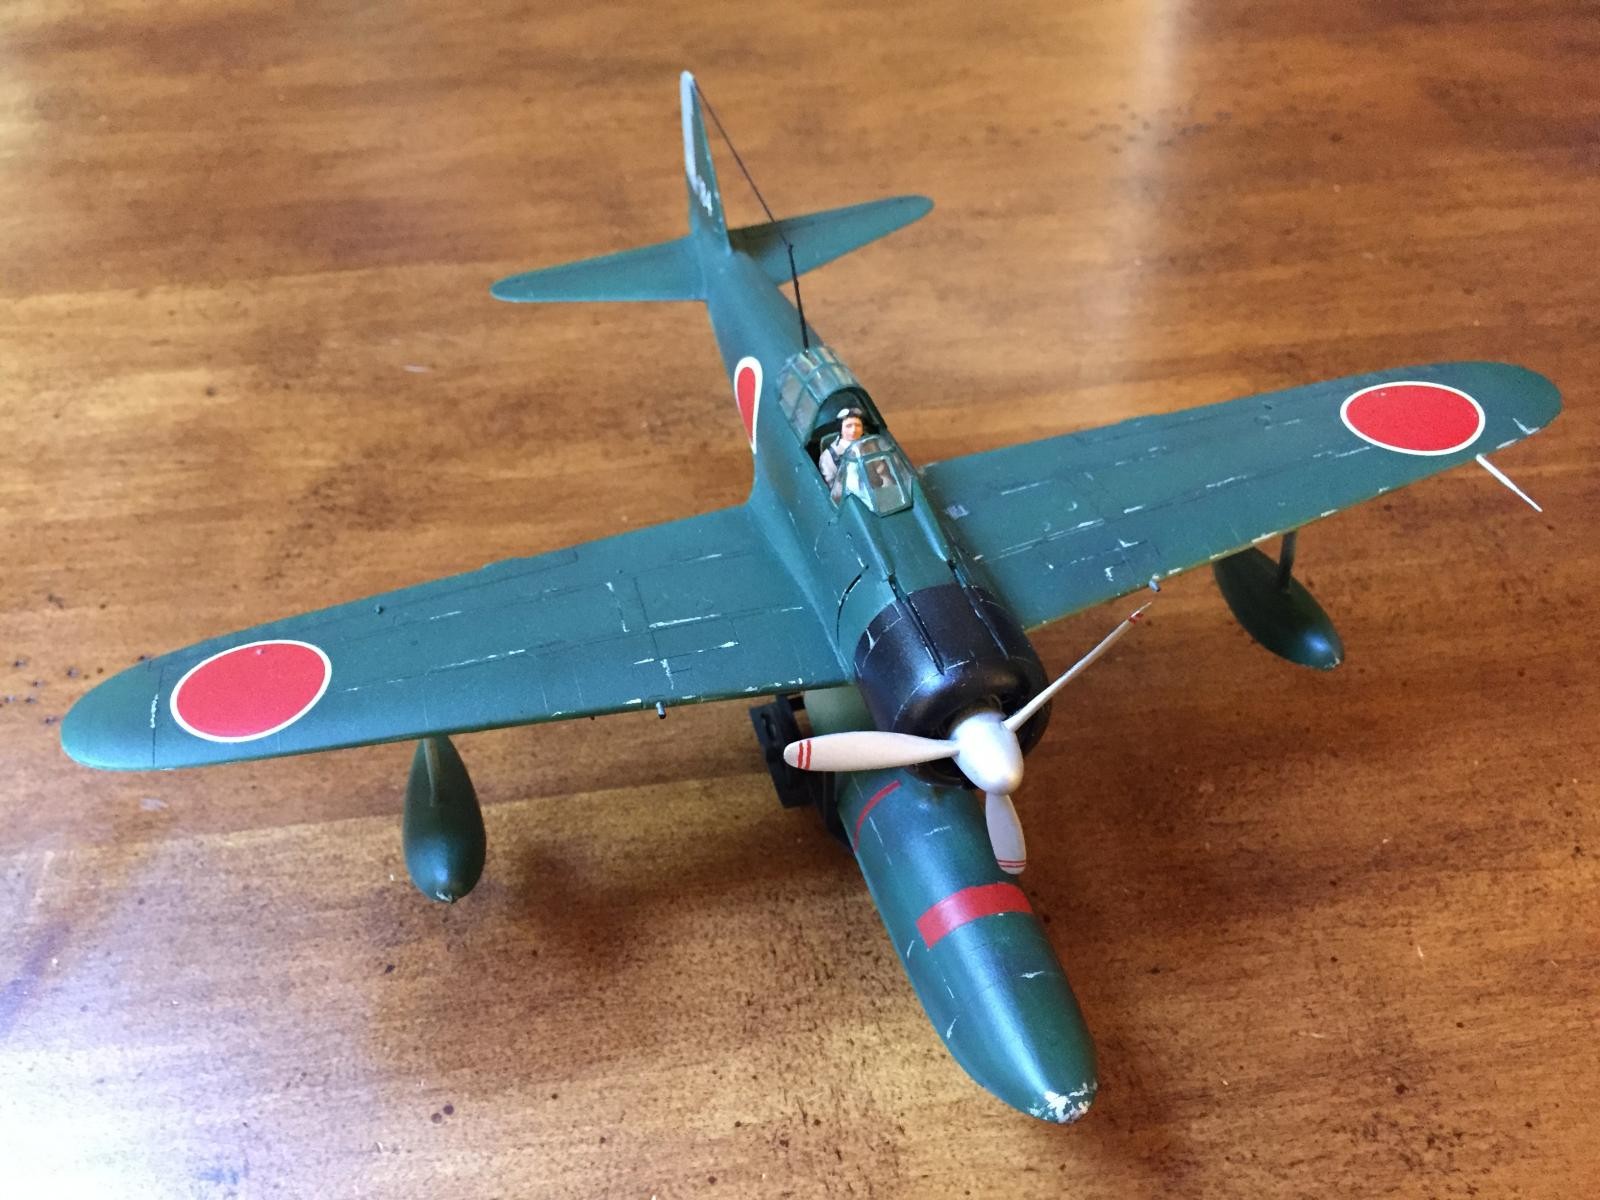
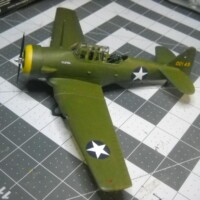
Tamiya 1:48 Nakajima A6M2 Rufe

When I was a kid I lived on Monograms from Kmart. But after staring at a Tamiya Rufe in a local hobby store, my imagination got the better of me, I weighed a 3 for 1 value trade, and I bought the model. It became a favorite in my collection, not only because I just love float planes, but because it was like nothing else my model-building buddies had built. It was one of my last models to go when it was time to move away to college.
Fast forward 35+ years and as I got back into things, I decided to revisit the Rufe as an essay in the craft. The model is straightforward with no complications other than the airbrush work on an atypical undercarriage, but since those were the skills I wanted to improve I thought it a good choice. Besides, I did that one all those years ago in the light gray, and it was time to do a green and gray scheme.
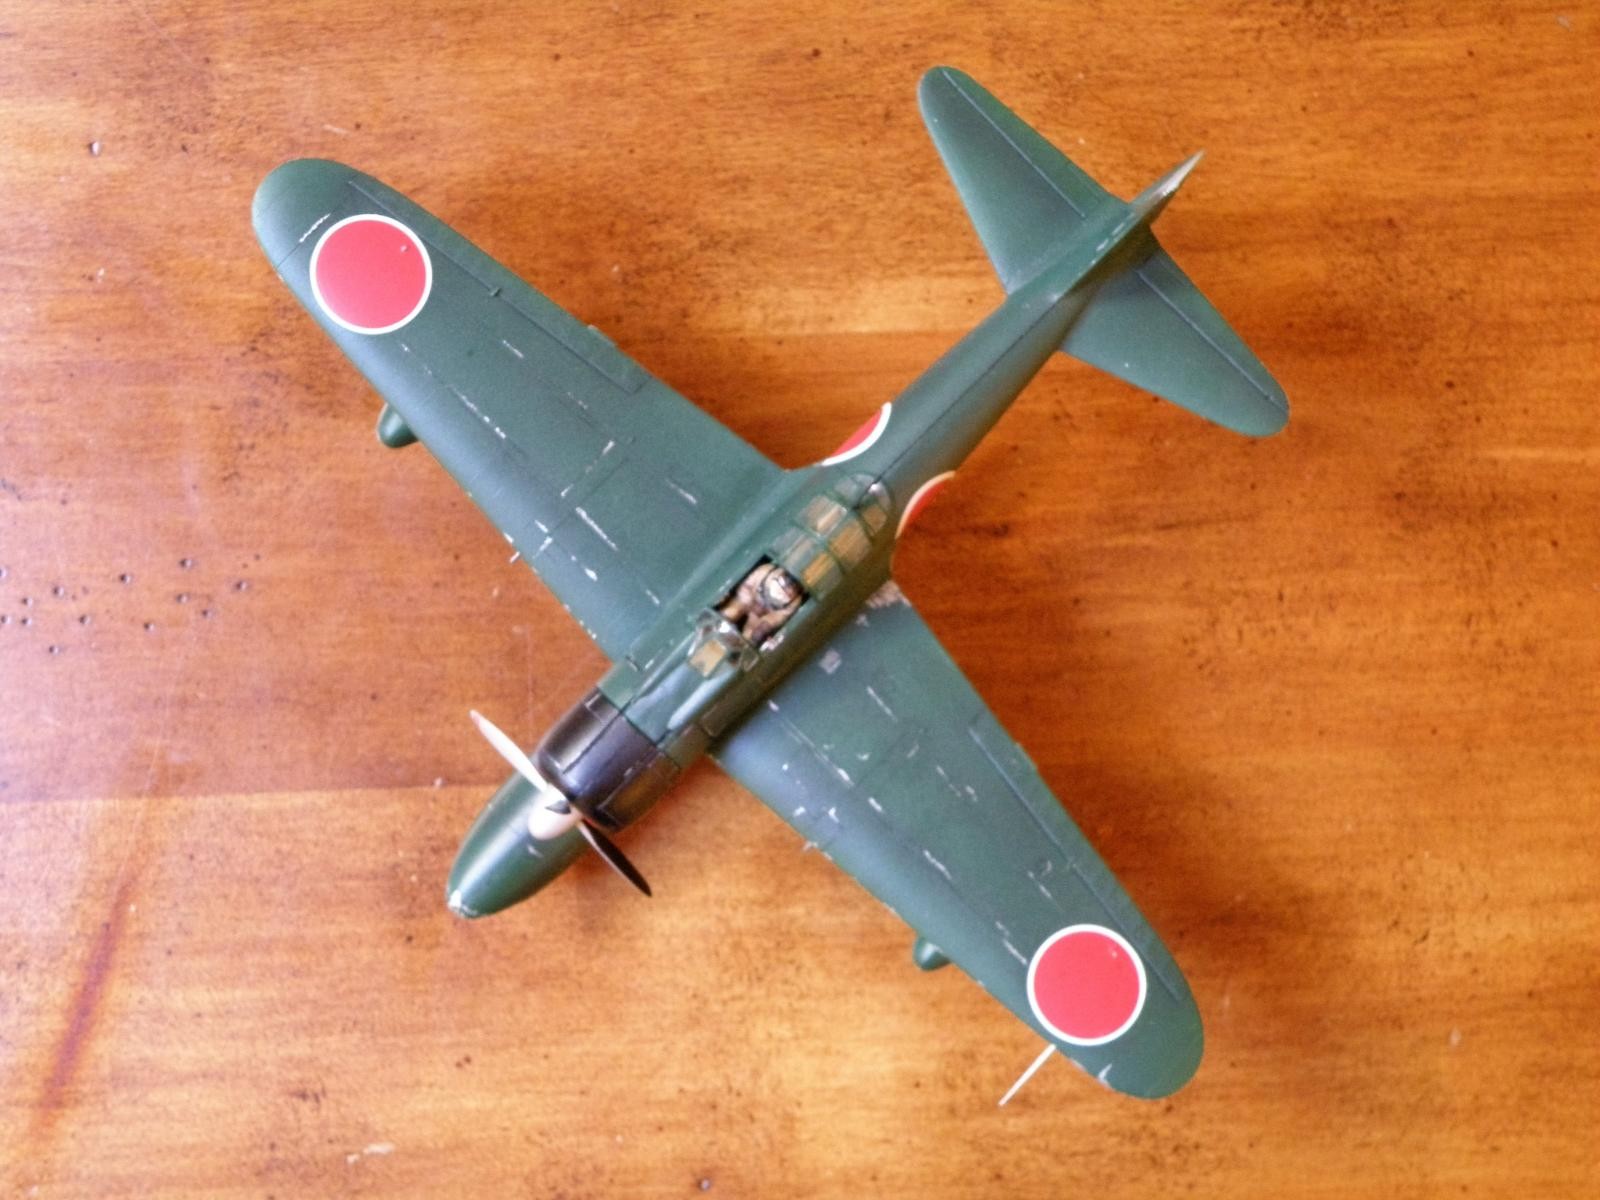
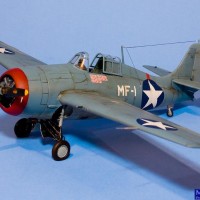
This model is the second model I have done after that long time away (my first is a Wildcat I may post later; my third was the previously posted P-51B). It went together without a hitch, as most Tamiyas will. I primed the plane in silver so I could experiment with the technique of scraping away paint for a weathered look. I liked it OK but have switched to a primer coat as a matter of course and can only imagine myself priming in silver under very special circumstances. Paints are acrylic Tamiya. I didn't like the decals so I ordered others that lay down better.
On the historical note, I wondered as I built why the U.S. didn't convert some of its bread and butter fighters into float planes like the Japanese had with the Zero. It turns out they did experiment with a Wildcat prototype (with two floats; very funky looking bird)...
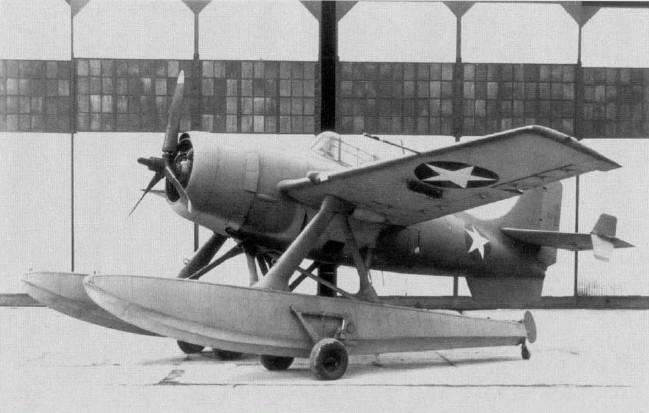
...but it turns out they never needed to use it. Why not? Henderson Field, that's why. It turns out that the widespread use of float planes is a sign of weakness. In a conflict fought with an ocean as its battlefield, the military that can conquer and keep islands for bases just doesn't need fighter float planes the way one that one that loses those islands does. The Rufe was ship-based as well, but it seems that had the Japanese been able to keep islands and maintain airstrips on them, they would not have needed to reduce the performance of their best fighter by 20%; they did it because they had no other choice--it was the Rufe that could land in water or deal with fewer planes in the air flying from more distant bases.
Rufes were used from the beginning of the conflict with the U.S. until the end of the War, and served from the Aleutians to the Solomons to the Indian Ocean.

This is a beautiful "Rufe". It really turned out very well. Thanks for sharing this with us and the background information was spot on ... The US Navy did experiment with a few float planes, but as a rule, they were one off versions of a main stream production plane. One that comes to mind was the TBD Devastator float plane, which they made a single prototype. I'm pretty sure they relied on proven examples like the Vought OS2U Kingfisher (which could be easily converted to a land plane) and various other dedicated seaplanes like the Widgeon, and huge Martin planes.
Thanks again my friend.
Thanks, Lou. Building that Kingfisher was one of the things that sparked my purchase and build of the Rufe when I was young. I like planes with character.
Too bad the Catalinas in 1:48 cost an arm and a leg!
Thanks friend for the kind words.
Nice build, David...and as you stated, ya can't really go wrong with anything that says Tamiya on it. I like it. 🙂
I'd say the metallic undercoat has worked wonderfully well! Subtle and realistic. Great stuff David!
Thanks, Craig and Paul!
Paul, coming from you and considering your recent Jake, that's a real (and somewhat undeserved) compliment. You rocked that thing! I'd love to hear how you got that look for your green, because that transparent emerald look is what I would like to achieve...
No rocket science David - only what you have read elsewhere I'm sure - and I thought the pre-shading on the tailplane of the Jake could have been much better looking at the photos. Anyway since you asked...
I undercoated the plane with grey Alclad primer (I just like the way it comes out of the airbrush and levels), then pre-shaded very roughly in Tamiya flat black on all lines - the old Nichimo kit had a nice intricate grid of rivet lines to follow. I haven't scribed any of my own yet but would consider it if the kit detail was lacking.
I then used fairly dilute Mr Color IJN Green and IJN Gray layers - I wasn't fussy and used Nakajima Green and Mitsubishi Gray (some will undoubtedly lose sleep over this - I didn't!). I used Insignia white to drop the 'luminance' of the green to account for scale (about 1 drop in 6). I had done the same thing in terms of pre-shading on a Martlet I built previously and learned the hard way to go very slowly and to stop short of losing the effect of lighter weathered areas in the centre of the 'panels', or to completely obscure the pre-shading.
Once all had dried well (4 days in this case, although not necessarily by design) I used a very fine polishing stick on some areas of the semi-gloss painted surfaces, rubbing very lightly (3-4 strokes) to reduce the green a little more and remove it entirely from some raised lines on the wings. After that I dry-brushed those lines with Citadel Dry Necron Compound - although I went very lightly there too, to avoid making the lines look more silver than needed. Midway/Carrier planes, I was reliably advised, would not have weathered to show larger bare metal areas in the way that those based in the islands or later in the war did. I think the pale gray revealed by the rubbing tricks the eye into thinking 'dull metal' anyway. After that - gloss coat, decals (which luckily positioned between panel lines), and patchily applied matt coat to simulate irregular weathering.
I like your weathering because it does not go 'over the top' and is revealed, not painted on. I will have a look at the weathering of Zeros over Borneo at some point to figure out an approach for less well cared for planes. But I think yours shows a really nice level of wear without overkill!
The key to your success is in here somewhere...
I then used fairly dilute Mr Color IJN Green and IJN Gray layers – I wasn’t fussy and used Nakajima Green and Mitsubishi Gray (some will undoubtedly lose sleep over this – I didn’t!). I used Insignia white to drop the ‘luminance’ of the green to account for scale (about 1 drop in 6).
I've seen some rendering of Tamiya's Raden "Jack" that have this look (very weathered, though--land-based plane late in the war when Japan couldn't afford primer coats any longer). I think it is a very nice look. I'll have to try it again. Did you mix the gray and green, or did you go back and forth? Or gray first then green? It is the layering that is throwing me a bit.
Excellent Rufe! Got an old Revell/Frog 1/72 in my stash, I should brake it out.
Thanks, Robert. It's a cool plane. I have lots of other projects, but if I do another I'll do the Aleutian scheme, which apparently used a light lavender instead of the standard cream-gray.
David, good looking Rufe!
Thanks, Bernie!
"Did you mix the gray and green, or did you go back and forth? Or gray first then green? It is the layering that is throwing me a bit."
Green was built up in thinly diluted multiple coats/layers over the pre-shading. Occasional equally thin gray coat was used on specific areas (panel centres or groups of panels). This was to lighten for variation or if I had gone 'too far' and lost too much pre-shading by over-cooking the green. The final coats were always green. Judging when to stop was an issue for me - hopefully it comes with more practice!
Very helpful, thank you. Enamel or acrylics?
All acrylics!
Nice looking build! I'd say you're thoroughly on your way back!
Thanks, Greg!