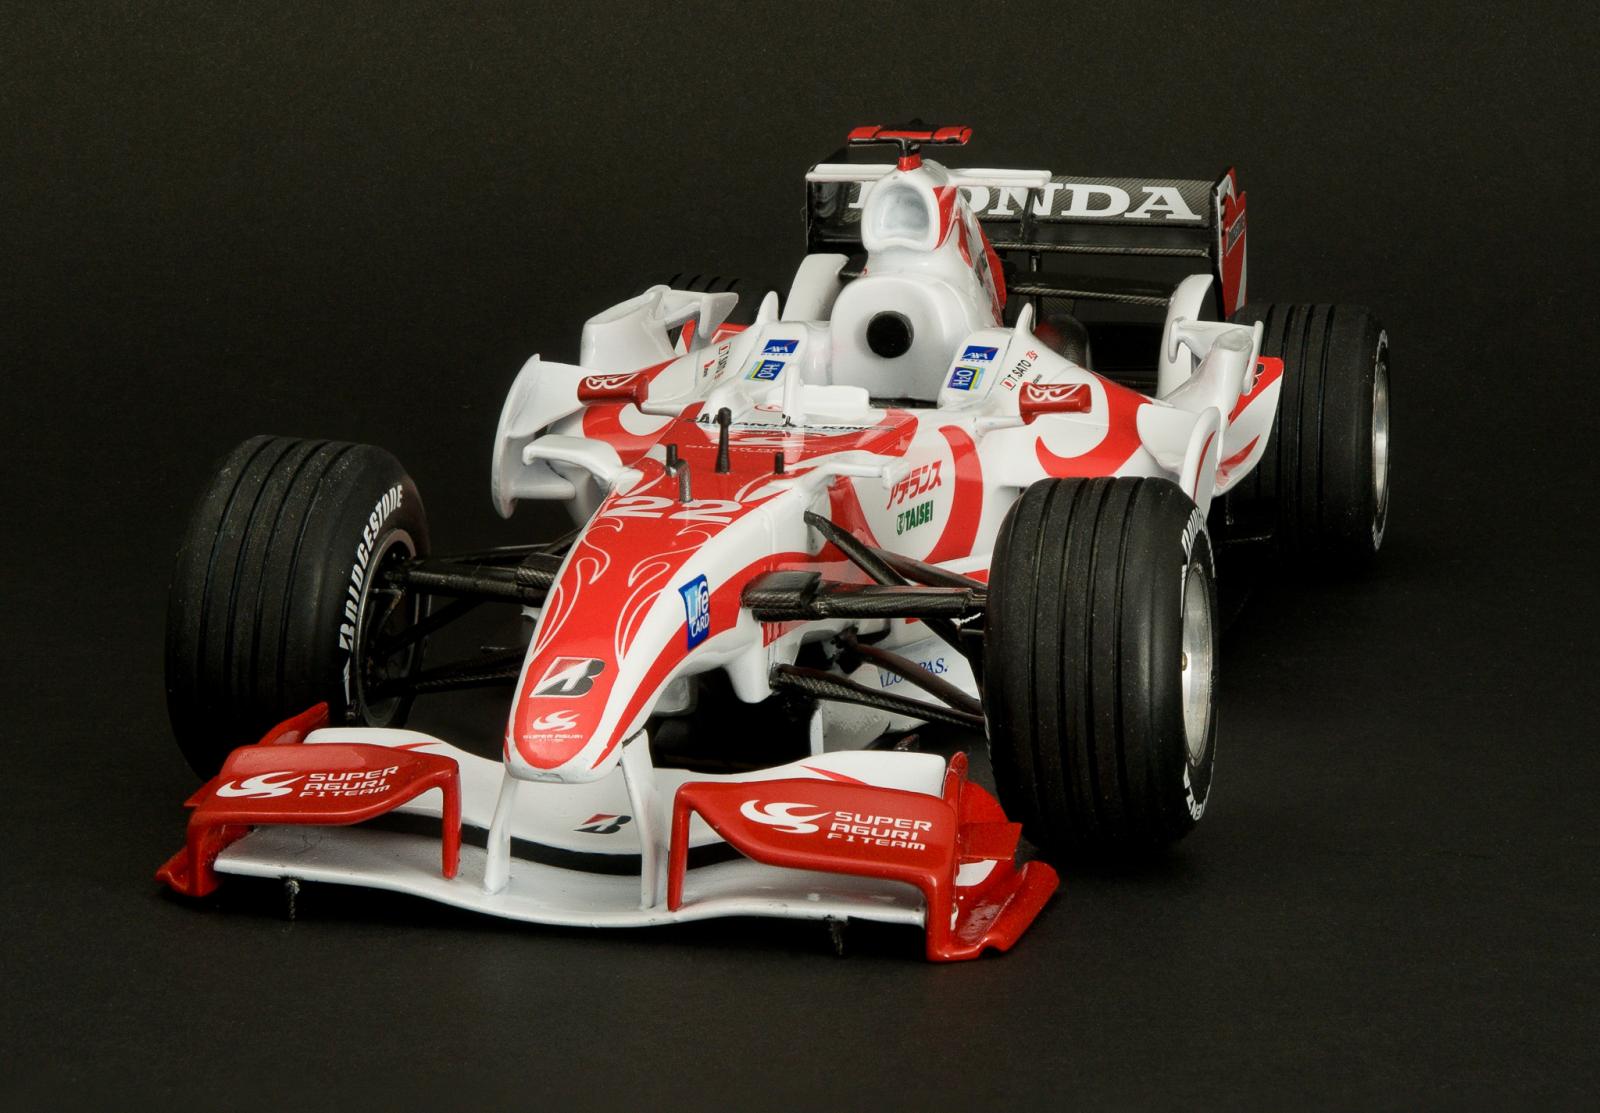
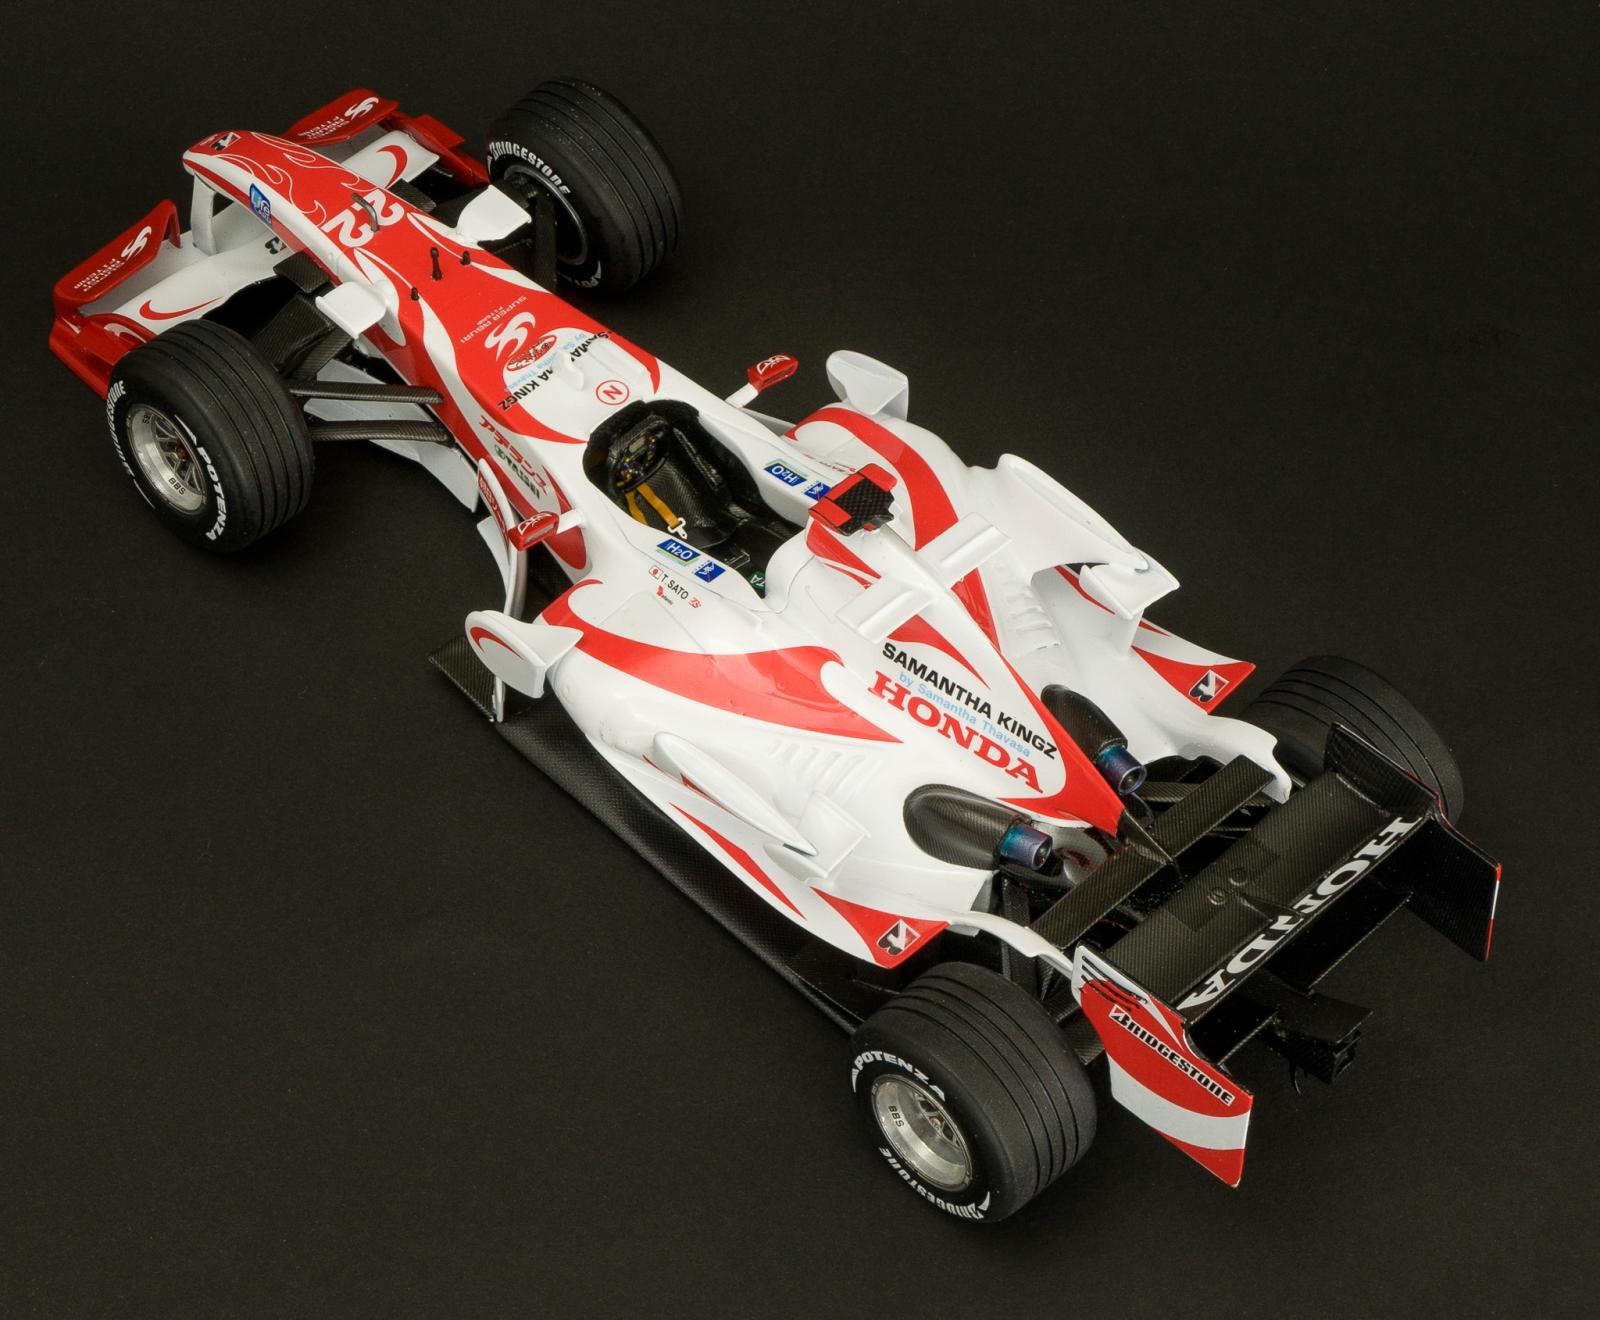
Studio 27 1/20 Super Aguri Honda SA006 – 2006 Grand Prix of Japan

Kit: Studio27 1/20 (FK20180)
Paint:
- Eastwood 2K Primer (ZP-3014)
- Zero Paint Pure Brilliant White (ZP-1026)
- Zero Paint Red (ZP-1074)
- Zero Paint Diamond 2K Clear (ZP-3006)
Decals:
- kit markings
- Tamiya and Scale Motorsport carbon decals
Album: https://www.flickr.com/photos/98961263@N00/albums/72157716858189501
All my models: https://www.flickr.com/photos/98961263@N00/albums/72157603606379755
Photo Editing:
Adobe Lightroom
Helicon Focus (focus stacking)
The Super Aguri Formula 1 team competed during the 2006 to 2008 seasons as Honda's junior team. The team had little success with no podiums and only 4 points attributed to one 8th and one 6th place win, each in 2007. The team only contested four races in 2008 withdrawing from F1 due to financial insolvency.
The SA006 was powered by the HondaRA806-E V8 engine an only competed in 7 races during the 2006 season with the best finish been 13th in Hungary.
This kit is my first F1 multimedia kit. I built one resin/white metal kit before - the but that kit was simple in comparison Upon opening the Super Aguri box, the body and floor make a positive first impression. Impeccably cast in very hard resin and requiring very little cleanup. I roughed up the surface using 600 wet dry sandpaper to provide the tooth needed for primer. I use 2K primer which has tremendous ability to hide surface imperfections which one reason I don' t polish car bodies before painting. They other reason is that when polished, I have found that removing masking can lift paint. The recommended thinning ratio for 2K primer is 10 % but I typically thin it at 50% which means it does not have to be sanded smooth prior to paint coats.
So far, so good but when I emptied the bag of white metal parts it quickly became apparent that they would require a lot more attention than the resin parts. The instructions say to use a brass brush to clean them up but I found this insufficient to remedy the numerous pits, seams and other imperfections. I couldn't find much information in the way of tips to prepare these types of parts for painting, so, I decided to experiment. I found that super glue (my filler and glue of choice) does not stick to white metal. Well it does but not at all well. Same goes for Tamiya putty and I assume other brands.
To make a long story short, I figured out the following workflow for preparing the metal parts and building:
- Use a brass brush or a Dremel brass wheel to clean the surfaces of the metal. This shines up the metal and reveals all the flaws.
- Remove seams and raised imperfections with a file then smooth the surface with 400 wet/dry. Have a lot of sandpaper on hand because you'll go through it quickly. Even though the white metal is soft, it's a lot harder than styrene.
- For pits and recessed imperfections, use Milliput fine. Just fill the major pits - the scratches left by the 400 wet/dry will disappear under the primer. Feather the Milliput with 400 wet/dry. Once you've feathered the edges of the putty, it sometimes looks like there's no filler left. I think it's because the metal is shiny and the light bounces around fooling the eye. Anyway, the test I use to see if the imperfection is smoothed-out is to gently run a toothpick over the puttied area. If there's still a hole, you'll feel it.
- Bend the metal parts to their proper shape. They are easily bent out of shape during cleanup. The metal is very soft so this step is quite easy.
- Test fit as many of the parts as possible and bend the parts again as needed. Where multiple pieces of white metal go together in an assembly one can glue the parts together using super glue which has enough bonding power to hold them together temporarily to check fit. They parts come apart easily and can be soaked in acetate to remove any remaining glue.
- During test fitting you will find that holes will have to be drilled in various places since there are only pilot hole in the kit parts. Now is the time to do this.
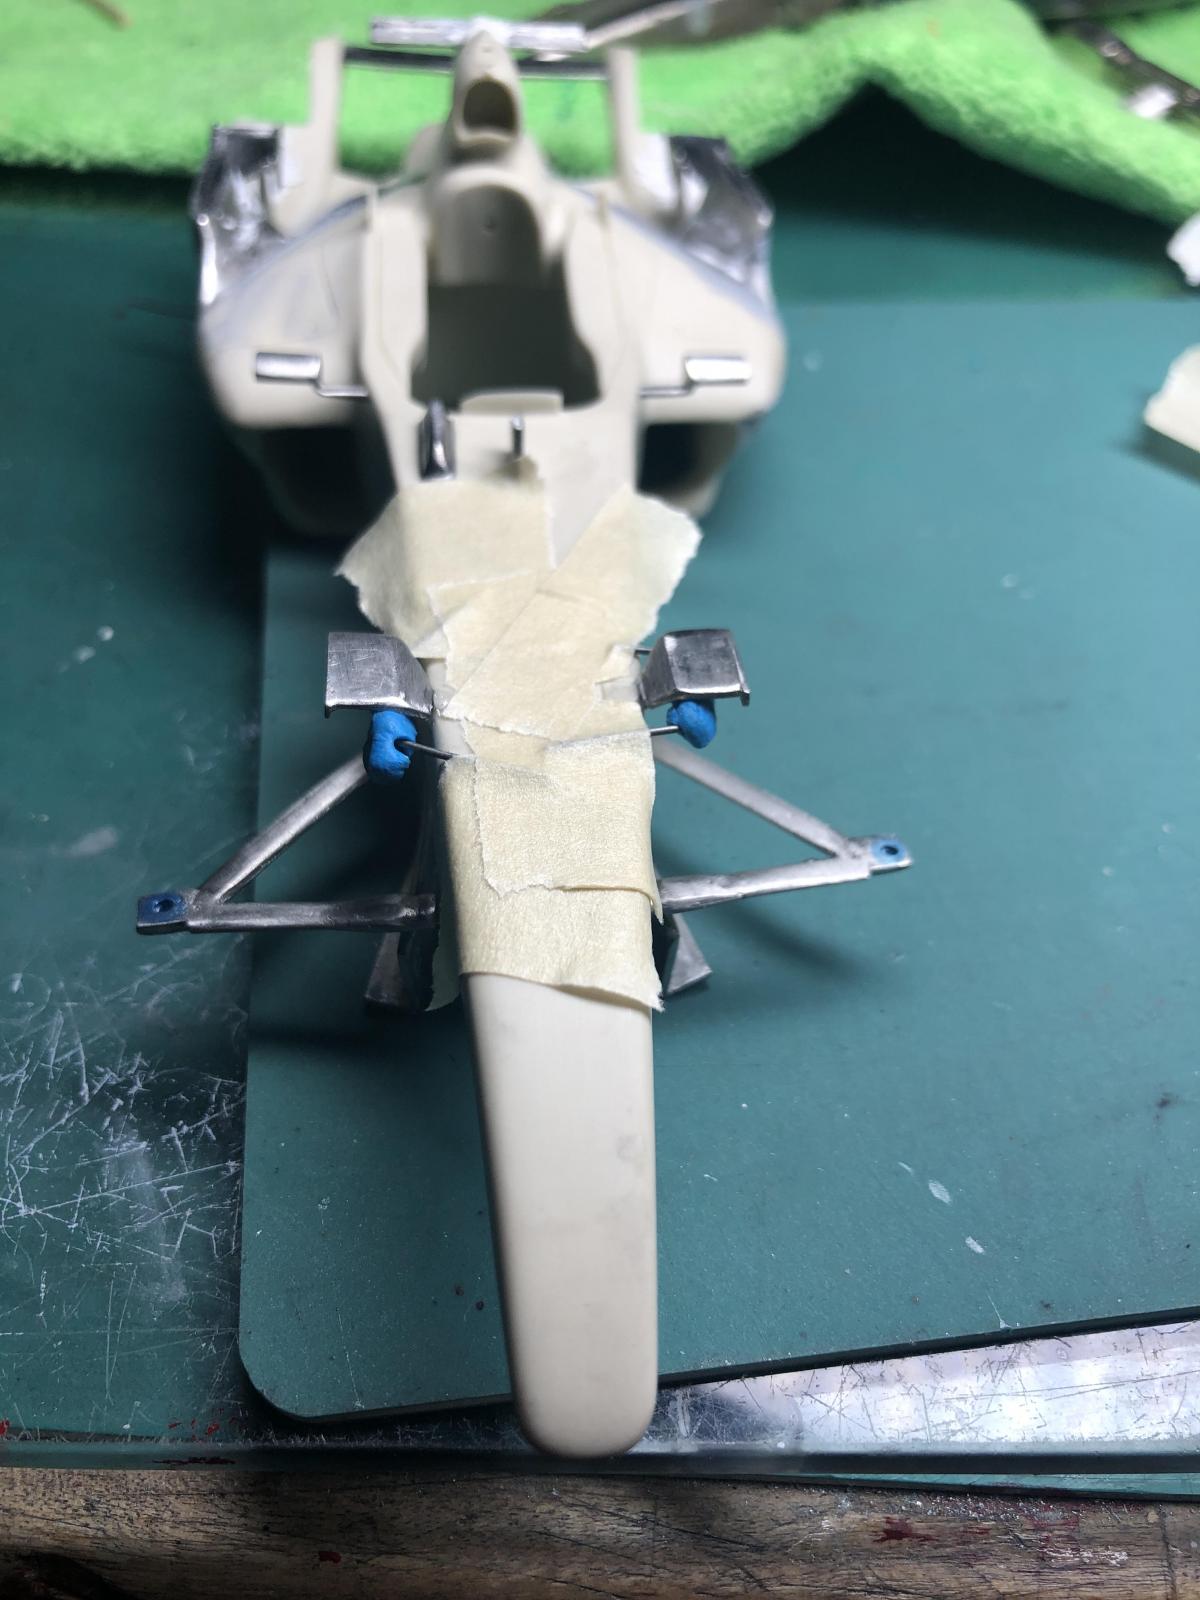
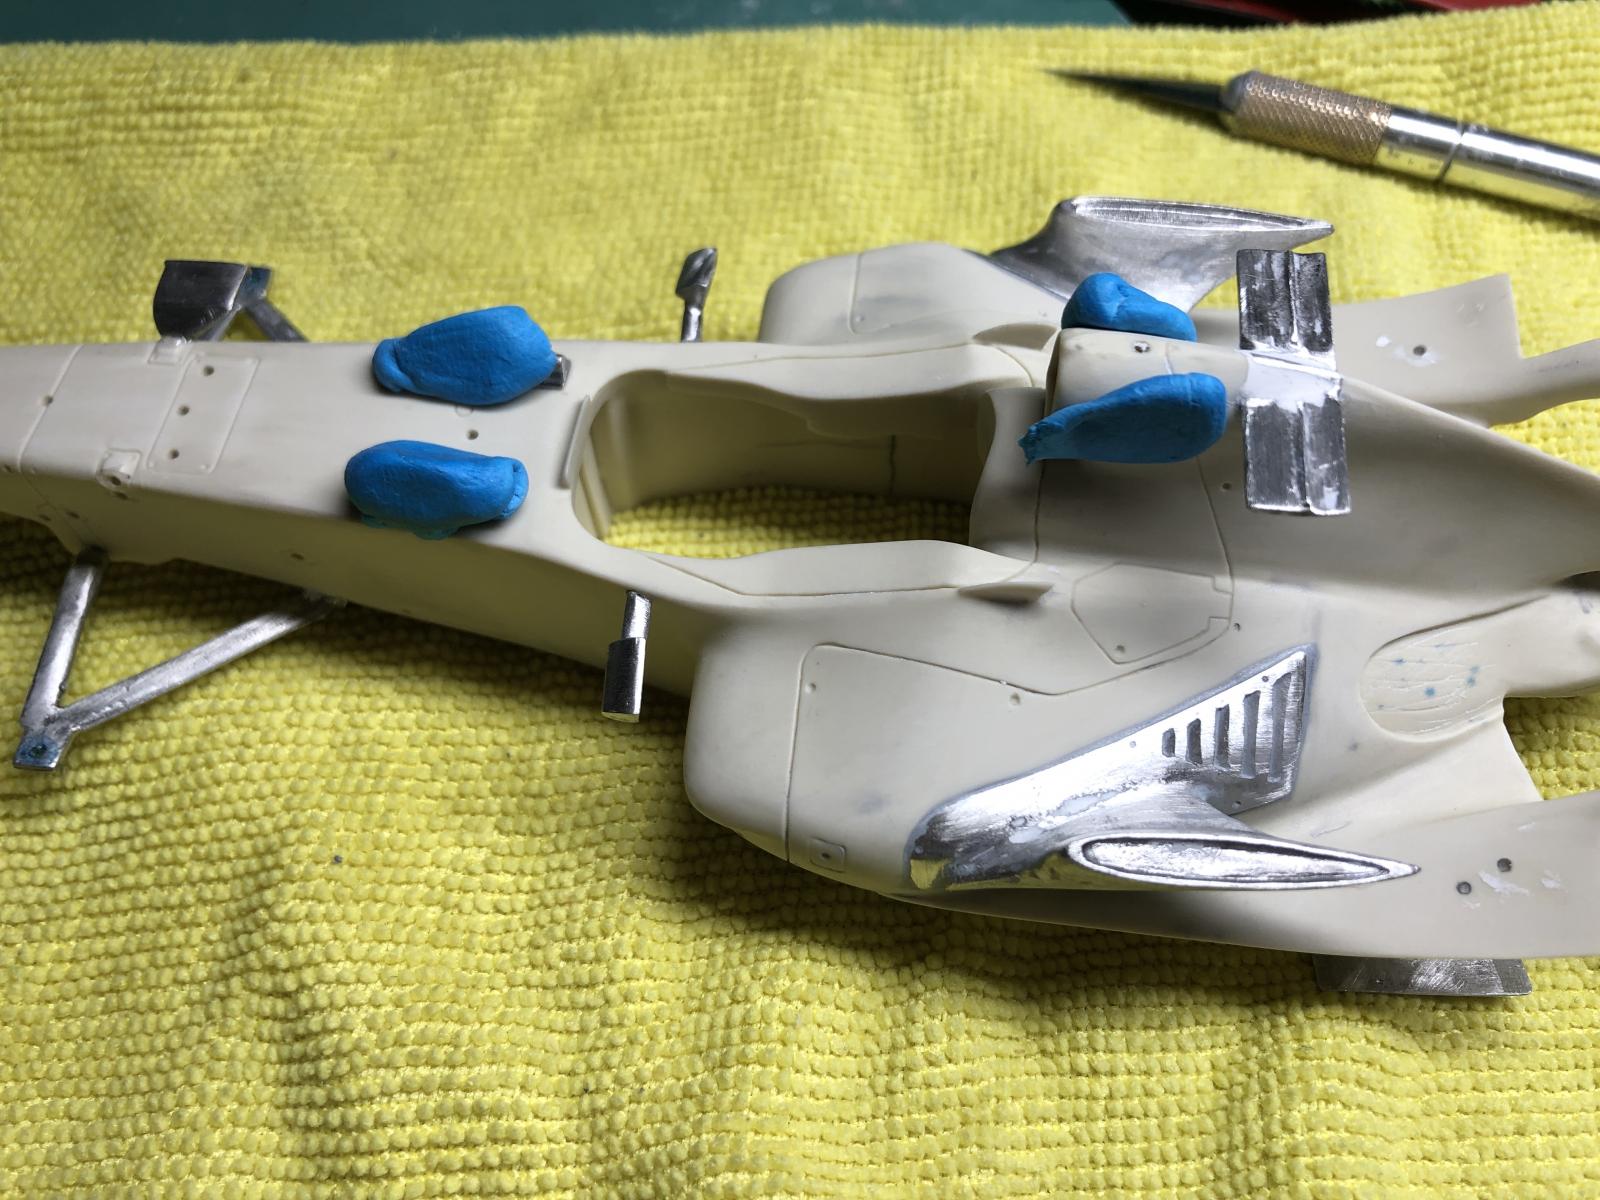
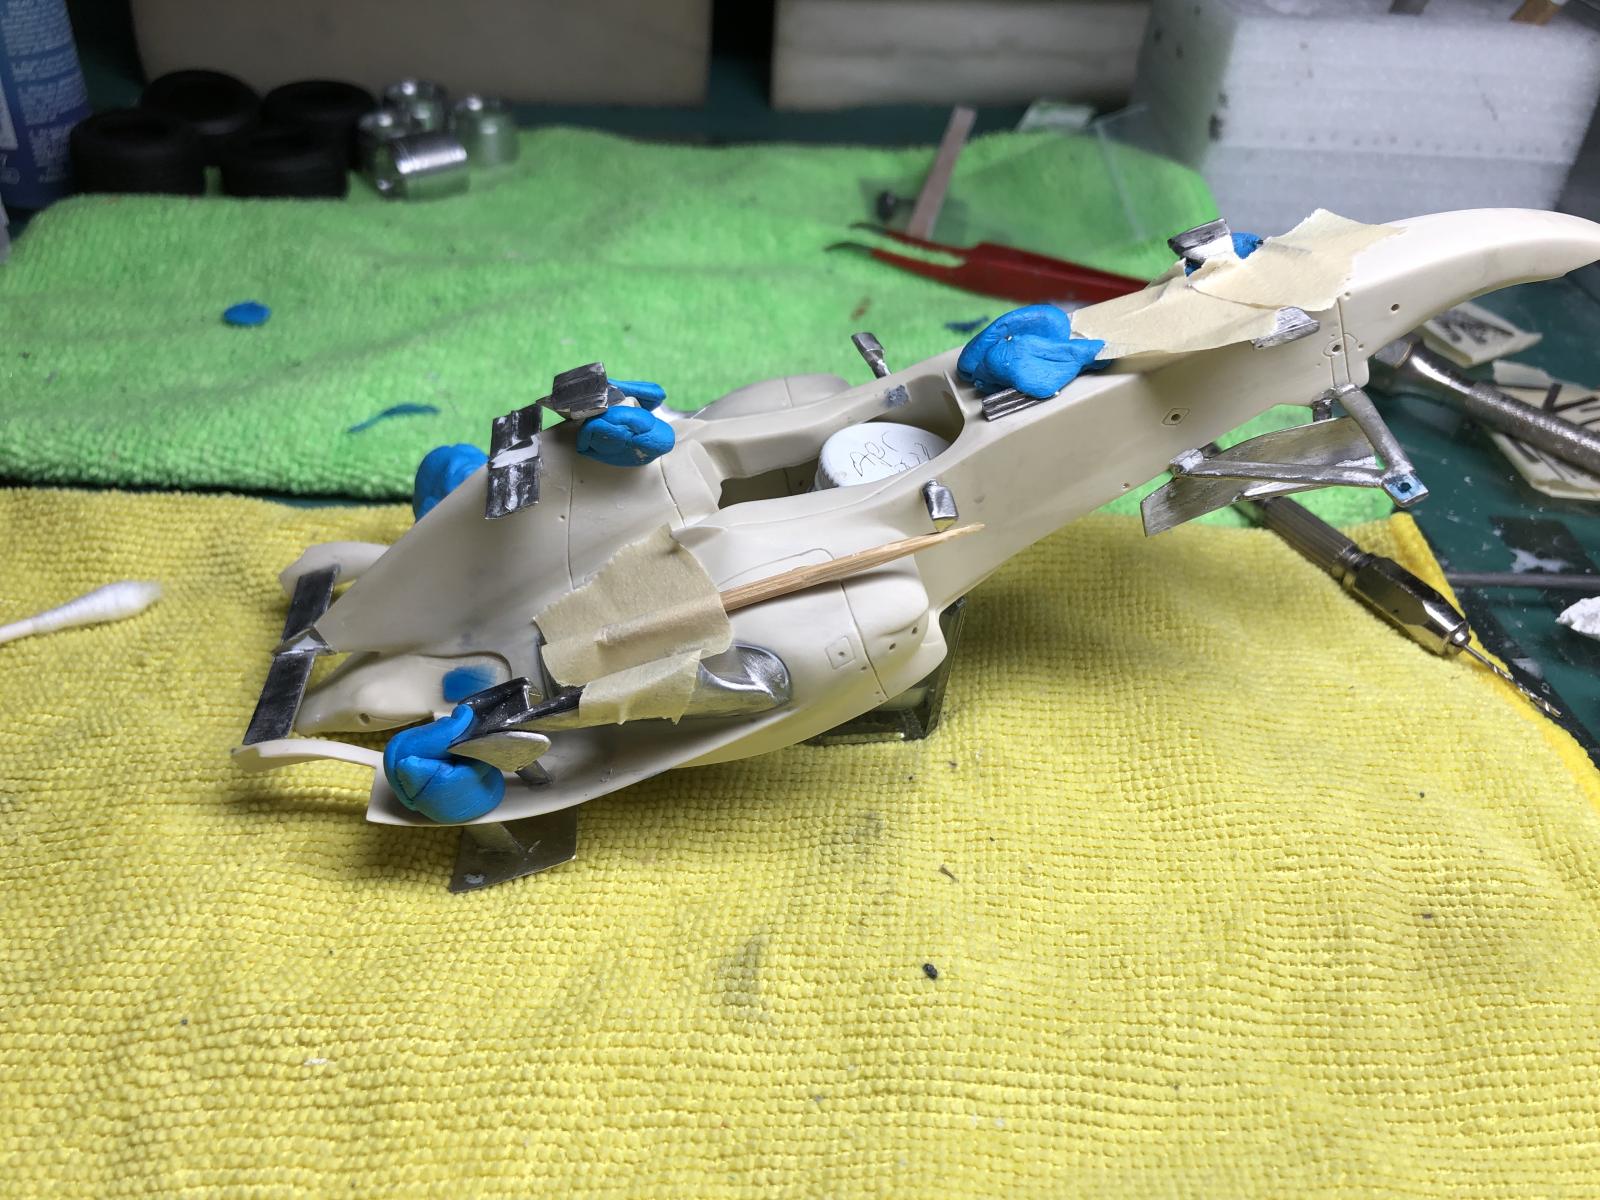
- At this point I decided to permanently assemble as many parts as possible using 5 minute epoxy. Because I was using epoxy and not super glue, I felt I couldn't control the glue sufficiently to avoid fouling the paint so I did more assembly prior to painting than I would normally do. Even though I used 5 minute epoxy, I had to let it set-up much longer for maximum strength. The white metal parts are relatively heavy and can shift out of position if not supported during curing. I had to use some creative “jigs” made from wire, toothpicks and blue tack to keep things in place (see pictures.) One time I can offer is, if there is a small mating surface for a particular part, attach it late in assembly because the slightest knock will break it off. Those little winglets on the top front of the fuselage broke off more times than I care to count.
- 2-3 coats of 2K primer thinned 50%, or 1 primer and hardener: 1 thinner
- Paint
- Decals: Oddly, Studio27 does not provide any carbon fibre decals for their kits (at least the ones I own) nor do they make aftermarket carbon decals for them (that I could find anyway.) This is odd since they are known for the myriad of carbon decal sets they offer for kits from other manufacturers. So, now that your parts are ready for assembly, now is a good time to use them to make templates for cutting out carbon decals. I find it difficult to find good enough photos on the internet to determine where carbon shows on these cars. Carbon areas usually just appear black in photos. Some carbon is painted black on F1 cars so its up to the modeller to take educated guesses on where to apply carbon decals. For the SA06B, there are hardly any photos on the internet and I couldn't find any closeups. Some experience with F1 carbon decal placement comes in handy here to make those educated guesses. In this case, if it was black, I made a carbon decal for it. I used Tamiya and Scale Motorsport carbon decals.
- Prime
- 2K Clear
So that's my workflow. I hope it inspires someone to try one of these kits. If anyone sees a flaw in my steps or can suggest improvements, I'd love to hear about it since I have a few more Studio27 kits in the stash.
Enjoy and comments welcome
Richard
Hi Richard!
This is a wonderful result, out of a challenging kit.
I enjoyed reading your posting, which I found very informative and useful, especially regarding cleaning and attaching the white metal parts.
I also found interesting that no carbon is provided.
Congratulations again on your result: this is a spectacular SA Honda!
Amazing decal work.
All that work sure paid off.
Very interesting read, Richard, and lots of building tips. I used to use CA glue to stick white metal parts together in my railway modelling days and didn't have many problems. Maybe in those days the white metal had a different composition, modern white metal has no lead, so perhaps that made the difference. Anyway, a beautifully finished model of a somewhat forgotten F1 car.
Interesting. I did use CA in a couple of areas like the aerodynamic element with the little swoosh on it. I attached these after painting so I didn't want to use the epoxy. It will work but its very fragile - one of these elements came off while I was taking pictures. The epoxy doesn't form a super strong bond either unless there's a large mating surface. I had to re-glue a number of pieces I nocked off during assembly. The epoxy bonds very well with the resin but not the white metal so if a piece breaks off, the resin residue on the white metal chips off easily but the residue on the resin has to be cut off and the area resanded (sometimes). I used 5 minute epoxy so I wonder if a longer curing epoxy would be stronger - likely or else why bother. 5 minute takes a couple of hours to reach maximum strength - I usually do all my assembly with CA and accelerator so using epoxy felt very slow to me. Thanks for the comment:)
Fantastic work Richard. What a great representation of the prototype.
California Steve