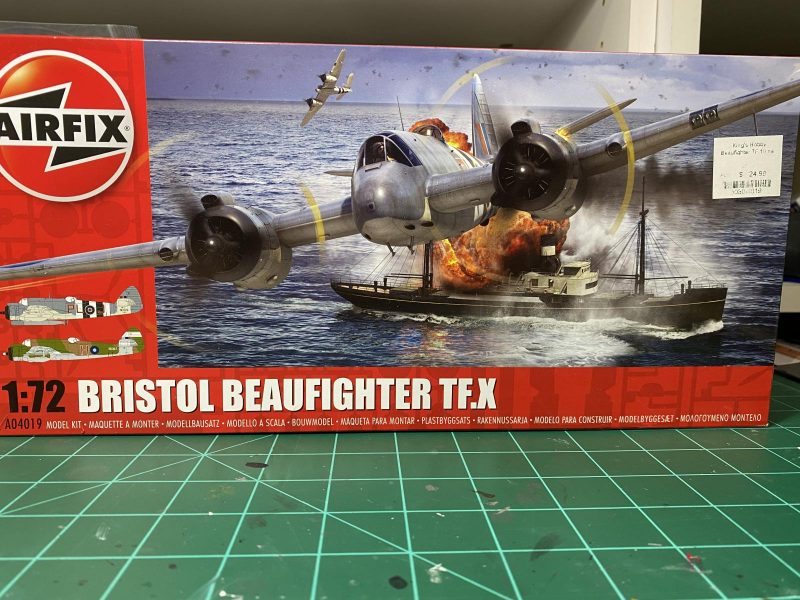
Twin-Tail Beaufighter: Airfix 1/72 Beaufighter TF.X
Background:
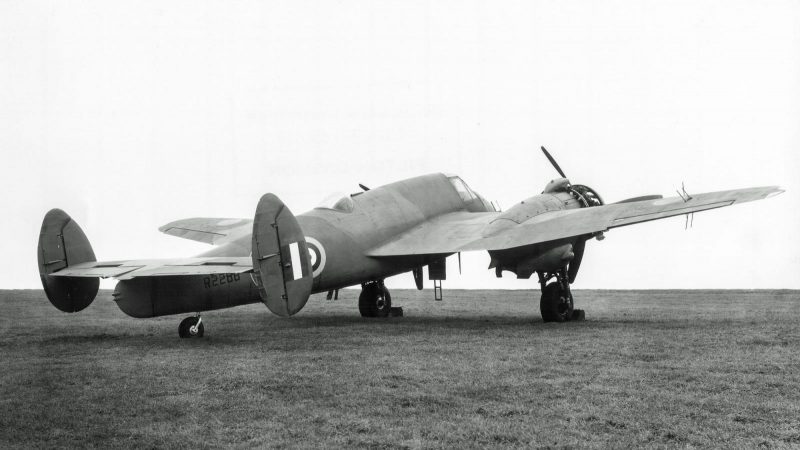
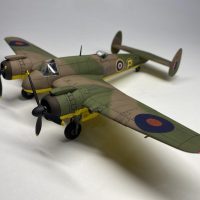
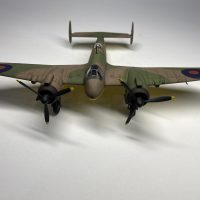
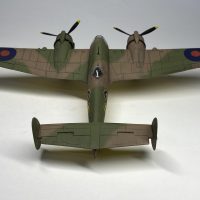
When a twin-engine plane loses an engine, it immediately turns into the dead engine. This turn or yaw is especially severe when the engines are at a high power setting, such as takeoff. The pilot controls this tendency with the rudder and the elevators. When a plane is designed, the engineers make sure that the tail surfaces are large enough to deal with the worst case scenario, which is a sudden engine loss on takeoff. Well, the Beaufighter had been in service for a while when Beaufighters started losing directional stability on takeoff following an engine loss. The tail surfaces were too small to control the plane on takeoff following an engine loss. So, the engineers began looking for a solution to the problem. One existing airframe was modified with a twin tail that increased the surface area of the tail. This cured the problem, but turned out to be expensive and time consuming to modify existing airframes. At the same time, the engineers determined that you could get the same result by increasing the size of the rudder and elevators, and adding 12 degrees of dihedral to the horizontal tail surfaces. This proved to be an easier and more cost effective fix, so all Beaufighters received this modification.
The Build:
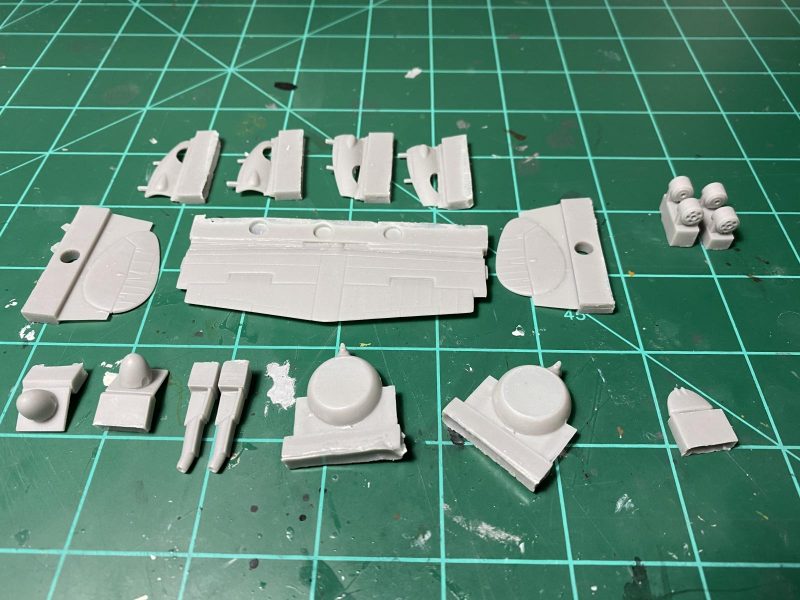
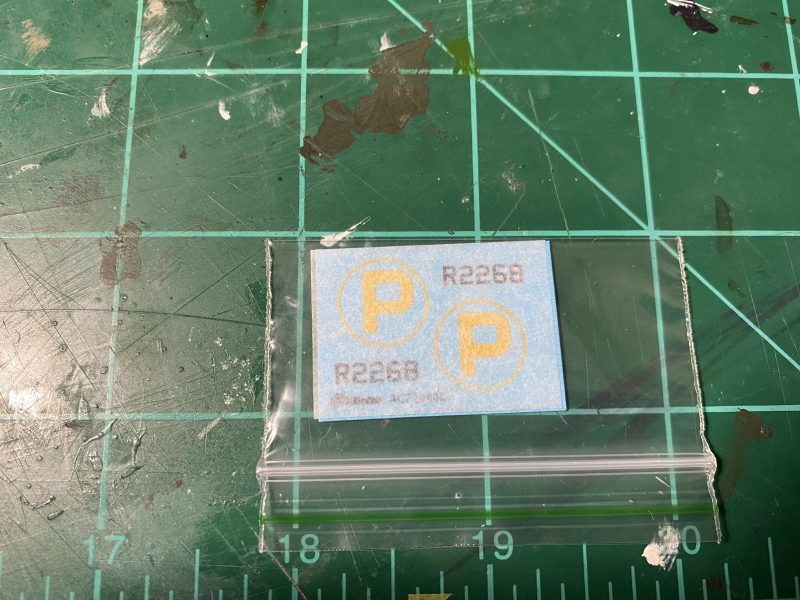
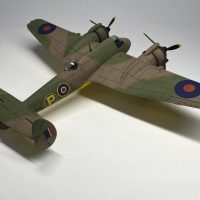
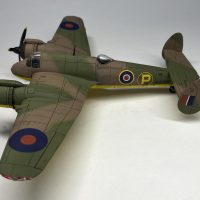
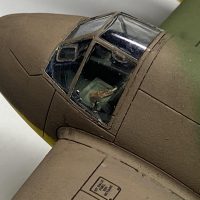
Alley Cat Models in England have a really nice resin set that converts the Airfix 1/72 Beaufighter TF.X into the twin-tail prototype. The set includes all of the parts for the new tail, and also includes new landing gear doors, engine nacelle fronts, new exhausts, engine spinners, and hubs for the main landing gear. The set also includes a small set of decals with the prototype "P" and the correct registration numbers. With the exception of the tail, all of the parts are direct replacements for the kit parts. The tail modification was very simple, with just a couple of cuts along panel lines. Over its lifespan, the prototype had several external variations: with and without an antenna mast, with and without wingtip antennas, and so on. I picked the variation that would require the least effort on my part. I couldn't find any photos with an antenna wire, so I left it off. There is no color information for this plane, so it is basically dealer's choice.
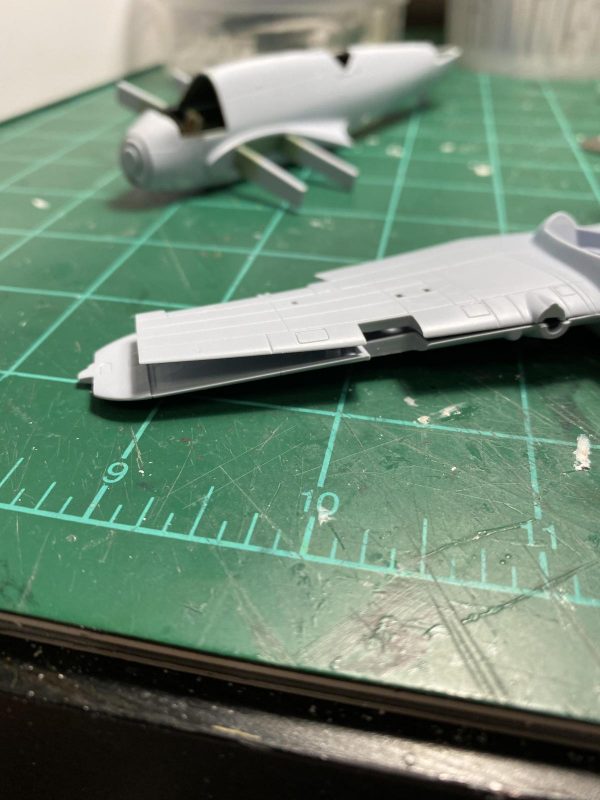
I was really surprised to find that many of the parts in the Airfix kit were very warped. Perhaps the kit had spent too long in my garage. The warps were easy to fix thanks to the soft plastic used in the kit.
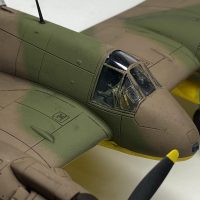
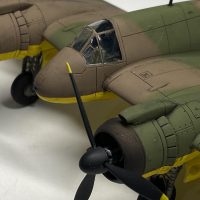
I used an Eduard Zoom photoetch set, as well as their canopy masks. The plane was painted using Tamiya paints. I used the impressive kit decals for most of the markings, and the conversion decals also worked very well. After sealing everything with Tamiya clear, I highlighted the panel lines with Flory Models panel wash. All in all, a fun build. If you are interested in more info, there is a full build in the Work in Progress Group. Cheers, and stay safe.

Nice work, George. That’s one that I never knew existed.
Nice work, George. Looks good. Too bad the kit doesn't provide both oil cooler intakes, instead of just the tropical, since I think the timing of this prototype would have been with the earlier version. No harm, no foul, since it's the kit not the builder.
Makes for a very different looking Beaufighter.
Nicely done George, unusual !
Thanks, everyone.
@j-healy
@tcinla
@Haslam55
@kalamazoo
You made a nice kit look even better...great work George.
Oh. now I want to build one (in 1/48?)...
I love these one off builds.
Very well done.
Thanks, Michael (@michaelt). I normally build in 1/48, but sadly Alley Cat makes this conversion only in 1/72.
An excellent result, after a very enjoyable build sequence, George @ gblair!
Having followed your build, I can say I really enjoyed not only the quality of your work, but also your detailed postings at your build thread.
Well done!
George, what a great job you did. It is a very interesting variation of a really cool aircraft (model) and I like it a LOT!
Very impressive. Sir!
As ysual your builds are well researched and serves you well. Thank you for having many of us along in the work-in-progress GB George (@gblair)
A fantastic result, George @gblair
It was very nice to follow your thread.
Thanks, everyone. I appreciate your kind words.
George @georgeswork
Michael @michaelt
Spiros @fiveten
Jeff @mikegolf
Erik @airbum
John @JohnB
Fantastic build, i did not know that this existed at all.
I like it a lot and all is there, exotic variant, nice paintwork and details, appropriate weathering...
Regards Djordje
Very interesting.
I’m not a pilot but your description is informative.
Thank you.
Beau-travail !
Thanks, Djordje (@djordjestarcevic) and Bernard (@bernardbedeur). I am always on the lookout for either uncommon planes or interesting paint schemes. I also didn't know this existed until I found the conversion kit on the Alley Cat Models website. Cheers.
George, @gblair
I have been following this one as you were building it. I would call this one a "Goldie Locks" build, as it's "just right"...and I mean everything about it looks spot on ! You have built yet another model that would be right at home on a contest table, in a magazine, or in a museum.
Well done my friend. I pressed the "liked" button too.
Stay safe...
Love it - I'm itching to get my hands on that Alley Cat conversion and have a go! Looks great.
Thanks, Louis (@lgardner) and Greg (@gkittinger). I appreciate your kind words.
Nicely done! The plane looks good as a twin tail!
Thanks, Robert (@roofrat). I agree. The Beaufighter looks really cool with twin tails.
Nicely done George, never knew this concept A/C existed. Looks good with a twin tail and your paint job is excellent as well.
Thanks, Tom (@tom-bebout).
@gblair Did you used paint mask for camo on upper surfaces?
Hi, @lis. I did the camo freehand using Tamiya paint diluted with lots of thinner (about 60% thinner). I set my compressor at about 15 psi. You have to keep the airbrush moving to prevent runs from the thin paint. I read an article recently that said you could mix some clear paint with your camo color and then use less thinner, which in theory should give you more control. I haven't tried it yet because I haven't really had any trouble spraying the really thin paint. I will keep the other technique in my pocket in case of trouble in the future. I am not very comfortable doing camo like this freehand. In most cases, I will make masks out of either tape or paper.
Very great result! Sometime heavy masking could be frustrating, and needs kilometers of masking tape.