1/72 Hobbycraft RCAF CF-105 Avro Arrows Completed August 2013
2 x Hobbycraft 1/72 scale
CF-105 Arrows
by Don Weixl
Note: This article first appeared in Hyperscale back in 2013.
Introduction
Canadian aviation fans have a fascination with the Avro CF-105 Arrow. The Arrow was a large twin engine interceptor built in Toronto in the 1950's and cancelled after 5 prototypes flew. The Canadian aviation industry took a long time to recover from the cancellation of what some might describe as an overly ambitious project. It included an all new airframe, engine and weapons control system. It is a shame that the 5 operational prototypes were cut up for scrap and that the first Mk2 version, with the very powerful Orenda Iroquois engine, never flew, although it was very close to completion at the time of cancellation.
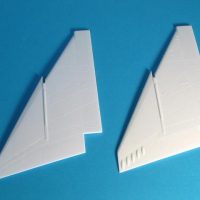
Hobbycraft Canada released a 1/72 scale (some describe it as closer to 1/78 scale) injection moulded kit in the 1980s. The first version can be identified by having the aileron actuator fairings (blisters) on top of the wing instead of on the bottom. The second version corrected the wing and had better decals, although the decals were still not very accurate . A third version was released in 2012 and has been upgraded with a more accurate fuselage length and improved intake and canopy profiles. The new kit also has a different version of the afterburner cans that was found on most Arrow prototypes. The 2012 version also has a more accurate front landing gear strut and nose shape.
Construction
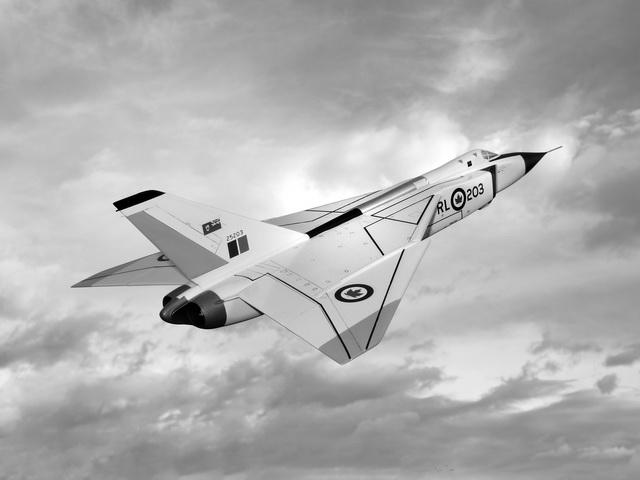
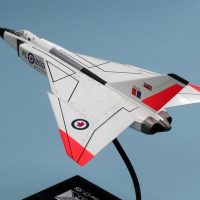
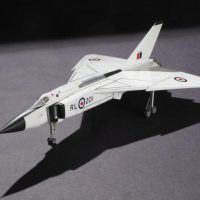
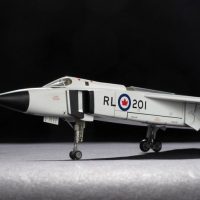
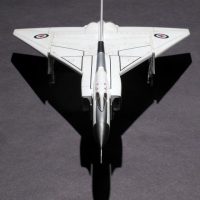
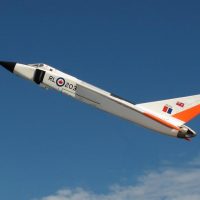
I built versions 1 and 2 of the Hobbycraft kit at the same time. It took me over 10 years of off and on work. It was very easy to lose motivation while working on such sketchy kits. I understand now why you rarely see close up photos of Arrow models...the detail is just not there. I built one Arrow with the wheels up (RL203) and one with wheels down (RL201). I corrected the upside down wing on RL201 by sawing off the ailerons and flipping them over. Because the kit's landing gear and wheels are so crude, you might consider building an "in flight" version to save aggravation. In my opinion, the Arrow is one of those airplanes that looks much better in flight than on the ground.
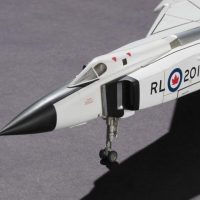
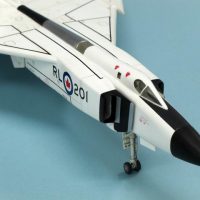
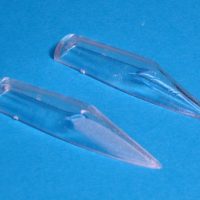
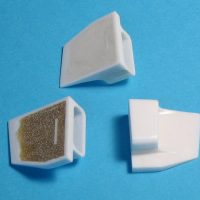
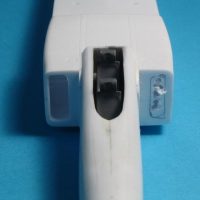
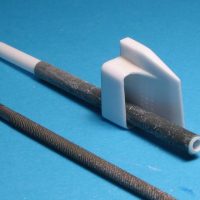
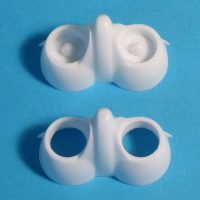
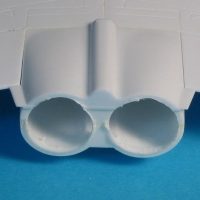
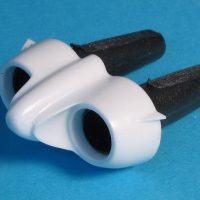
Some construction notes: You will have to deal with a large seam running the full length of the fuselage. I recommend avoiding putty and fill the gap with either ACC super glue or liquid plastic. You can make liquid plastic by dropping small pieces of styrene into a small bottle of liquid cement. This way you will have a chance to re-scribe the panels lines that cross the seam in several places. If you use putty, the chances of getting a nice scribed line is low as it will chunk out when scribed...believe me.. I learned the hard way. The intakes are overly square when looking at them from the front. I was able to round the corners a bit using a file and sandpaper glued to a rod. The back (the side that faces the fuselage) of the intake is hollow. I filled it in with putty on one kit and resin on the other. To give the impression of a longer intake trunk, I cut out the bulkhead behind the intakes and the afterburners to give more depth to the openings. The afterburner that comes with the kit has what appears to be detail from the front of a jet engine, not the back. I cut away the detail to create a hole that I backed up with the ends of 2 ballpoint pens on RL201. The canopy that comes with the first 2 versions of the kit is also a "fail". It fails to capture the very angular front part of the Arrow's windscreen. I attempted to improve the shape by filing the canopy to more of a wedge shape. I should have been more aggressive with the file, as it is still too rounded. I polished out the file marks using progressively finer grits of sand paper and nail emery boards, followed by a toothpaste polish and Future floor acrylic dip. The shape of the unique canopy side windows in tricky to capture. I photocopied plans from the Boston Mills Arrow book to 1/72 size and used them to cut out a mask from Tamiya masking tape.
I replaced the kits wheels on RL201 with spares from 2 Phantom kits. They are a little thick compared to the thin Arrow wheels, but are much better than the kit wheels that are very toy like. I tried to make the landing gear a bit more realistic by slimming down the components and adding extra struts where applicable. The Boston Mills Arrow book has good photos of the very complex landing gear. I used Baremetal foil to replicate the shiny shock areas of the struts.
Painting and Markings
Painting gloss white is tricky . After several attempts, I was finally able to get a decent bright gloss white finish using Rust-Oleum Painters Touch white primer decanted and shot through my Paasche H airbrush.
The finish coat was airbrushed Tamiya gloss white thinned with rubbing alcohol. I was concerned about yellowing of a white finish, so I did not use any clear coats. The decals are a combination of decals from my collection including old Sabre decals, Leading Edge and others. I was too cheap to buy the new Arrow decal sheet from WinterValley which looks pretty nice. I made the unique black walkway striping from carefully cutting Microscale black trim decal stock. The fluorescent orange on RL203 is Humbrol 205. It came out a little too intense for my taste. Next time I will airbrush a little less fluorescent orange to reduce the saturation. I learned that airbrushing fluorescent matt is much easier than airbrushing fluorescent gloss. The gloss does not want to adhere to edges or any sharp detail. I used a sludge wash to accentuate the panel lines on RL-203 and artist's oil paint thinned with lighter fluid on RL201. After comparing the two different methods of panel washes, the winner is the sludge wash!
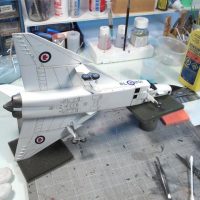
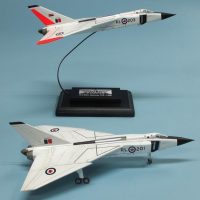
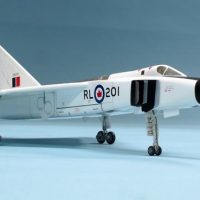
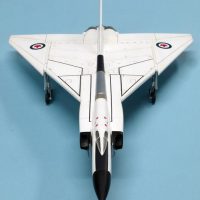
VERY nice builds Don.
Brave canopy work and a fantastic finish on both kits with great mods to the intakes and exhaust. Nice finish with the white too! I've had HC1392 sitting partially completed on my shelf for over a decade now and I always wondered how to fix the ailerons and it never occurred to me to flip them over 🙂
Thanks for posting!
I also snapped some Arrow canopy windshield photos at the Canadian Warplane Heritage Museum when I was there last.
2 attached images. Click to enlarge.
Thanks for the comments George. I am now kicking myself for not picking up the revised Hobbycraft Arrow kit when it was available. I never saw the sprues so I wonder how much of an improvement it was. The Arrow's windscreen design was similar to the F-102 and F-106. I wonder how the pilot's visibility was straight ahead?
Superb builds, Don.
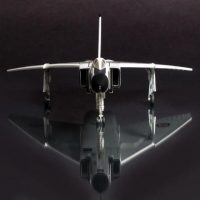
Really like that image where it is being the plane is being mirrored.
Thanks John. To get that mirrored effect I placed a sheet of glass over a piece of black bristol board (carboard) on top of a small table. I also had a black background attached to the far wall.
Amazing builds, Don @donweixl, on those quite crude kits!
I love the Arrow, there'squite an interesting story behind its cancellation...
It is a very beloved plane.
I' ve built the equally crude quarterscale Hobbycraft kit many years ago, finished as RL201.
I am so tempted to dust it off and do a presentation here...
Well done on your duo!
Thanks Spiros. As I remember it was a bit of a struggle to finish these builds, but I was motivated at the time. Areas of the kit are actually pretty good (the top of the wings have nice fine recessed panel lines) but other areas are total stinkersville.?
This is one of my favorite aircraft of the Cold War era. The politics behind the Arrow's cancellation is a well known fact. The short sighted Diefenbaker government robbed Canada of one of its greatest achievements! I have the Hobbycraft 1/48 CF 105 with all the resin upgrade sets I could get for that kit. Problem with the resin undercarriage is that it is very flimsy and won't support the kit. That fact alone deterred me from finishing the kit. Maybe I should give this old shelf of doom project up and running in 2021. Don your Arrow is a work of art. Well done!
Please do build your Arrow, Morne @mornem!
I might be inspired and "improve" mine too!
Happy new Year!
Good day my friend. May 2021 be an awesome year for you and all our fellow modelers at iModeler. I started the model 12 years ago and never came around to get going with it. I think it's high time to get my Arrow built! She is one awesome looking machine!
Thanks Morne. A 1/48th scale Arrow would be a beast! Maybe you could build a stand depicting the aircraft taking off or landing with gear still down to take the weight off the fragile landing gear...or build it gear up and hang the aircraft from the ceiling, LOL.
Great Arrows! Such a cool looking aircraft.
Thanks Greg. I wonder what they would have looked like in operation? All white or some other paint scheme...
There is speculation or wishful thinking that the Arrow will be resurrected updated and modernized to meet Canada's needs after the Hornets have been retired. The F-35 has short legs and the Arrow was built to go long distances give the geography of the nation. A F-35 would need tankers or have to make several pit stops for fuel.
I am reminded of Northrop's XB-49 the flying wing it too was an aircraft ahead of its time and was given to the cutters torch. Not one airframe was saved for Pima or the Smithsonian. The Arrow had the same fate . . . being sacrificed for leased F-101's and few dollars.
Great looking model Don. You've captured the Elan of the kit and it's subject.
Thank you for the kind words Stephen. It was a real shame that we never go to see what the Iroquois powered Arrow could do performance wise.
Nice!