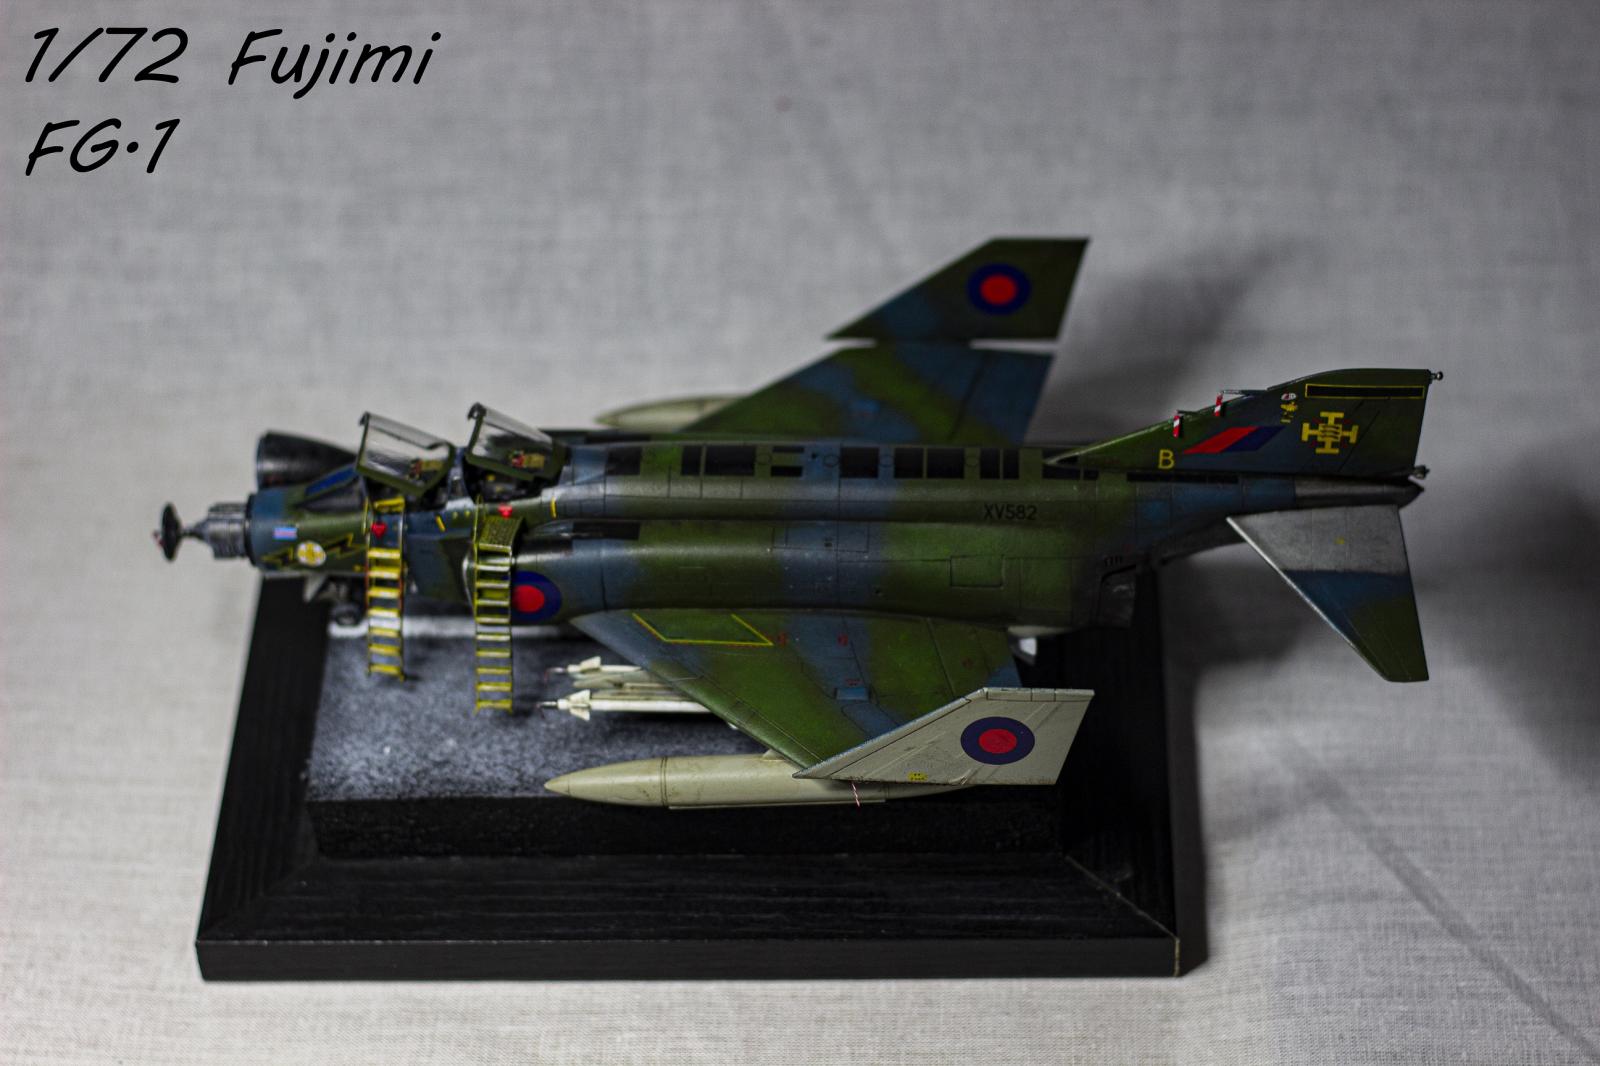
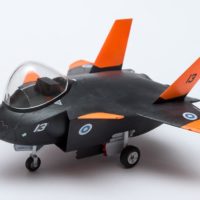
1/72 Fujimi Fg.1

I bought this ancient model from Fujimi on some scale modelling contest some years ago. I wasn’t satisfied with decals OOB so I bought XTRA Decals and stencils for British Fg.1 and Fg.2.
This is Royal Edition of Fujimi’s 1/72 Fg.1, it comes with some white metal parts for landing gear, rubber tires, photoetch and, of course plastic. Fujimi started this line in 1984, but this particular model is from 1988. It is very easy to assemble and, we can surely say, spartan in details. Anyway, if we think that this is the model which is my generation this is very good model. Assembly is easy, without any troubles at all.
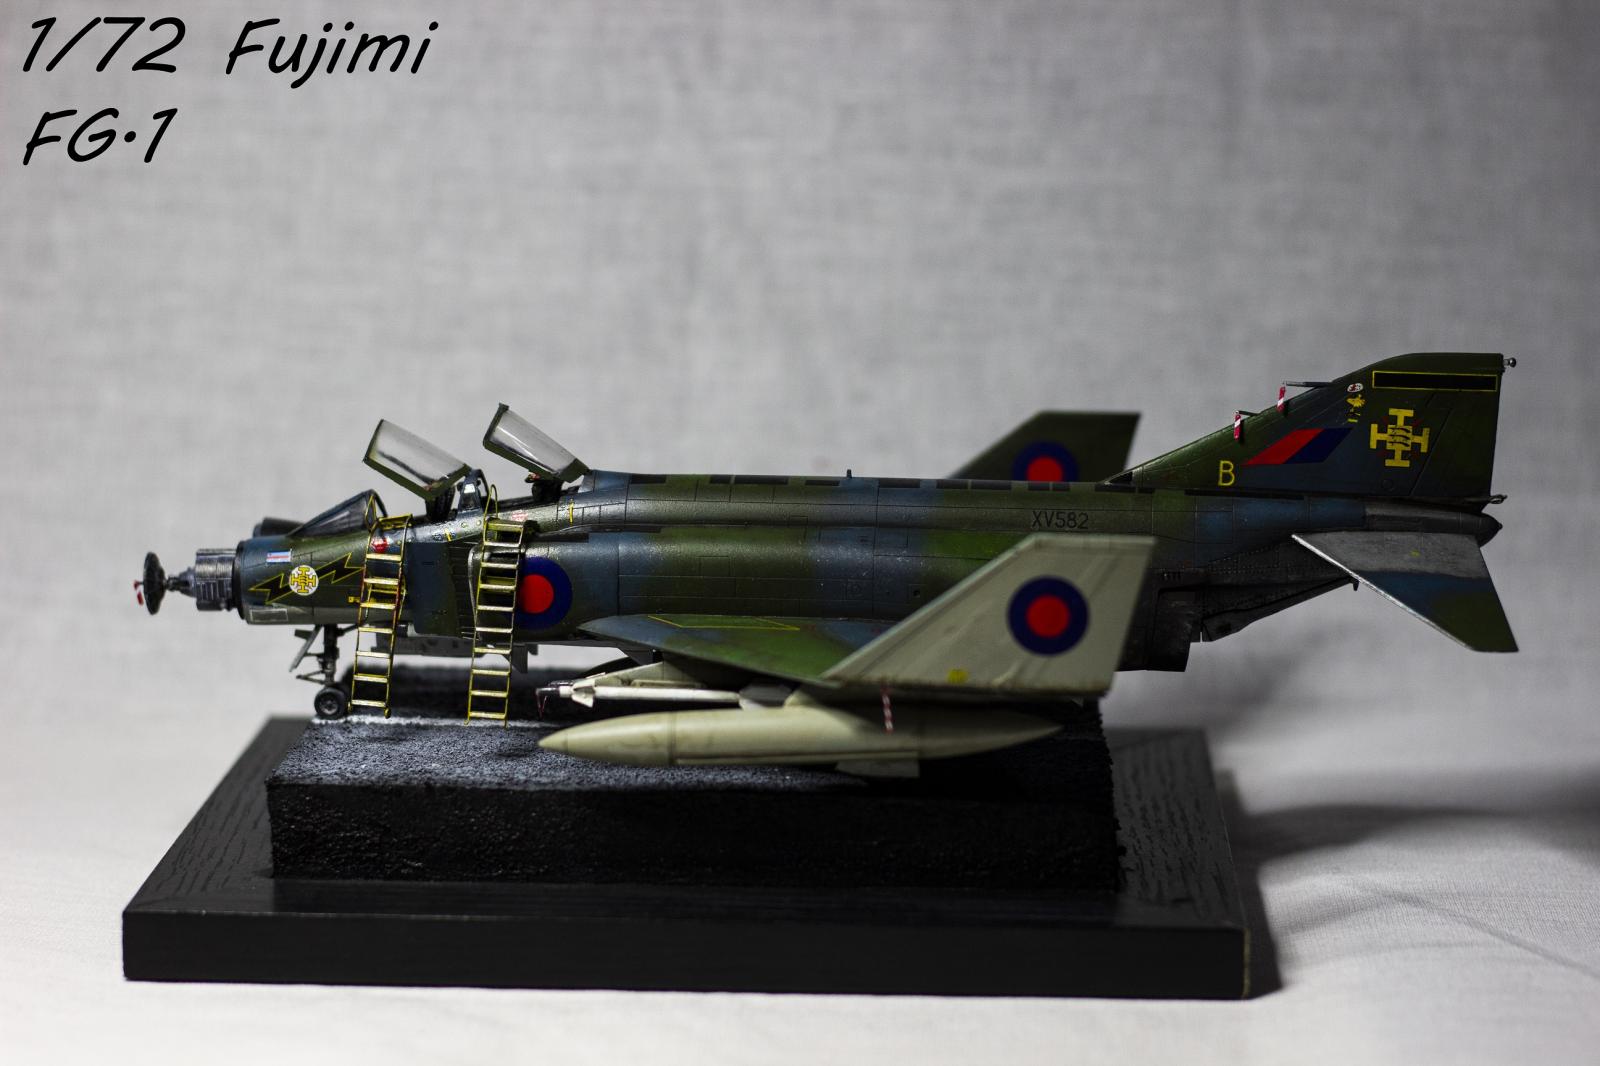
This would be easy task, but I decided to make it a little bit complex. I cut wings, nose cone, restructured cockpit, added ladders, radar… I thought that it would be nice to make it like it is ready for inspection before flight mission.
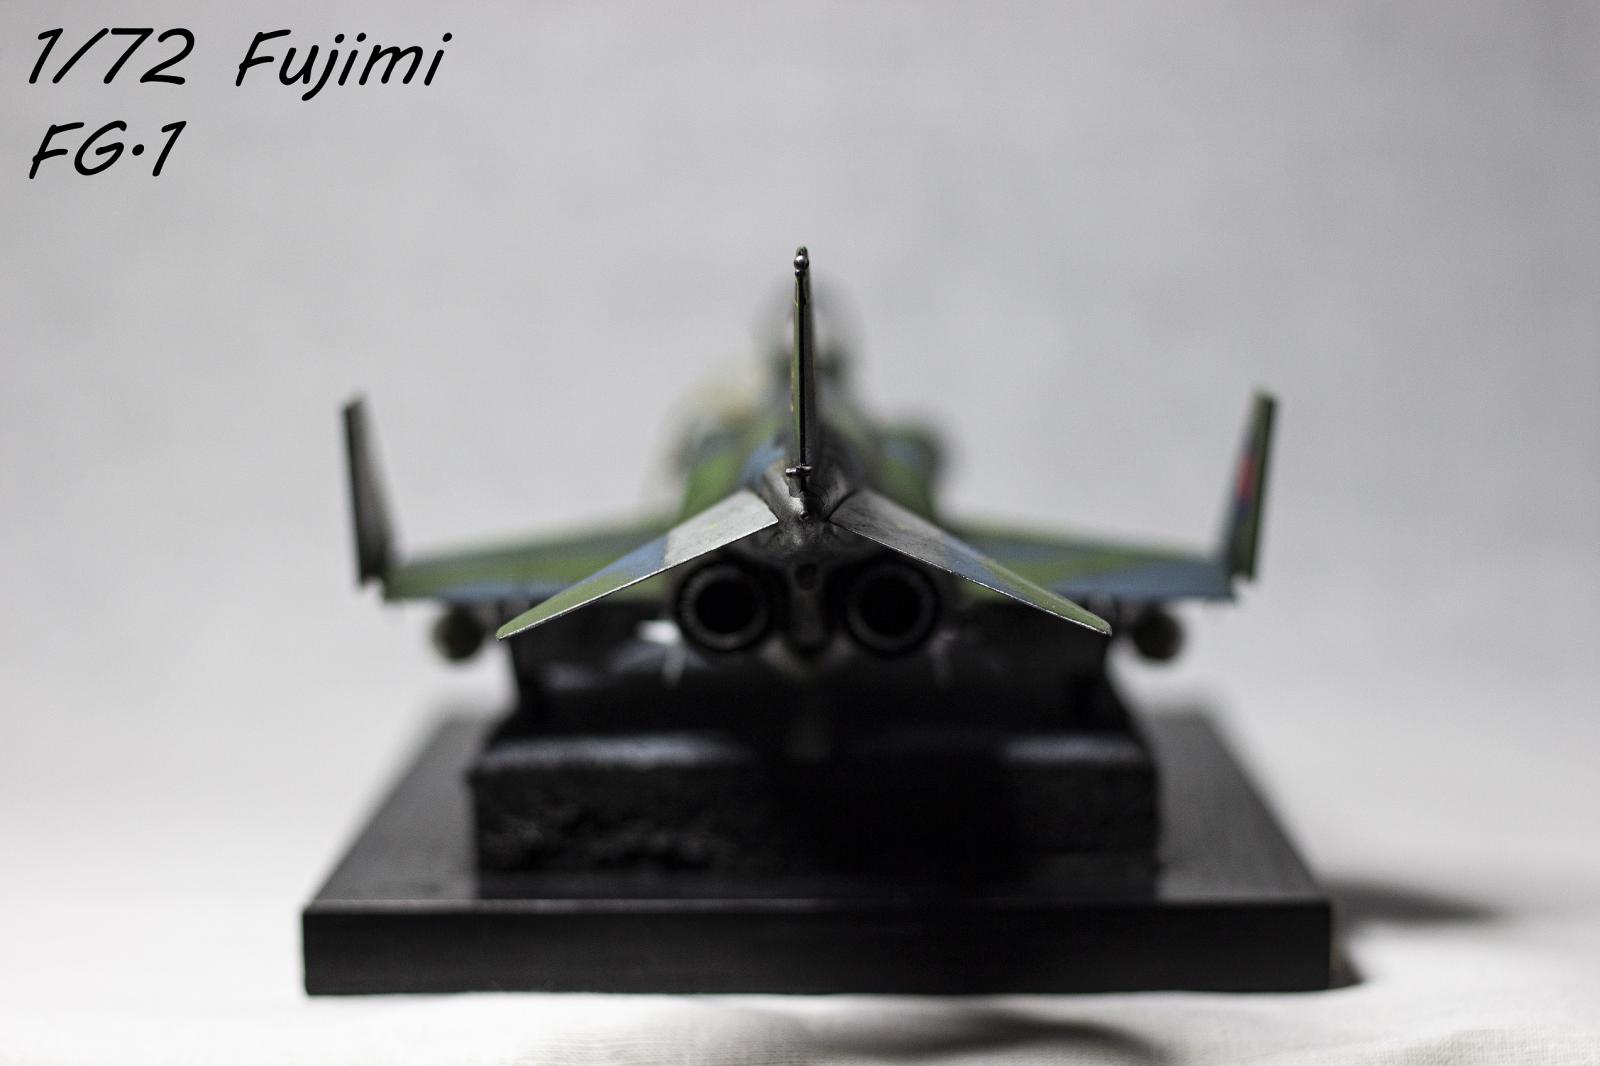
I hace cut wings with precise saw. I used wing tips from Airfix Fg.1 kit which I made some time ago. I did a little bit of surgery and made them folded.
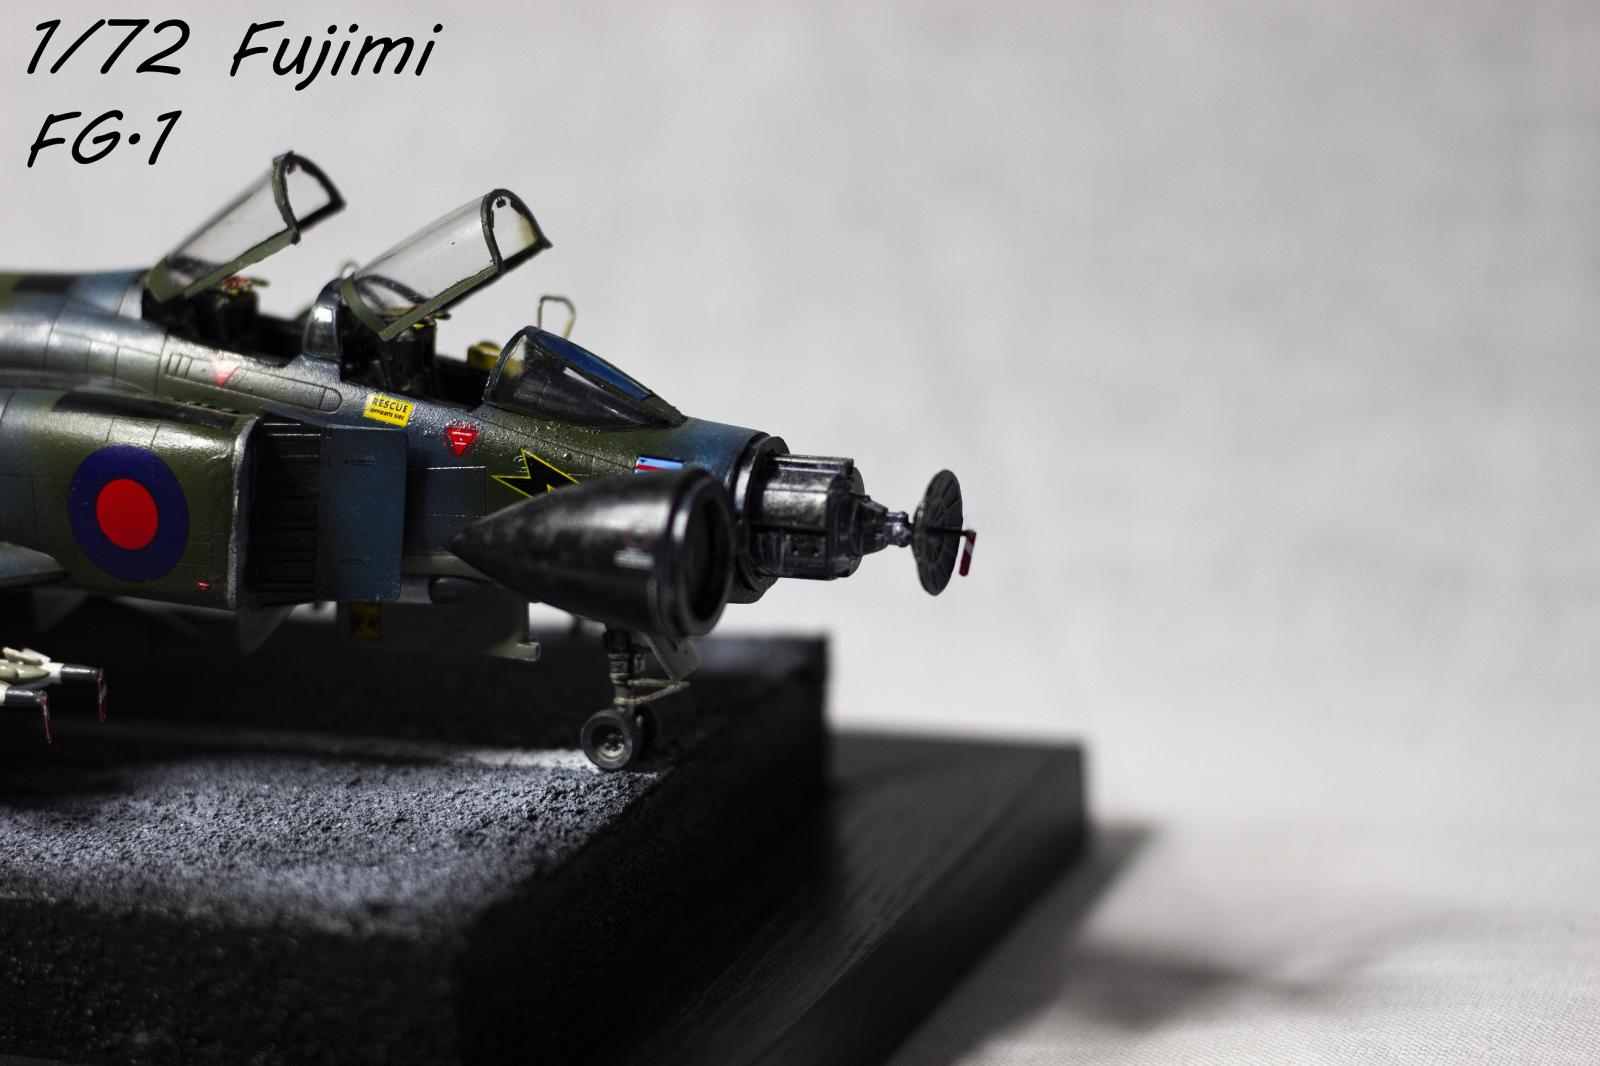
Then I cut the noce in correct position and took parts from same Airfix kit for radar, I did some scratch and assembled the open nose.
Cockpit is also a little bit redesigned. I added parts on seats from scratch and did some painting on instruments instead of adding decals.
Also, I made pe ladders from David J. Parkins PE set. I almost lost my eyes…
Landing gear is made from white metal and it is very spartan in details.
After assembly I have painted the model with my own mix of acrylic paints (Yes, I used acrylics after looong time).
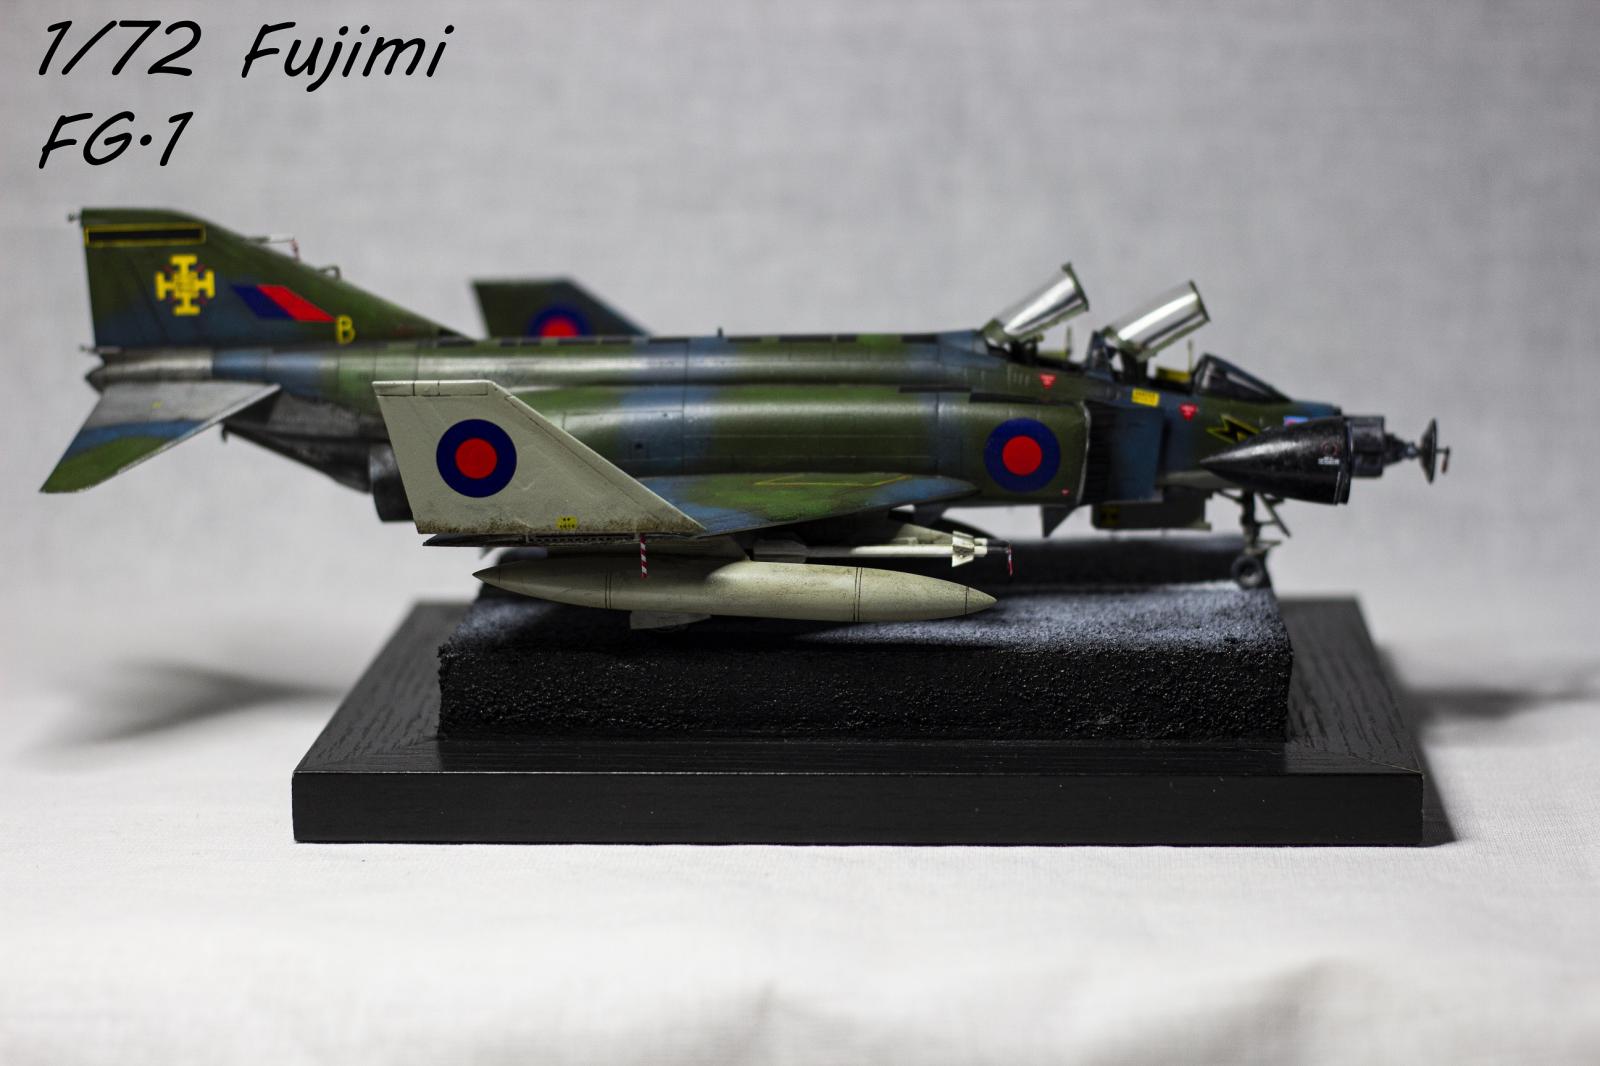
I was in doubt about paint scheme. I was thinking between RAF Mount Pleasant Falkland Islands, because it has beuatiful Maltese Cross, but paint scheme is very dull because I decided to do a little bit of weathering. Other option was Fg.1 XV582 “B” from RAF Leuchars Scotland from mid 1970. It had three color scheme so I did that one.
I did paint job freehand with H&S Infinity, weathering is done with Abteilung 502 oils. I decided not to overdo the weathering so I did very subtle weathering.
Finally I have added Remove Before Flight tags from PE.
So, this is my final product, It is a little bit shinny because of light inside the box, in nature is much more matt.
Cheers, feel free to comment and stay safe!

Really nice work on this.
Thanks for the great argument in favor of the Airfix Brit Phantoms. 🙂
Thank You Tom!
Airfix Fg.1 and Fg.2 family in 1/72 scale is real gem. I did Fg.1 and I didn't had any troublke at all. It is full with details, easy to assemble, Cartograf decals... Fujimi is great for beginners and for experimenting.
Very nice, Djordje.
You did a lot of extras to this old kit and you did that very well.
Thank You John, if I didn't make all these scratching, it would be pretty dull model and very easy to assemble 🙂
Amazing amount of work to this old kit, and in 1/72 as well. I don't think your photographs really do it justice.
Thank You George, I had some unnatural lightning inside the box during the photo session. But I didn't had patience to wait for the sunlight because of winter and the lack of true sunlight.
Amazing job, Djordje @sheol! Love all the extra work you've done.
i love the British Phantoms, they look so cool!
Really want to model one someday.
Thank You Spiros!
It is shame that model itself doesn't have deatails 🙂
Panels are so shallow.
Phantastic Phantom, Nice display base as well!
Thank You Robert !
Base is made from blue styrofoam, it is a little bit small, but it serve a purpose 🙂
Excellent! I have several of these old Fujimi F-4's in my stash, and you've shown they can be make to look the part with just a little elbow grease! Great build!