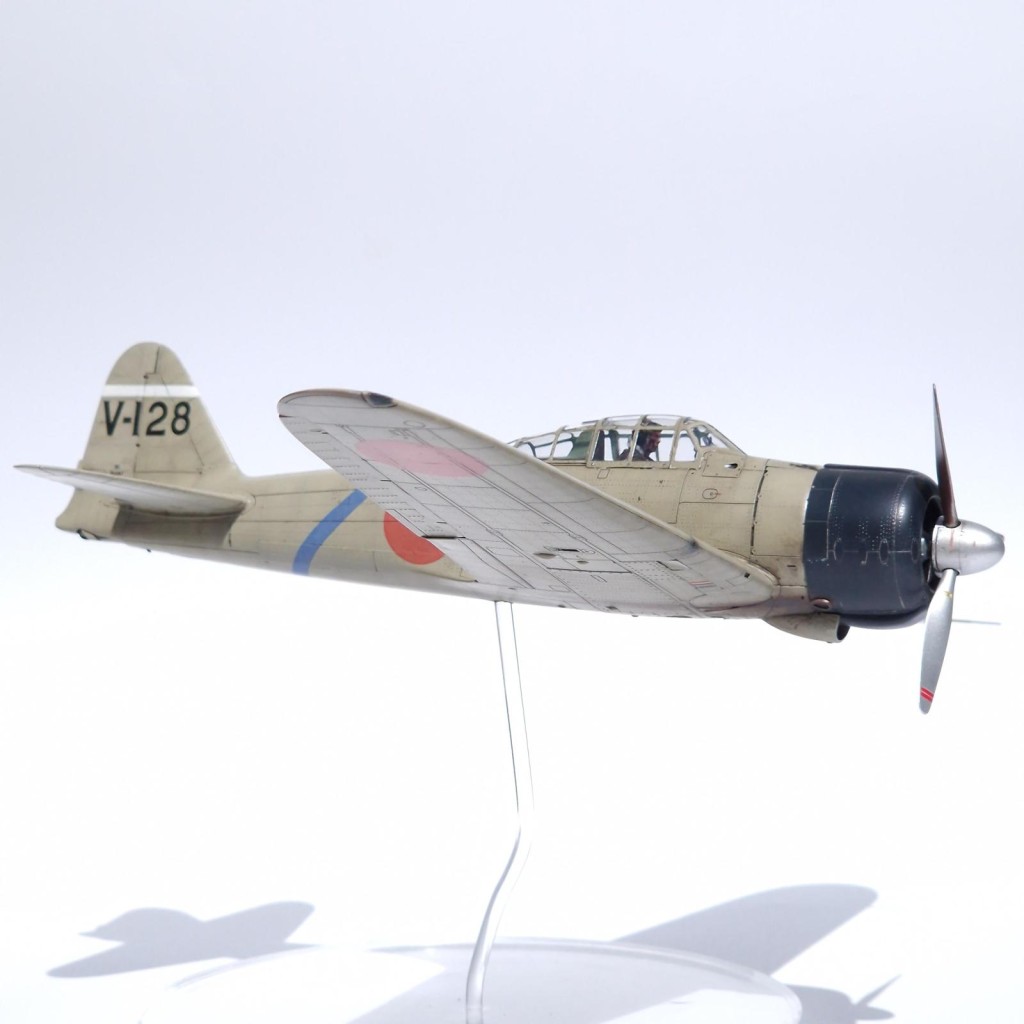
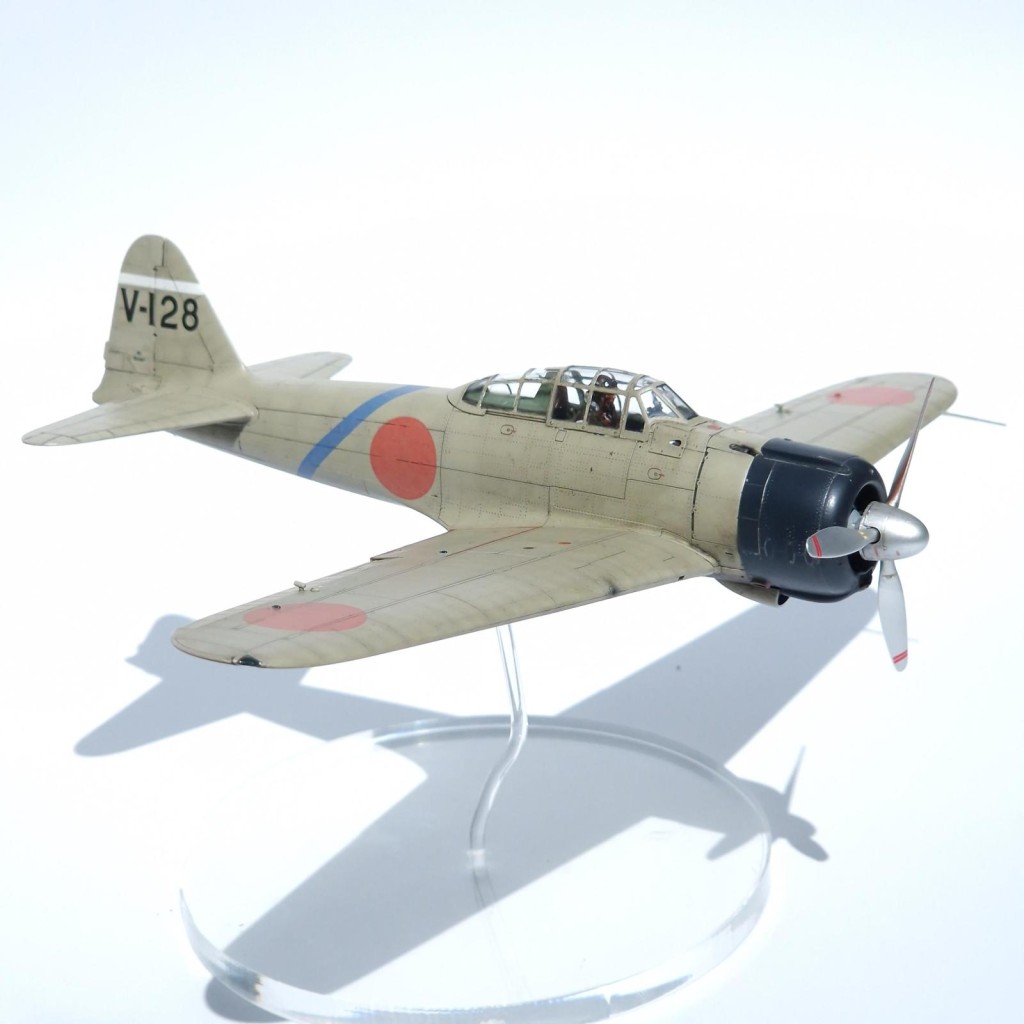
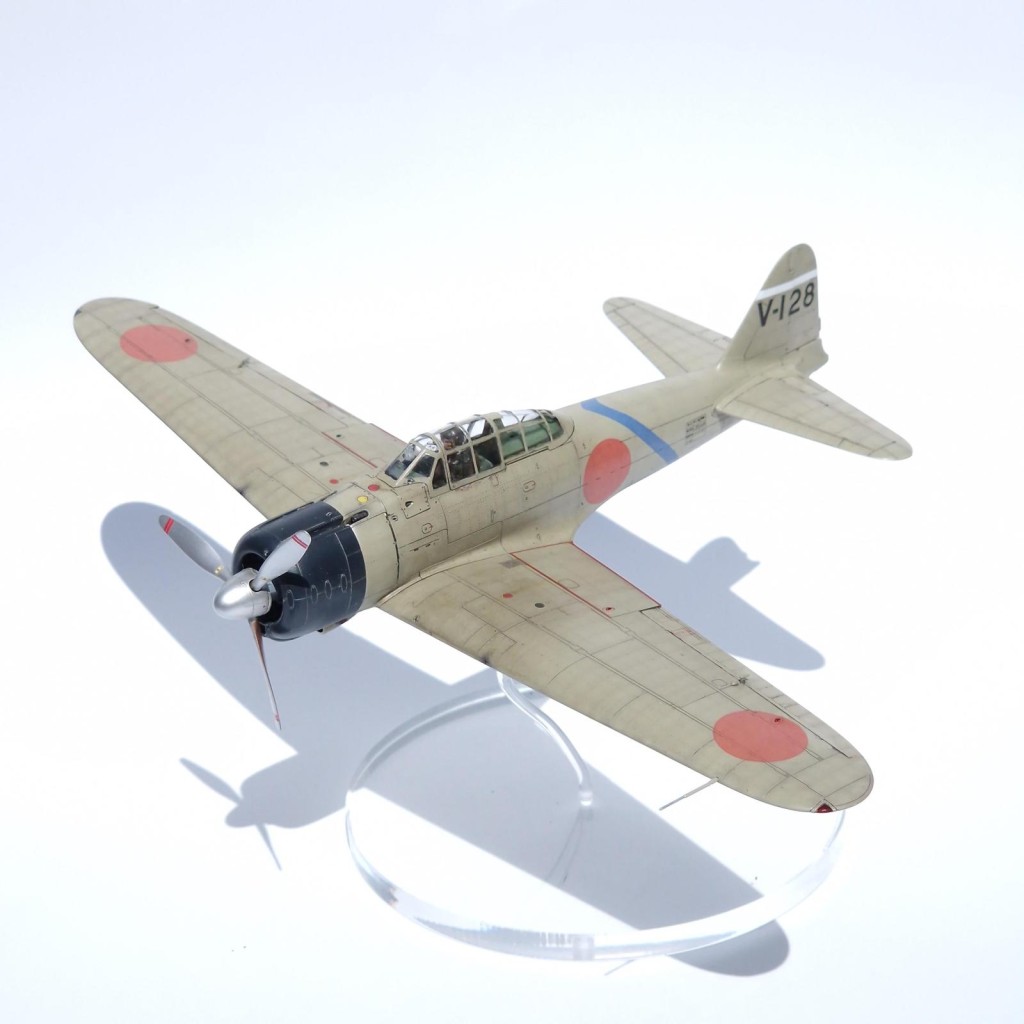
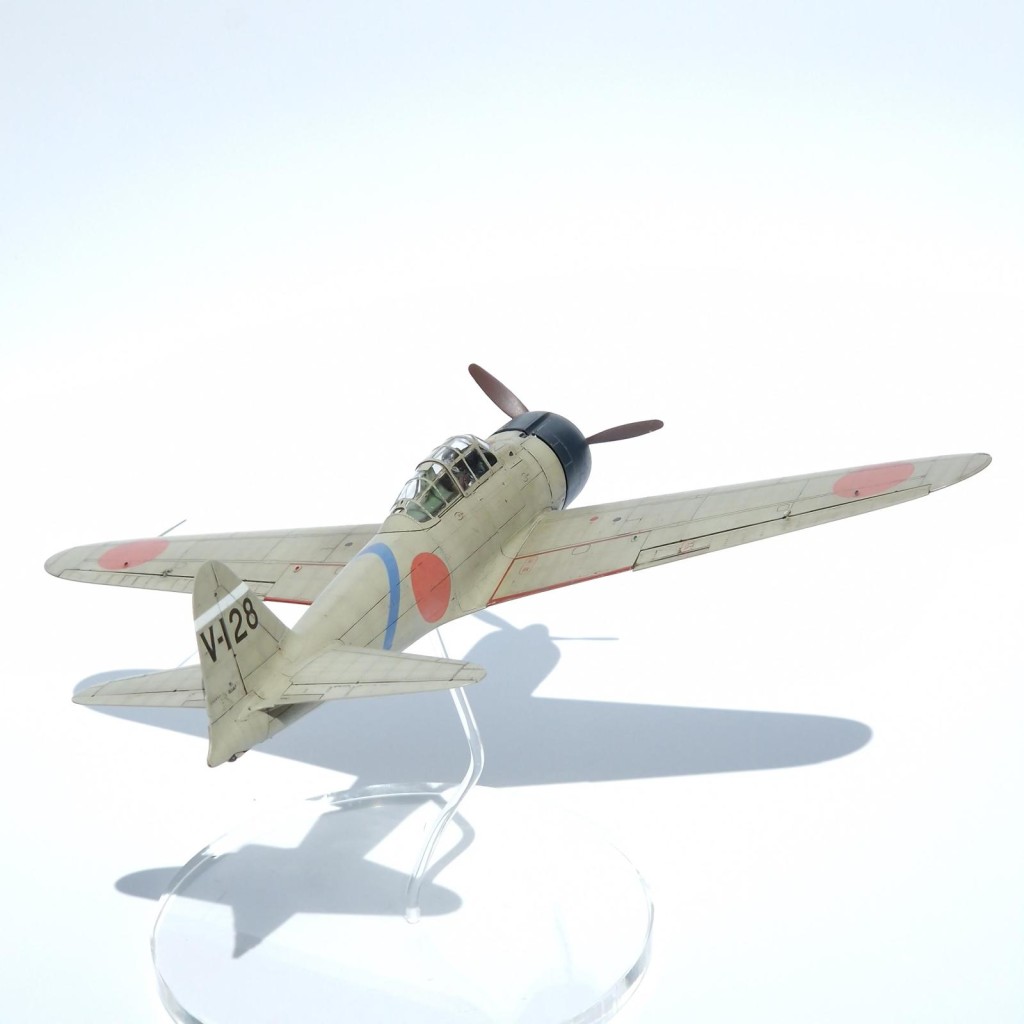
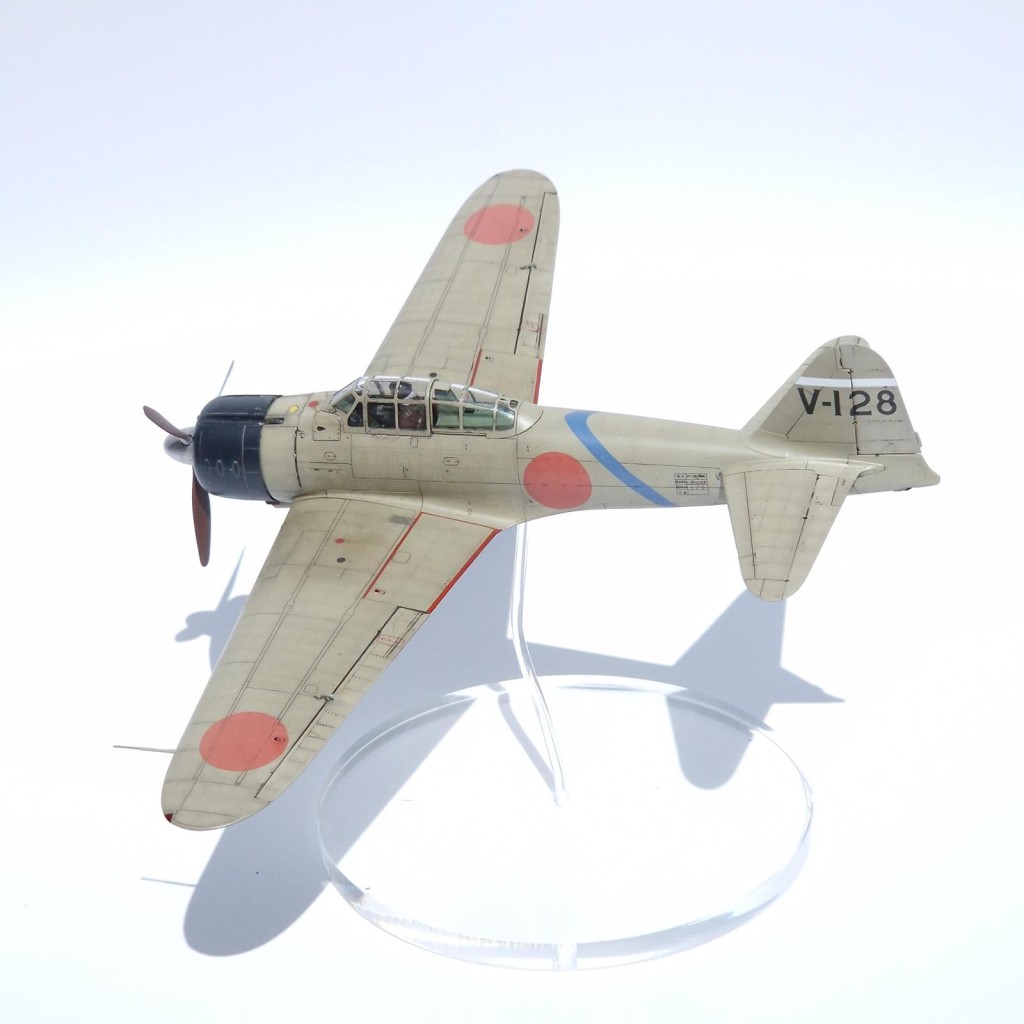
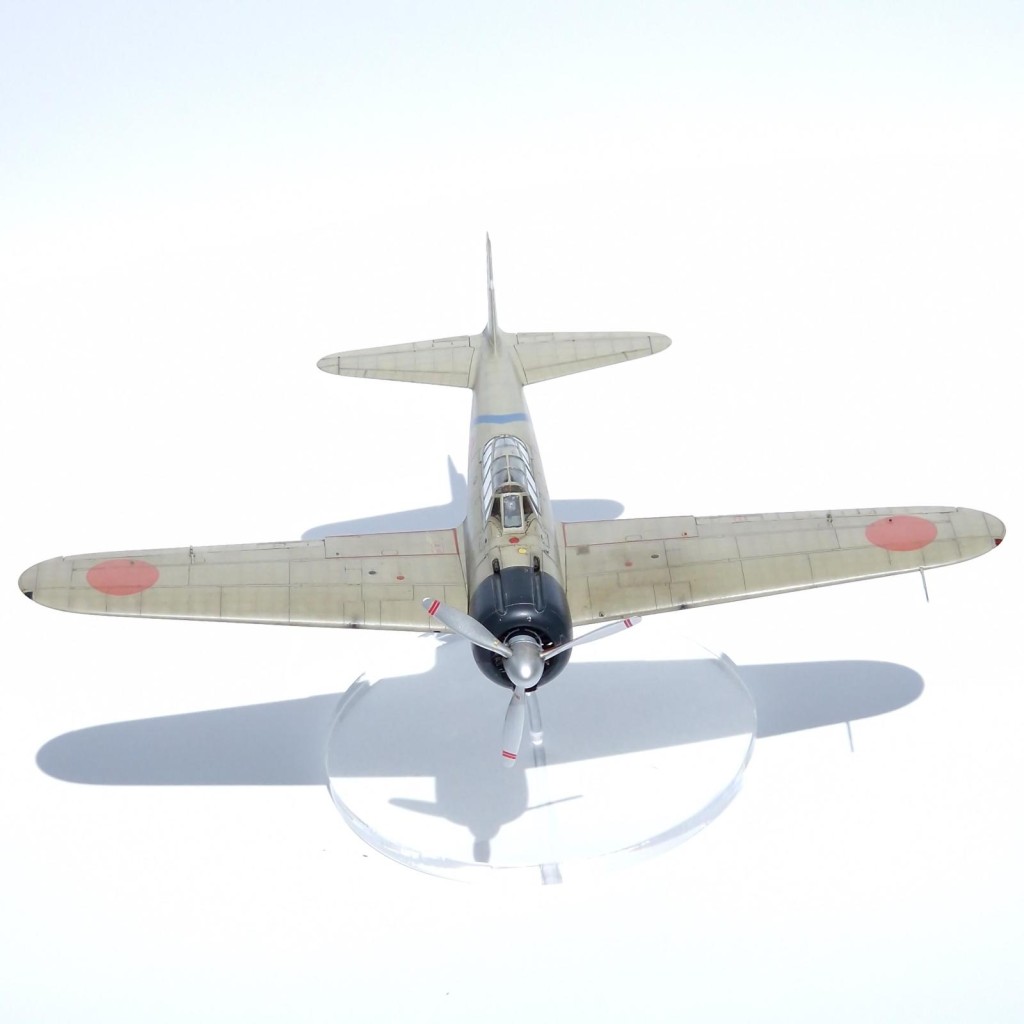
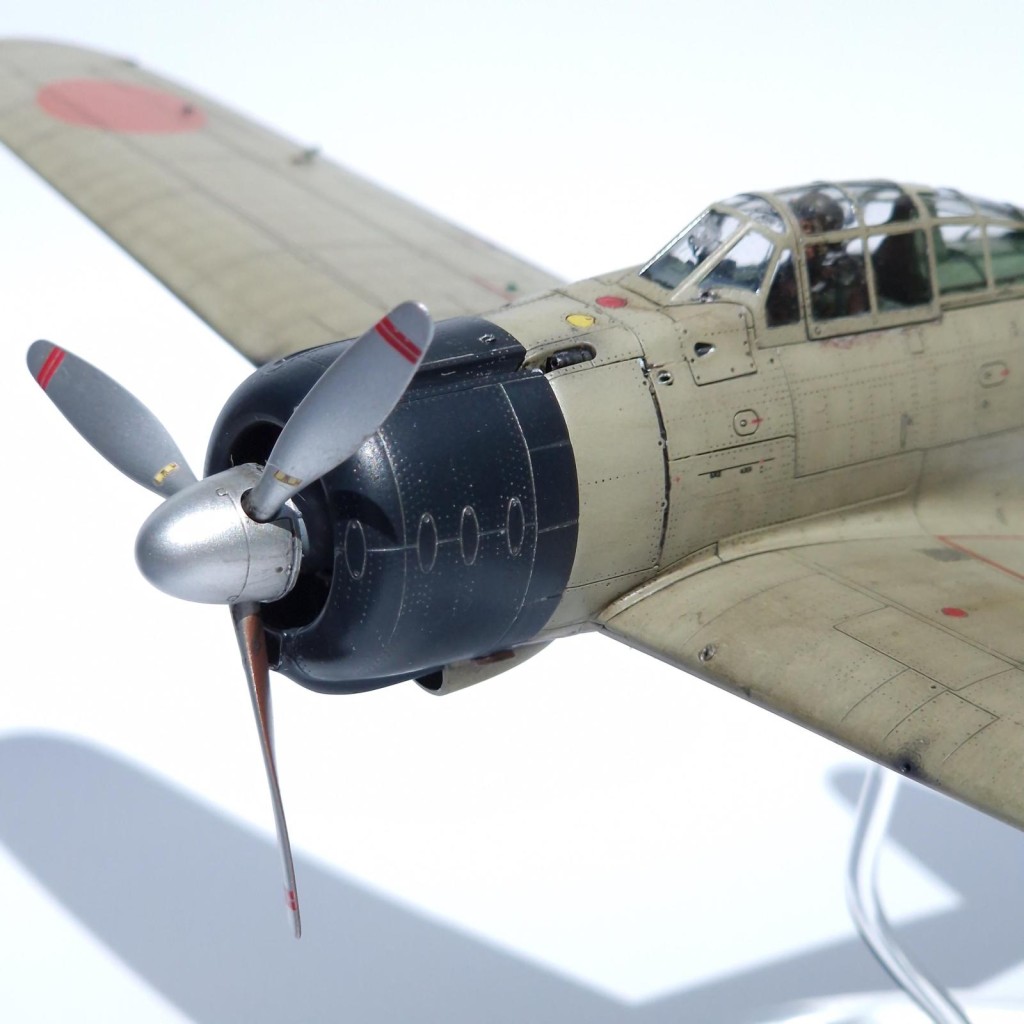
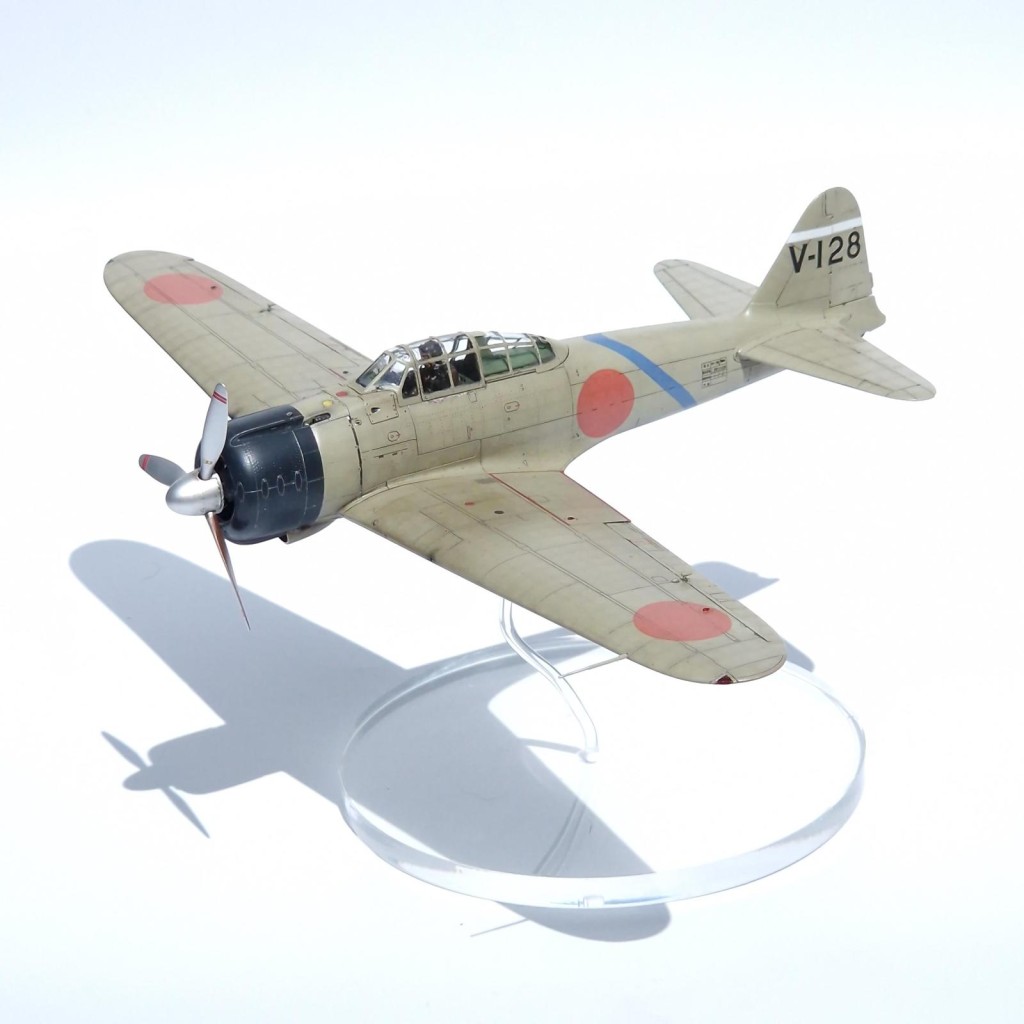
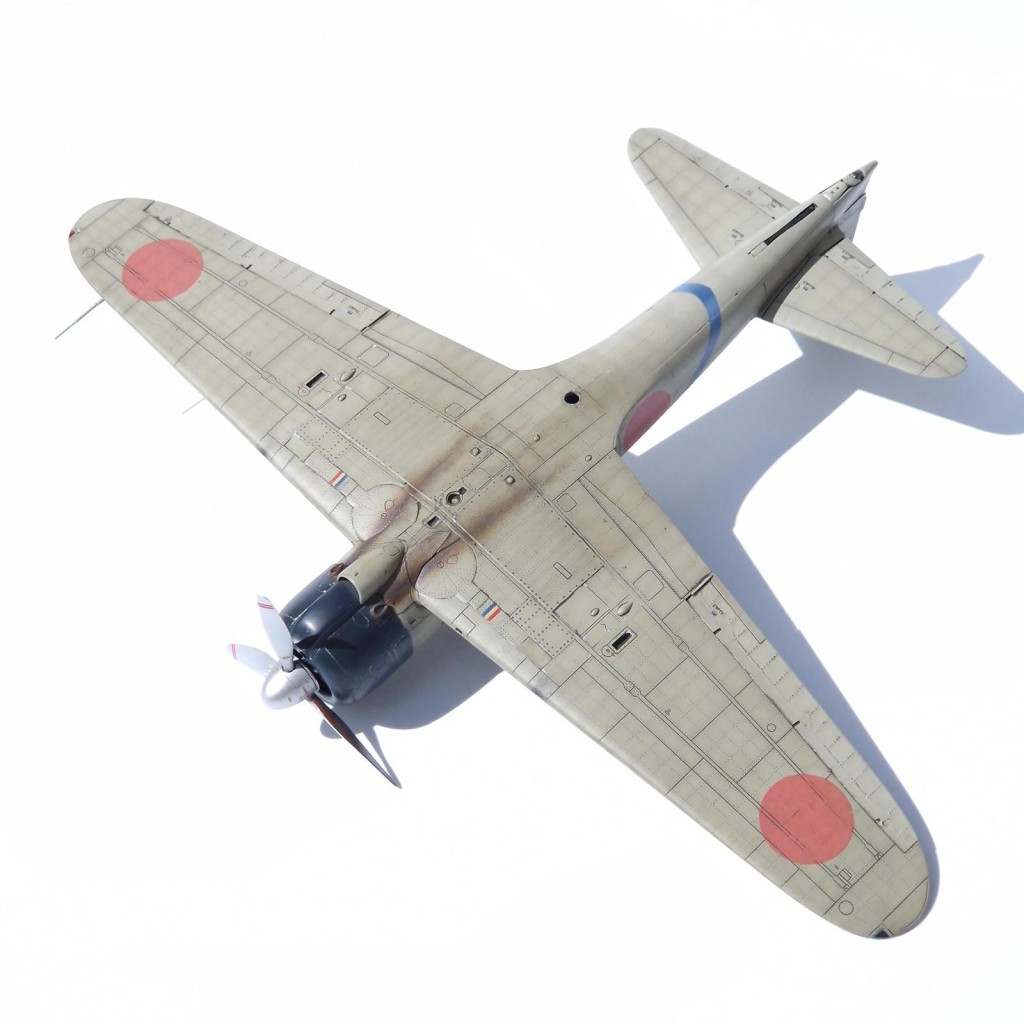
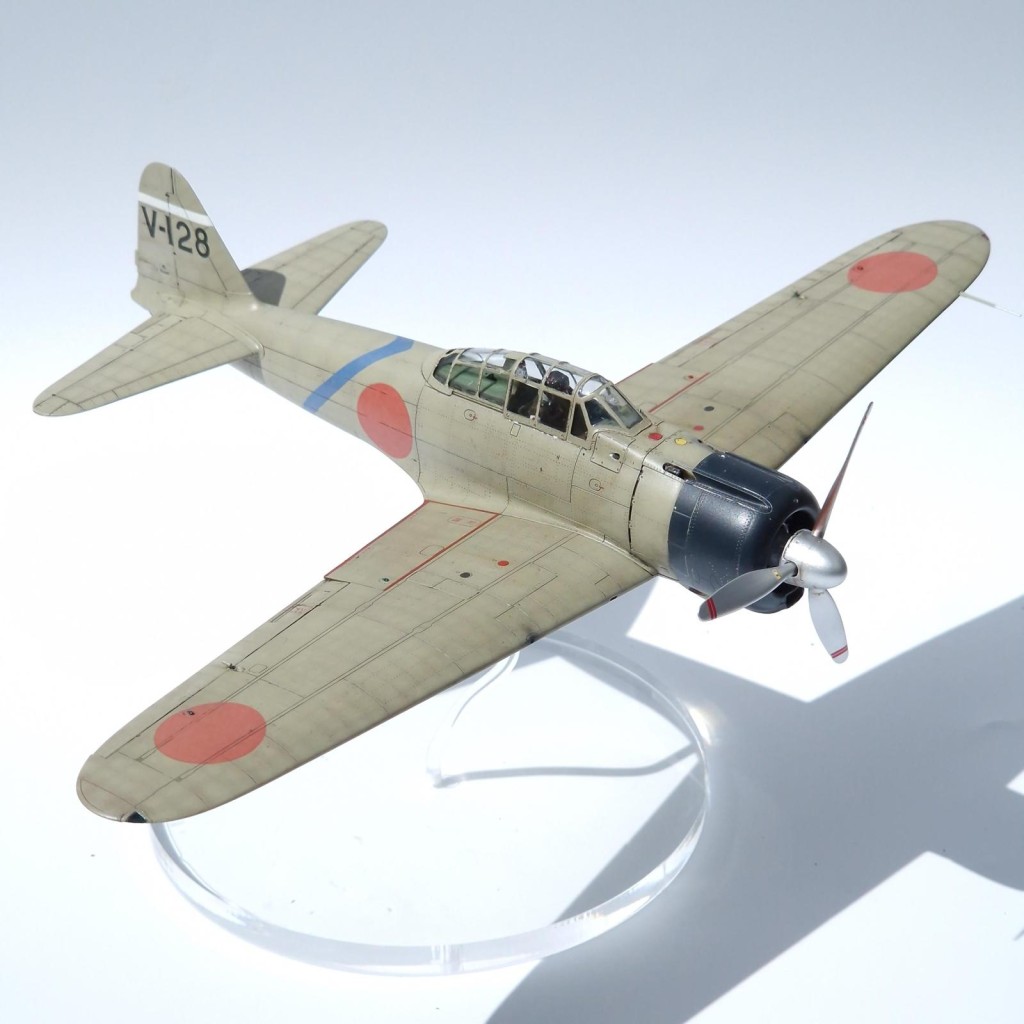
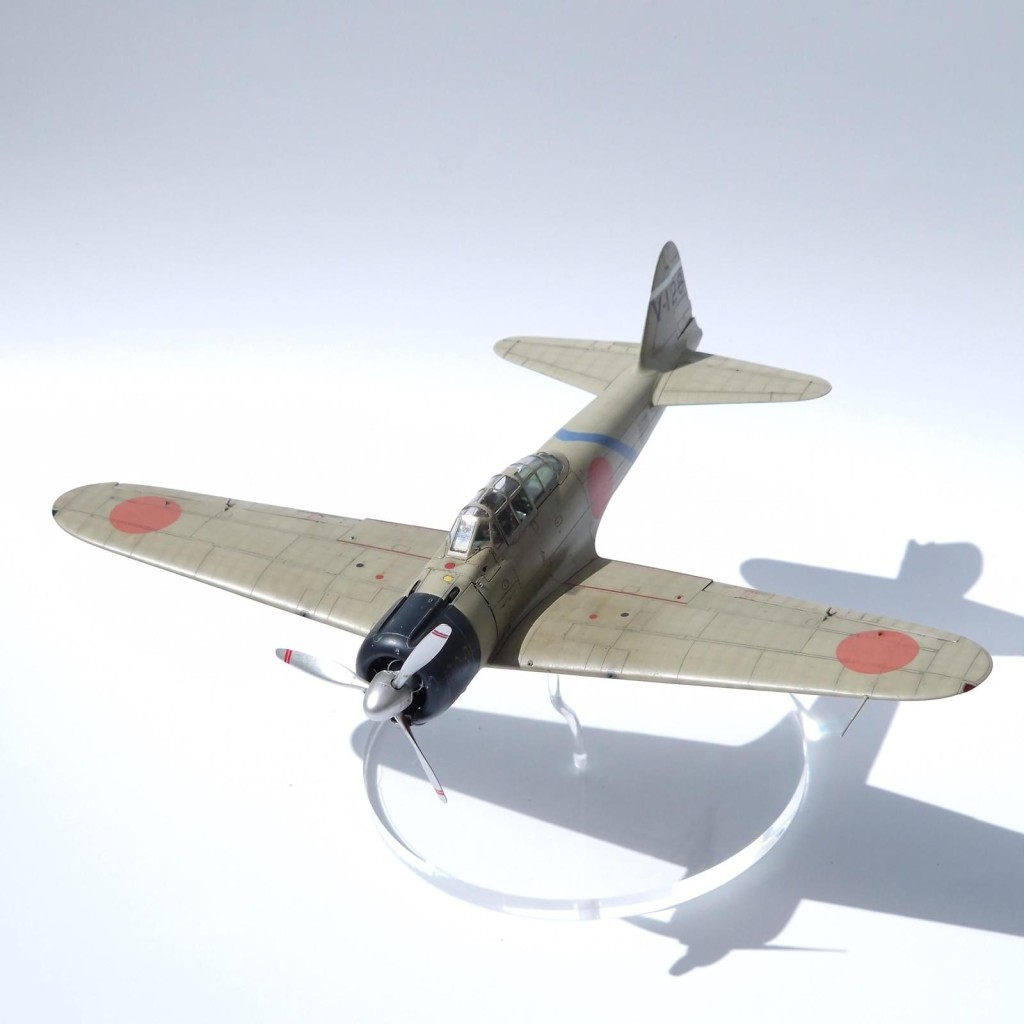
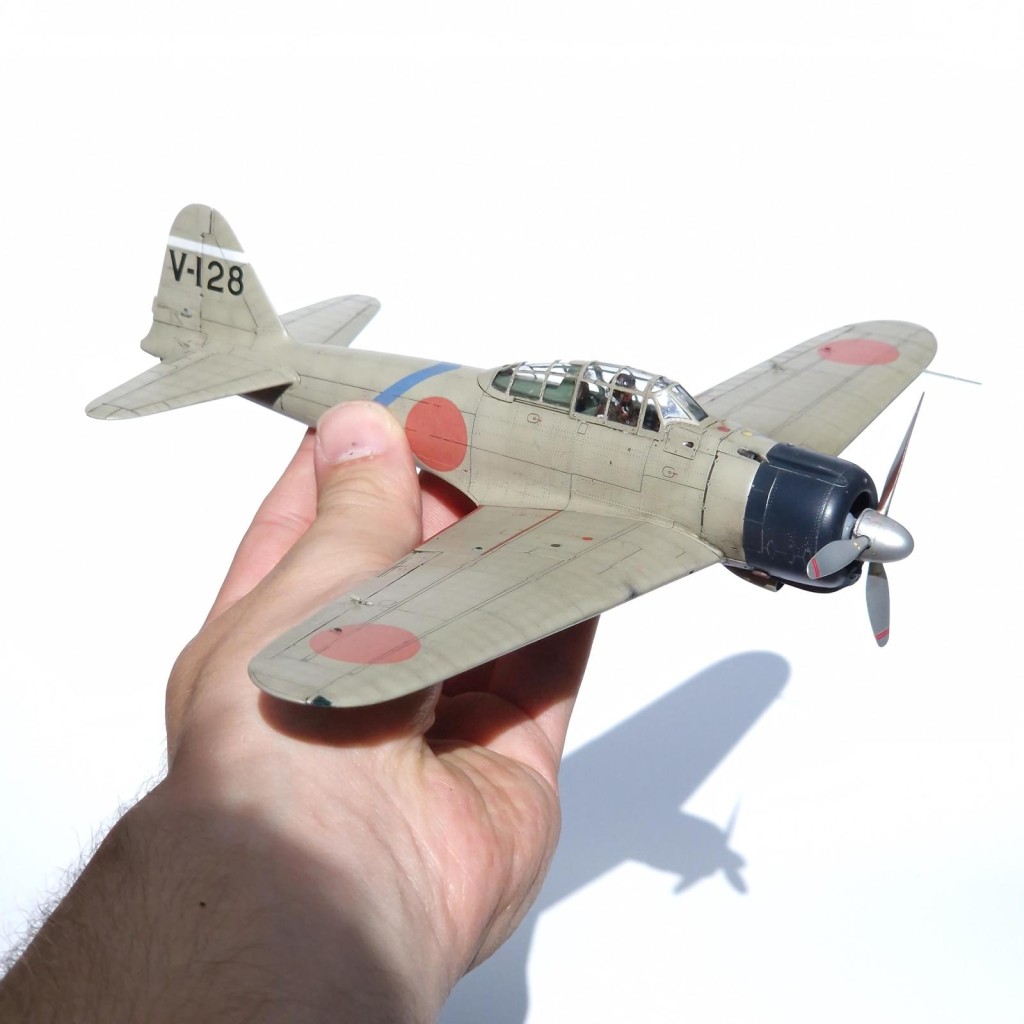
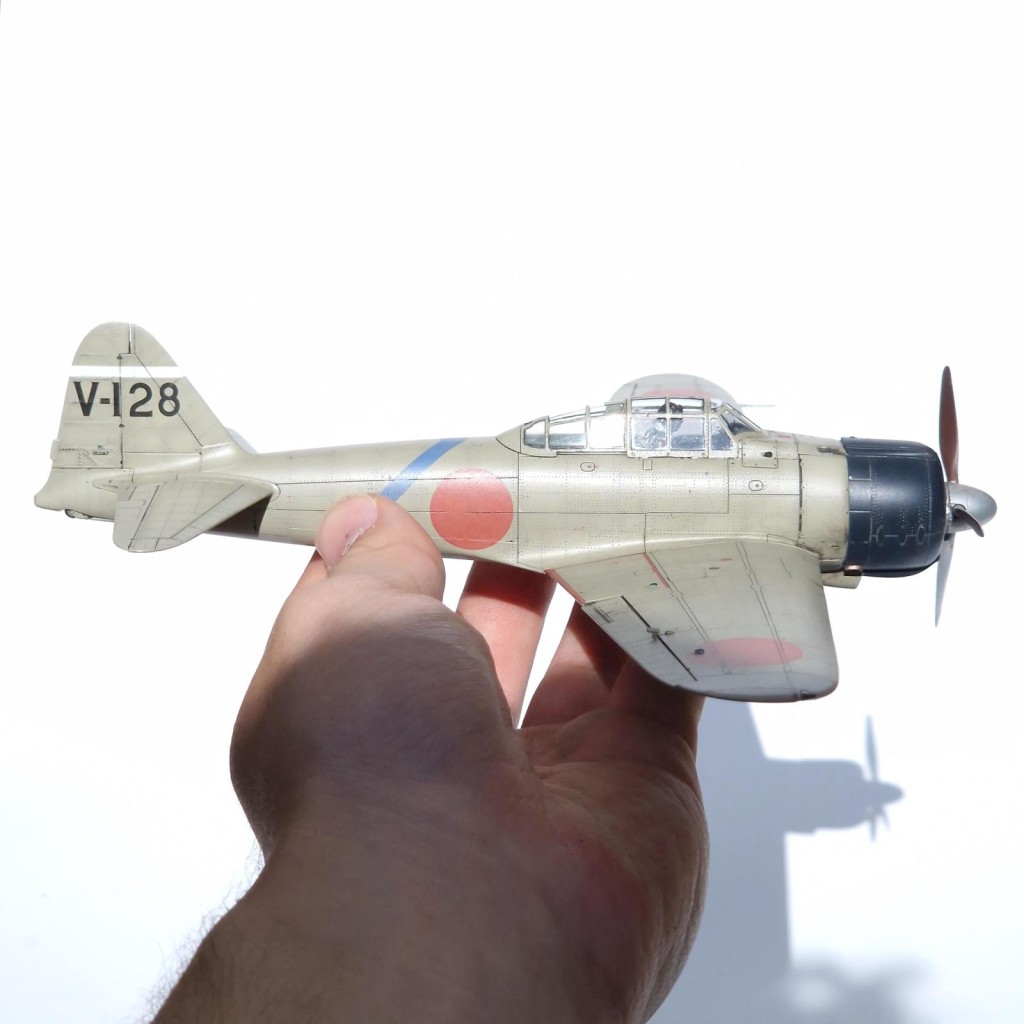
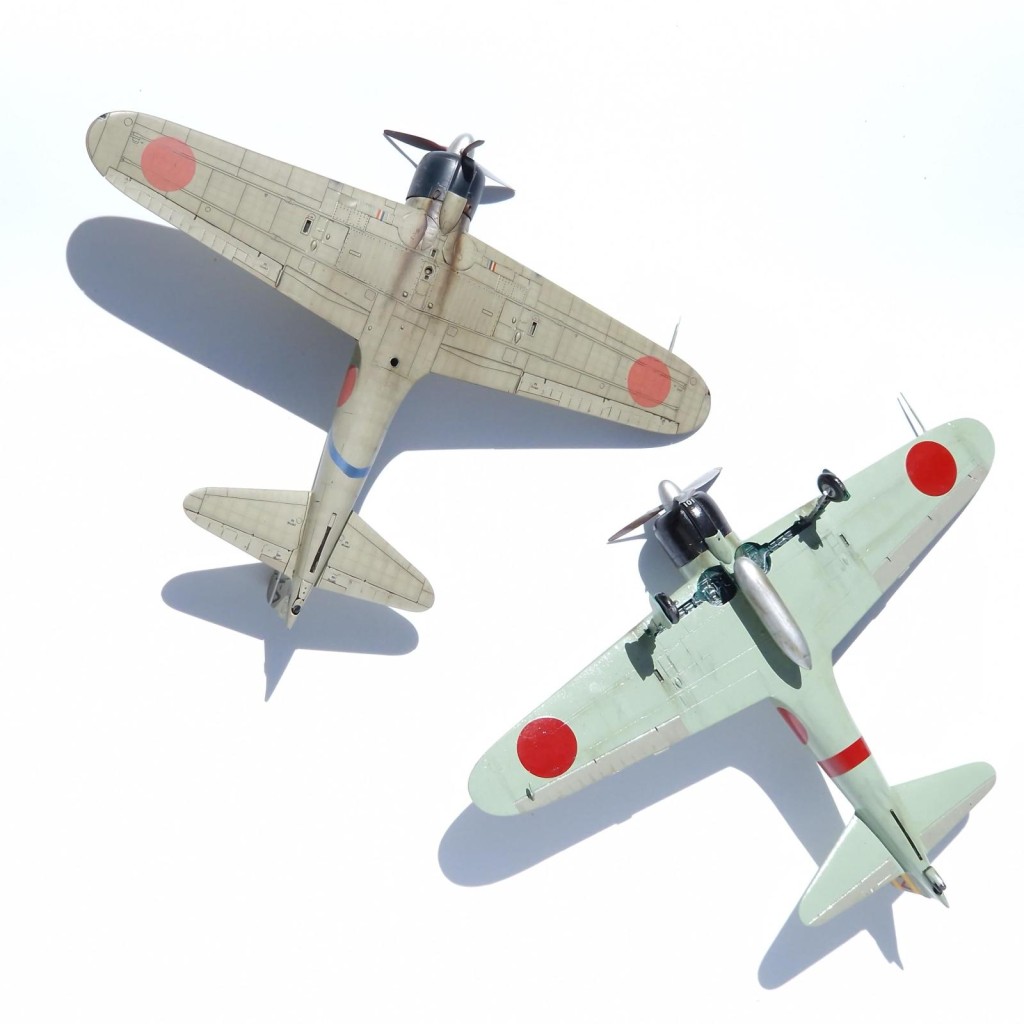
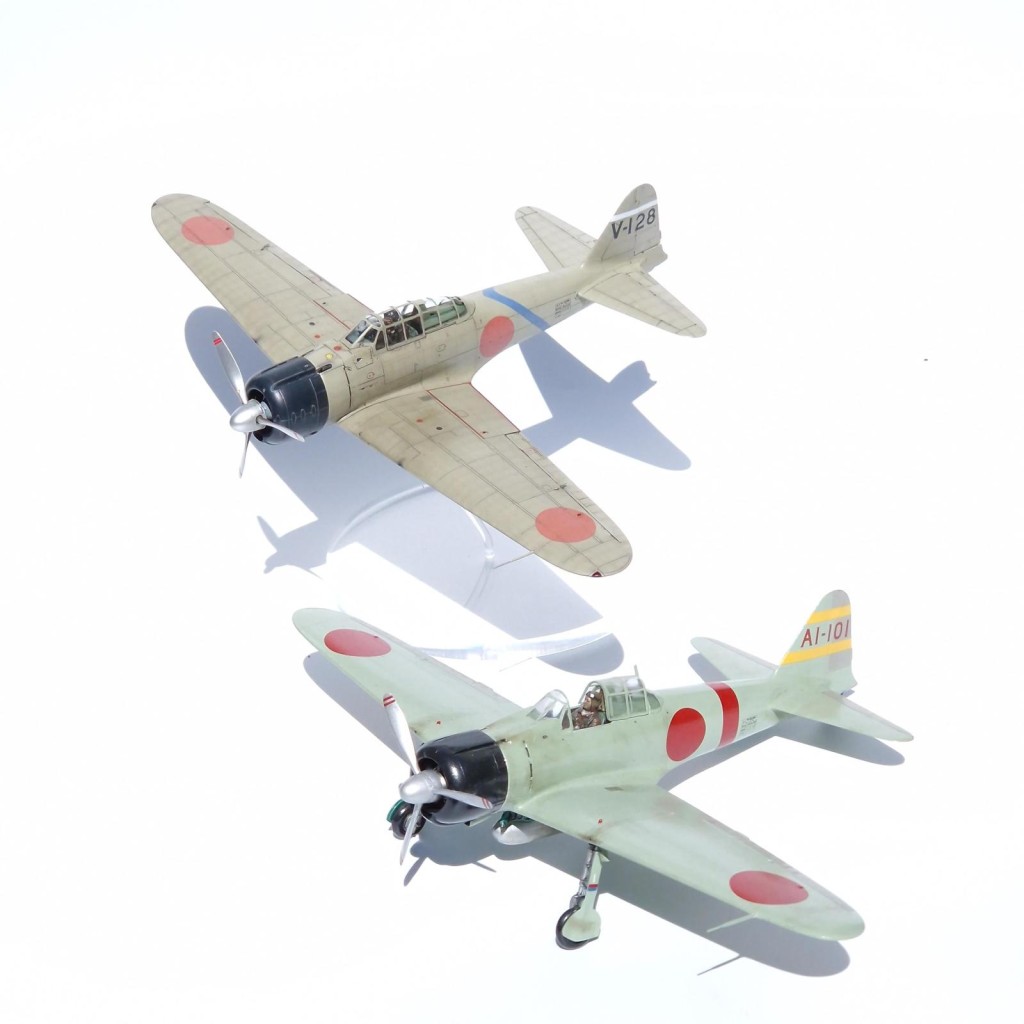
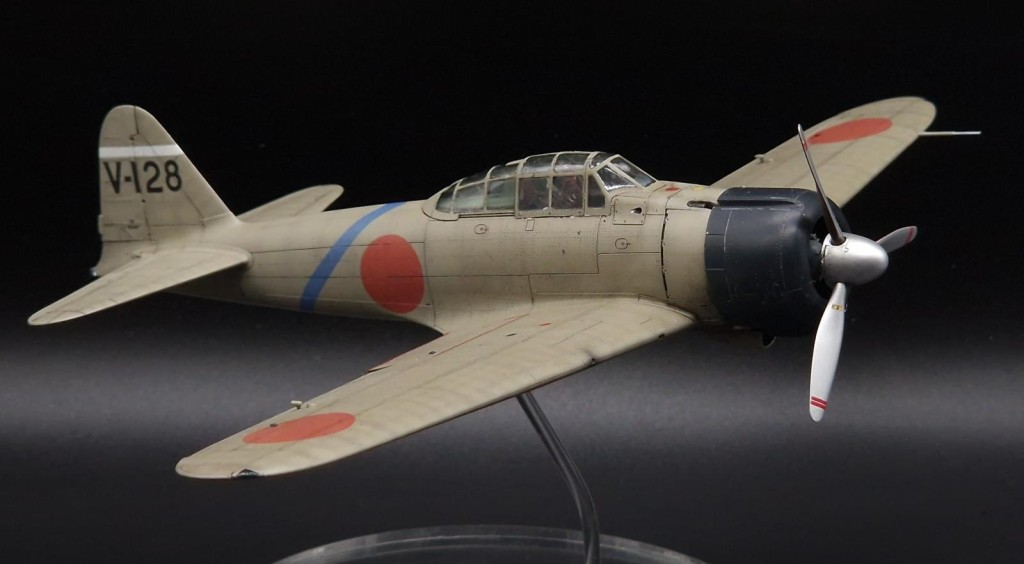
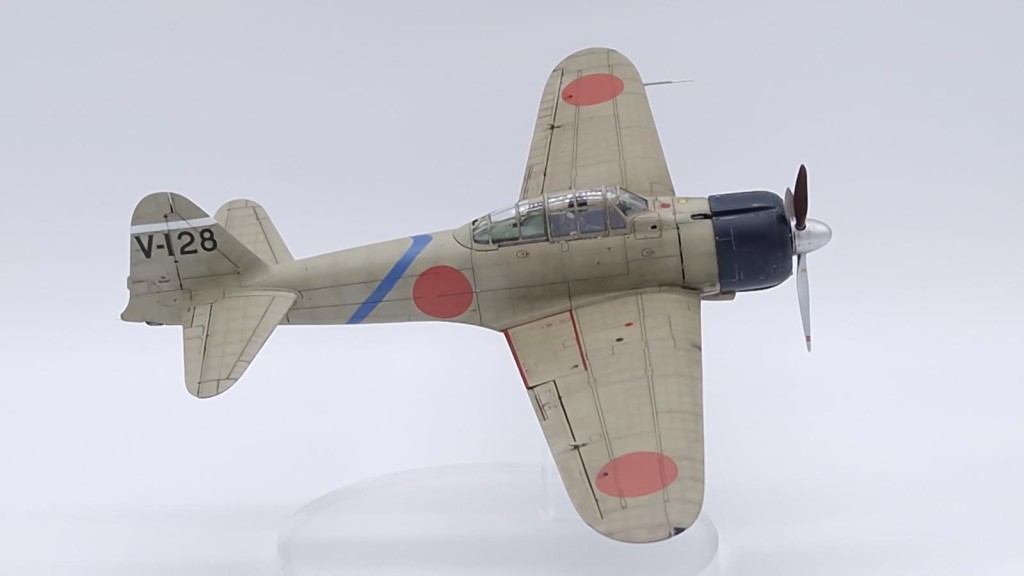
Eduard A6M2 Type 0, Model 21, 1/48. 'Saburō Sakai's Longest Mission'.
On August 7th 1942, Ace Pilot Saburō Sakai underwent his most legendary mission and would narrowly survive being shot in the head by the rear gunner of a Dauntless dive bomber.
Escorting Japanese bombers to Guadalcanal, Sakai first engaged with a group of F4F Wildcats and encountered the famous 'Thatch Weave' for the first time and noted the skill of the pilots and ruggidness of the Wildcat. After the engagement he was attacked by an SBD Dauntless, which narrowly missed Sakai when a bullet hit his canopy before he managed to shoot the aircraft down.
Later Sakai and his flight spotted a 8 aircraft which he identified as group Wildcats, he would move in from behind to catch them by surprise but as he closed in he realised he made a near-fatal mistake as they were actually Dauntless dive bombers. Sakai remarked that he was unable to safely break off the attack by the time he realised so his only option was to press into the attack, howeverthe rear gunners of the Americans opened fire. Sakai was struck by a round that went through his windscreen, hitting his skull above his right eye with a second one narrowly missing as it hit his flying cap.
Sakai's aircraft went into an immediate dive as he lost consciousness, when he awoke he was able to pull up but was unable to see properly due to his injury to one eye and shattered glass and blood in his other eye. Sakai was also temporarily paralysed in his left side due to the head injury. Sakai considered finding a ship to crash into, but the cool air blowing through his windscreen and the lack of targets that he could spot in his injured state paused him long enough for more rational thought, he used his scarf to stop the bleeding and decided that if he leaned his fuel mixture just right he could make it home.
After a 4 hour and 47 minute flight over 1,000km whilst in agonising pain and slipping in and out of consciousness, Sakai finally made it to Rabaul and successfully landed after an aborted landing where he almost crashed into a row of parked zeros
Sakai would go on to survive the war, returning to combat in 1944 but never regaining full vision in his right eye. He would also take part in the last IJNAS mission of the war on August 18th. After the war he became a Buddhist acolyte and voiced his complaints with the Imperialistic Japan of the war. He would die at age 84 after being a guest at a US Navy formal dinner.
The Kit
With the unique history of this aircraft I thought I'd add a few words about the build itself. Firstly I've heard people claim this is the best Eduard kit, obviously I haven't built every Eduard kit to agree with that or not but I would say it's the best Eduard kit I've ever built.
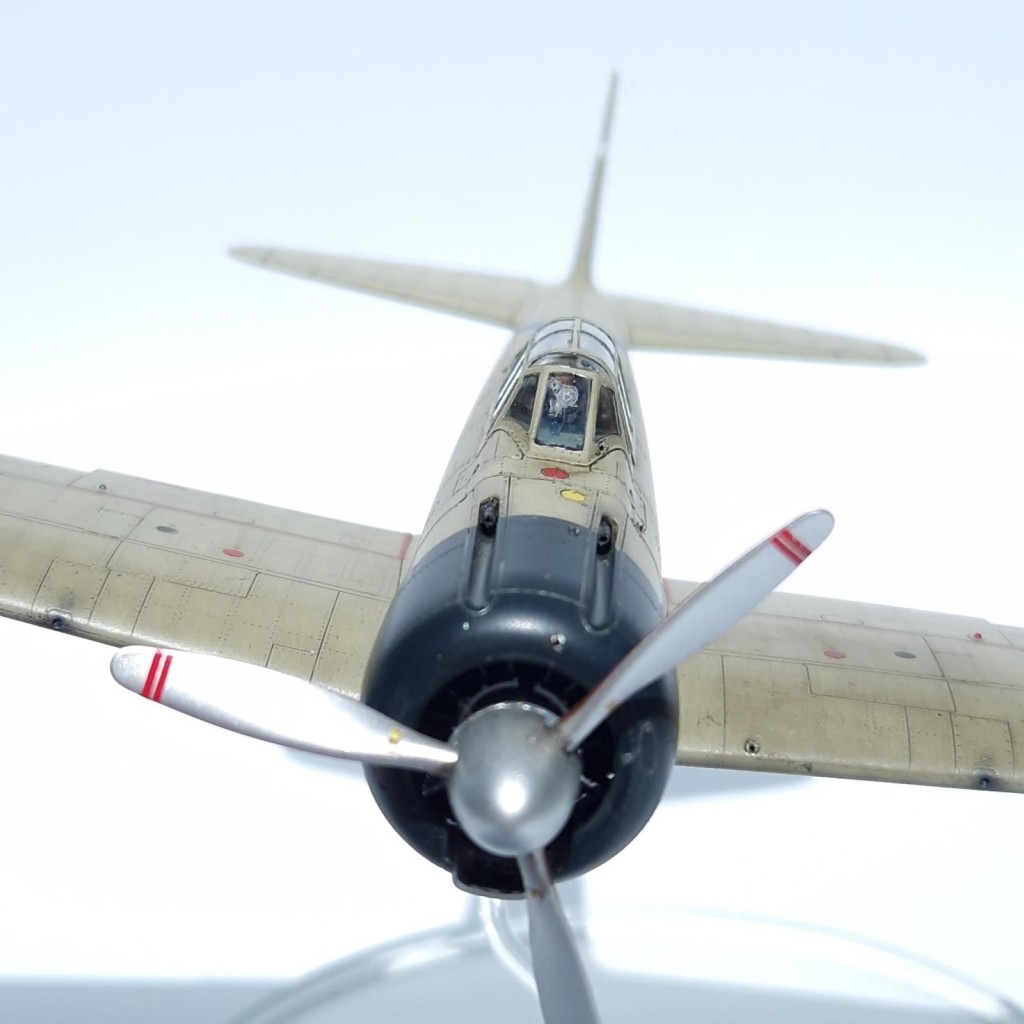
Typically Eduard goes all in on details, but often puts the fit of the kit on a second priority. Whilst this kit still isn't a Tamiya in terms of build it is definitely easier and more enjoyable than other Eduard kits I've built. There's a few quirks worth mentioning, firstly I found the engine and cowl to have a very weak join to the fuselage. The engine in particular came off several times during the build. I also, as always, must mention that Eduard are really awful when it comes to propellers as the pin they provide to glue the propeller to doesn't move, and is only a couple of millimetres long. As someone who always want a propeller that can spin to some degree this is a hugely annoying quirk with Eduard kits, but irregardless of this I can't imagine the propeller would glue securely to such a small gluing area.
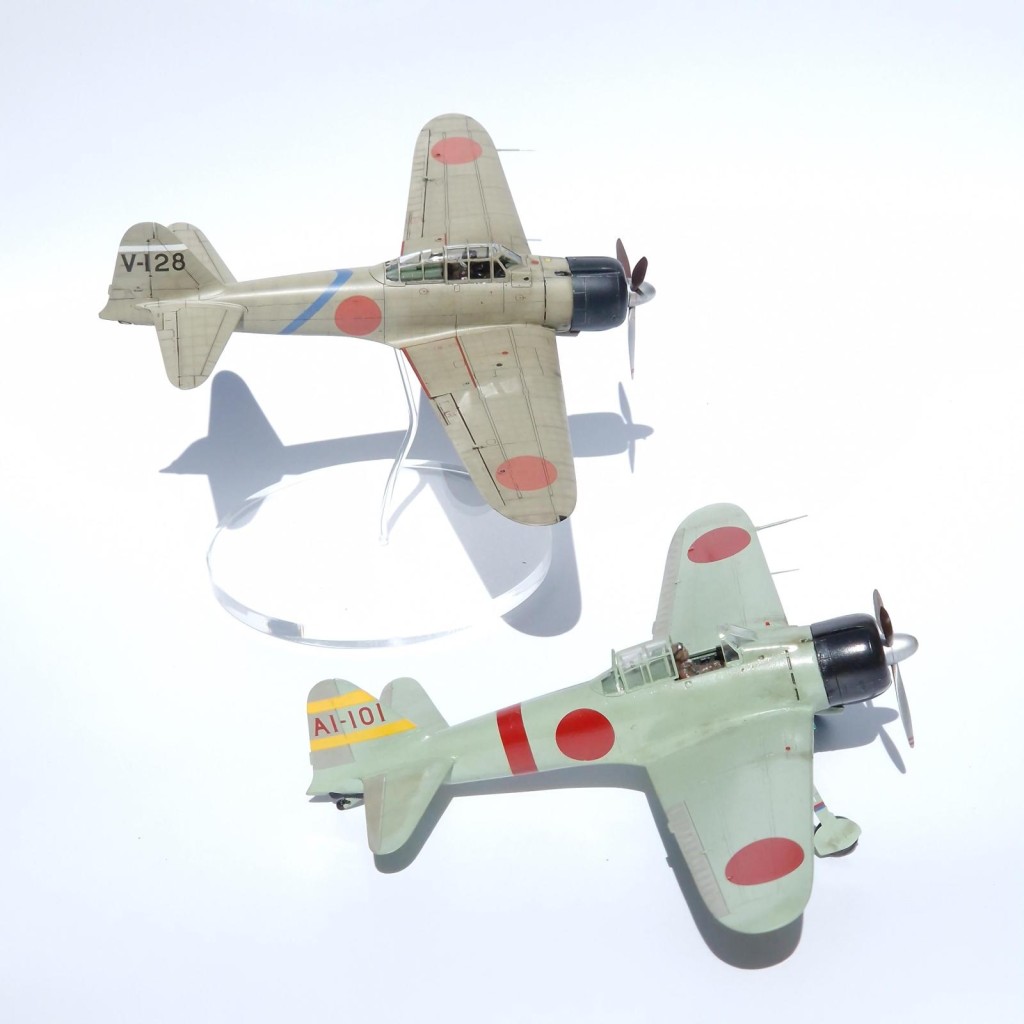
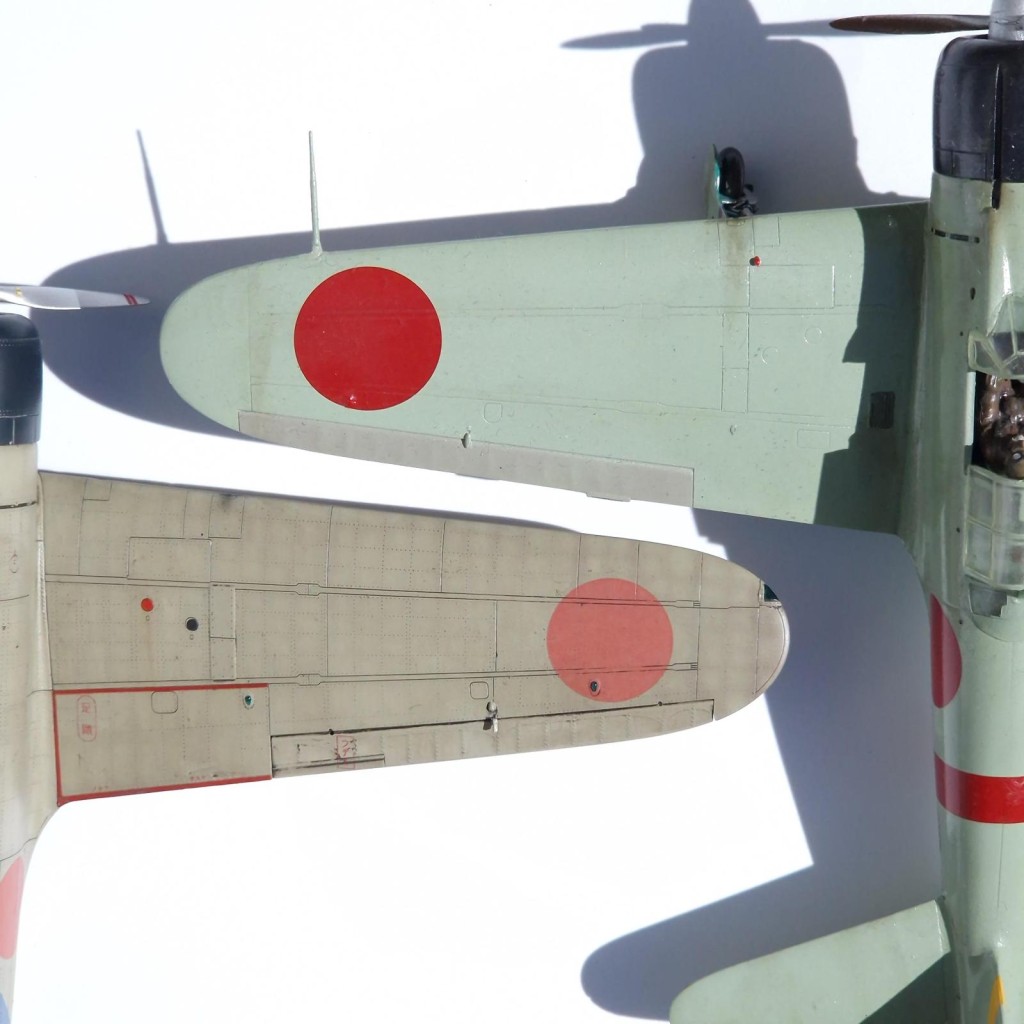
Finally worth mentioning are the decals, again the new removable film decals are here to stay. I actually had good success this time with them and only had 3 rips, one very minor and fixable one on the wing roundel, and 2 on tiny inconsequential stencils which I'll just treat as free weathering. One thing I really didn't like though was the colour of the roundels. The kit gives you two sets of roundel, these near salmon pink ones that are for this plane and a Pearl Harbor one, and then a bunch of much nicer deep red ones for the 3 remaining green Zero's which unfortunately have a white border around them. I personally cannot see that the pink roundels are remotely accurate, Pearl Harbor aircraft were immaculately well maintained so I doubt the roundels would have faded so dramatically. If anything, the A6M2 Kamikaze scheme from 1945 would be the one more likely to have faded pink roundels than Sakai's plane from 1942!
For paints I used MRP's new line of Japanese paints. I heard these were coming soon back in January when I built my J7W, so I'm glad to have some now. Obviously the Zero is just one colour, so I used their J3 Olive-Grey (MRP-428) for this. I felt it was a little too brown, so I simply added some white to it and I think it looks a good 'used but not abused' colour. The cowling was simply painted in black, and to give it a bit of a unique hue I sprayed in a thin layer of US Navy Sea Blue over it which gives it a very faint shimmer when in the right light.
Overall though I strongly recommend the kit, it's a great build, great detailed, and produces a great result (maybe just consider aftermarket roundels at the very least!). Personally I love the Zero and so I'm glad to finally have a good model of the A6M2 available in 1/48 as the only options were Tamiya's ancient 1970s mould and Hasegawa's seemingly impossible to find offering. I've always felt Tamiya really goof'd when they released a nice new tool A6M5 but didn't make an A6M2 on that base. I'm very much looking forward to Eduard's future releases as they're planning on doing every Zero variant, I'd certainly pick up an A6M2-N, an A6M5 (a personal favourite of the Zero's), and the weirder ones they've mentioned like the A6M7 and A6M2-K which aren't common modelling subjects. Evidently they're meant to be releasing all of the A6M2s and A6M3s by the end of the year.

Very nice! Having built the exact same machine from the Eduard Profipack box I can tell I had the same feeling when finished…the best Eduard kit so far.
The only negative aspect, one you found ok, were the decals. Unfortunately the tail codes were very damaged when I tried peeling the film, so I needed up buying some masks and painted them.
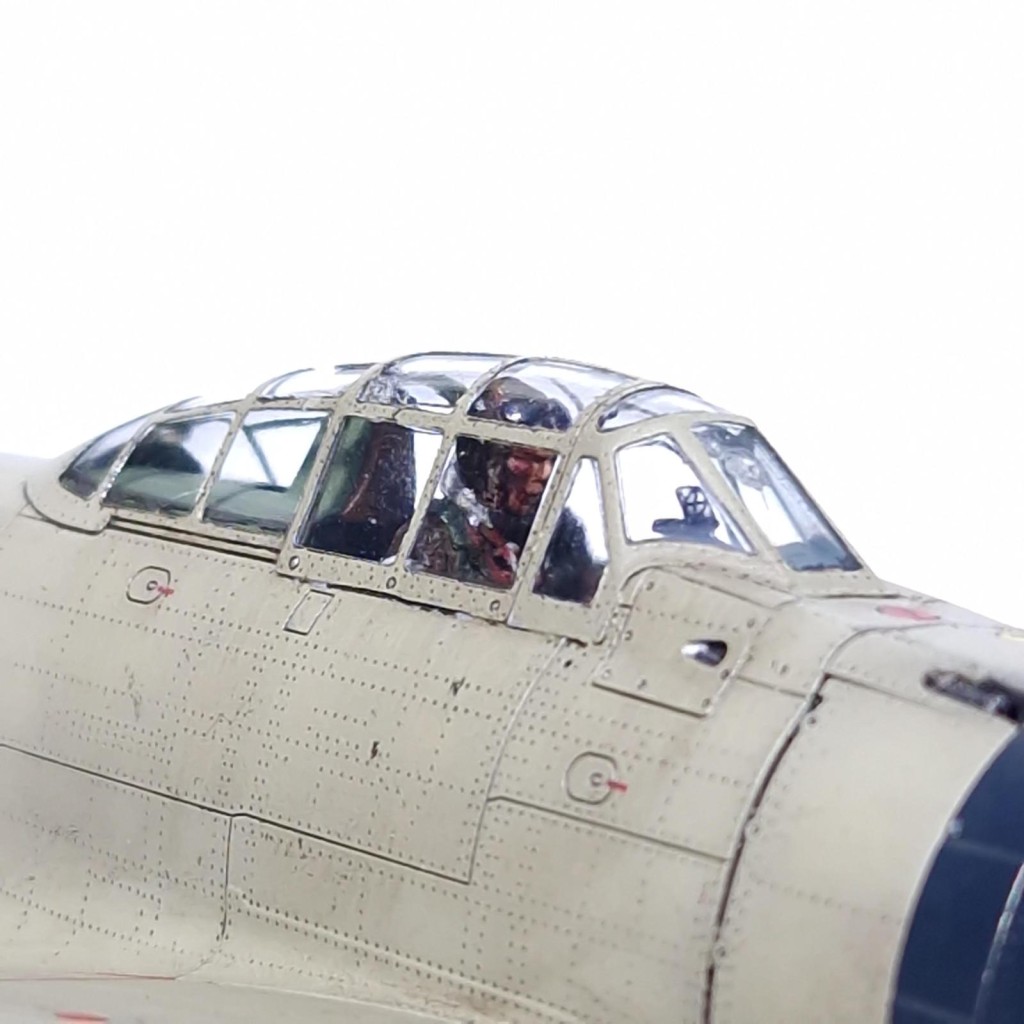
Where did you got the pilot? Looks terrific and it gives the inflight pose all the purpose! Well done!
Thank you! To get the decals to work I used Mr Mark Setter, issue with that is it seems to basically akin to just using very watery PVA and ended up filling up some of the rivet gaps.
The pilot was from PJ models, with a different arm and a head reattachment as the figure is moulded to be saluting out to the side.
A fantastic result, Harvey!
Well, lost of words really, due to the overall quality of your build.
Great write-up too!
Thank you very much!
Very nice, Harvey. I really like the weathering. Really more artistic accenting than full blown wear and tear. I like it. Two thumbs up !
A big WOW, Harvey @scalerambush
The overall quality is indeed excellent and the weathering stands out superb.
Not only is this Eduard's best kit, @scalerambush Harvey's best model (IMHO). Really nice, very realistic, result.
The following is not a criticism of this great model:
I really don't get what all the hoorah is about the new Eduard decals. There is absolutely no difficulty whatsoever in using them in the traditional way decals are used (photo below attached as evidence). The only complaint I have is their yellows aren't bright enough, so I use aftermarket decals where yellow is concerned (i.e., the fuselage national insignia here). And using the decals in the traditional manner (which Eduard happens to advocate) means you don't screw up the final and most important process in the whole project. There are times for old dogs to reject new tricks, and this is one of them.
1 attached image. Click to enlarge.
Looking very good, as always!
I think the issue for me is the result from removing the film is noticeable enough, at least to my eye, to make it worth it. As I said, didn't really have any issues this time round and if a stencil or two gets ruined I'll just treat that as free weathering. I personally find the colours are brighter and the way that they take a wash especially on riveted areas is better without it.
I also find that whenever I've used the new decals the film is quite noticeably thick on certain decals, but perhaps I haven't used enough softener to hide it. I ran into that issue with the Camels.
Either way as probably all of us can agree the old Cartograf Was superior. Whilst I haven't encountered much yellow, I have noticed white borders tend to be pixelated and smaller lettering is often unreadable. Using stencils is generally the best way forward in my eyes but sometimes you just want to slap a decal on instead of going through that hassle!
Very well done kit. Nice capture of the moment that changed Sakai's life.
I have the older Tamiya with Sakai's markings. You can tell what 50+ years difference in molding tech can do.
Good article and a great looking model Harvey! ?
That is one of the best-done Zeros I've seen in a long time - love the weathering work!
The first time that I read the book "Samurai" I was in Jr. High and picked up a soft cover copy published by Bantam books. Inside the cover was a beautiful illustration of Sakai flying back from Guadalcanal on that fateful day in his battle damaged Zero. Ever since I have wanted to recreate it the way you have here. You really nailed it and it brings to life one of the most epic stories of WW2.
Another great build, Harvey (@scalerambush). I really like your weathering, looks very convincing and not overdone. Thanks for the great story along with the bleeding visual aid in the cockpit.