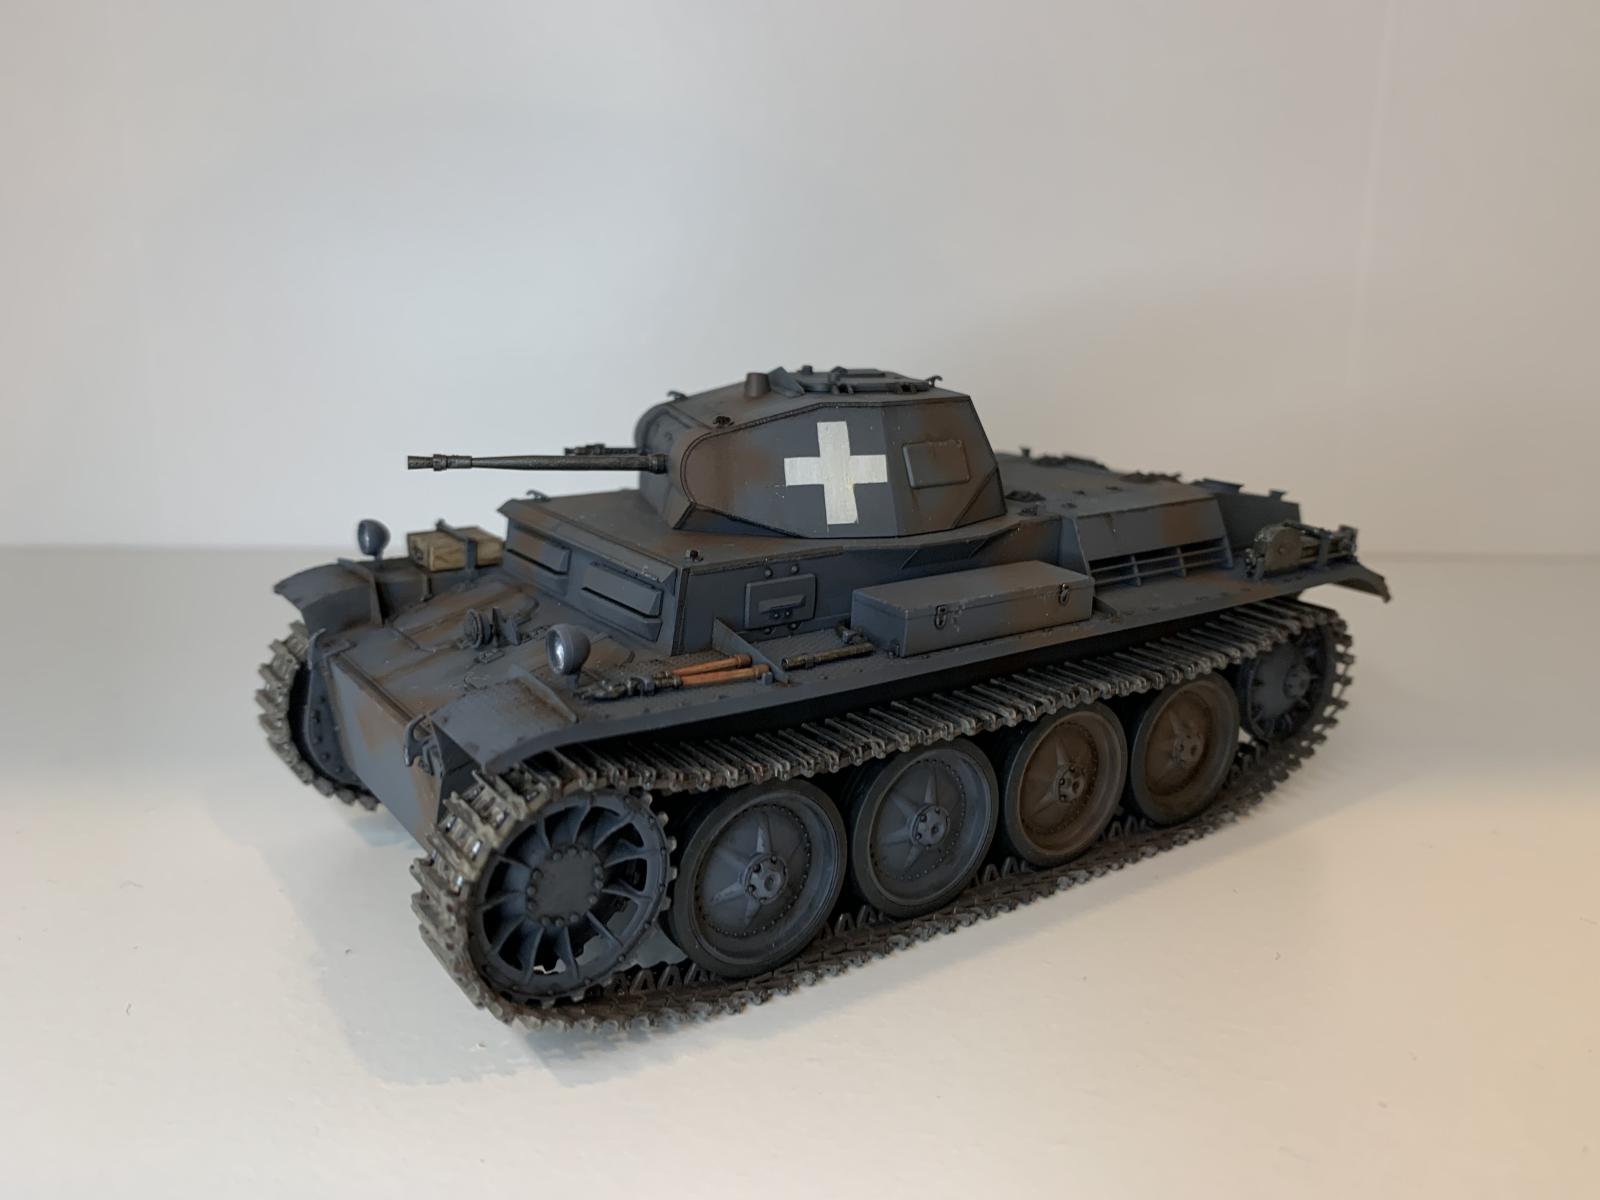
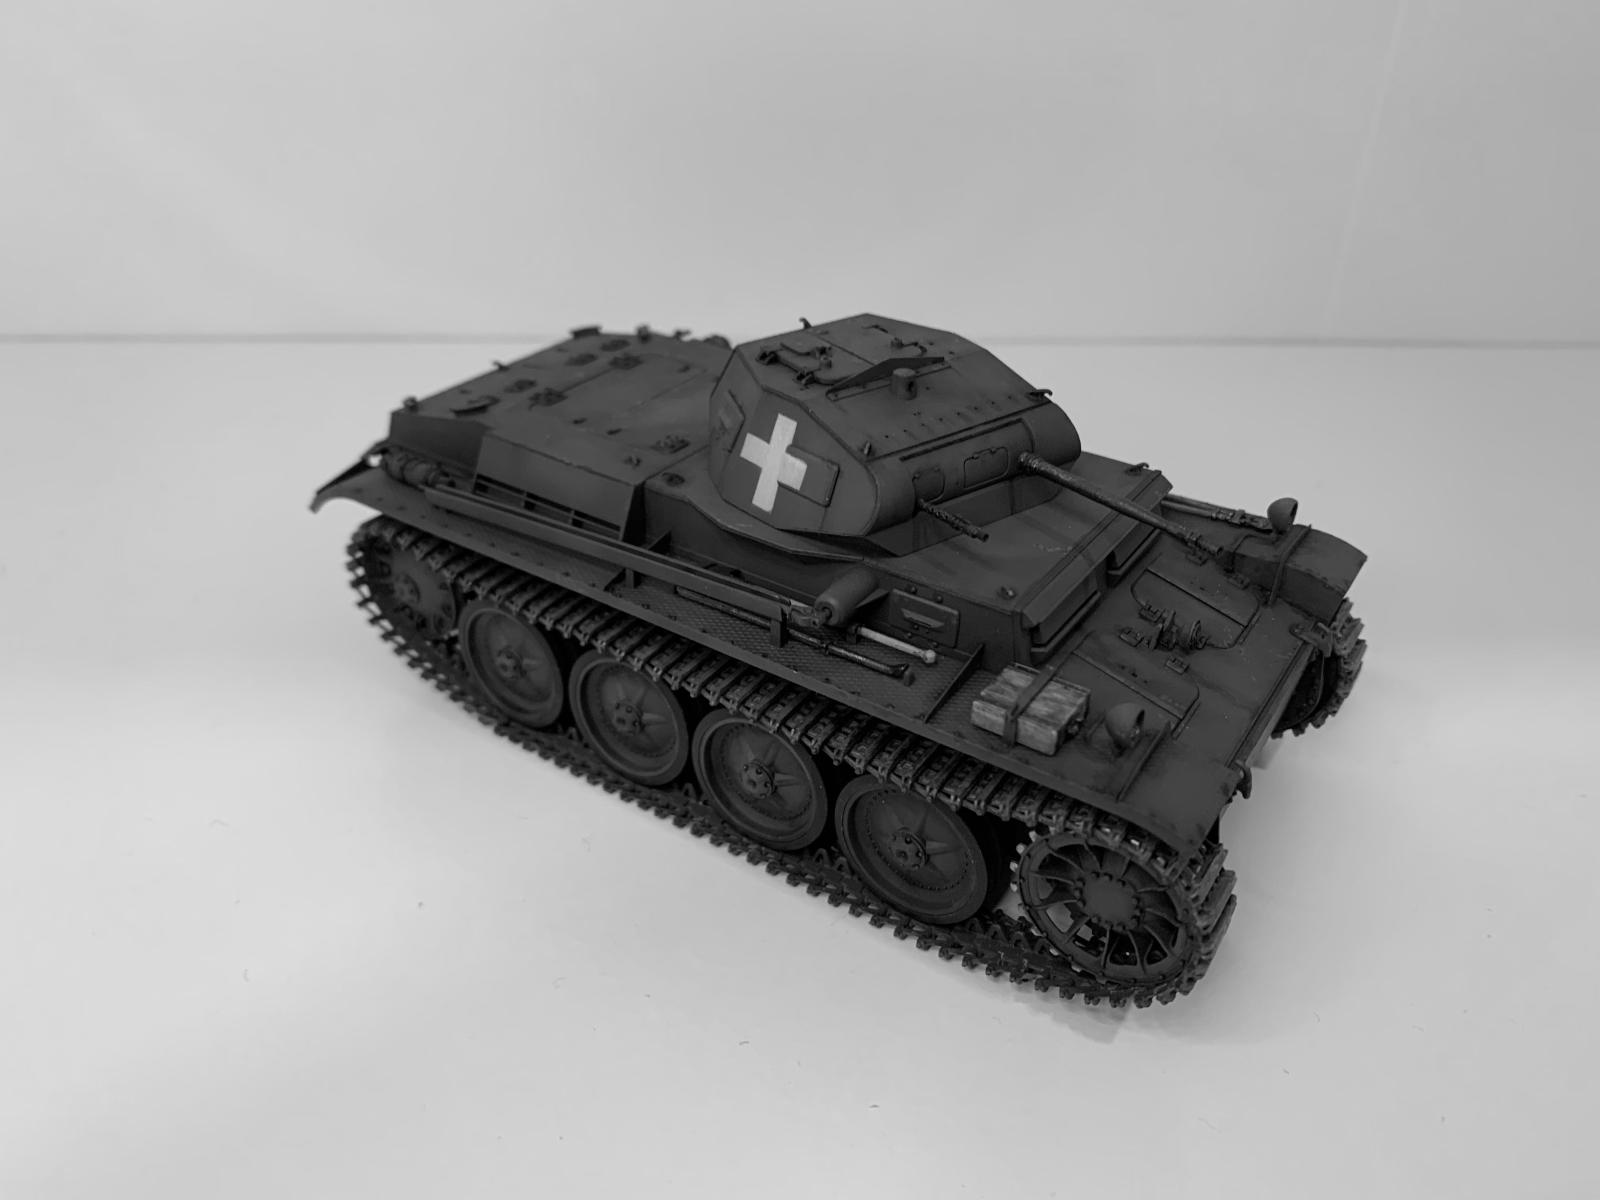
Bronco 1/35 Pz.Kpfw.II Ausf.D
Since returning to this hobby in 2020, I decided to focus on WW2 armour in 1/35. My first purchase happened to be this Bronco Pz.II Ausf.D and a HobbyBoss Pz.I Ausf.A. I was thinking of building some german tanks in a somewhat chronological order. This Pz.II was my first new kit build as I was a bit intimidated about the full interior of the HobbyBoss Pz.I.
The Panzer II Ausf.D was developed in 1938 by Daimler Benz and used a different hull, superstructure and suspension to the standard Panzer II. Only the turret was retained from the earlier tank. A total of 43 Ausf. D tanks were built from October 1938 through March 1939 by MAN, and they served in Poland. They were withdrawn in March 1940 for conversion to the flamethrower tank Panzer II (Flamm).
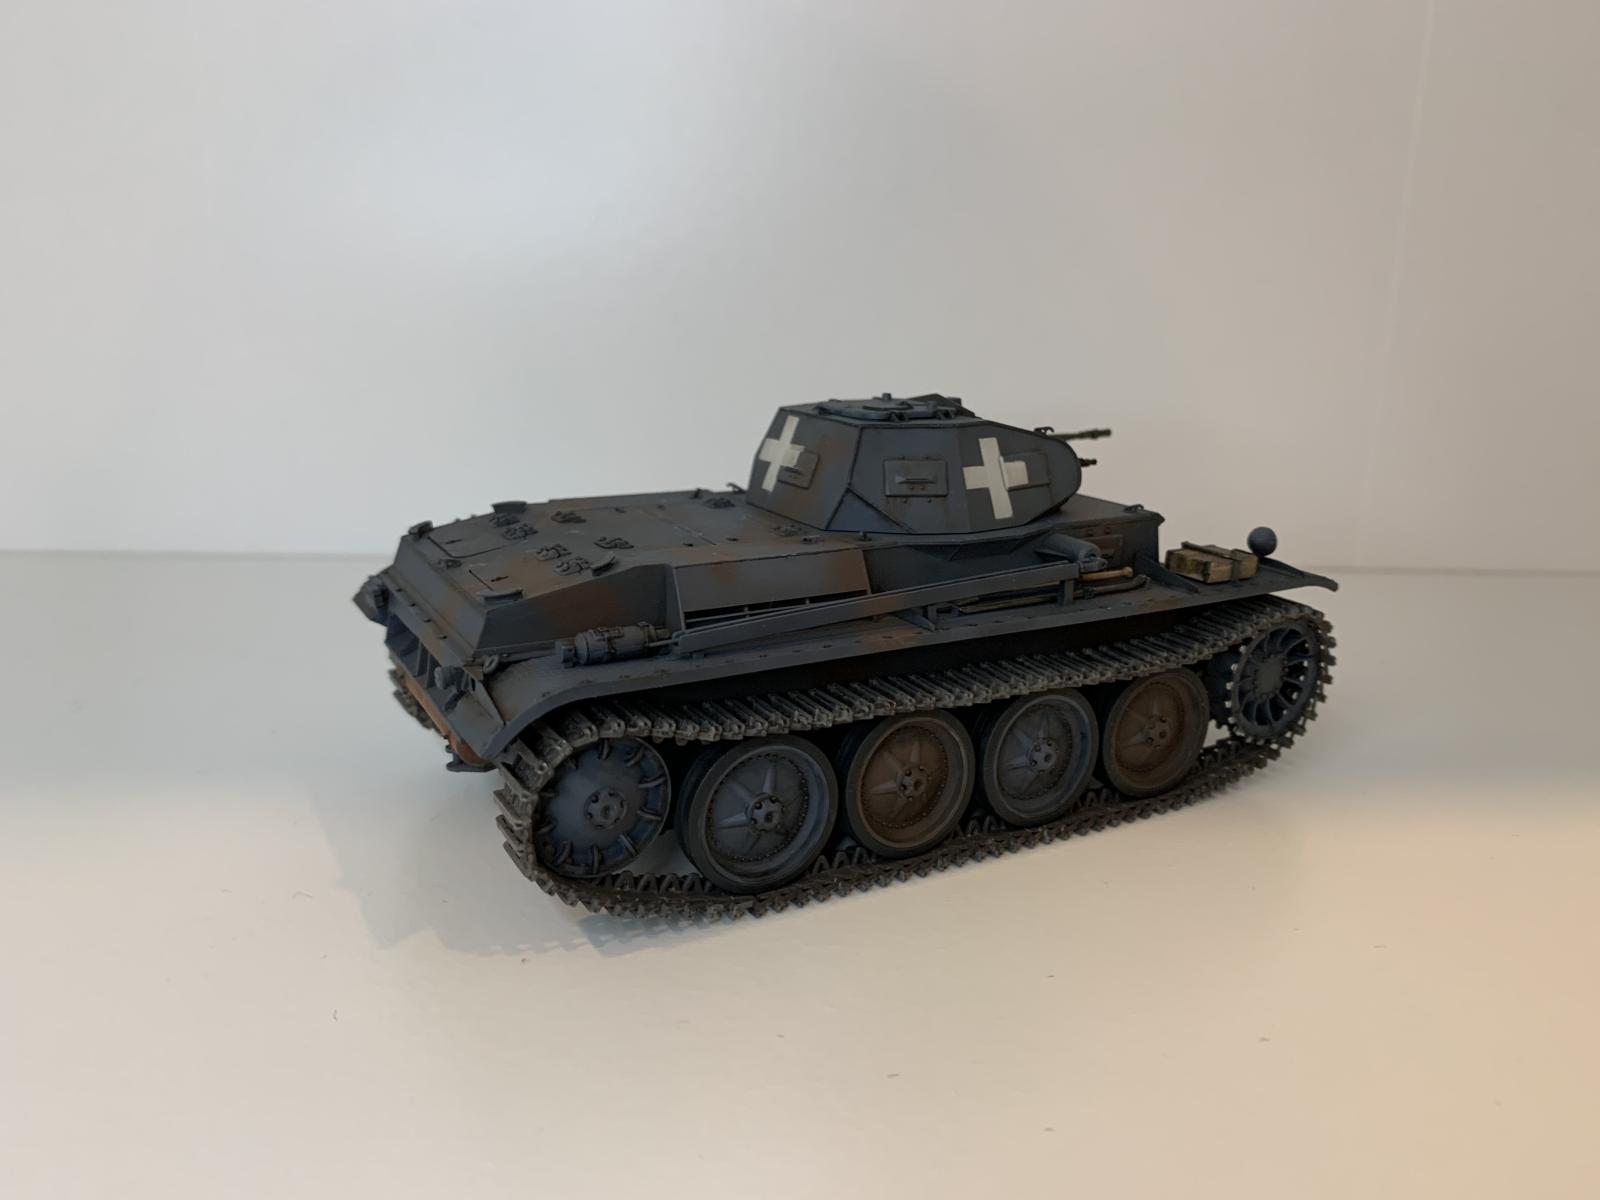
This Bronco kit was an eye opener compared to the Tamiya kits I was familiar with. Impressive detail but that meant more complexity and tiny parts.. Photo etch? I've heard of it but never worked with it. Individual styrene link tracks? I quickly learned that cleanup was long and tedious. Other than taking more time, everything went together well. Fit was great. The decals didn't work for me though.. they were just too delicate and basically disintegrated on me. I ended up airbrushing the crosses. Not perfect but ok for a first. I skipped the cross on the gun mantlet as I was afraid of messing it up.
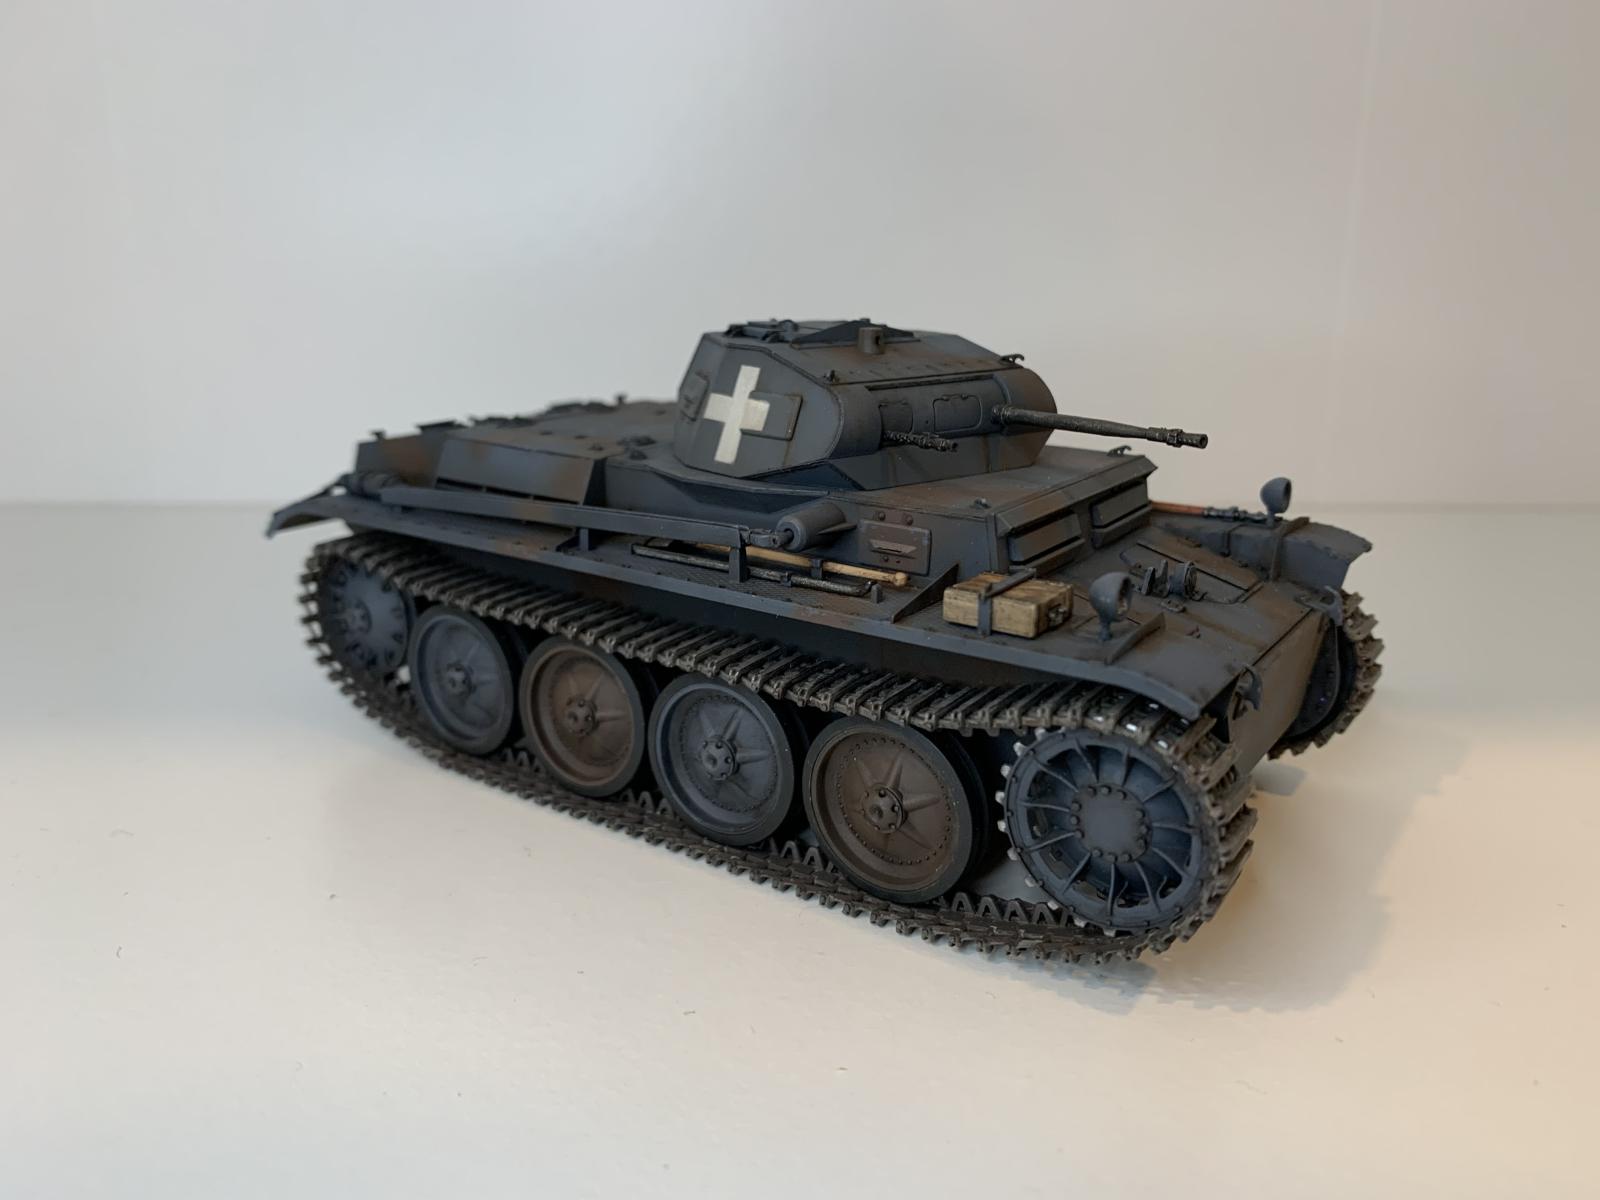
I depicted a Panzer in 1939 Poland so it's finished in early war camouflage of 2/3 dunkelgrau & 1/3 dunkelbraun (dark grey, dark brown). I practiced airbrushing on old unpainted tanks from my youth. I used Tamiya acrylics- Dunkelgrau Nr.46 is XF-69 NATO black (60%) + XF-2 White (20%) + XF-18 Medium Blue (20%), Dunkelbraun Nr.45 is XF-72 Brown/JGSDF+ XF-68 NATO Brown (1:1) + couple drops XF-69. Mix from YouTuber Panzermeister36. Enamel pin-washed & acrylic chipping, then light weathering with AK enamels. I'll stick with subtle for now. I grew up fawning over Tamiya catalogues and I love that look. I completed this unique Panzer II in December 2020.
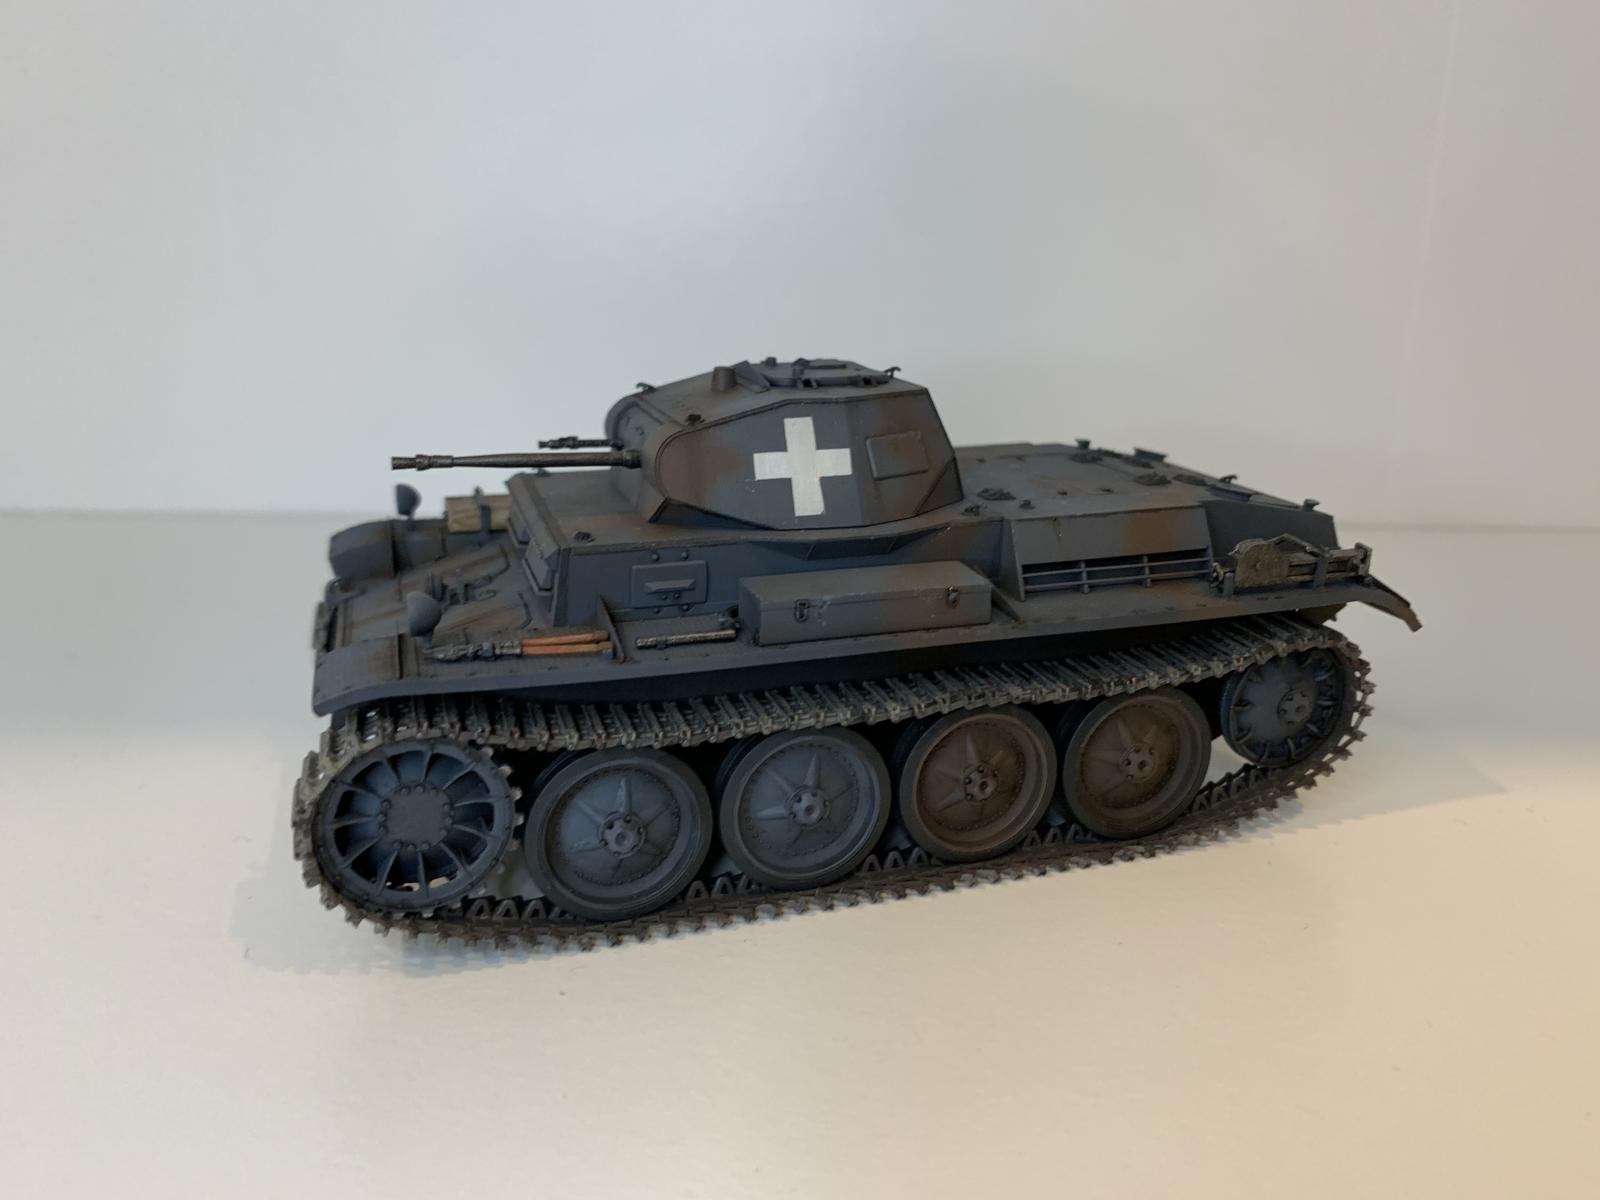
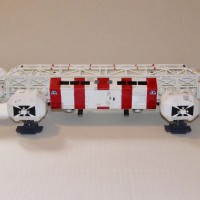
Nice, clean and tight build. I think it was a good decision to spray paint the crosses, even if they had not disintegrated on you.
Pz IIs and IIIs are way more interesting looking than the later marks, I think it is the focus on the running gear than a massive gun that does it for me.
Thank you Stellan.. appreciate your comments!
I like your style Brother, keep 'em coming. Don't be too afraid to mask and spray, touch ups are part of the game.
Thanks for the kind words!
Lightly weathered tanks do it for me as well.
Thank you George!
A very nice build, DJ! The painted crosses look superb!
Fukky agree with the above comments, DJ @juan2six
Great paintwork, especially the crosses.
Wow ! you really do agree ! lol
Thank you John! 😄
Looks great, DJ. You handled the kits new technology very well. Nice overall finish.
Thanks Gary!
DJ, Personally, I have not been able to resist painting a Panzer in anything other than a war beaten tri-color camo. Check out Tank Encyclopedia on-line. The field applied camo pattern variations of German armored vehicles were endless. But your depiction of a lightly weathered early Panzer with the simple dark grey/brown and white cross looks great! I am looking forward to seeing more of your work. Thanks for sharing.
David.. thank you! I'm working up to tri-color. I have a Tamiya Panther G in the queue that will be tri-color. Yes, I've found tanks-encyclopedia.com and a host of other armour online resources. Since I have a strong interest in German armor, I like panzerworld.com as well. I also have a modest collection of books as well. I'm old school and appreciate print.
Very nice work DJ! 👍 @juan2six, Keep 'em comin' my friend! 😃
Appreciate all your positive comments Gary!👍🏼