HELLER 1:100th HMS VICTORY

So, having had this kit since April, i've finally made a start.
HOURS of "Youtube" videos watched, and i finally settled on just 2. (both of whom i class as master-builders)
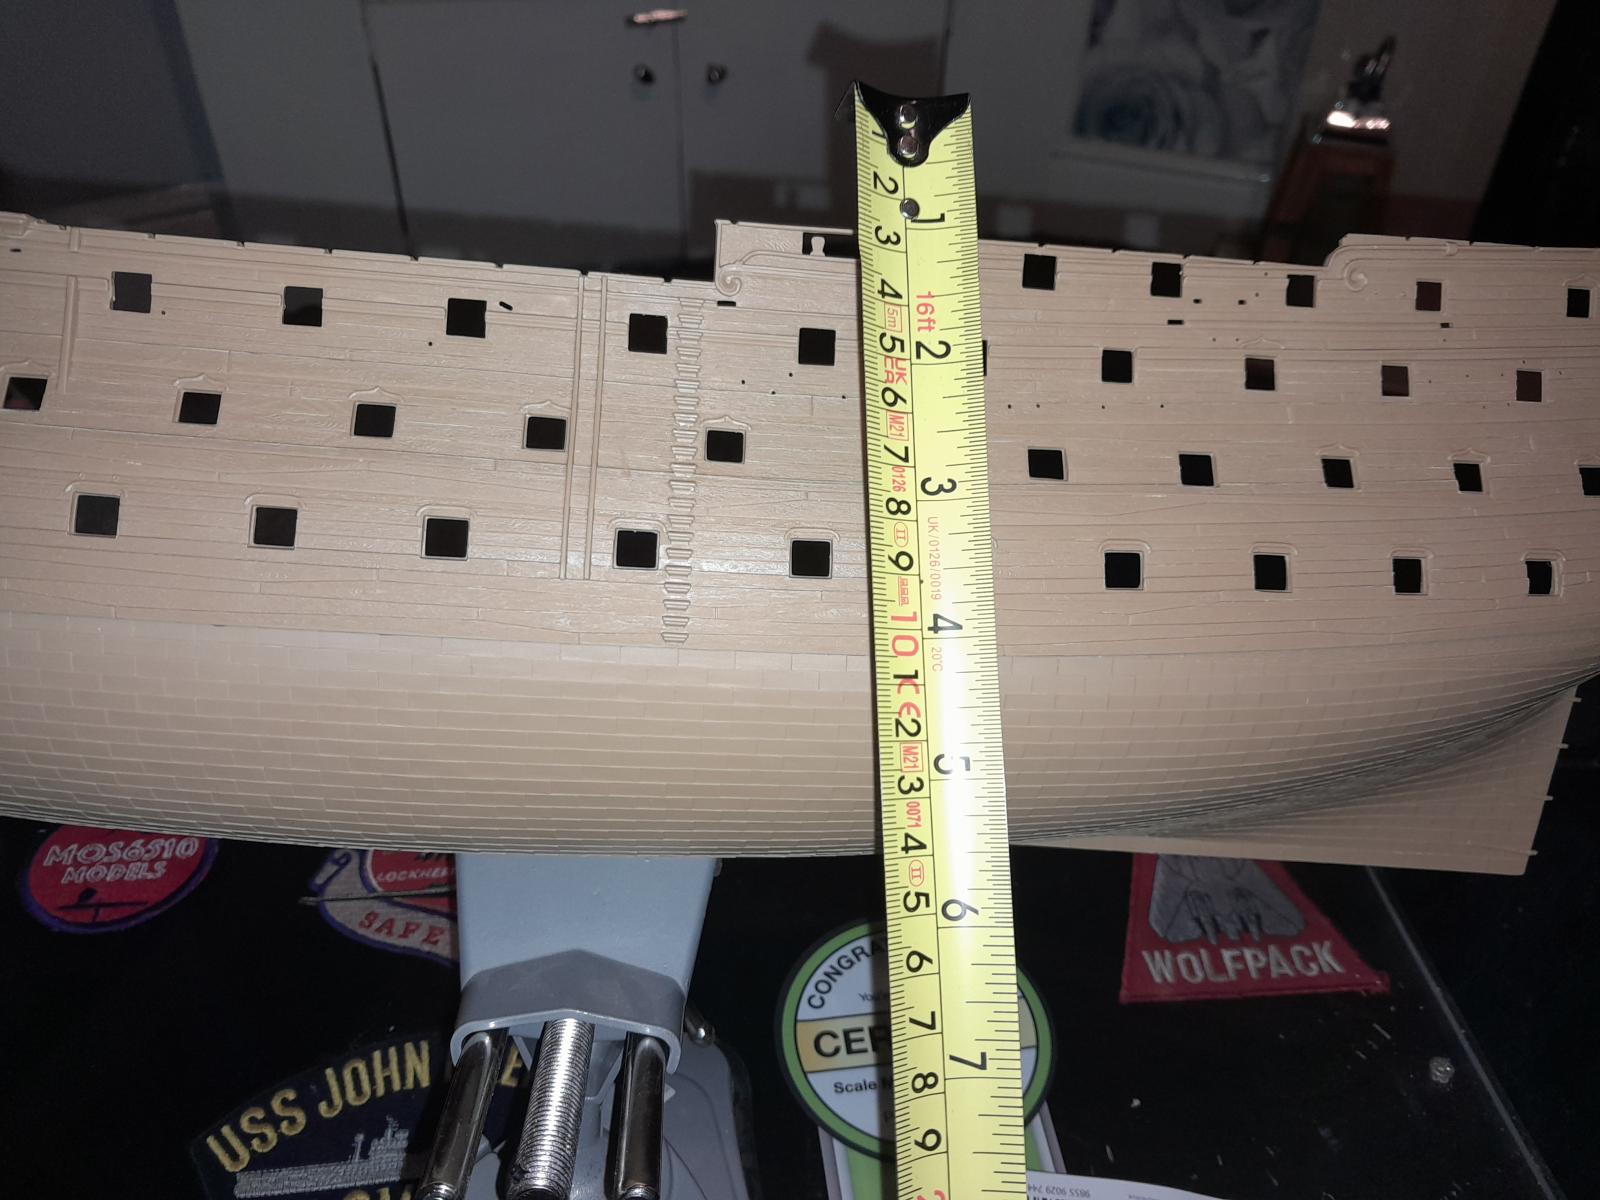
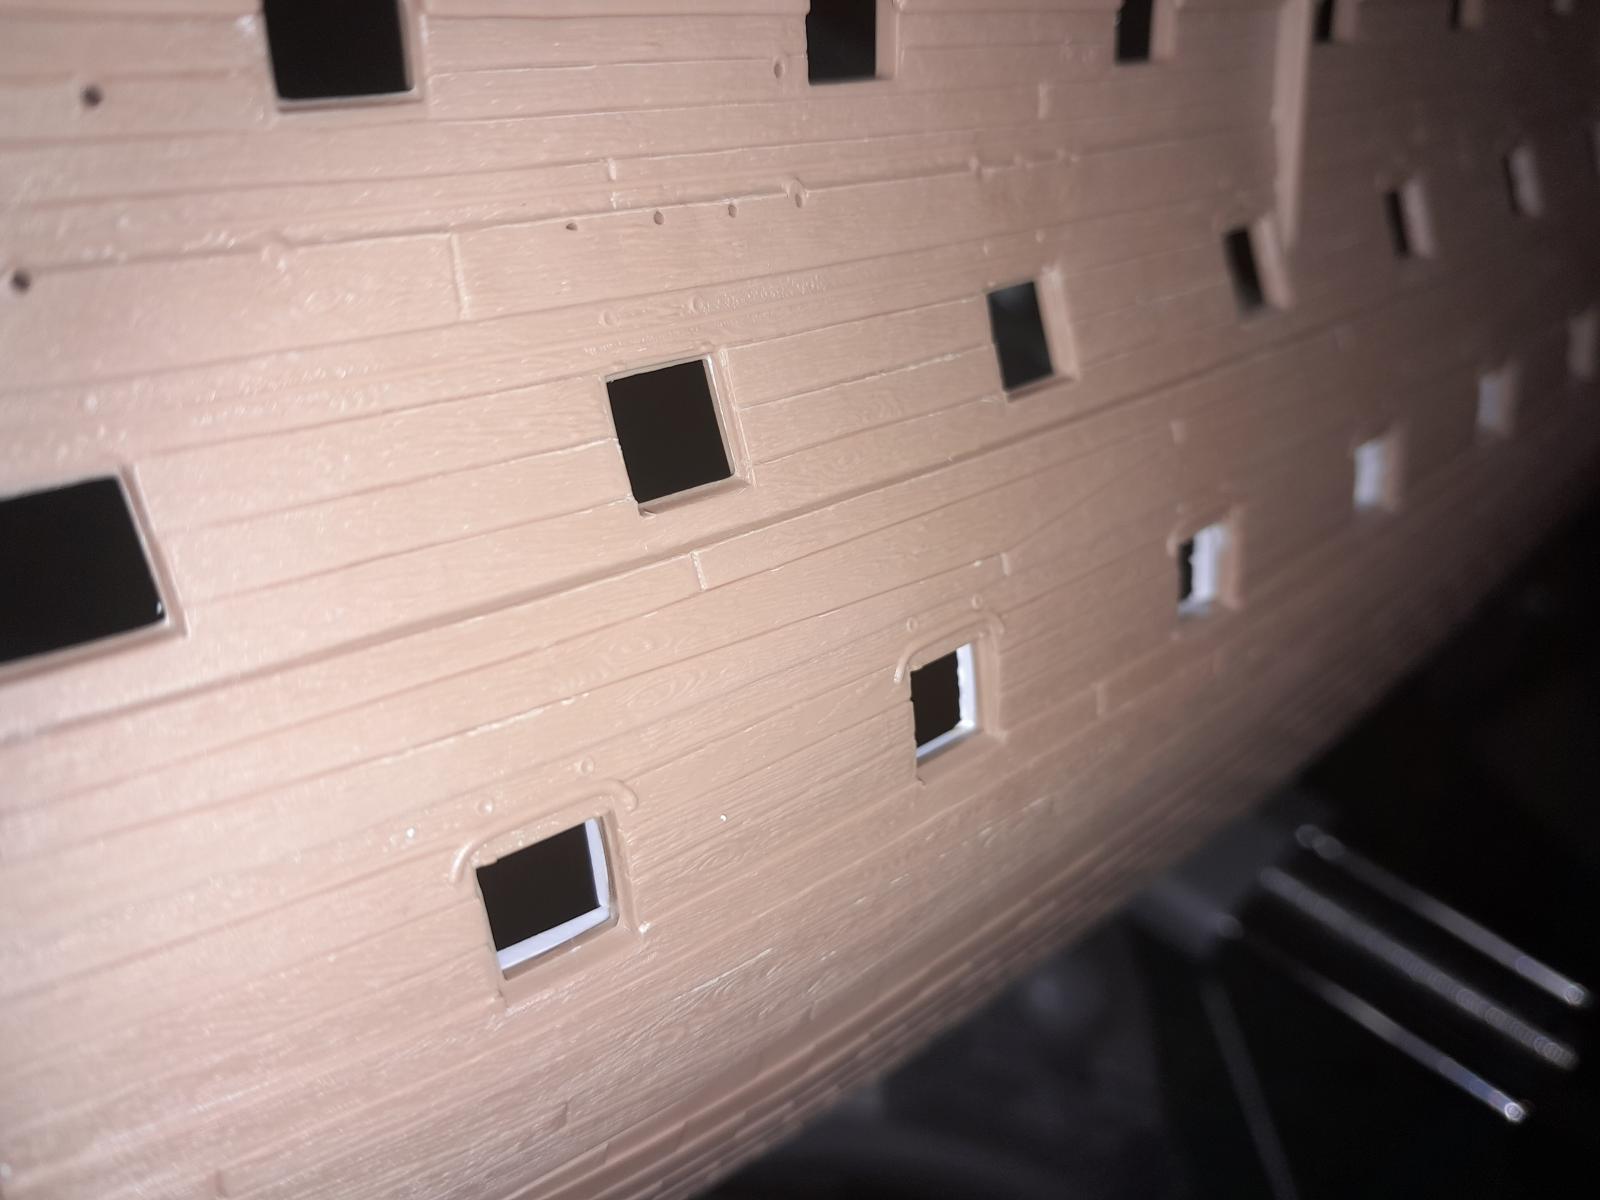
First job was to thicken the gun ports on the lower two deck, this was to give the illusion of much thicker hull planking
This WILL be a long build, so bare with me.

I made a start on Victory's cannons, well at least the first 60. I also ordered a brass etch set (dafi-set, from now on). This set is amazing, although, for a beginner to PE, taking cutters and a scalpel to an already expensive kit was/is a bit daunting.
The first "surgery", came with the removal of the windows and name plate, these were replace with new from the PE. Another thing that i'm toying with is adding some form of lighting (orange to simulate candles/lanterns on the lower 2 decks. So i laid down some thin veneer, and stained it very dark, none of this will be seen.
20 attached images. Click to enlarge.
Great project Tony !
I made an Airfix Victory back in the 70 ies.
I look forward to seeing your progress . I try to keep the kit builds diverse and some day want to build a model sailboat again.
Thanks Bernard. Not sure how this will go, but it better be good or my wife will kill me if she finds out how much I've paid so far.
A lot of quality work here, Tony!
Looking forward to it!
This is going to be an impressive build, Tony @tonyanderton
Love to see this one progressing.
Great project, Tony (@tonyanderton). This will be a bunch of work, but will be worth it in the end. I remember building the Revell Constitution, which I think was 1/96. Rigging all the blocks was an ordeal. Looking forward to the rest of the build.
This is one of those projects that separates the modelers from the assemblers.
Tony, @tonyanderton, you posted so many pictures showing so many reasons why I don't build ship models. I would have to agree with Tom, this does separate the modelers, from the assemblers. Way, way too much brass for this assembler.
Got to admit Walt, this is WAY above my comfort level, but if a jobs worth doing, it's worth doing right. (at leat I hope so) I will be taking my time on this beastie
Having seen the real thing in Portsmouth I can only imagine how much work you have to do, off to a great start, good luck.
Cool. This is going to be a long haul, but, I think, worth it in the end.
While I'm waiting for some more .4mm x 1mm rod to add to the Hull side a added the new brass riggols from the dafi set, I borrowed a wax pen from the wife's crafting kit, these worked a charm. Then blew over with white primer from a rattle can to seal them. Noticed a seam line that runs the entire length of the Hull that will HAVE to go. Early days, but still enjoying this.
5 attached images. Click to enlarge.
Quick update.
Laid on a white primer, followed by Vallejo Yellow Ocre. This was given a satin coat, remasked and the black added. Once thoroughly dry, the Hull "plates" were gloss blacked (again Vallejo) and a good few coats of copper added.
Once this lotwas dry, a fresh gloss coat and satin coat was applied. Will leave this alone for a few days to cure. Right, back onto those blessed cannons
5 attached images. Click to enlarge.
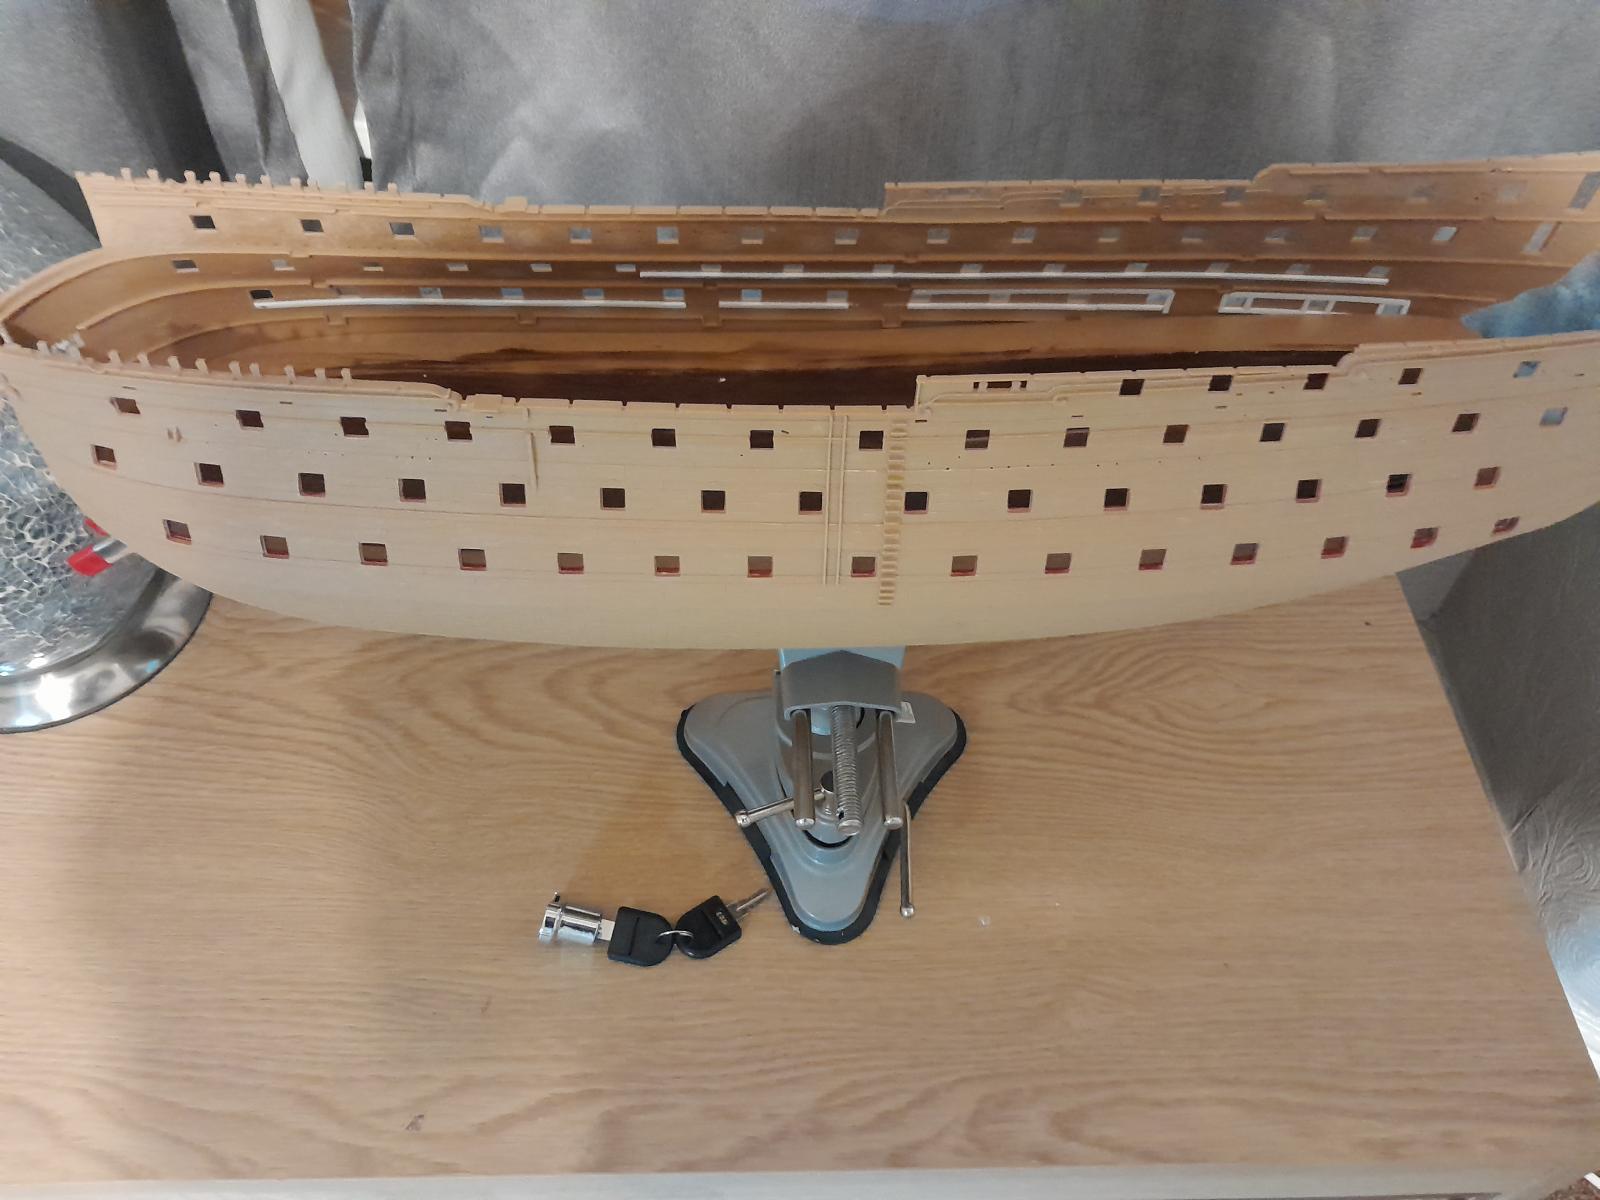
Due to work commitments, I've not had much time to spend on the "Vic", but the Hull sides are now complete. Lower deck to add along with the first 30 cannons.
I still haven't worked out a solution for the LED light strip, so that's my next job.
4 attached images. Click to enlarge.