1/72 MPM XP-55 Ascender
In 1939, the US Army issued Proposal R-40C seeking unconventional aircraft designs that would achieve superior performance, armament, and pilot visibility over existing models. Specifically, the aircraft would need to operate from a "3,000-foot grass field surrounded by 50-foot obstacles and fly at least 425 mph at an altitude of 15,000 feet."
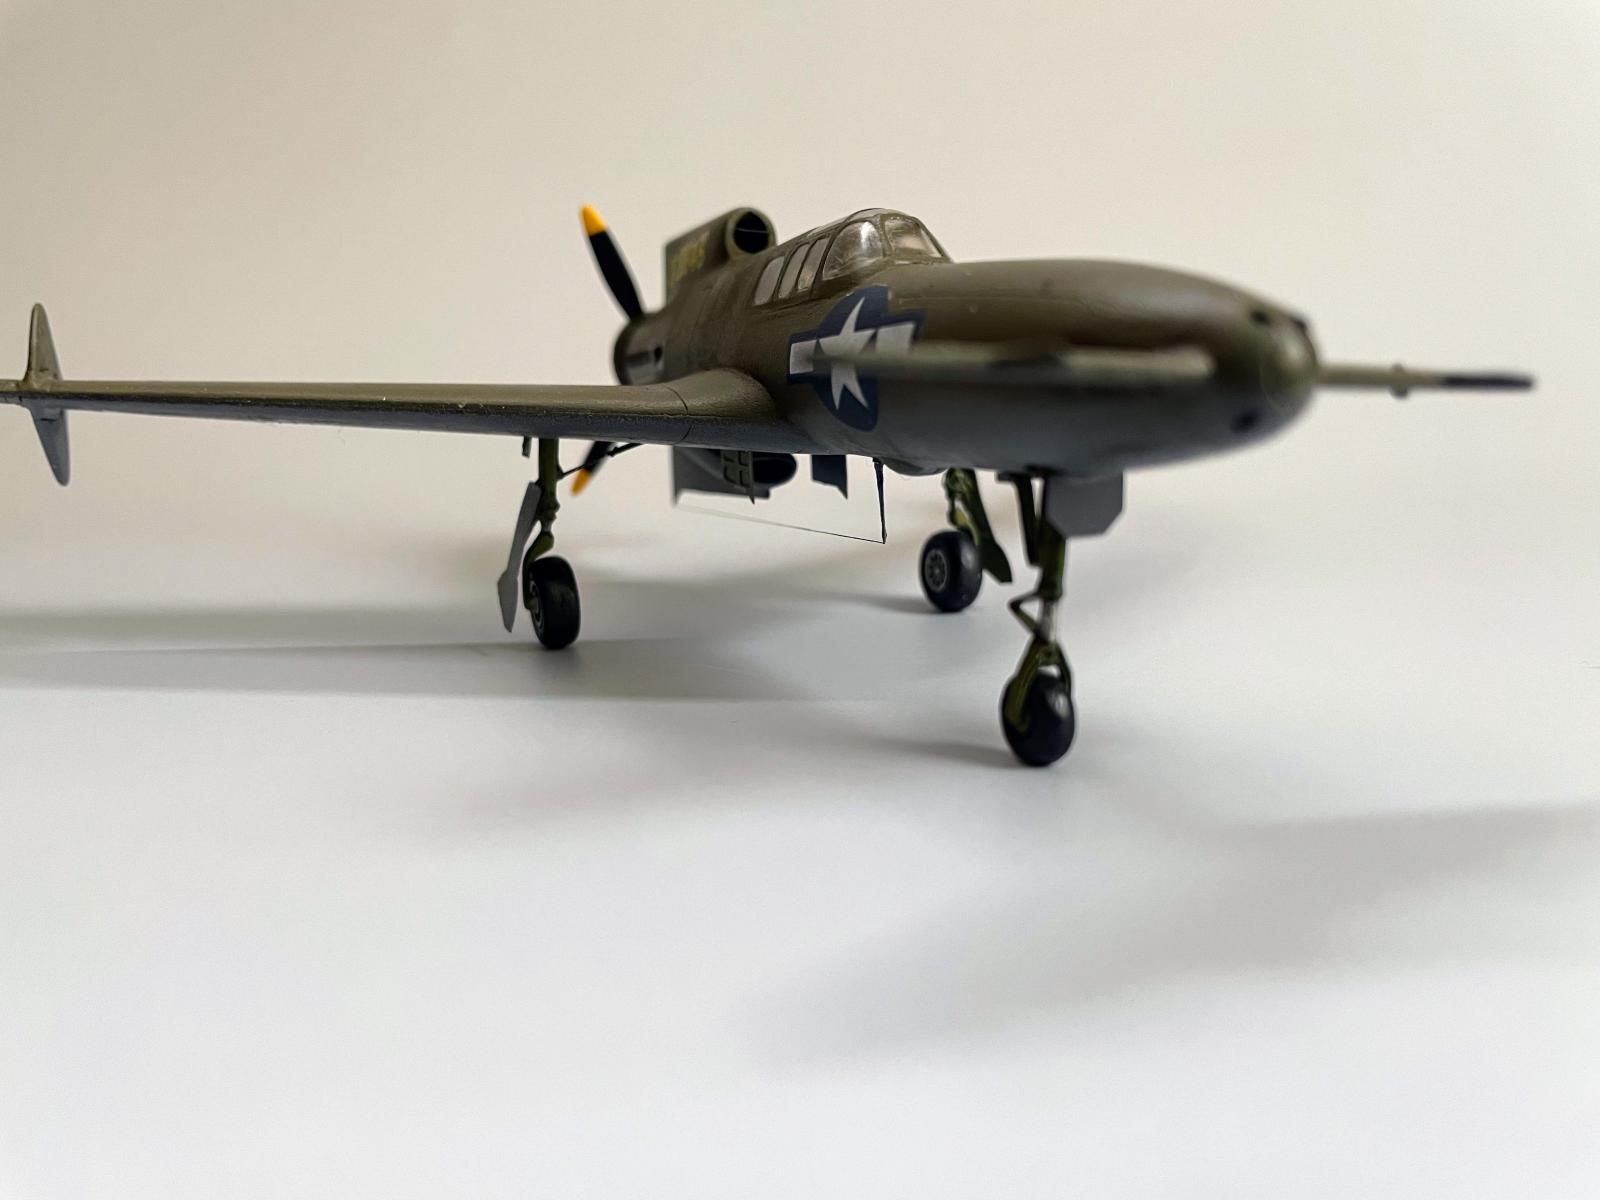
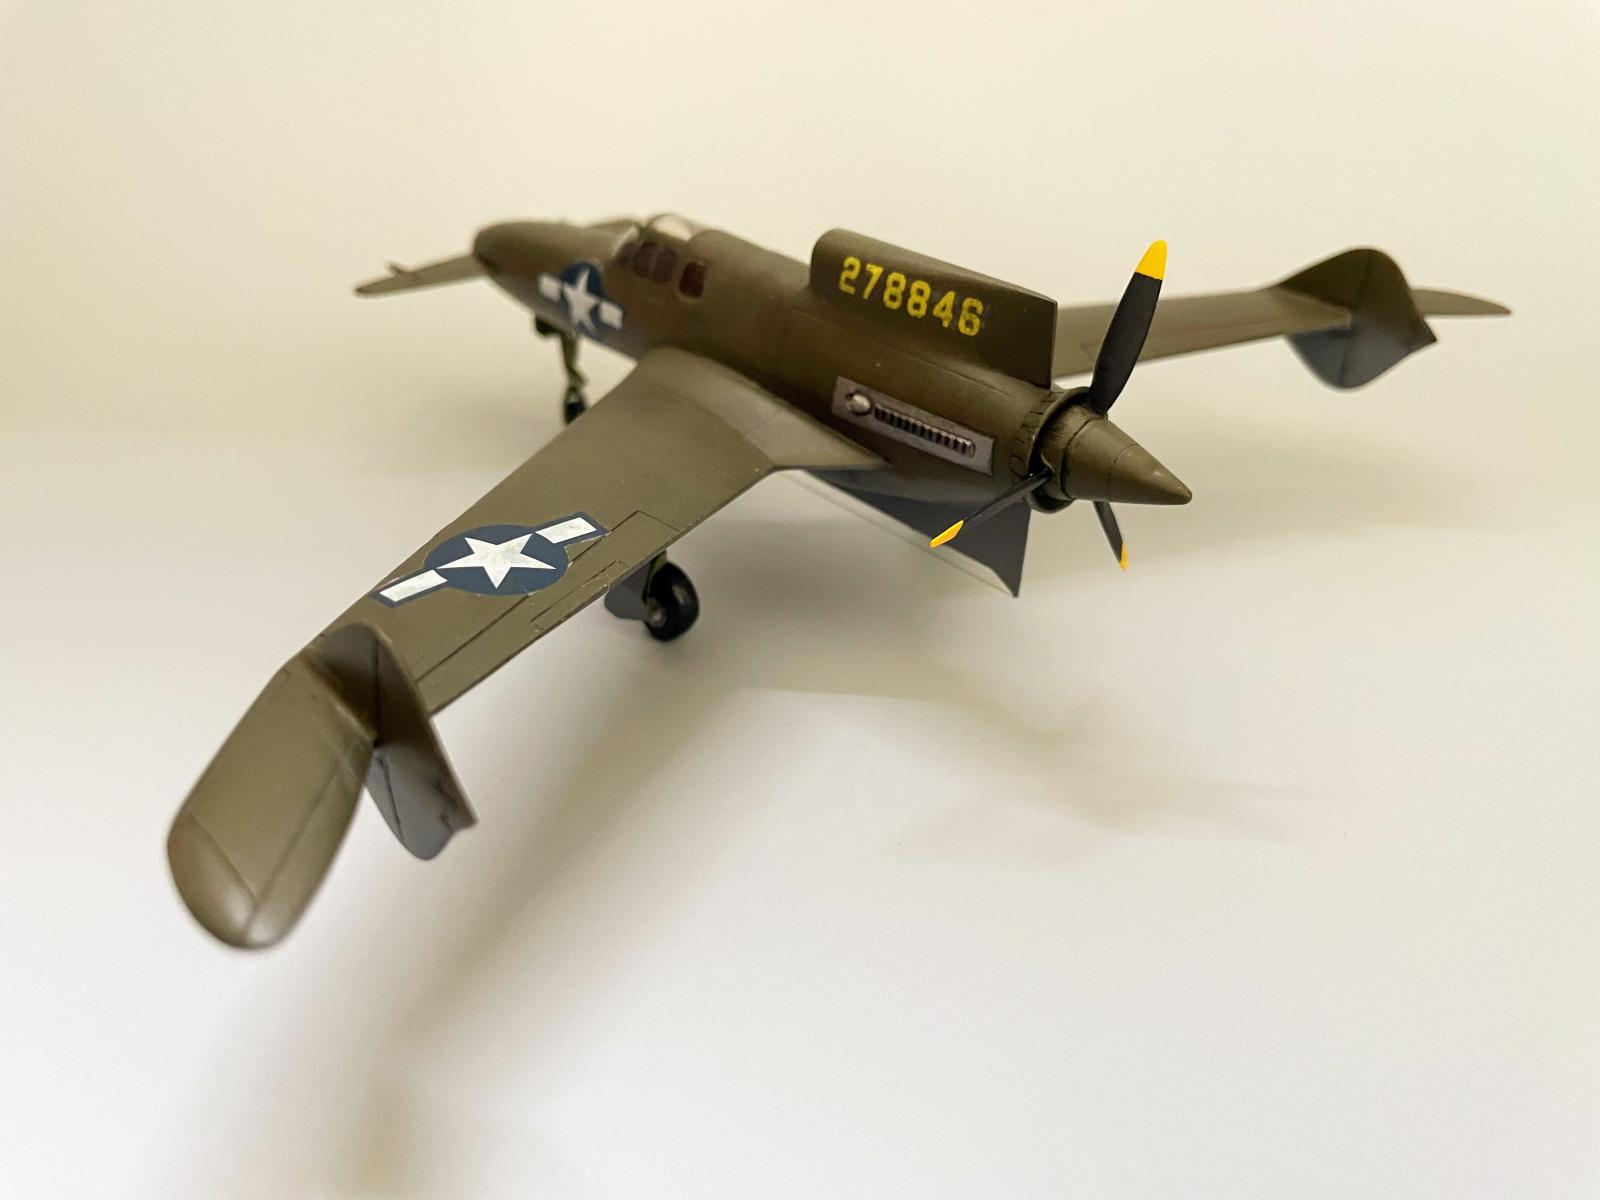
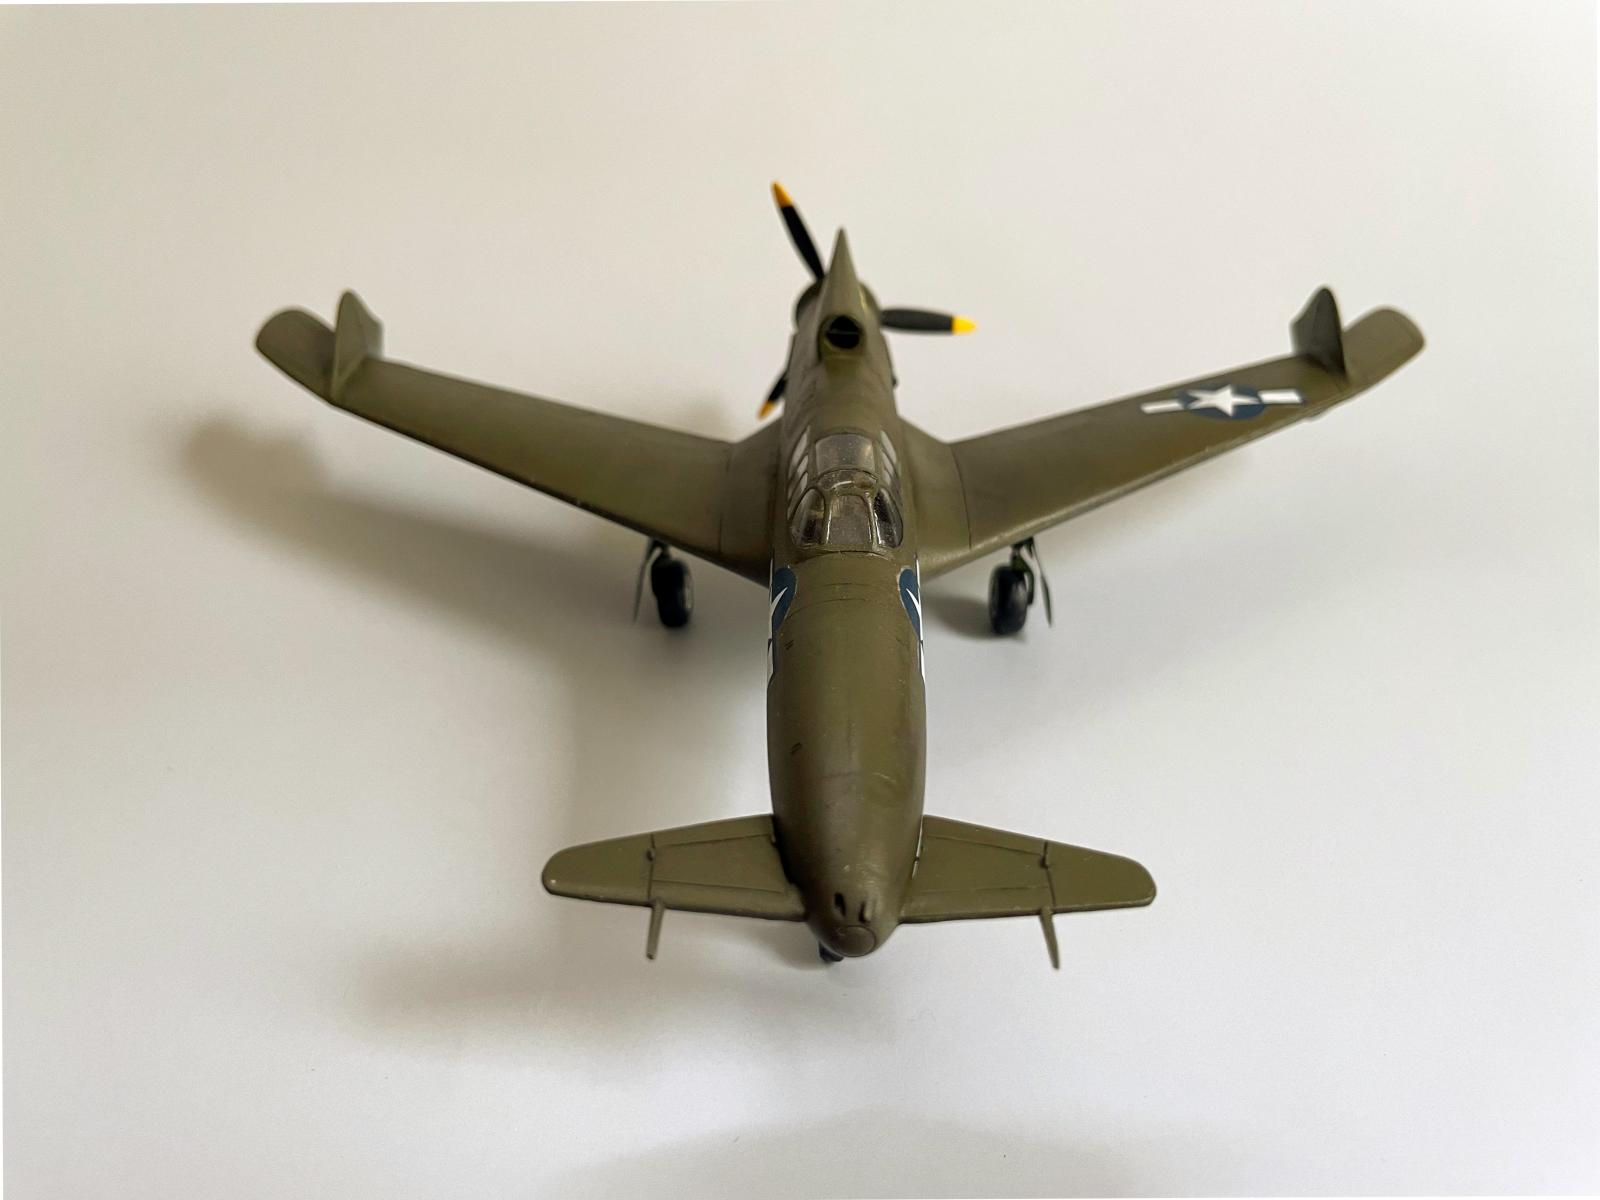
The Curtiss-Wright XP-55 Ascender was an unusual design with swept wings and a pusher propeller located at the back. There are advantages and disadvantages to pusher designs, and I've not read what the specific rationale was in the case of XP-55. Generally, a rear propeller shifts the center of gravity backwards which helps counter the pitch moment of the wings, meaning horizontal stabilizer can be made smaller and thus experience reduced drag. But, the propeller is less efficient in the back of the plane, where the air entering the blades has run over the fuselage and has reduced speed and increased turbulence.
The XP-55 ended up being underwhelming and was cancelled after 3 prototypes were tested. The first crashed following a stall test (I guess that's a fail?); the pilot bailed out safely and was happily not diced to pieces by the propeller that went zooming past. Together with the Vultee XP-54 and Northrop XP-56, the XP-55 completes a trio of misfits that are an interesting standout in the history of military aviation
The Kit
The 1/72-scale MPM XP-55 Ascender is a limited run kit with a good bit of flash, thick runners, and OK fit.

There are 31 parts in soft gray styrene, 22 brass photoetch, a vacuformed canopy, and a film for the instrument panel. It's the only kit in this scale that isn't vacuformed, and most kits of the original release are quite old (these are emblazoned with the "Made in Bohemia" on the box; there is a more recent "upgraded" kit including some resin pieces). Apparently these old kits are known for having yellowed clear parts; I lucked out here, but alas, my decals all but disintegrated when they hit the water. I was able to revive them somewhat with Microscale Liquid Decal Film, though there was still a little bit of tearing and discoloration. I went easy on the softener (opting for Micro Sol over Solvaset) and so got a small bit of silvering here and there. I was just happy the decals weren't a total disaster.
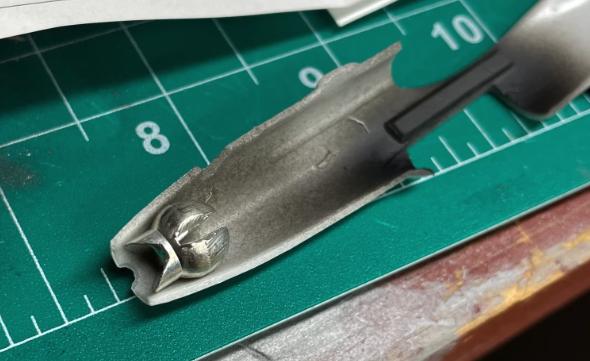
The model requires a ballast of unspecified weight: a 0.05 oz fishing weight fit perfectly and did the trick.
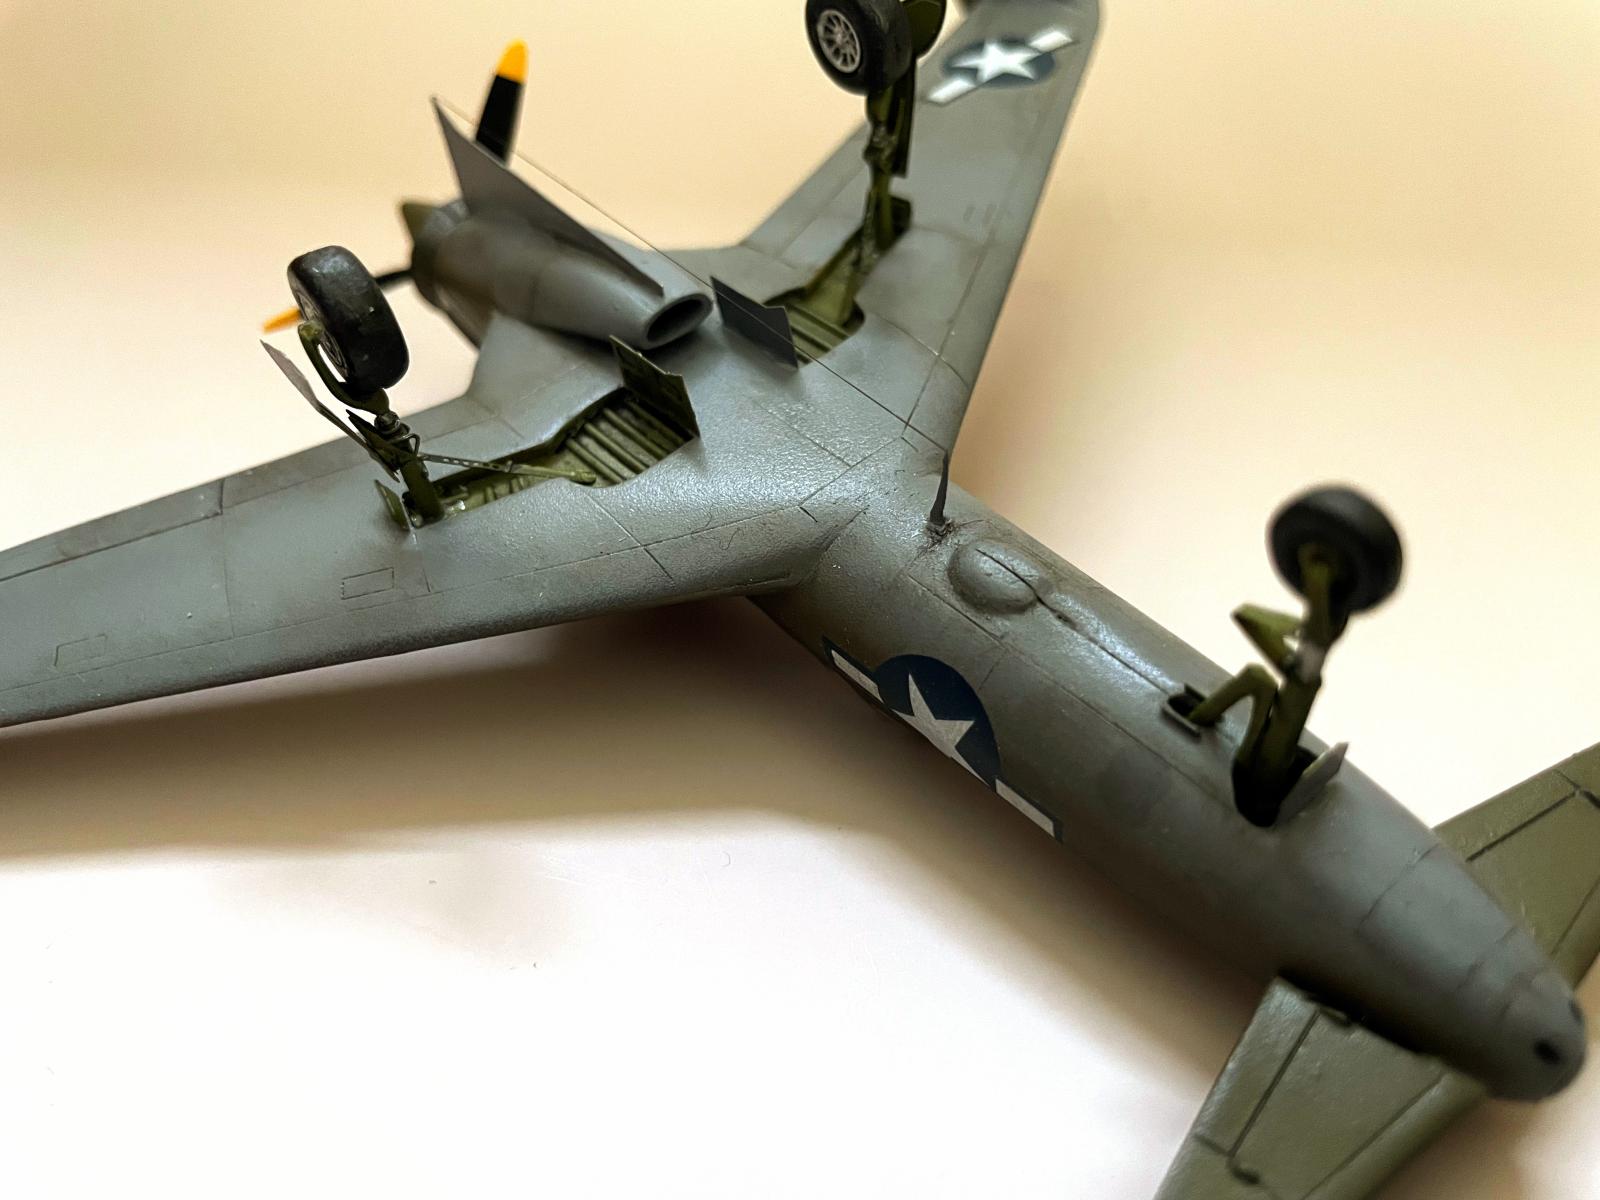
The rear landing gear bays were totally plain, using the inside surface of the upper wing piece. Not only is it plain, but its a curved surface which looks obviously like the inside of the wing. So, I took a few landing gear flaps from a chop kit and fashioned semi-believable, if inaccurate, bays:

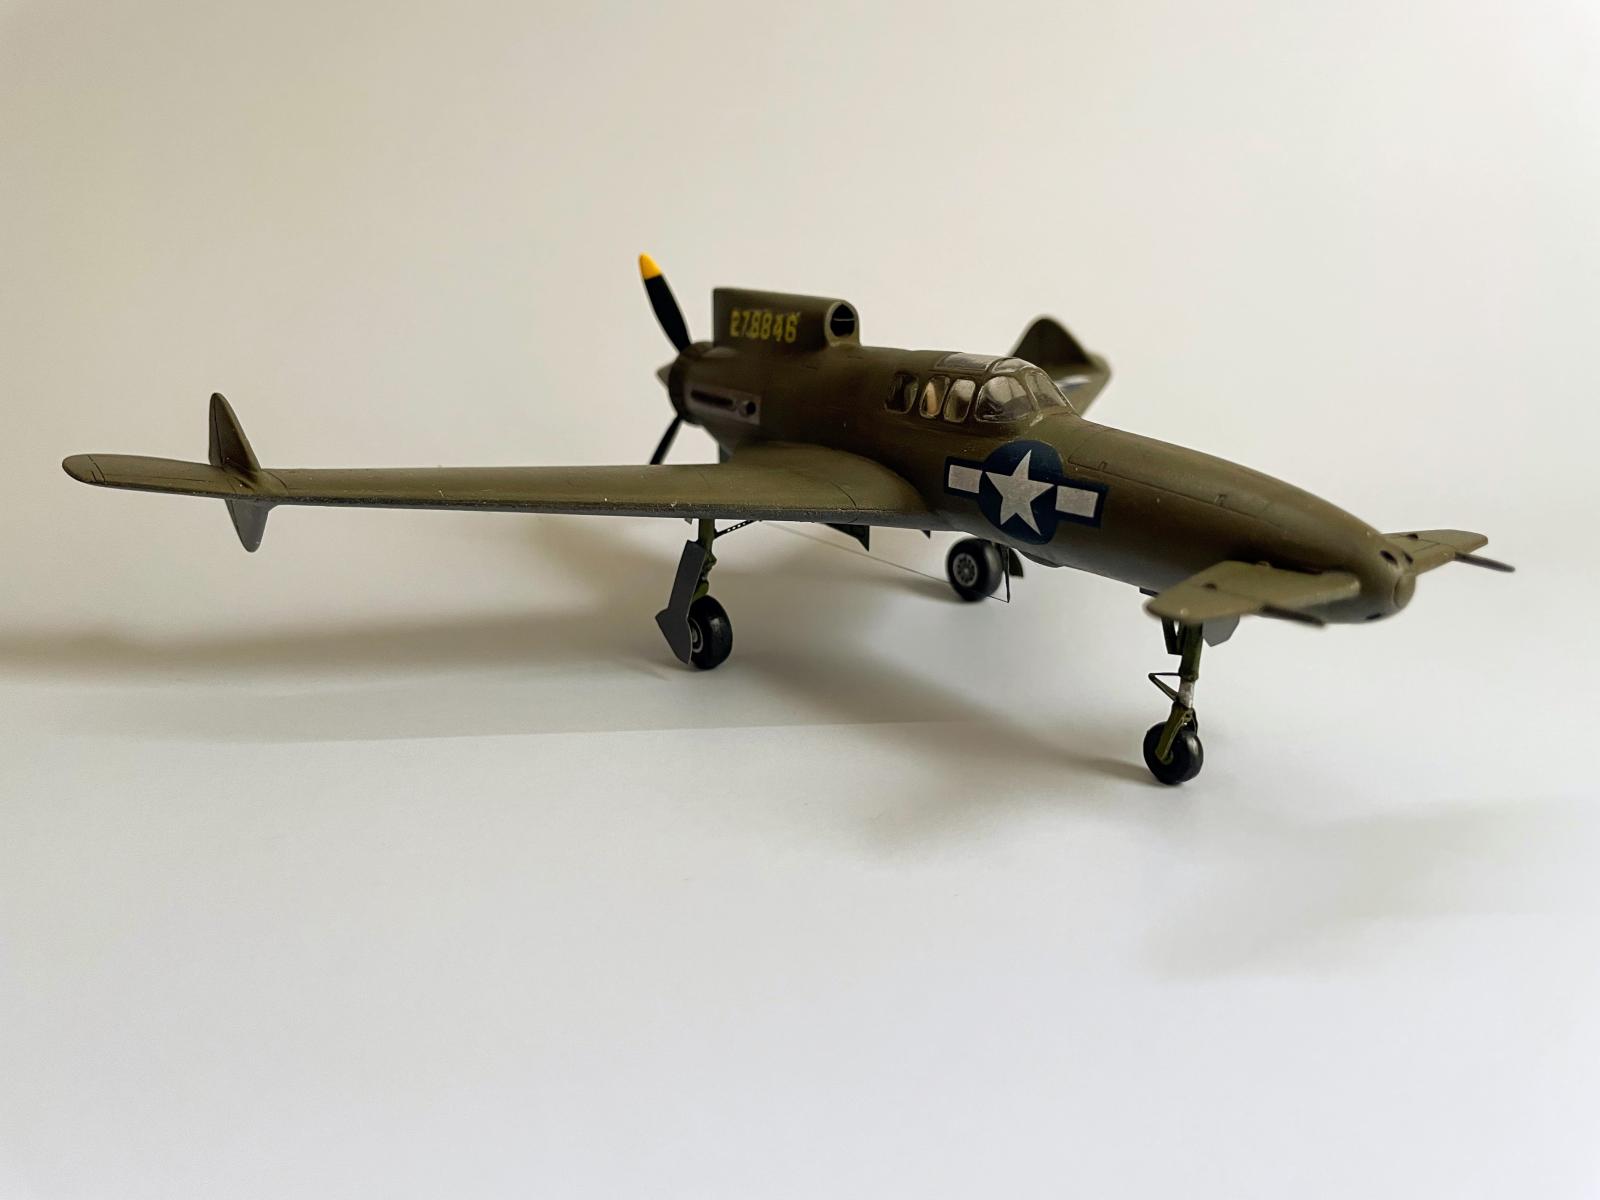
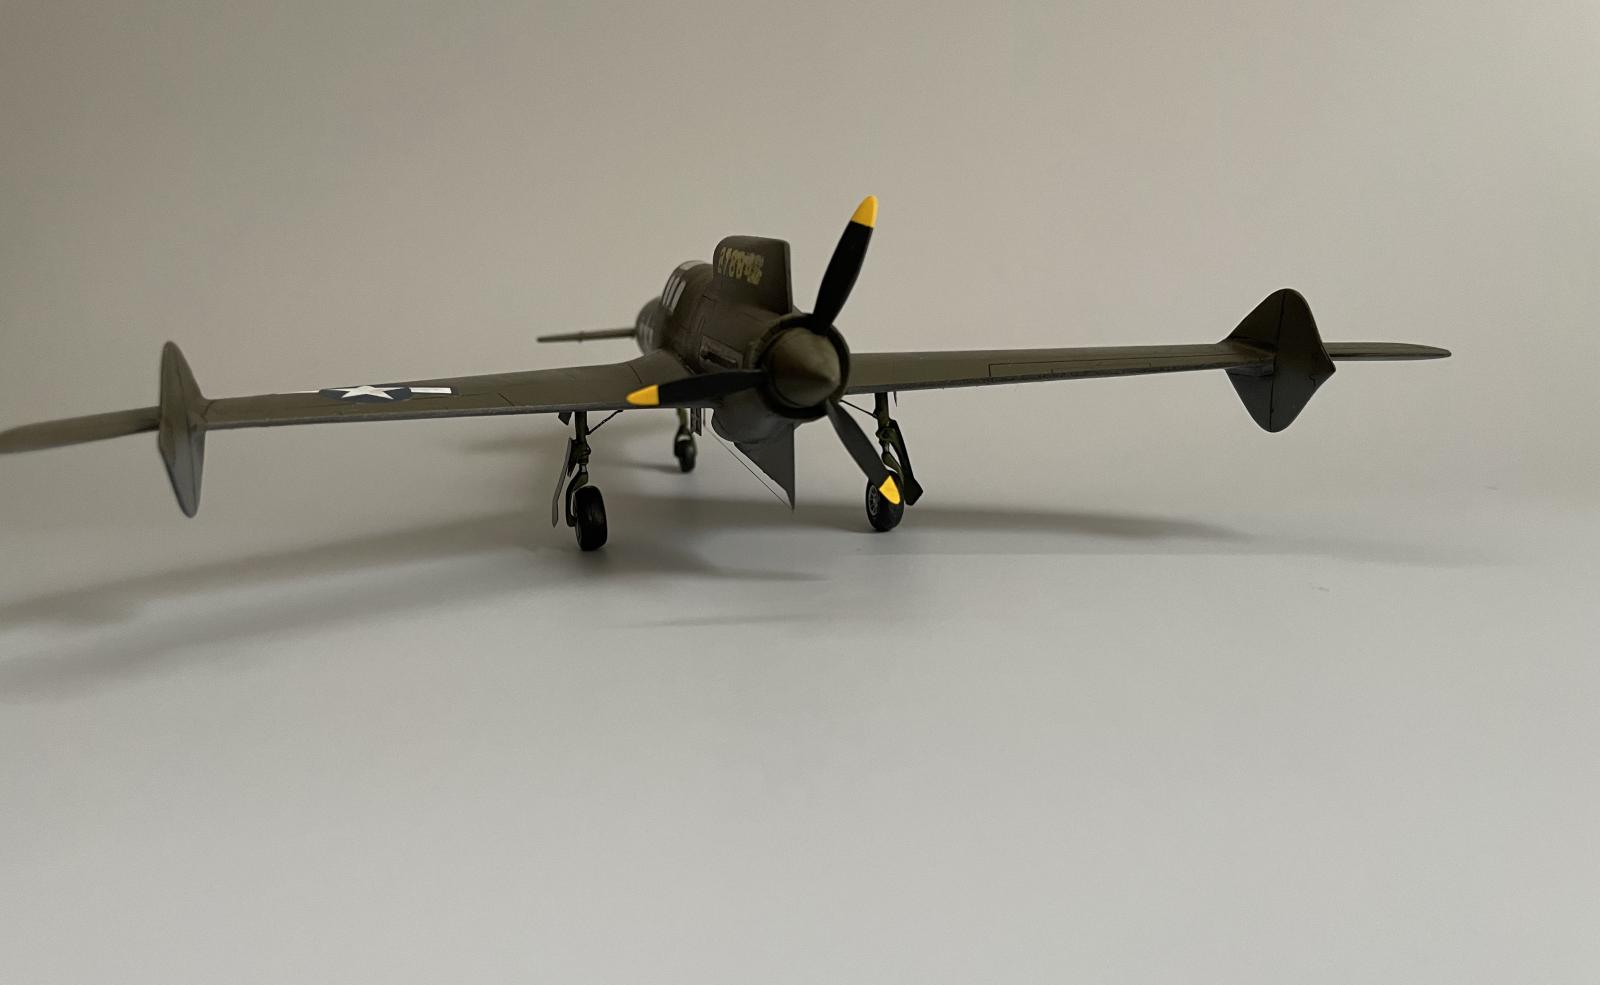
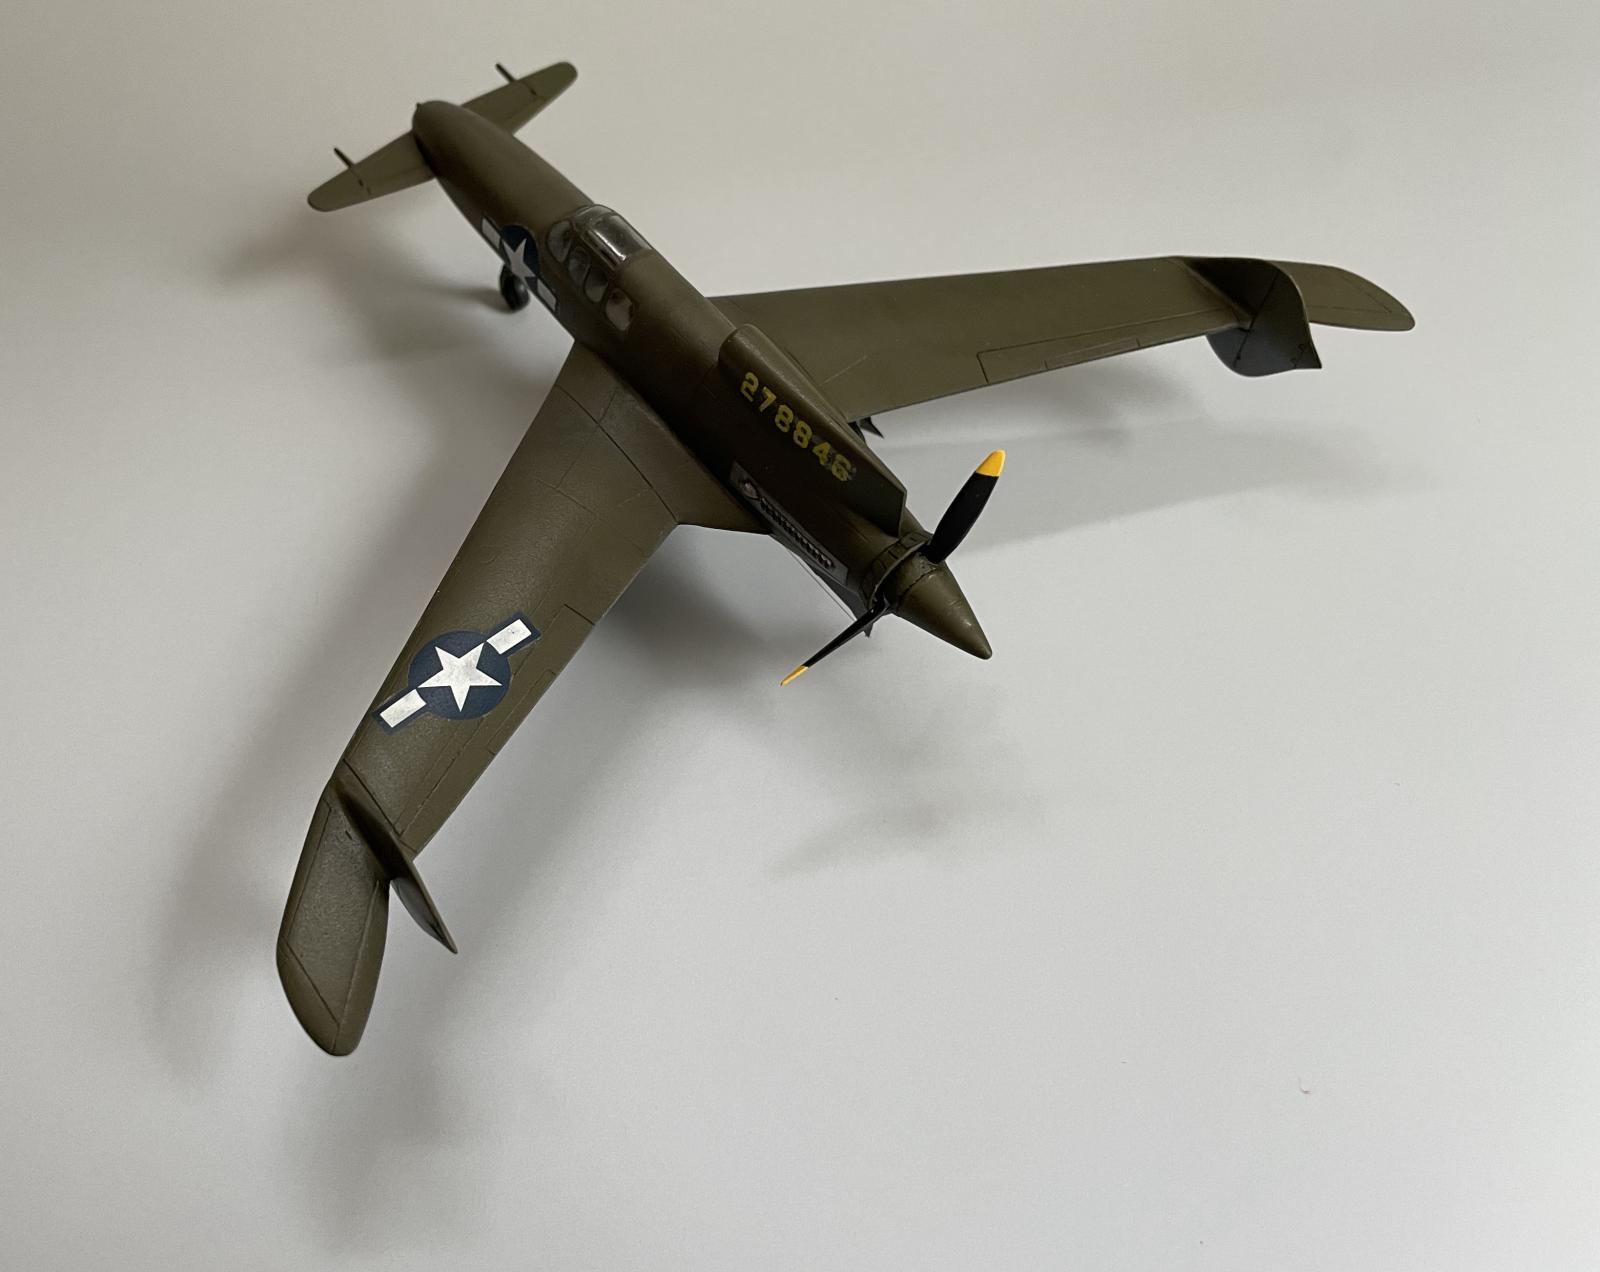
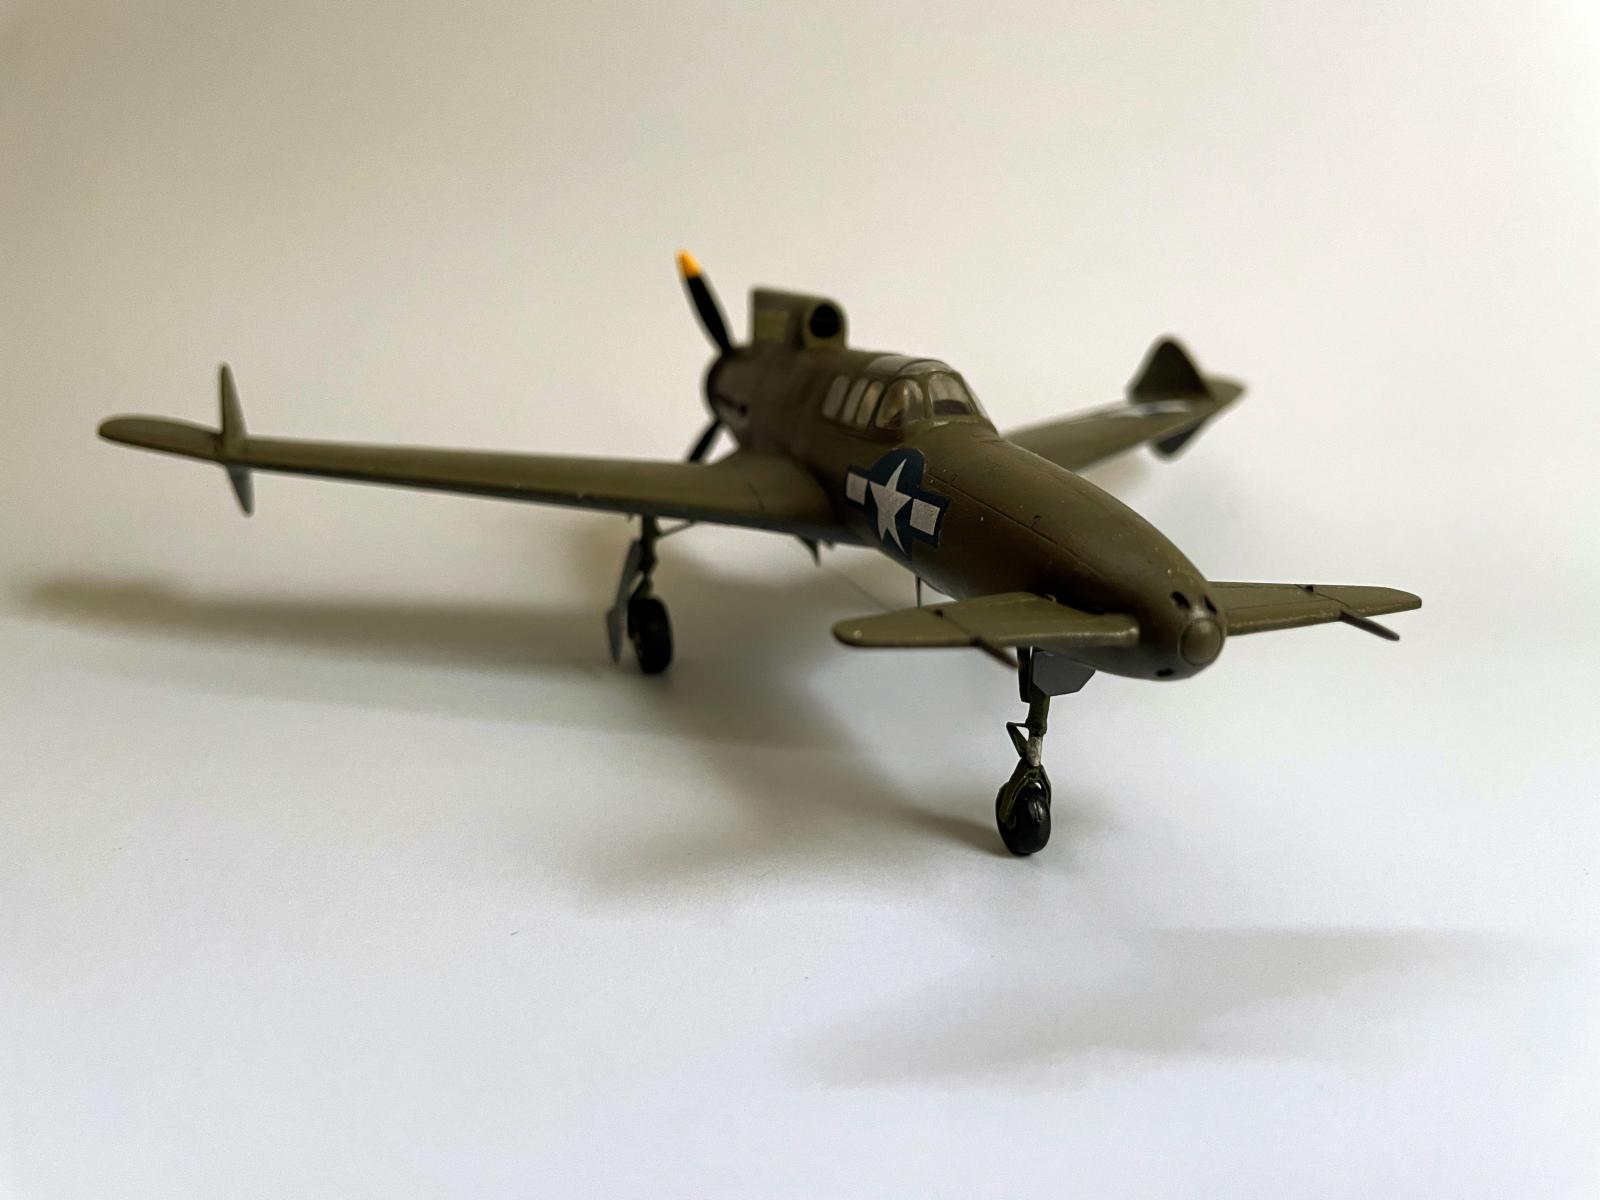
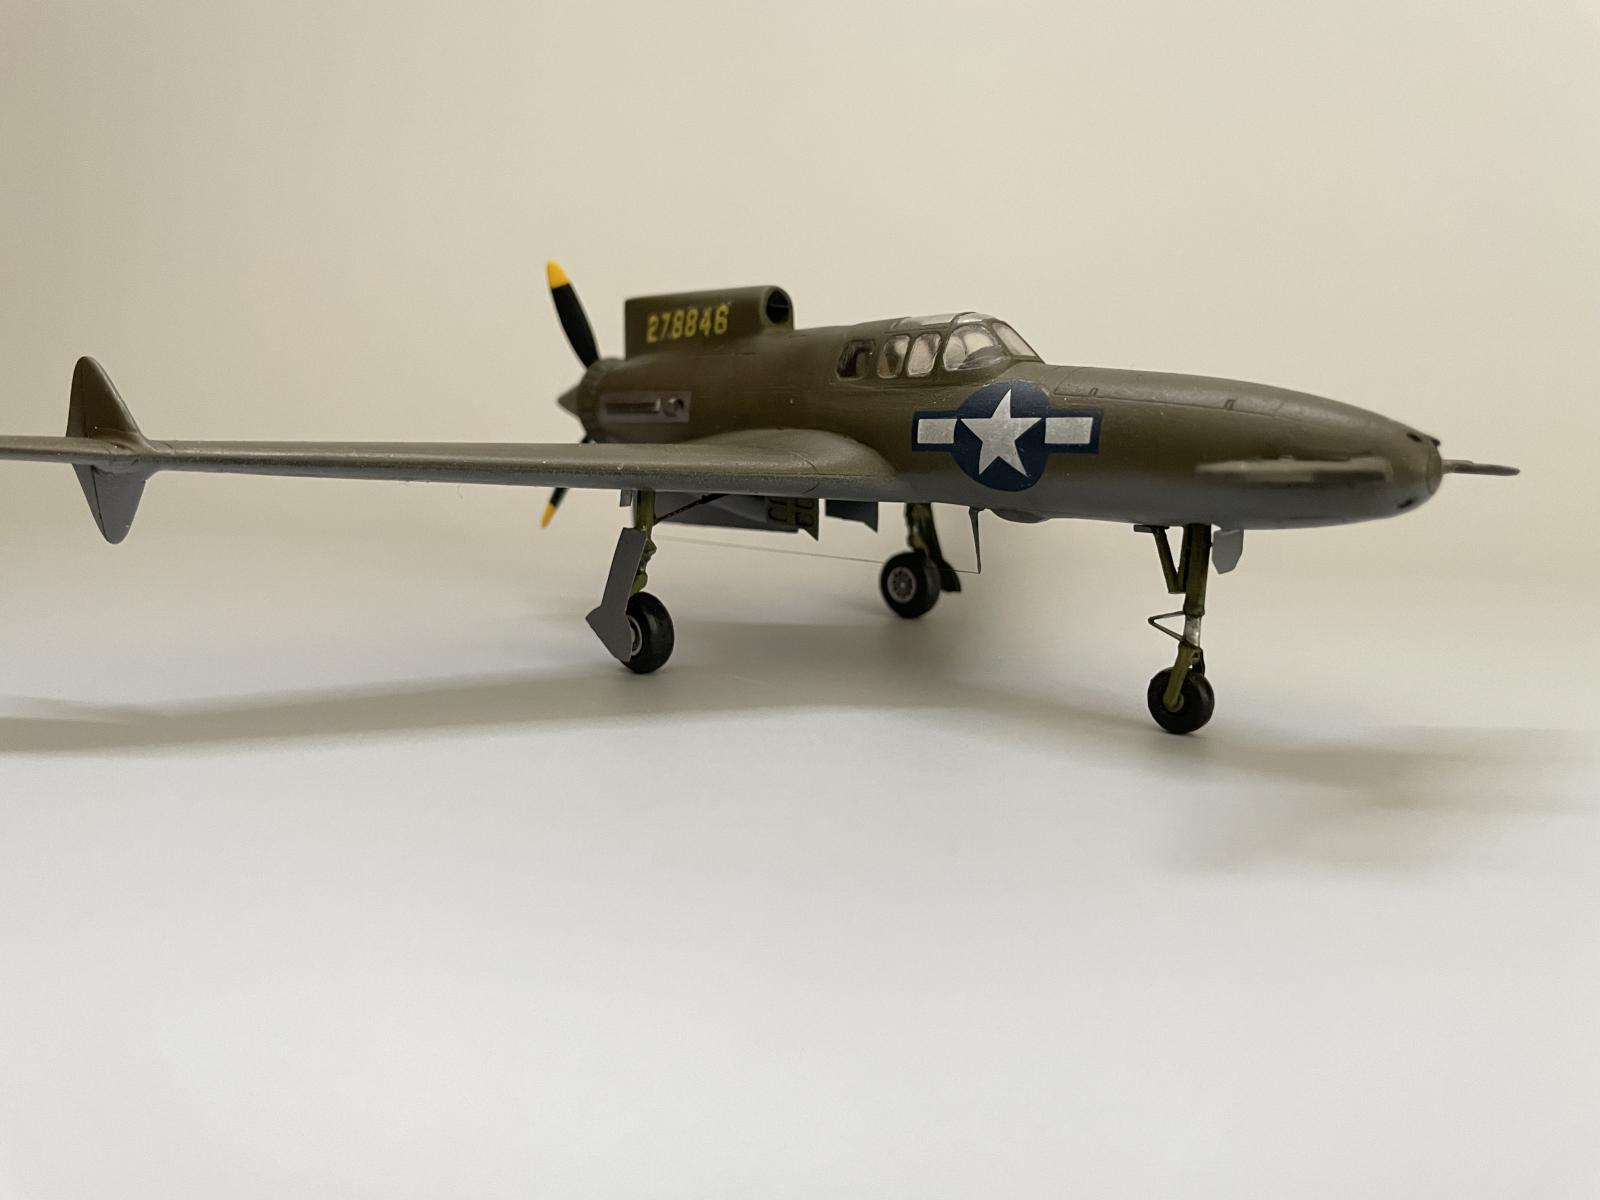
Here's the final product:
The canopy is part of the fuselage, and so it needed to get fit and filled in place before painting. This meant I would need to airbrush it, rather than hand-paint around piecemeal masks as I'm used to. I tried cutting complete masks, but failed. The canopy windows are slightly recessed, though, and so I wondered about using some kind of liquid mask product. I've never used them before, but I imagined that I could possibly allow the liquid mask to pool up and flow across the window, settling neatly along the raised edges. I tried two: Humbrol Maskol and Incredible White Mask Liquid Frisket; both smell like week-old fish entrails that have been microwaved and sprinkled with scorched human hair. The white is tad thinner than the Humbrol. Using the Humbrol with a small swab (you can use a brush, but don't let the latex dry on it; this requires frequent rinses with water as you work), I was able to coax the fluid into the nooks. I primed, painted, and pealed off the mask with a toothpick. The result wasn't bad, a little ragged in places and some touch-ups required, but I would say mostly a success.

You'll notice that there are no guns on the nose; oddly, MPM gives you an option of having guns, but you need to saw out the panel that's part of the fuselage mold and glue in the panel with the guns that comes as a separate piece. The guns were big and silly looking, and since I didn't want to risk cutting the model apart, I deferred on the guns.
Instructions called for "Dark Olive Drab 41" and "Neutral Grey 43", which happen to correspond to AK Real Colors. I therefore took this opportunity to try out AK's lacquer line: they were superb. Landing gear and wheel wells were done in Mr. Color Zinc Chromate Type 1 (351).
Weathering was pretty minimal, since the surviving prototypes didn't see too much action. I used some AK Panel Liner for Green and Brown Camouflage (a warm dark gray color), and some oils: Mig Starship Bay Sludge on top and Starship Filth on the bottom. The final effect was quite subdued.
To make the antenna, I used Infini Model Aero Rigging 0.055 mm. First time using the stuff, and it was strange: super fine but elastic, which is nice because you don't need precisely measured pieces.

Nice build Brian, of what is really an interesting plane. You did a good job with that kit and put together a great looking build. It certainly will generate comments and questions when you put it out for display, its just not something you see every day.
Very nice result, Brian @bapowellphys
I have always liked the looks of this aircraft and your build is clearly showing why.
Great work done on this kit.
Excellent build Brian! Your end results ended up looking like the real deal. This is going to be a crowd pleasure on a very unique subject.
Amazing job, Brian!
Great write-up too!
Really cool, Brian.
Nicely done, an unusual aircraft.