GWH SU-35S Flanker E 1/48
Hello!
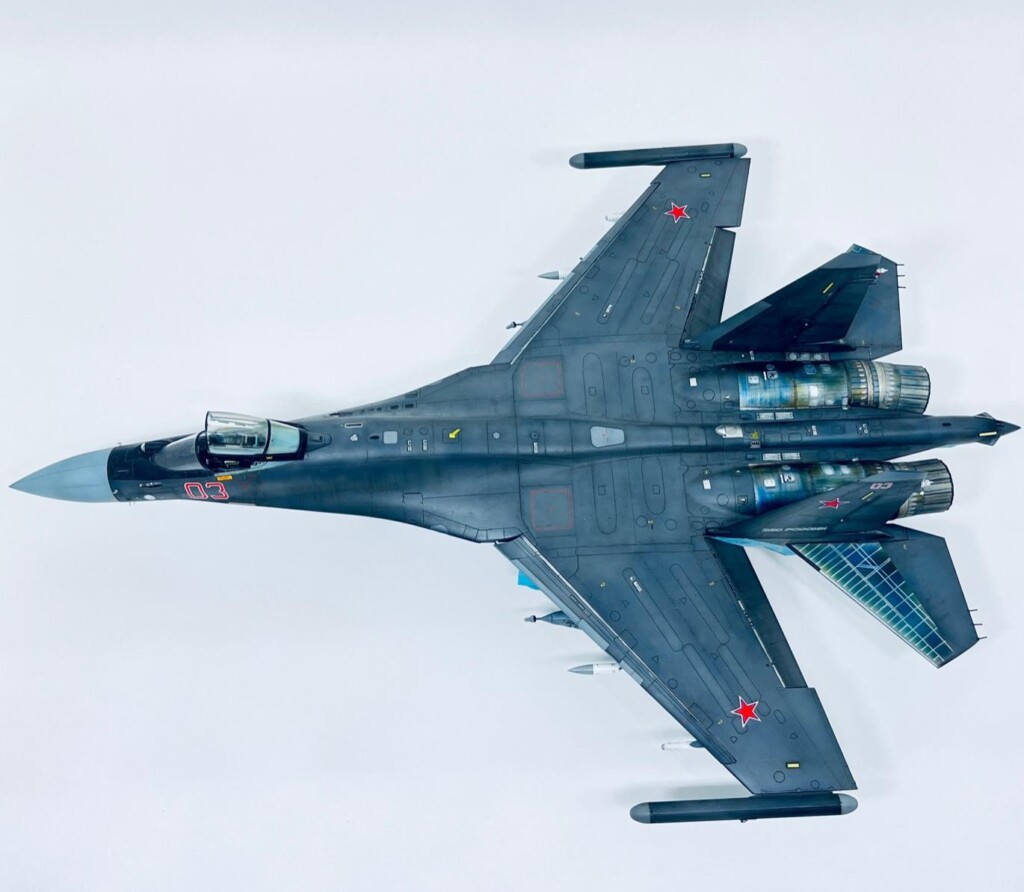
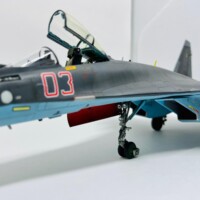
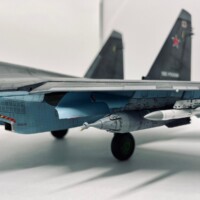
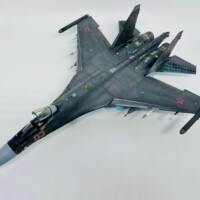
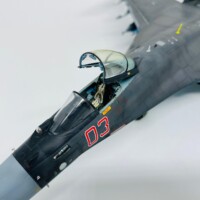
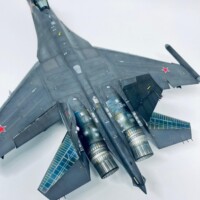
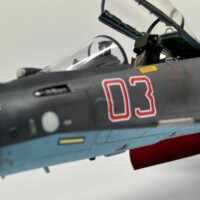
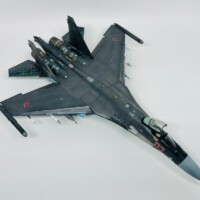
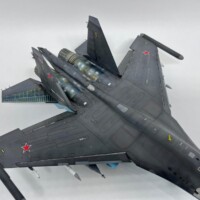
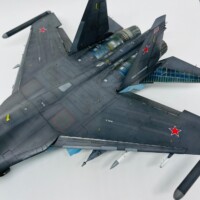
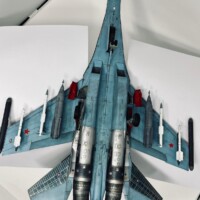
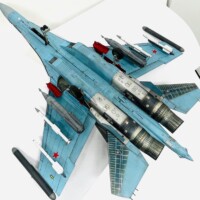
This is my recent project, a GWH SU-35S Flanker-E, 1/48 scale. It is, undoubtedly, my most demanding and longest build since my return to the hobby. It certainly could have been a much easier and quick build, but after seeing some fantastic jobs in the net and to be, at least, close to the level of the kit, I had to try harder.
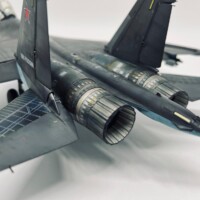
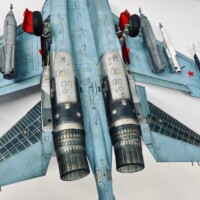
For starters, Sukhois have that particular hundreds of different tones for the metals in the engine/exhausts areas. They differ a lot, depending on the incident light and angles of view Also, there are not too many good references around, specially for the underside.
But then I got lucky and found a masterpiece from a guy named Haneto, at the arcforums.com. There, he came out with a fantastic tutorial for his SU-27 which I tried to follow. Of course, I didn't get even close, but it helped a lot.
The kit is very good, with an impressive level of details and weapons, but as Mr Haneto points out, there are a few issues to deal with. In my case, the main one was the fitting of the engines nozzles to the fuselage. Their diameters were not a perfect match. Don't know if was my fault or not, but I ended up with some small steps. Fortunately, that area is so visually busy and colorful that is mostly unseen.
Instructions, for this particular kit, because GWH has several SU-27 and SU-35, are far from ok. They don't come with decals spots for some weapons, so I had to download them from the net. Also, I don't like their choice of CAD pictures instead of good old drawings. Those low resolution pictures aren't clear enough and lack precise locations for some items, at least for me.
The decals are just ok too. The red stars are a bit thick, but the problem is the transparent film for the rest. They aren't that transparent and tend to silver, so I cut them off everywhere I could. Good call!
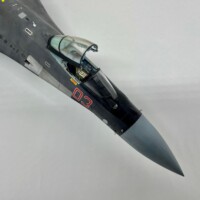
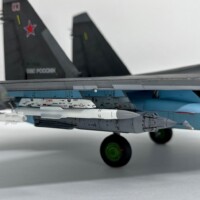
I've used Quinta Studios 3D decals for the cockpit and Galaxy masks ( I'd say they are essential) and Reskit resins for R-73 missiles. Paints are locally made polyester based colors. And, of course, for those blue, gold and silver shades for the engines areas, I've used the Tamiya Weathering Master Sets, also very useful.
Hope you enjoy and, again, kudos for Mr Haneto and his tutorial.
Cheers!
George
@george72 - Fantastic work George! The issues you had along the way do not show at all in the finished piece.
Thank you!
Looks pretty good from where I’m sitting, George.
Thank you!
Fantastic build and finish. Congratulations!
Thank you!
A fantastic job. I hope I can do as well.
Thank you!
Beautiful work! The metal work looks fantastic (as does the whole thing, really).
Thank you!
Excellent all over, George!
Congratulations!
Thank you!
I think you nailed it perfectly George, plus I doubt anyone can spot any millimetric gap around the exhausts. Congratulations on a solid model
Thank you!
Excellent result, George @george72
It really got the perfect looks, painting and weathering are superb.
Thank you!
Bravo, George! Phenomenal paint and panel line detail, your metal work on the engines is top-notch. Quinta cockpit stuff is worth the shipping wait, love their stuff! Just a great model!
Thank you!
You've done a great job on this one, beautifully done weathering.
Thank you!
Muito bom George,parabéns!
Obrigado!
beautiful work!
Thank you!
This metal work is awesome...almost intimidating to me.
Parabéns!
Thank you! Obrigado!
Sharp Super Flanker!
Thank you!
Looks fantastic ! Great job!
Thank you!
G'day George (@george72),
This is a great build and your painting is superb.
I have one of these in the stash, but I'm holding off until I feel more confident about painting the metallic tones.
Well done!
Thank you. As I said in the post, Mr Haneto provides a very useful tutorial in his post at arcforuns.com. Check it out.