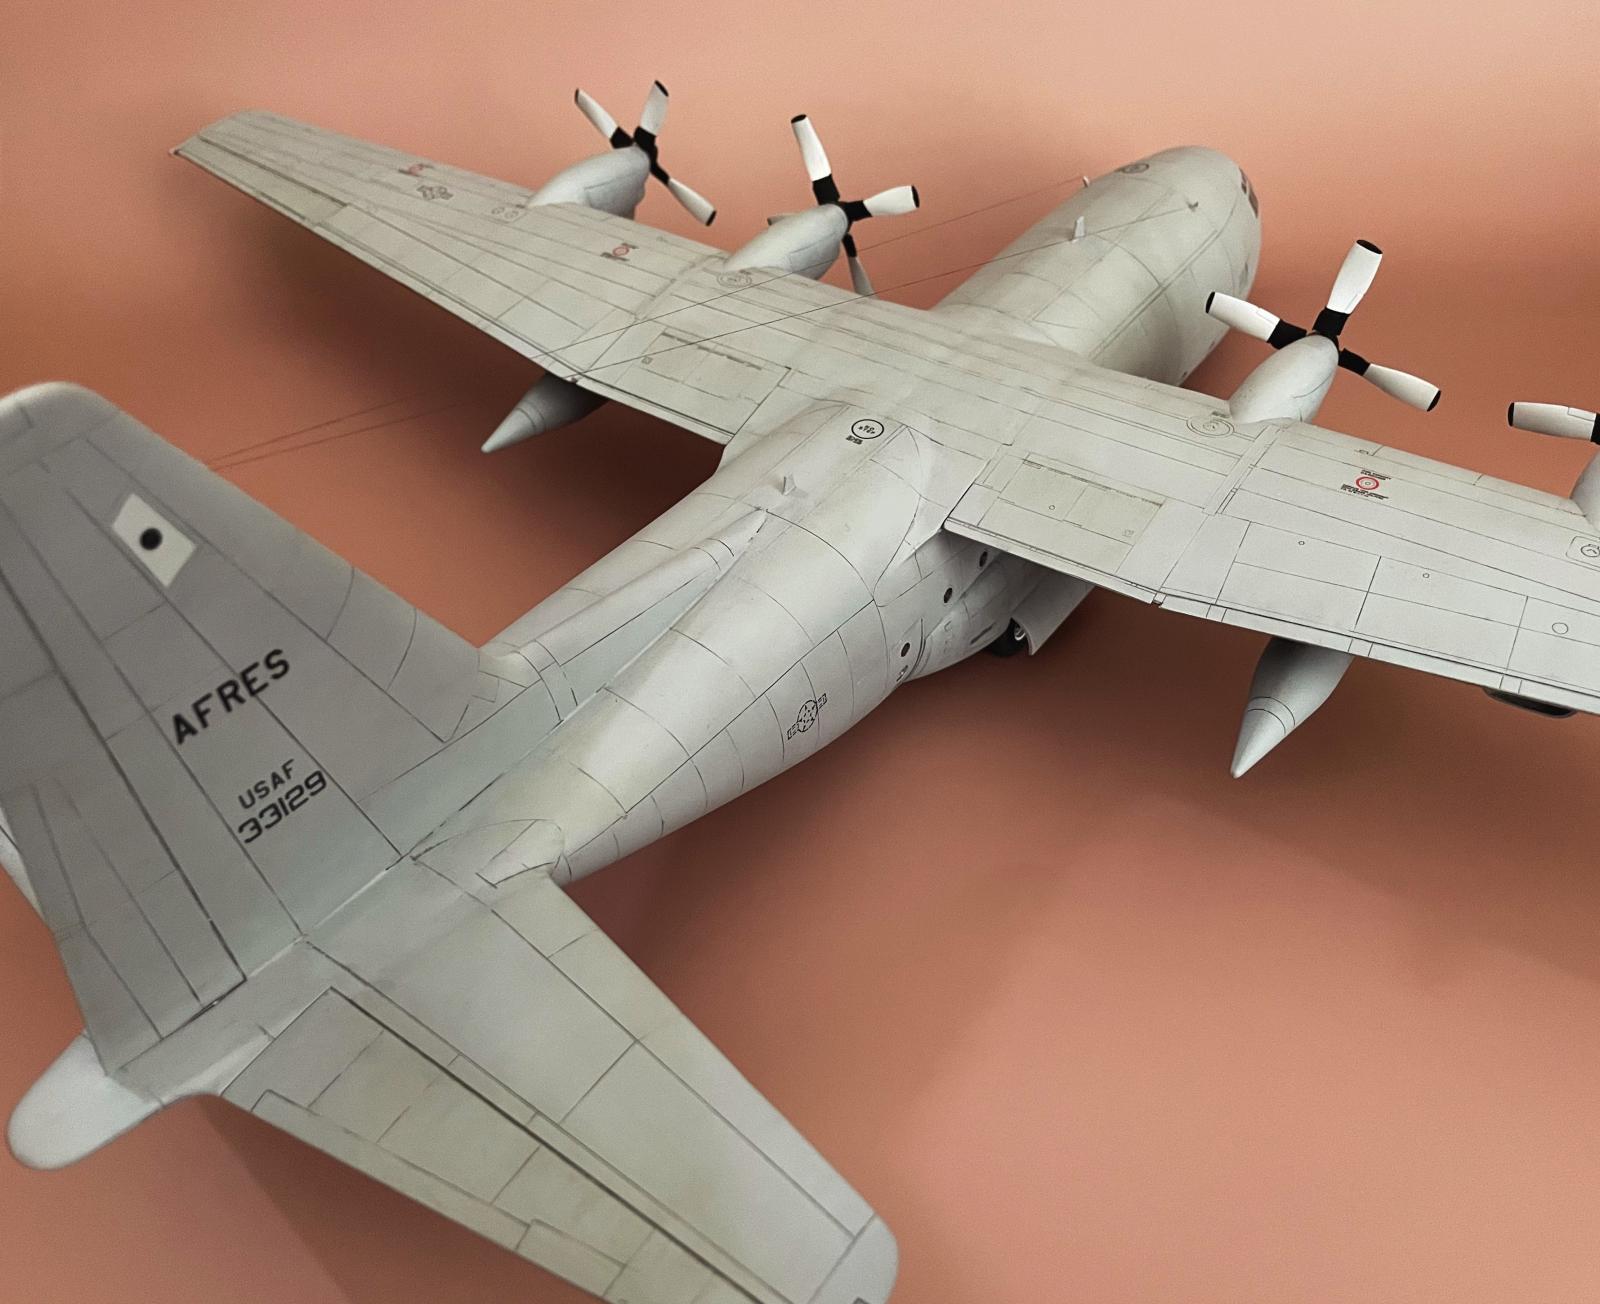
Italeri AC-130H Spectre Gunship

The Lockheed AC-130 gunship is a ground attack version of the C-130 Hercules. It was developed in the 1960's during the Vietnam War to perform close air support operations: due to its low operating altitude of around 7000 feet (owing in part to its unpressurized cabin) and hulking size, making it an umistakable target, such missions were typically performed at night. The distinctive weaponry of the AC-130 bristles from its port side: the Spectre (AC-130H) had two 20 mm M61 Vulcans just aft of the cockpit, an L/60 Bofors 40 mm cannon just aft of the wing, and an M-137 105 mm howitzer at the rear of the plane. The Bofors cannon was actually designed as a ground-based anti-aircraft gun by Sweden in the 1930s, seeing extensive allied use in WWII. The more modern howitzer is a mainstay of ground artillery forces, with power enough to punch through a foot of reinforced concrete. While the AC-130 has dabbled in precision munitions like laser- and GPS-guided bombs, these massive guns remain the core of the Spectre's arsenal: they are cheap to fire, easy to use, and absolutely devastating when fixed on a target during a pylon turn, which was a wide banked circle with the target at the center.
During the Vietnam War, in addition to traditional close air support roles, the AC-130 was a lethal “truck hunter” along the Ho Chi Minh Trail: over the course of the war, some estimated 10,000 trucks were destroyed by AC-130s. But, the AC-130 was big and vulnerable: while frequently under F-4 Phantom II escort, 6 gunships and crews were downed over the course of the war.
The AC-130H Spectre was retired in 2015, followed by the -U and -W in 2020 and 2022. The upgraded AC-130J Ghostrider is the sole remaining version in operation, flown by Air Force Special Operations Command out of Hurlburt Field, FL.
The Kit
The 1/72-scale Italeri AC-130H Spectre is a rebox of the 1990 ESCI/ERTL release (which is confusing since Italeri also apparently has its own, older tooling). I also happen to own the AMT/ERTL boxing of the ESCI release, and can confirm that the molds are identical, except for one very critical part: the canopy on the AMT/ERTL tooling (left) has inaccurately placed windows:

This might not matter so much to a non-purist like myself, except for the fact that I was aiming to use a canopy mask accessory and save myself the abject misery of cutting masks by hand. KV Models makes an excellent line of AC-130 masks, but none fit the inaccurate ERTL canopy. Bummer. So, I picked up the Italeri kit and gave my 6 year-old-son the ERTL to have som fun with (not, however, before trading reaper decals: the Italeri version, though perhaps realistic, looked too vivid and cartoonish for the serious business of the AC-130).
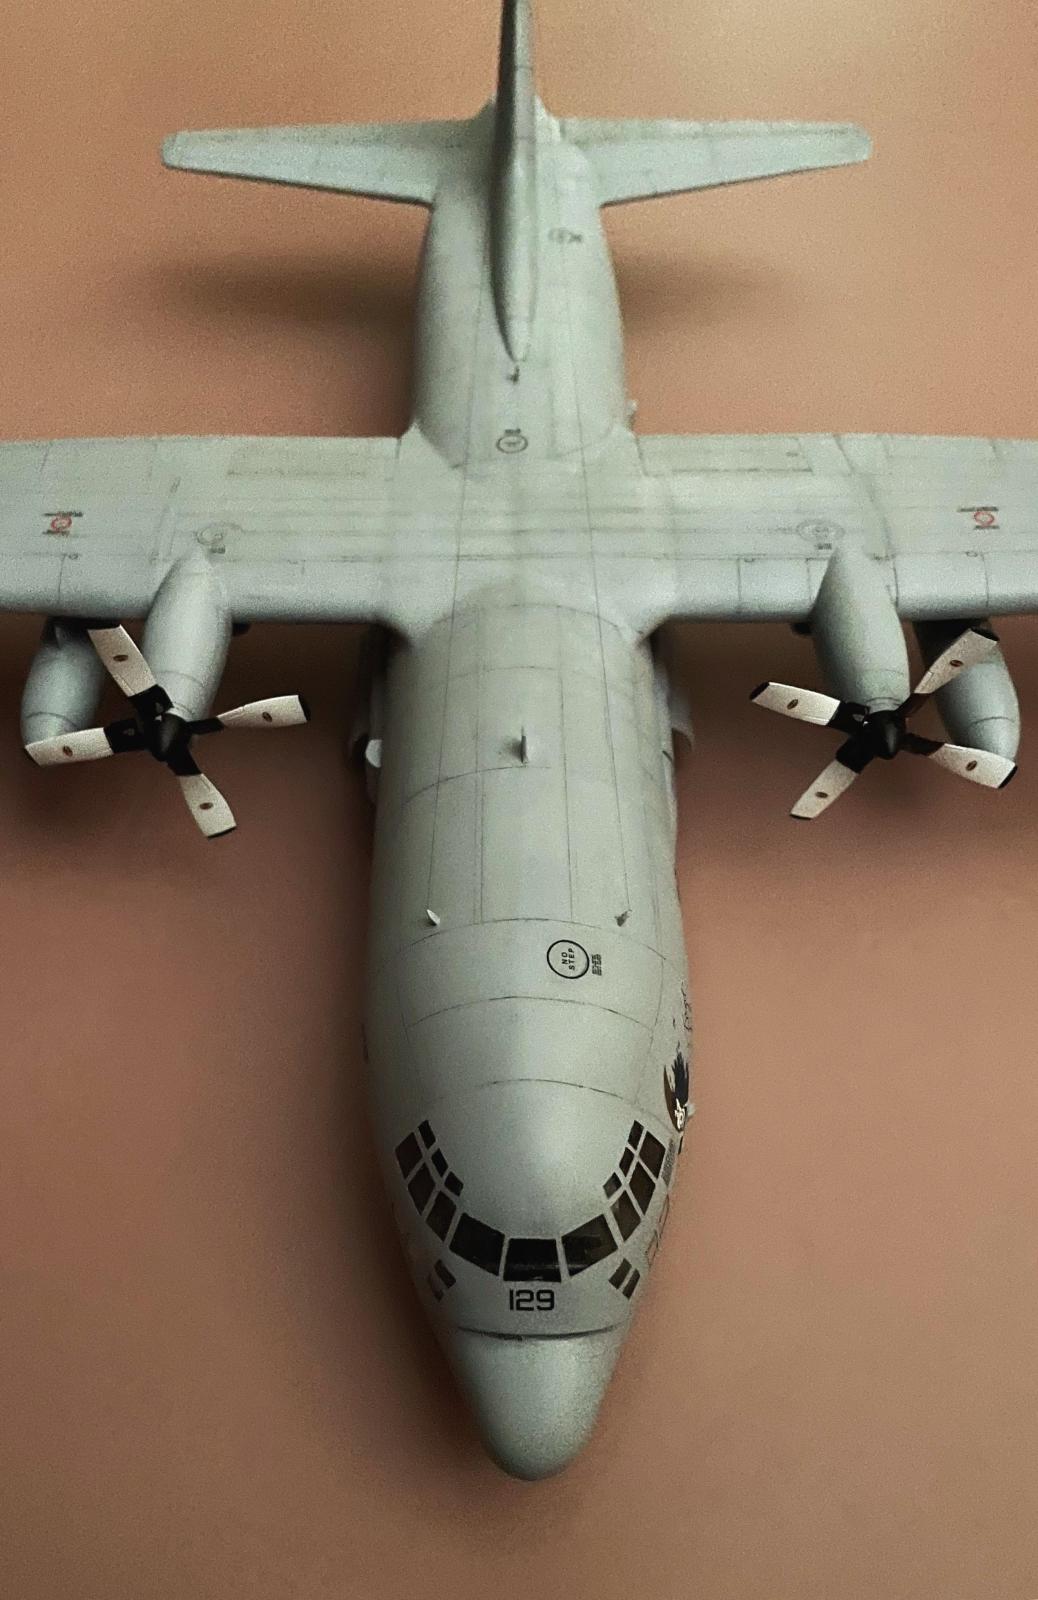
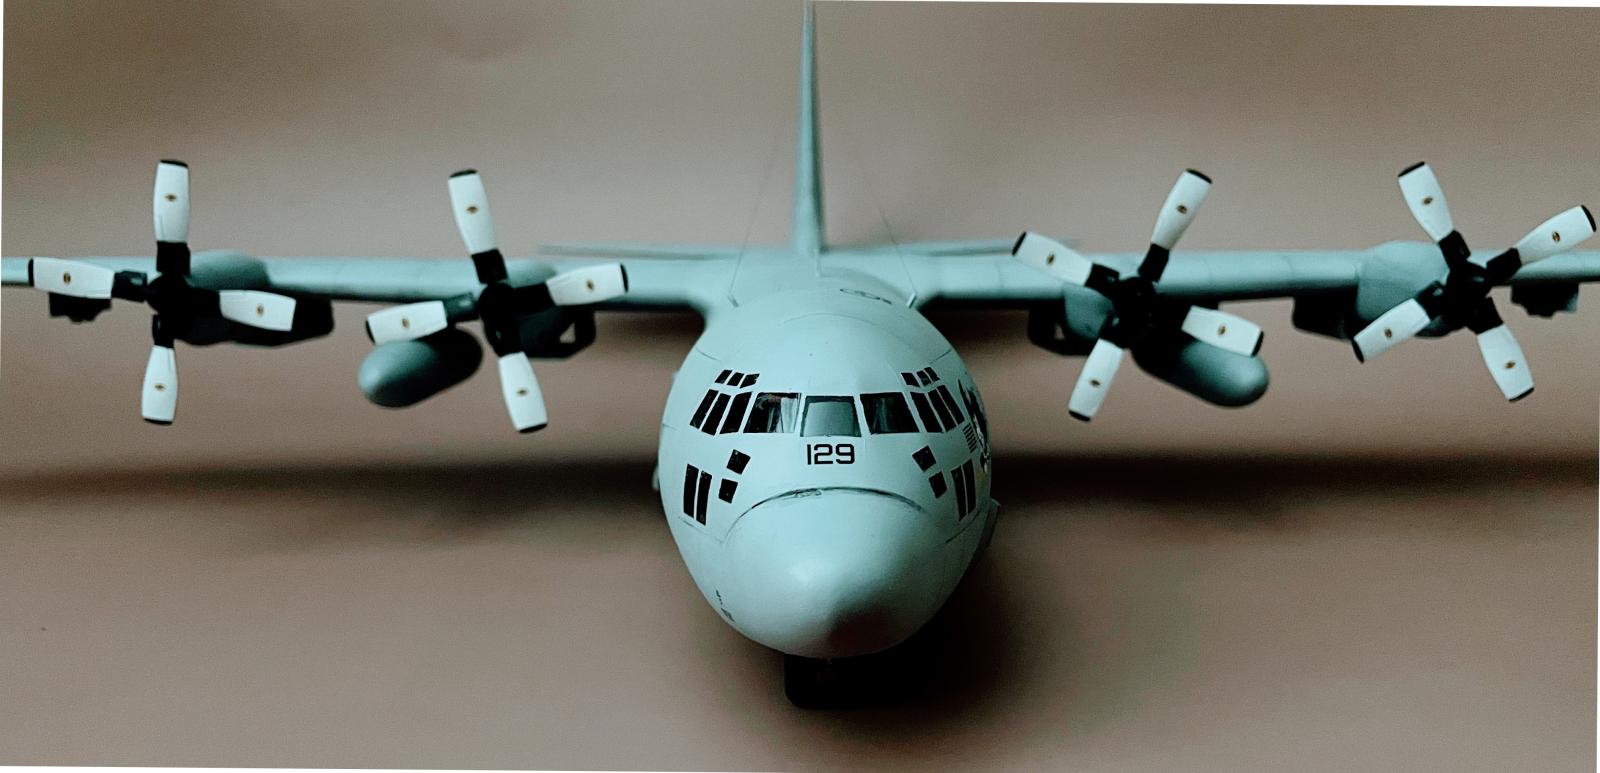
Overall, the kit is good quality. Molds are sharp with good recessed detail, generally good fit, minimal flash, and considerately-placed ejector pin marks. That said, some parts are simply just not shaped properly (like the sensor bulge on the nose) and little I could do short of remolding the damn thing from scratch would have helped. Some decals also wouldn't fit where they were supposed to go; annoyingly, the drawings of the model in the instructions used for decal placement do not correspond to the actual model, perhaps a different version of the AC-130? Either way, this prevented some from decals going down at all.
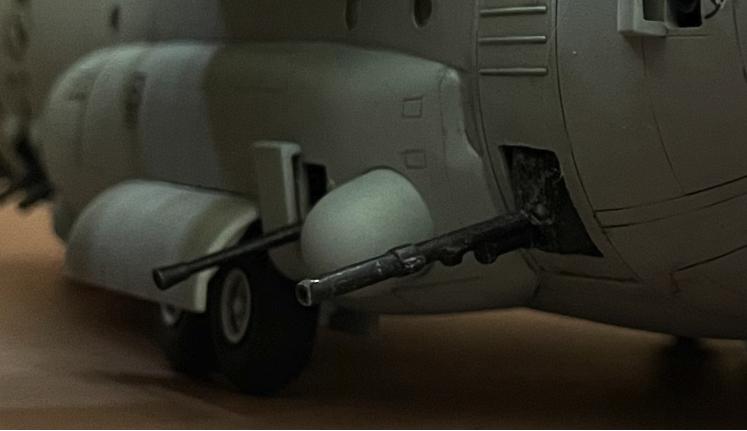
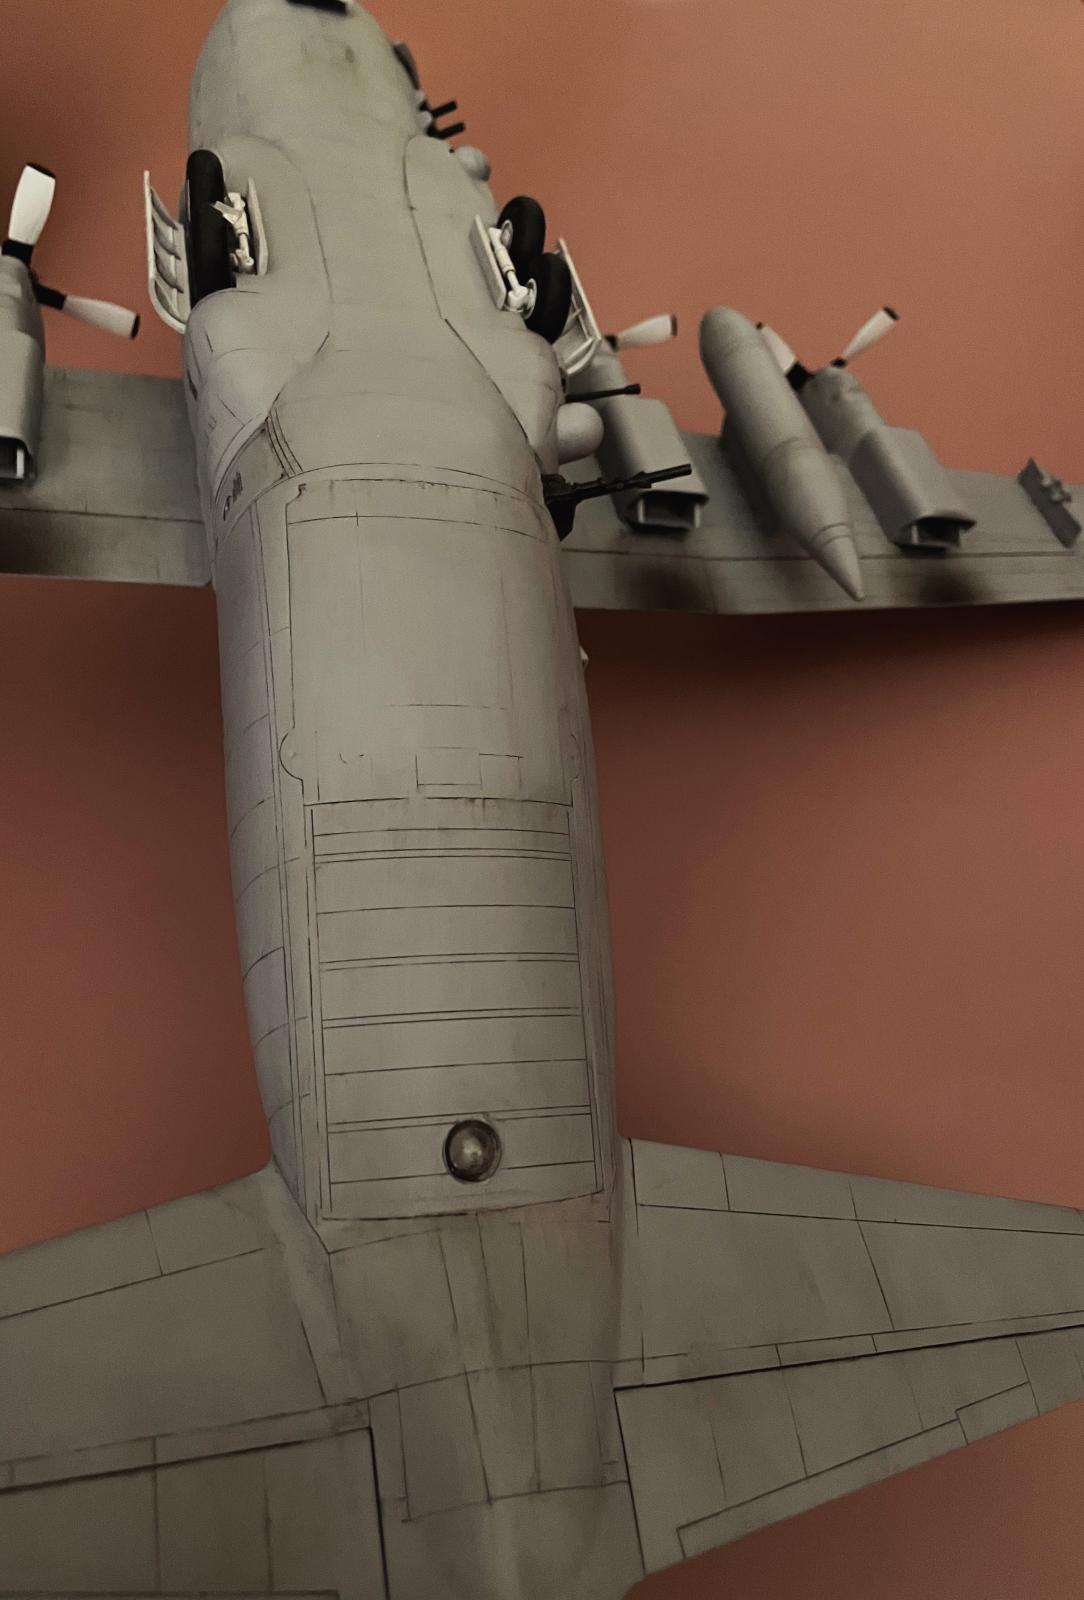
The cannon placement was also problematic. Situating them in their proper places on the floor inside the fuselage provided them the barest of clearance through their openings. The howitzer, in particular, is quite prominent in photographs and it just shyly peeks out on the model. This for sure won't do: this is a freaking AC-130 GUNSHIP! So, I decided to attach the guns wherever I needed to in order to get the desired clearance; for the howitzer, I used some black leaf bag (suitably dulled with lacquer) to close off the opening as per the real plane:
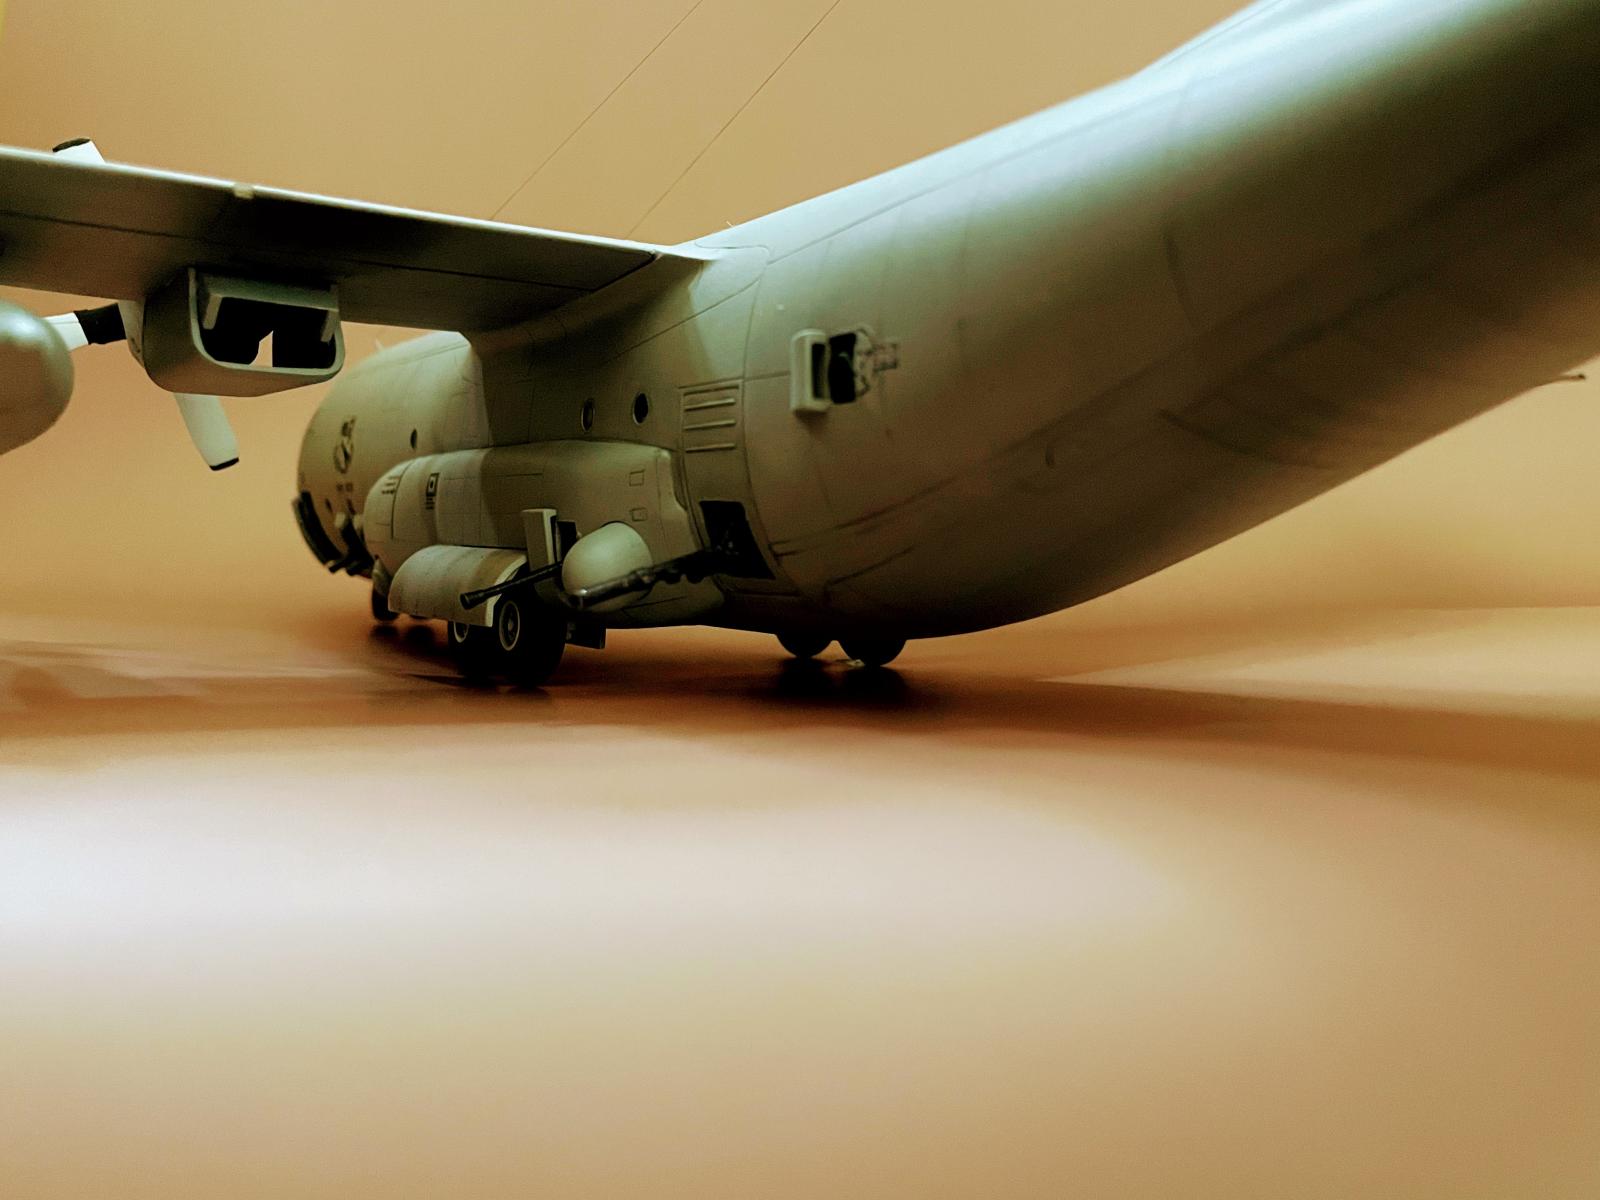
With the guns placed every which way to make the outside look right, the inside of the fuselage was chaos, and I wouldn't be able to put the ramp down (though I wasn't planning to do that anyway). This, though, now necessitates ballast…considerable ballast in the front because the ramp evidently holds the rear of the aircraft up. I'm OK using a plastic stand to support the tail for display purposes, but for photographs I really wanted this thing to sit properly. And, so, I just started loading nuts and bolts into the open door behind the cockpit:
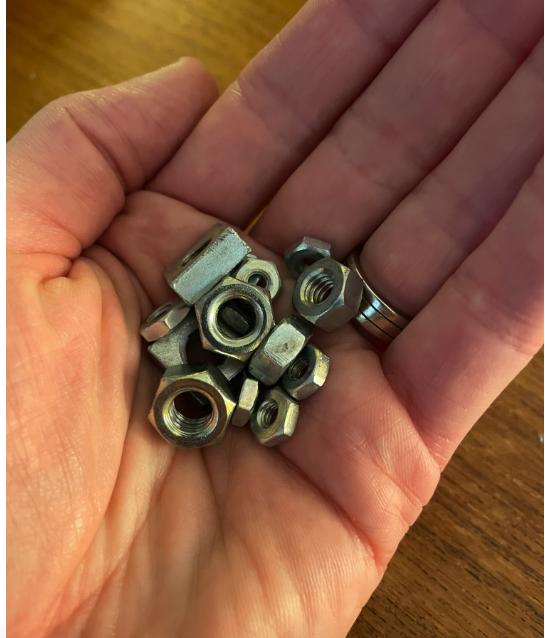
This is only half of what it took to get the nose down.
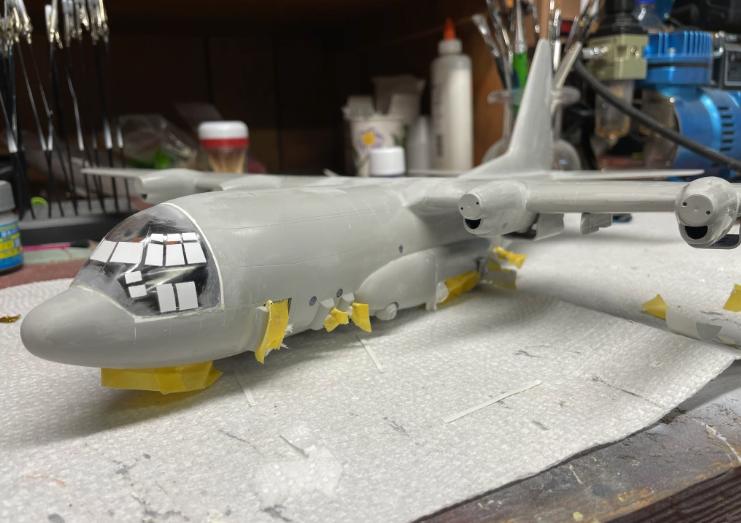
The windows must be emplaced before joining the two halves of the fuselage; this means they go in before any painting is done. I used Humbrol Maskol as a mask and tried to glue them in well with PVA: if one of these guys pops loose at the end as I go to remove the mask, it'll end up inside the sealed model. (It wasn't until after I had done all this masking with the Humbrol that I realized that the KV Models cockpit mask set also includes wheel and window masks.) Once in place, there is still considerable handling of the model as wings are glued on, seams are worked, and so on. I therefore tried to be very disciplined with where I placed my fingers while working these steps so as not to inadvertently pop a window in. Same for the guns, which go in at the beginning and are just asking to be snapped off. Thankfully, all went well and all masks were removed peacefully at the end.
Here she is smoothed, sanded, re-scribed, and all masked up and ready for paint:
Base coats were done with AK Real Colors Dark Ghost Gray, as per the instructions. These are lacquer paints and they go down nice and smooth. I'm a big fan.
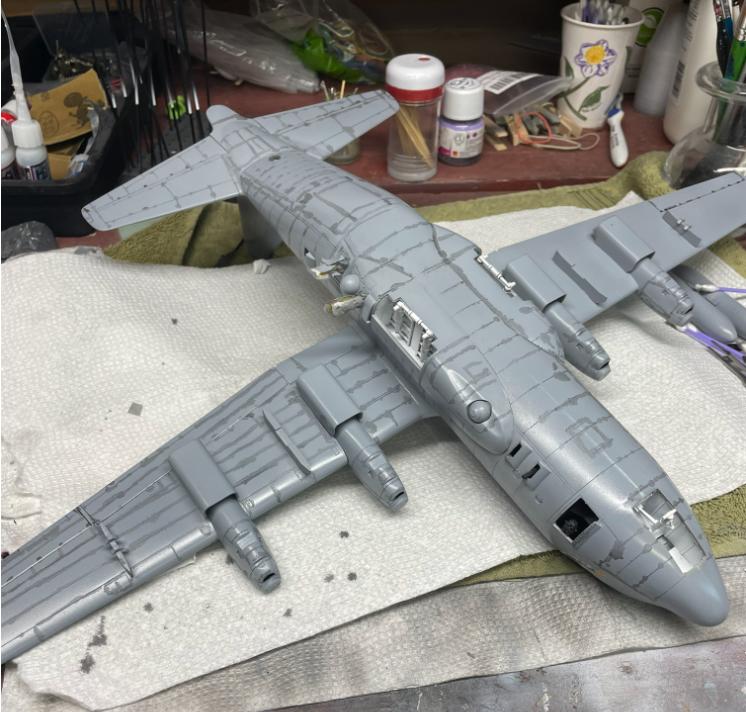
For weathering and finishing, I prepped the surface with a coat of gloss varnish (Alclad Aqua Gloss) before applying a dark gray enamel pin wash (Tamiya panel liner), followed by another gloss coat to protect the enamel wash from subsequent oil-based work. Panel lines were quite a job:
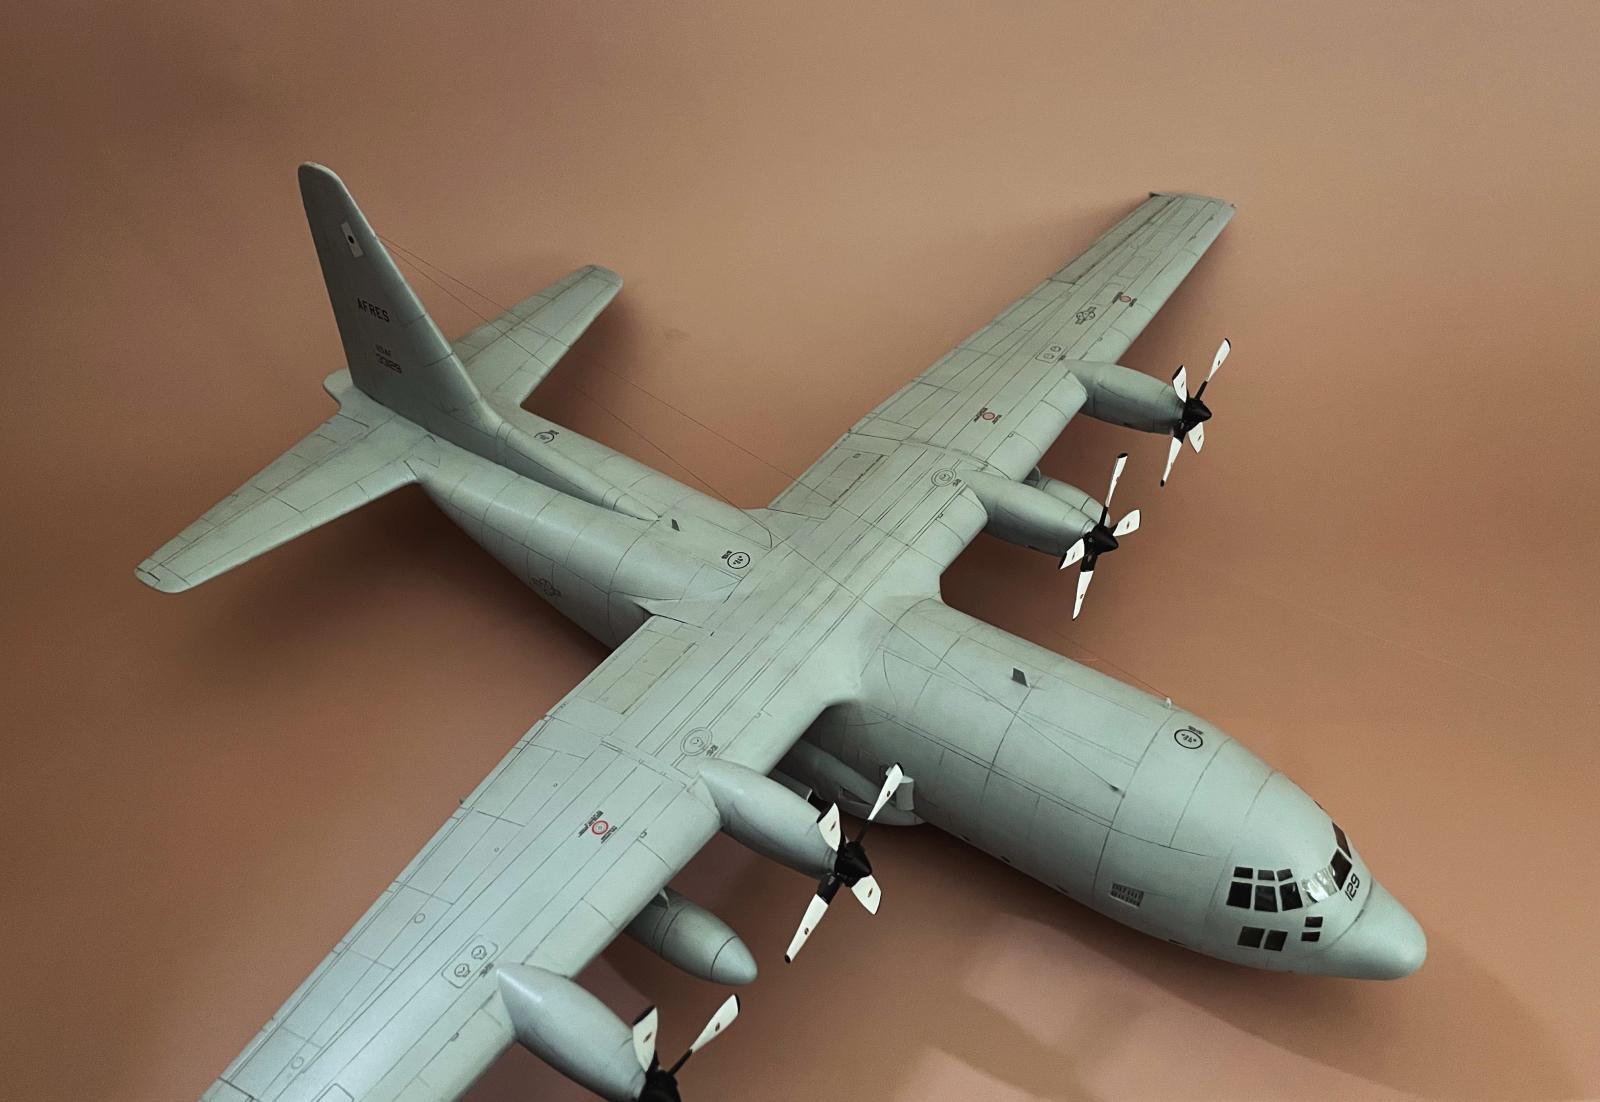
As a flat gray aircraft, this thing could really benefit from some nice surface effects like fading and streaking with lighter shades to add some depth. I used a filter of Abteilung light gray and Mig Oil Brushers medium gray and white to create some fading and mottled effects on the surface. I don't have much of a technique, but after stippling thinned paint onto the surface, I blend uniformly or in a streaking direction (with a dry brush) depending on what I'm going for.
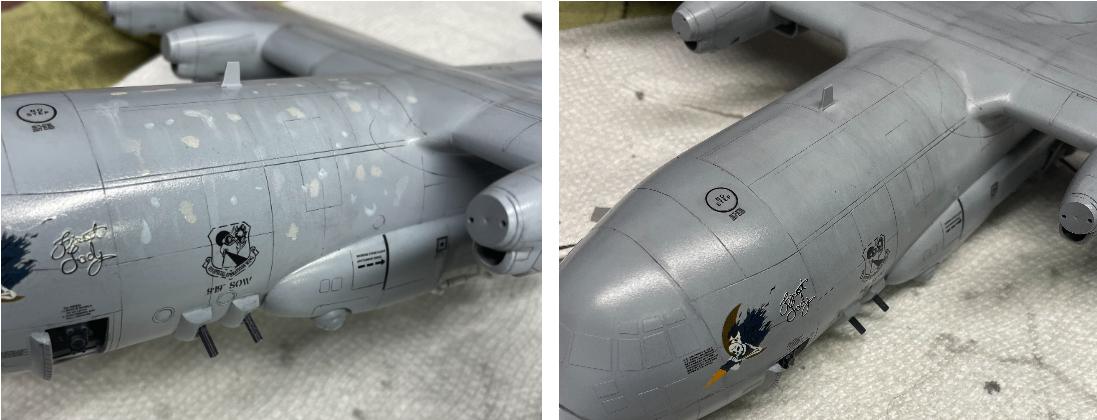
Sometimes excess paint needs to be removed with a brush dampened with white spirit. Incidentally, I've since come to dislike Oil Brushers because, though they're designed to be applied directly from the bottle (and this I guess is their shtick), for most applications I find them too thick and heavy and wind up removing considerable paint. Pre-thinning oils from tubes seems the better way.
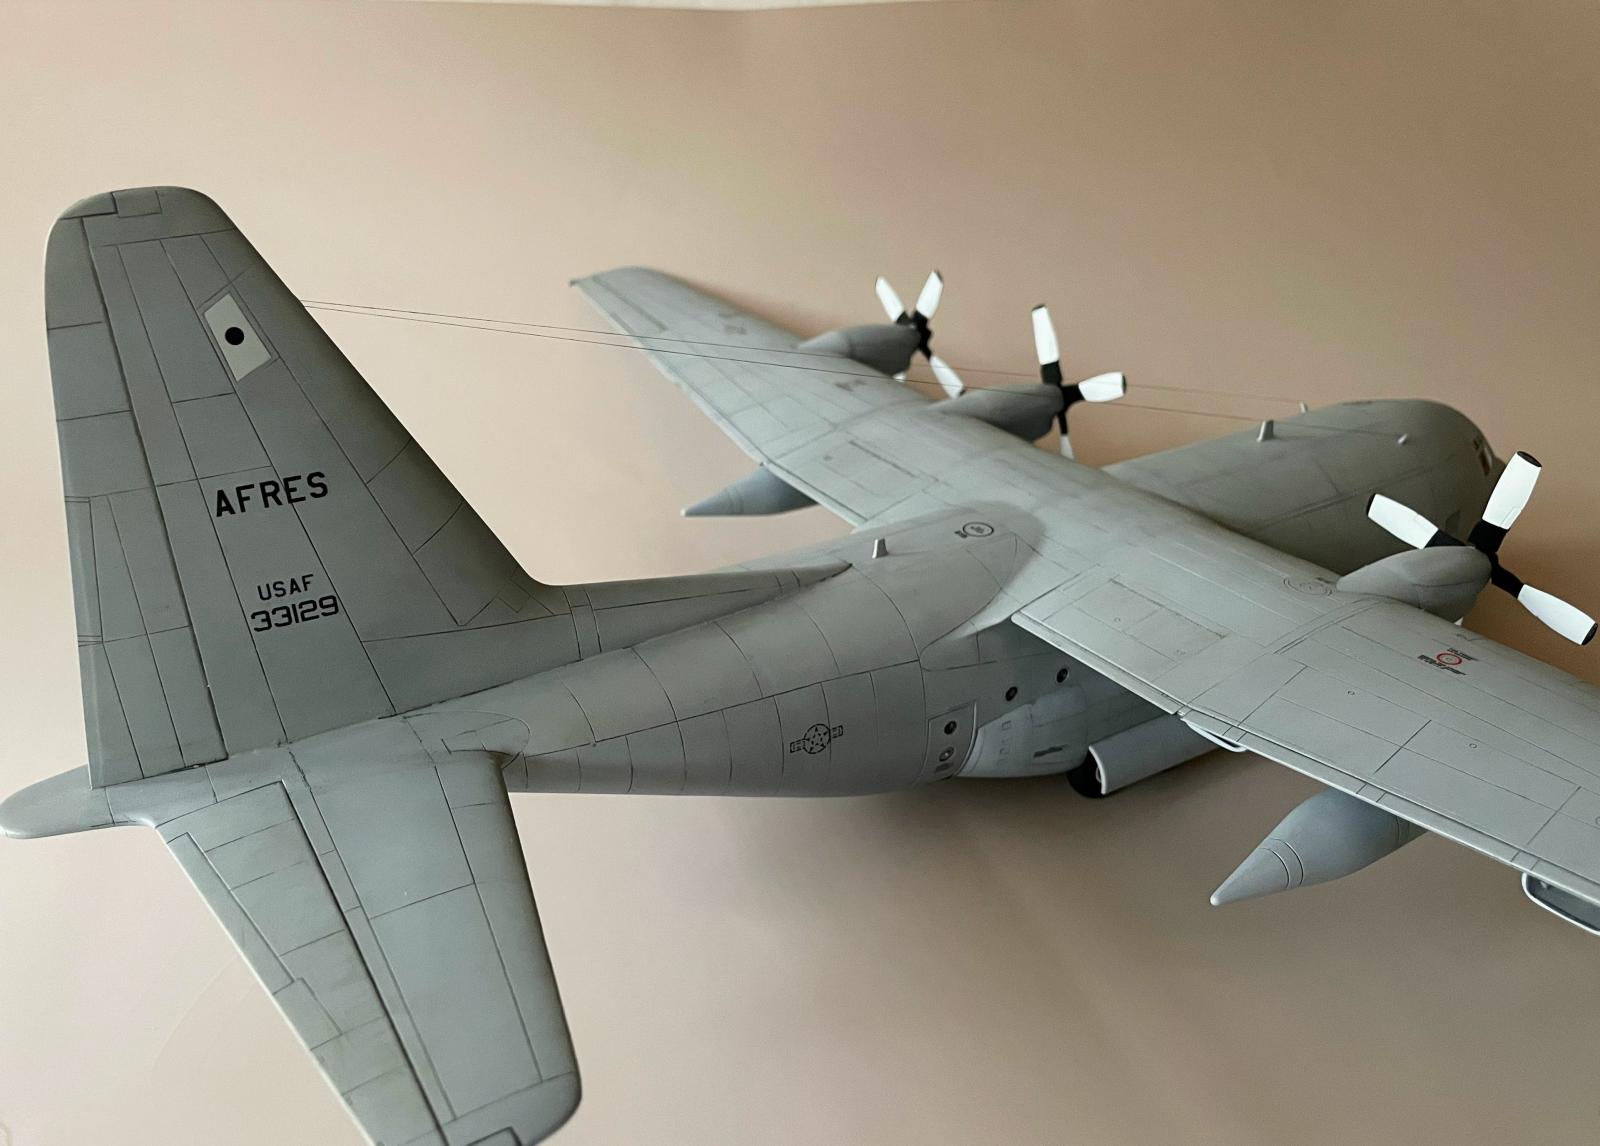
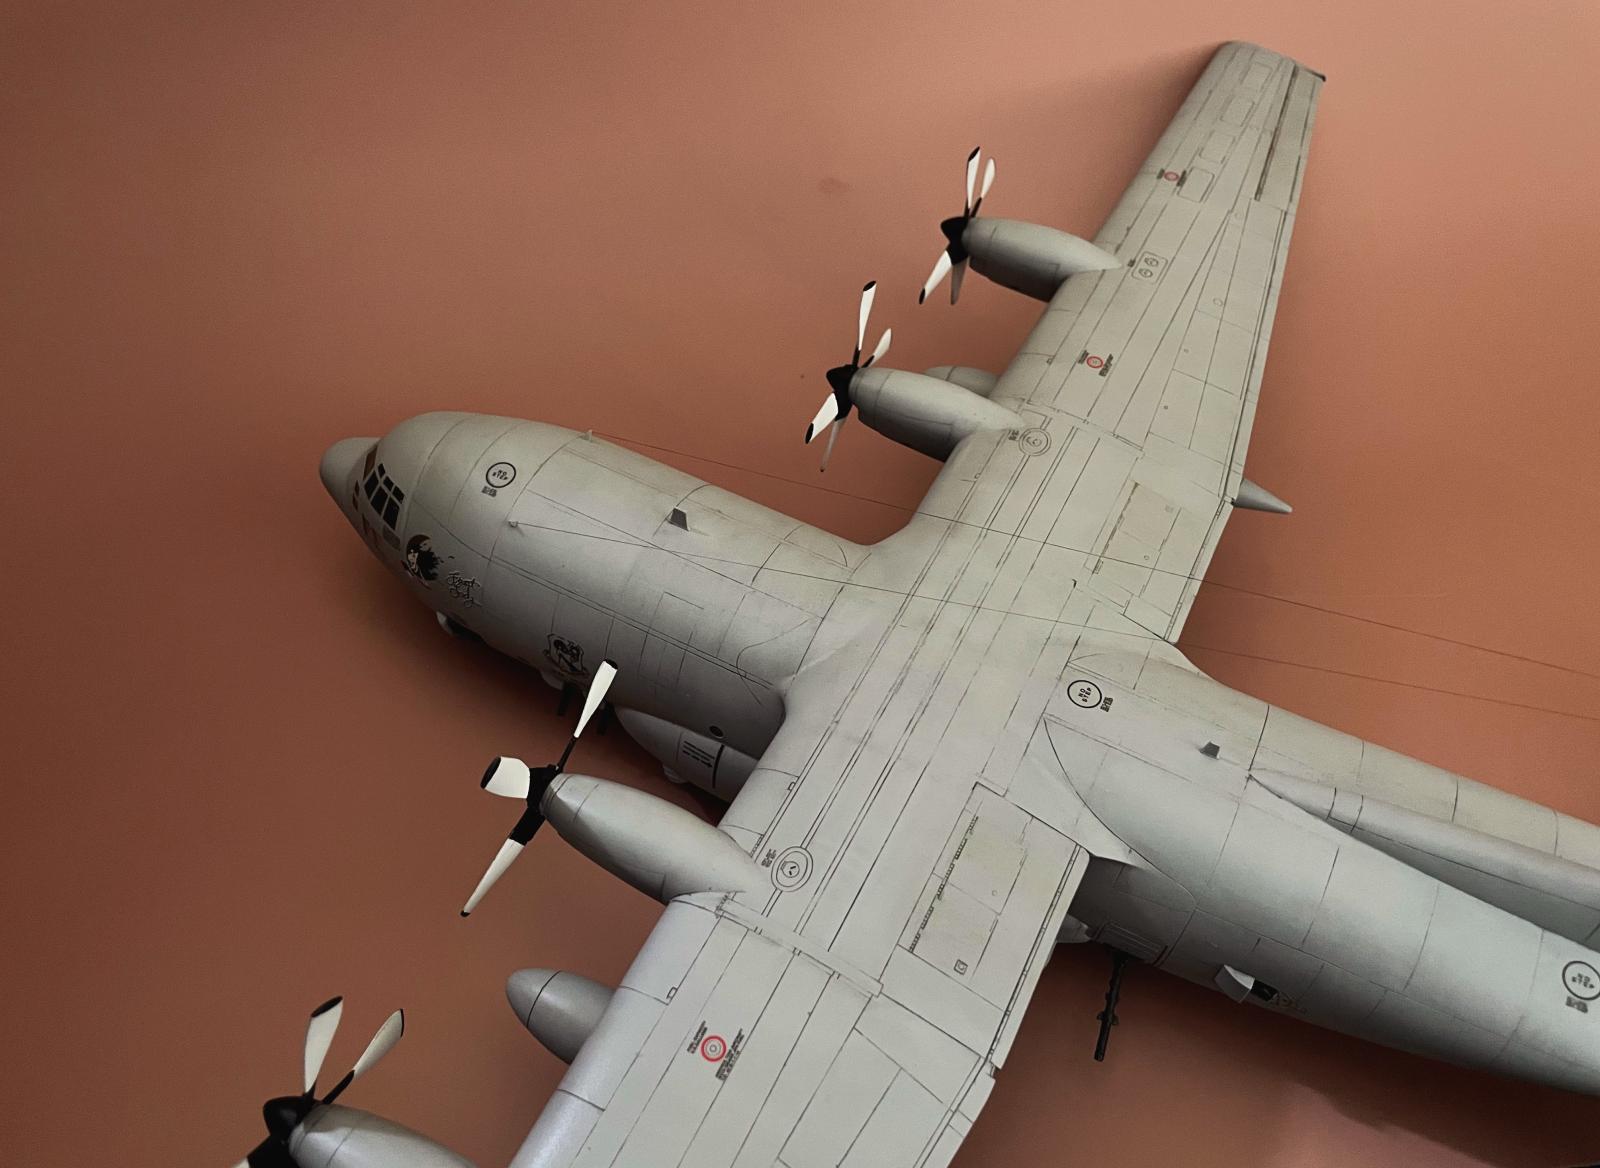
Grime streaks were done with Oil Brushers Starship Filth and Abteilung Burnt Umber and Sepia. Some dry brushing with AK Light Ghost Gray was done on various edges and protrusions. Photographs of the underside of the aircraft reveal heavy soot buildup behind the engines on the wings; to achieve this effect I applied some Oil Brushers Starship Bay Sludge followed by Alclad Jet Exhaust in layered fashion.
After the oils, I applied yet another gloss coat to protect them from the dull lacquer that would go on next. I don't have a well-formulated causal theory, only really observations at this point, that the lacquer varnish has a tendency to diminish subtle oil work; as in, it makes the paint simply disappear. I don't know why this happens, but I suspect that the lacquer is interacting with the oil in some adverse way. By sealing the oils under an acrylic like Aqua Gloss, I've had good luck preserving their original look. Finally, I finished it with Alclad Klear Kote Matte to give a vestige of shine.
Lastly, for the high frequency radio antennas, I used Infini Model Aero Rigging 0.055 mm, and two pieces of scrap for the dorsal mount points. Though kits understandably don't typically provide the antennas, mount points would have been an easy and convenient inclusion.
In the end, it's a big model: longer than my typical build of a few week's time, and too large to fit in my glass case. It's just a matter of time before my kids smash this thing into oblivion.


Great effort with excellent results, Brian.
Spectacular job, Brian and an awesome result!
Congratulations!
Well - until it gets smashed, it's a very lovely build to have on the shelf! The work with oils to break up the monochromatic finish is excellent.
Very good work and beautiful achievement, Brian @bapowellphys
Very nice paintwork
Well done, Brian (@bapowellphys). I built the AMT version many years ago, so I know how much work you had to do to get it to look this good.
You've been rewarded with a beautiful model after all your hard work.
Very nice result on a modeling beast.
An interesting and entertaining write-up, Brian, and a super looking model, I hope the kids don’t smash it up too soon.
Hang it on the wall by its tail Brian.
Nice work on this monster and a superb result.
Gorgeous Gunship!
Nice job on that big beast - impressive finish!
Nice work, Brian. I remember those kits in the LHS years ago and always wondered what they looked like.
Hello Brian,
Interesting aviation subject. Even today.
You turned this model into a very impressive model. In Construction and seize.
Regards from The Netherlands.