The First B-2
History
The B-2 Spirit is actually the second aircraft to bear the designation; the first was a Curtiss interwar biplane bomber which entered service in 1929. The name Condor, though, was a Curtiss creation, the USAAC always referred to the aircraft as the B-2. Like all interwar bombers the B-2 was big, lumbering and slow. Only 12 were ever built and it was rapidly surpassed by developments in aviation technology disappearing in 1936.
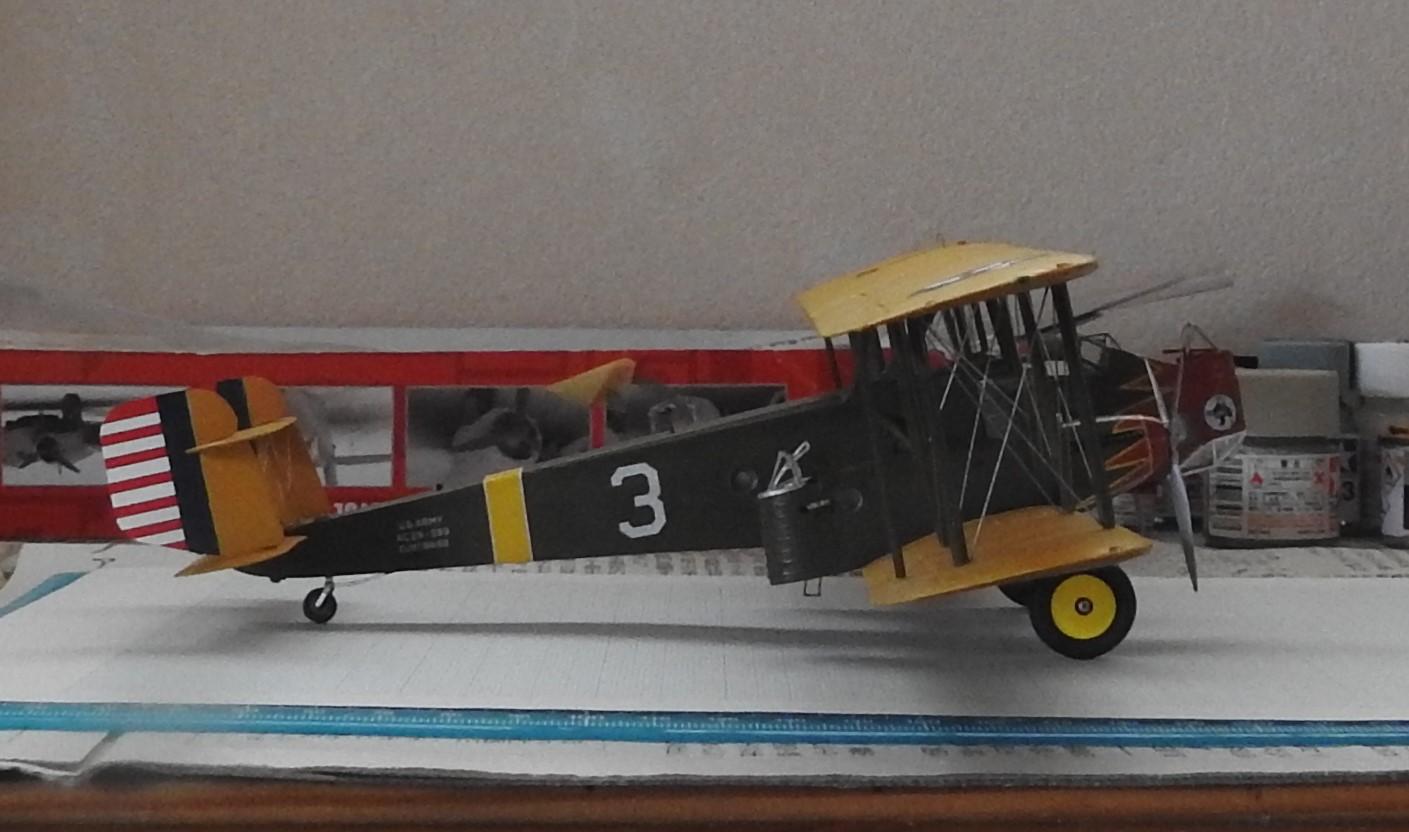
The B-2s entered service with the 96th Bombardment Squadron at Langley Field in October 1929. Despite their size and lack of speed they were actually a very safe aircraft and the only one to crash (29-28) did so in December that year. Around 1930/31 the surviving bombers were transferred to the 11th Bombardment Squadron at Rockwell Field and the 96th replaced them with Keystone B-3As and B-5As. Also around this time the USAAC was going colour mad with squadrons painting their aircraft in Red Indian inspired designs. The 11th was no exception and the B-2s received a spectacular red and yellow colour scheme.

The B-2s were prominent in a cross country flight from California to Atlantic City, New Jersey (does anyone have dates for this?) before moving to March Field with their squadron. During the winter of 1931/32 they took part in food drops to cut off Navajo tribes and were also used for Medevac flights. Technology though caught up with the B-2. Despite having an autopilot the Air Corps preferred the Keystone bombers and the B-2s were withdrawn from service in 1934. Some lingered on at the Aberdeen Proving Ground but all had gone by 1936.
The Model
The B-2 is one of those big interwar bombers which always look so attractive to me. With only 12 production examples being built it was never going to get the Tamiya treatment but luckily the Polish company Ardpol did a resin model. This was expensive and nowadays is not easy to find but I was able to track down a copy for a very good price. It comes in a surprisingly small box - so small you wonder how they could fit such a big aircraft in. The parts are well molded and incredibly detailed with the usual provisos about resin, brittleness and warps. The decal sheet is detailed and well printed and one gets a nice sheet of etched brass with vacformed transparencies and a sheet of clear plastic for other glazing. The B-2 represented is an early version without later service improvements and consulting photos is necessary. One must be clear here - this is not a model for beginners or even intermediate modellers. It's a difficult build requiring a lot of planning, some scratch building and replacement of parts. Each stage has to be planned out in advance and a modular approach is best here.
Choosing the aircraft
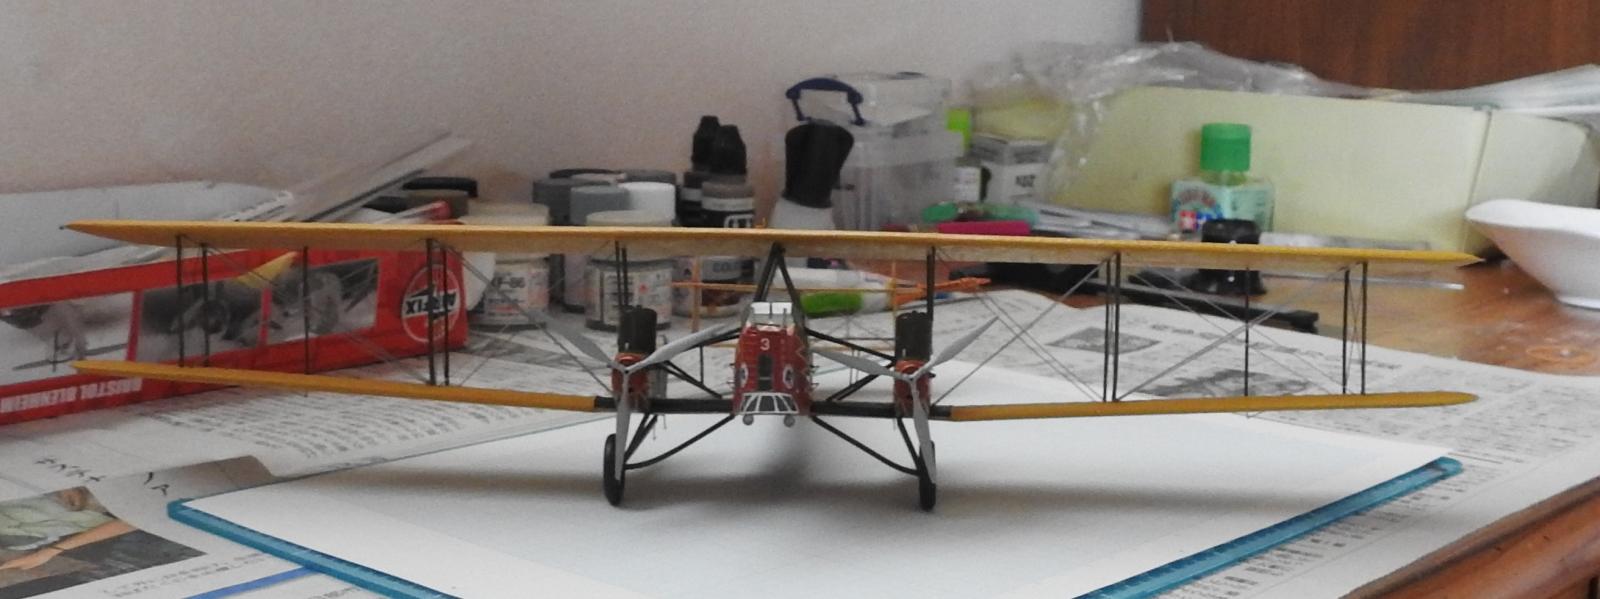
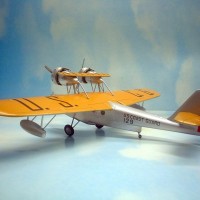
The decal sheet is nice but a bit of a mess with regard to options. There are 3 options Aircraft #3 of 11th Bombardment Squadron in the full red and green scheme. Aircraft #8 with a red fuselage band lined white and Aircraft #3 in camouflage. Here we encounter the first confusion - two sets of threes on the decal sheet, both the same. The fuselage bands are also wrong for the 11th BS example. This aircraft had a yellow fuselage band edged white. The red/white band is actually appropriate for aircraft 1,4, and 7 the squadron leader and flight commanders aircraft though one needs to provide the upper wing chevrons oneself. I chose Aircraft #3 of the 11th Bombardment Squadron mainly because it came with externally mounted fire extinguishers on the engine nacelles (these needed to be scratch built). I was also able to find a plentiful supply of photos of the prototype.
Building the model
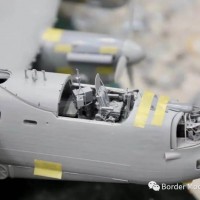
After straightening the parts one can begin to assemble the model. It's important to paint, decal and varnish before assembling the separate modules. The cockpit is nicely appointed but the instructions (which are typical Ardpol) do not mention that the framing is separate delicately molded resin pieces. The instrument panel provided is for the prototype XB-2 not the production machines and the control column is dual which was only carried by one aircraft - (29-30, the only B-2A). A production instrument panel can be scratch built and the control column is easy to correct. Here though one also has to take care, in the Curtiss and Keystone bombers the pilot sat on the right and one needs to cut off one arm of the column. The column itself was adjustable so the crew chief could also fly the aircraft - this was achieved by flipping it over.
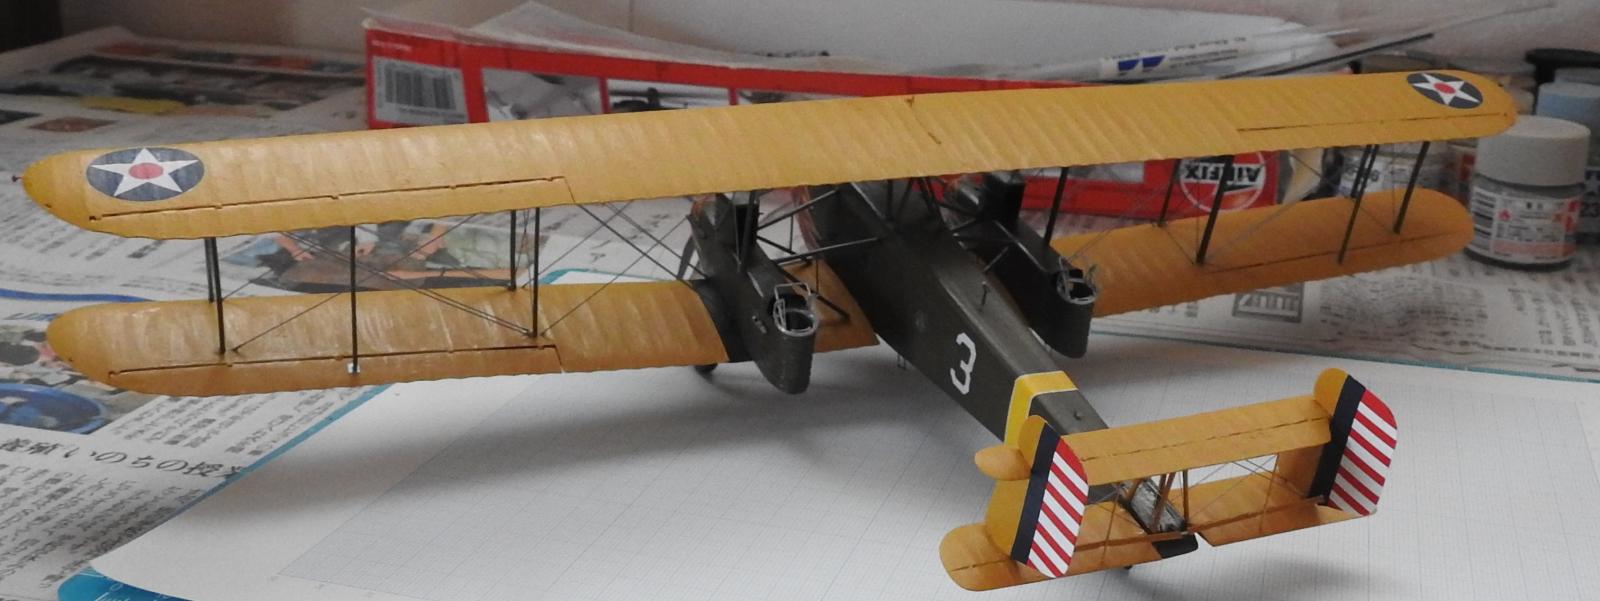
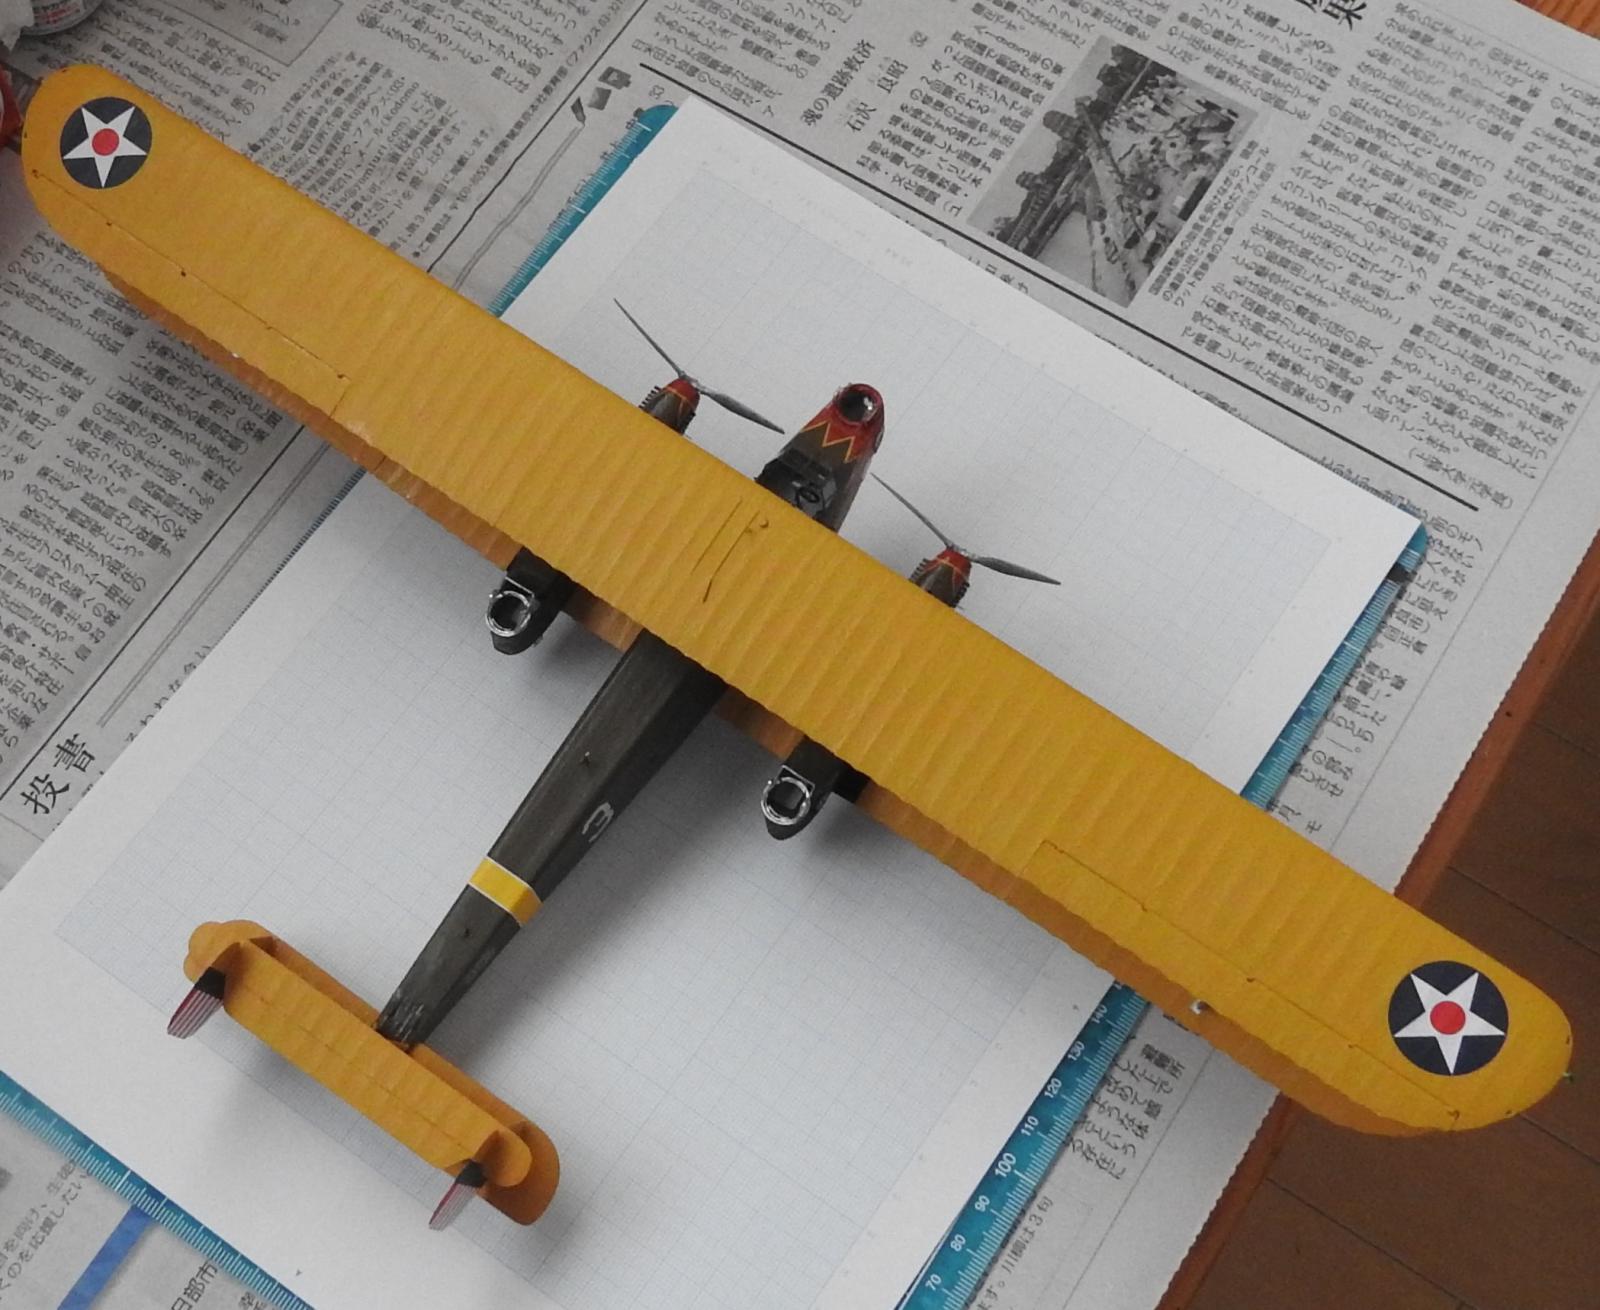
Once the fuselage is together one paints the 11 BS scheme. It's time consuming and involved but not particularly difficult. Paint the red portion. Then form the spikes with olive green paint using 1 mm wide strips of masking tape. Finally the yellow piping is done with decal stripes - I used 0.4 mm yellow Xtradecal stripes here but care needs to be taken in measuring out and cutting diagonally to form the spikes. Curved decals need to be cut from thicker stripes but it can be done. Take your time and expect the process to take several days. Do not rely on the diagram in the kit - it's wrong. Use photos.
The fuselage band needs doing next and I used decals for this as well. If you do use decals they need to be cut separately as the rear fuselage tapers on both planes. One major feature of the Ardpol instructions is that they refer to parts which are not included in the kit and don't refer to parts which are included. There's a lot of gorgeous resin which has you scratching your head as to where it goes. There is no information on where the struts go - no numbering, nothing. In a three bay biplane this makes things difficult. I ended up replacing several struts, scratch building the tail struts and pinning every strut. That helps enormously. The tail should be done before the main wing - it's impossible the other way round and the undercarriage needs to be left until after the main wing is painted, attached and rigged. Rigging is 0.28 mm builders wire for the main wings and 0.2 mm Infinity rod for the tail. Chrome yellow was Sovereign Paints enamel and Olive Drab No.9/No.22 AK Paints.
Conclusion
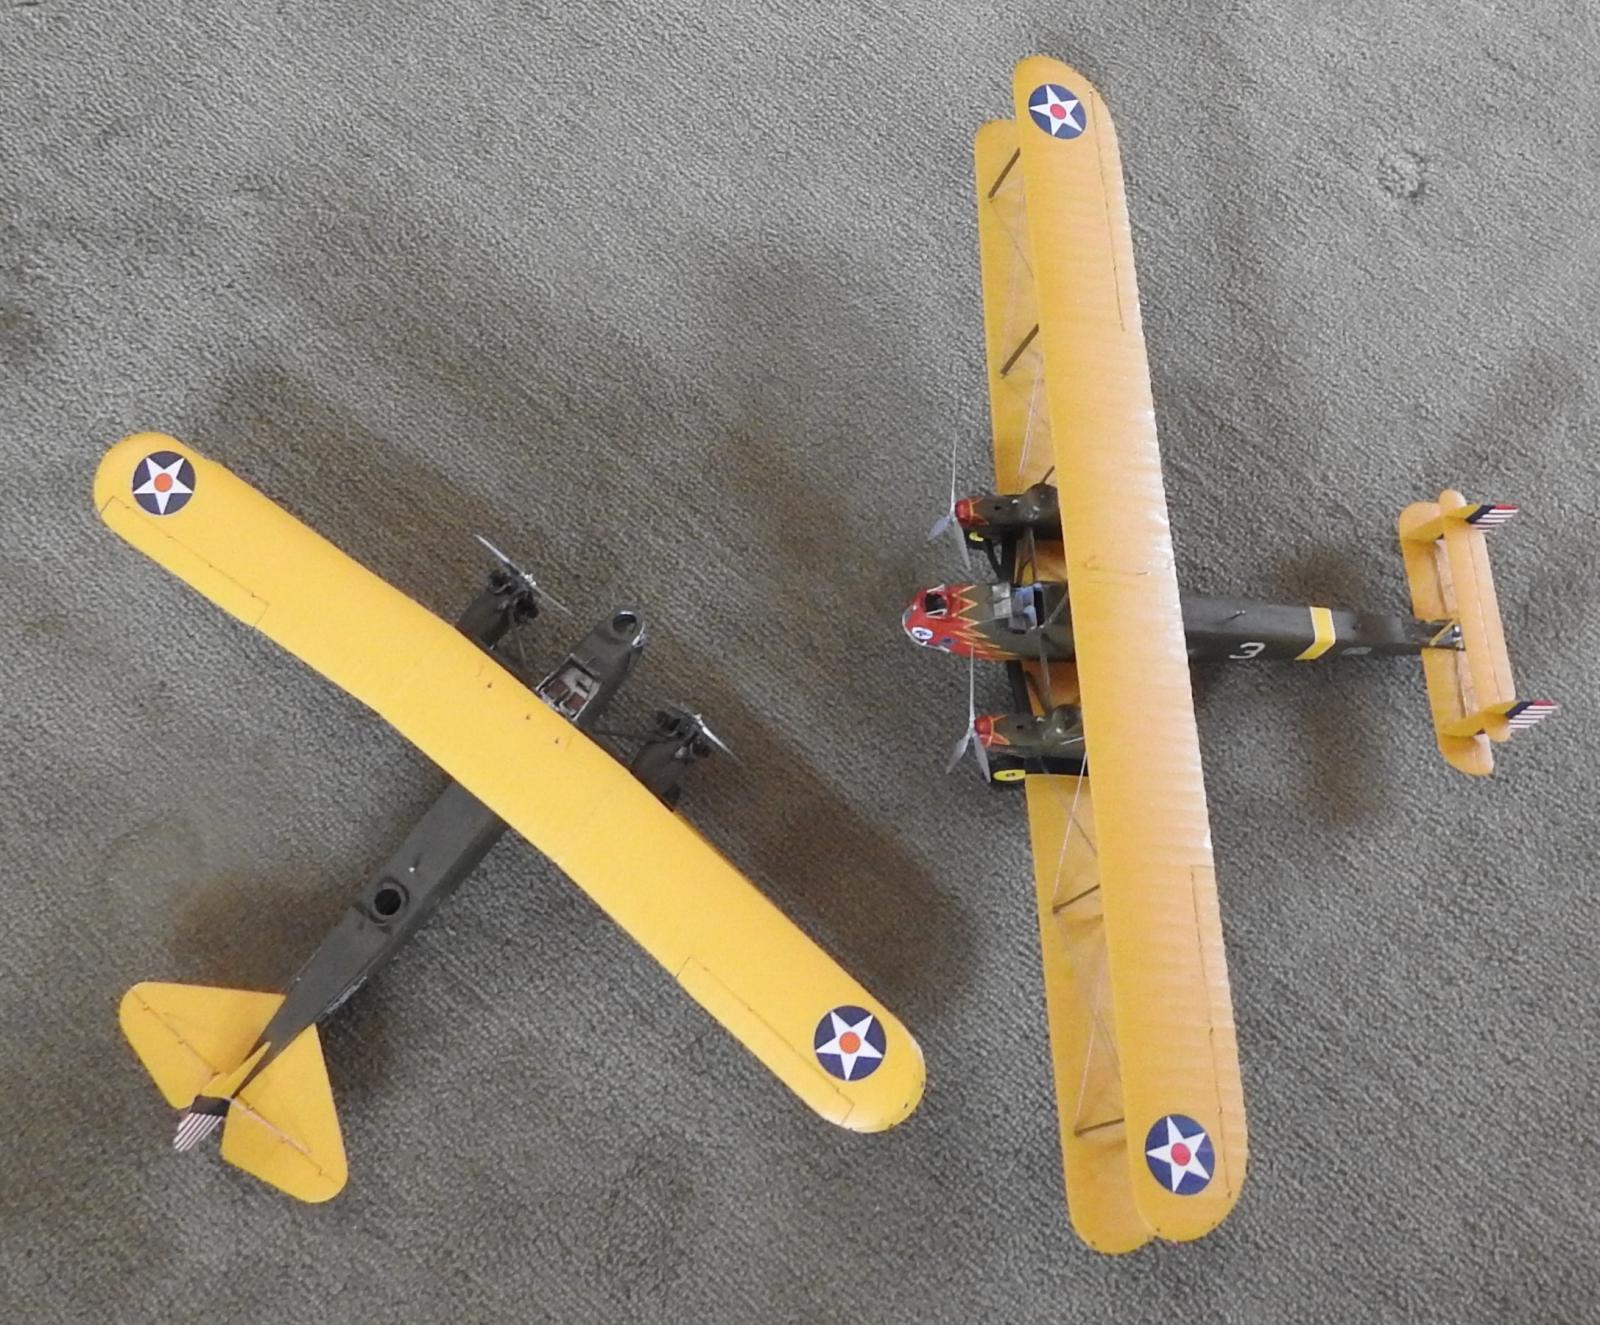
This is a challenging build with a lot of hard work and use of modelling skills needed. The poor instructions don't help but if you can persevere you end up with a unique model of a little known interwar bomber. I had a lot of fun building it. The kit is big though and the final photo shows it next to the Choroszy Modelbud Keystone B-4A which is not a small bomber itself.
Superlative job on a definitely very challenging kit, Christopher!
Awesome write-up, as well!
Congratulations!
Thanks Spiros - It is a fun build but Ohhh sooo challenging (as you note)
Christopher
Excellent result!
Thanks to your efforts this model captures well the charm of these wonderful machines.
Are the rear areas of the two engine nacelles the positions of the gunners? I can't imagine what it was like to be there during the flight...
Hi Peter
Many thanks for the kind comments. Yes, they are gunners stations - the idea was to avoid hitting the twin tail. The starboard extended nacelle also included the radios. This was not the most unusual location for a gunner. The British Vickers Virginia actually had the gun positions on the upper wing reached by a ladder!
Your perseverance paid off. Very nice, Christopher!
Hi Gary
Many thanks much appreciated - you're right it did need perseverance.
I can only imagine the work that went into this, 'cause I aint man enough!
Great looking results, superb modeling.
Thanks so much Bill for the very generous comments. It is a lot of work but it is also a very enjoyable challenge...but not again.
Amazing work, Christopher. The enormous amount of work and excellent research you put into this is obvious. Well done!
Many, many thanks John.
A beautiful model and a fine example of modeling determination & perseverance!
Thanks ever so much Jeff, for the kind comments.
Excellent build Christopher (@christopher). A subject that is usually not seen in the modeling world except when someone wants to scratchbuild one.
Hi Carl
Many thanks and much appreciated. These aircraft don't attract many manufacturers unfortunately.
Excellent work on what I am sure was a extremely difficult build. I love the interwar schemes and how colorful they were. You definitely have a build to be proud of there. Looking at the gunner positions in the engine nacelles just really looks like an e-ticket ride. I bet it was an amazing place to be during the flight.
Thanks ever so much, Walt. Your kind comments are really appreciated. The gunners were tough men especially as the Curtiss Conquerer engines were known for over-heating and catching fire.
Splendid work, and a lot of work it must have been! I love those old interwar machines, and wish someone would produce some modern kits from that era.
Many, many thanks Chas. I'm hoping so too (I particularly would like a non- vac form Boulton Paul Overstrand)
Well done, Christopher (@christopher). Doing a biplane is hard enough, but throw in large and resin, you get a real challenge. Looks awesome.
Thats really nice of you to say so George - many thanks. Admittedly this one was nerve wracking at times because the biplane wings were so big.
Superb result, Christopher @christopher
Beautiful work done on what looks like a difficult build.
Well done.
Hi John
Thank you ever so much. I like building these challenging bombers and I'm pleased this one worked.
A fantastic effort on your part (@christopher).
Thanks ever so kindly John.
Really nice, Christopher. I love "Golden Age" projects. They're never going to be "mainstream" projects, but Golden Age fans aren't ever going to be mainstream either! 🙂
Lots of hard work leading to a great result.
Hi Tom
Thanks for the very kind comments. I know what you mean about 'Golden Age' projects but the research is very enjoyable as well.
🙂 ... Greetings ... 🙂 :
Nice build Christopher, those colors and markings give it a classic look.
Thanks ever so much @de4ever. I hope sometime to do the B-5As of the 49th and 96th Bombardment Squadrons which also had similar classic schemes.
Incredible, I can only admire your hard work, I would never dare to even contemplate such a project.
Thanks so much George - I really appreciate it
Excellent project, and fantastic result from what was in the box!
Many, many thanks @gkittinger. Your comments are very much appreciated.