Howard DGA-6 build progress 1st phase
I created a group build for this kit too.
The Kit
According to Scalemates, this kit began life in 1949 under the Hawk label. The last boxing was in 1993 and I suspect, being that I bought the kit still in the wrapping and the parts were taped inside a rolled bag, this release is more recent. Regardless, the molding is looking long in the tooth with some dense flash on numerous parts and mold ejection points. Fortunately, most of the 19 (including a two-part stand and pilot figure) light gray parts were still attached to the sprues with the one-piece wing separate. Unfortunately, the one clear part was left loose in the bag but was not scratched. Of note is that the radial engine, without pushrod tubes, is molded into the cowl. Nor is there any interior detail. As was customary in the era of the kit’s release, raised outlines for the race and registration numbers are molded on the surfaces. The decal sheet of the numbers is sandwiched into the folded size 11 X 17 instructions.
The Build
A 21st century modeler is presented with a conundrum with this kit. Should it be built in the spirit of the limited post-WWII technology, or try to produce a more contempory model? If the latter choice is selected, how much effort should go into it?
In my case, I initially wanted a quick simple build, but as I did more and more on-line research, I found more and more inaccuracies that I found annoying. Sigh. How deep should I go down this rabbit hole? Browsing through my parts stash, I settled on a new engine, add some cockpit detail, and, aside from a floor and rear bulkhead, leave the cabin alone.
A test fit of the fuselage halves and wing gave me some idea of how to install the frame members that can be seen through the windshield. Those parts were also were cleared of flash and the raised lettering outlines removed.
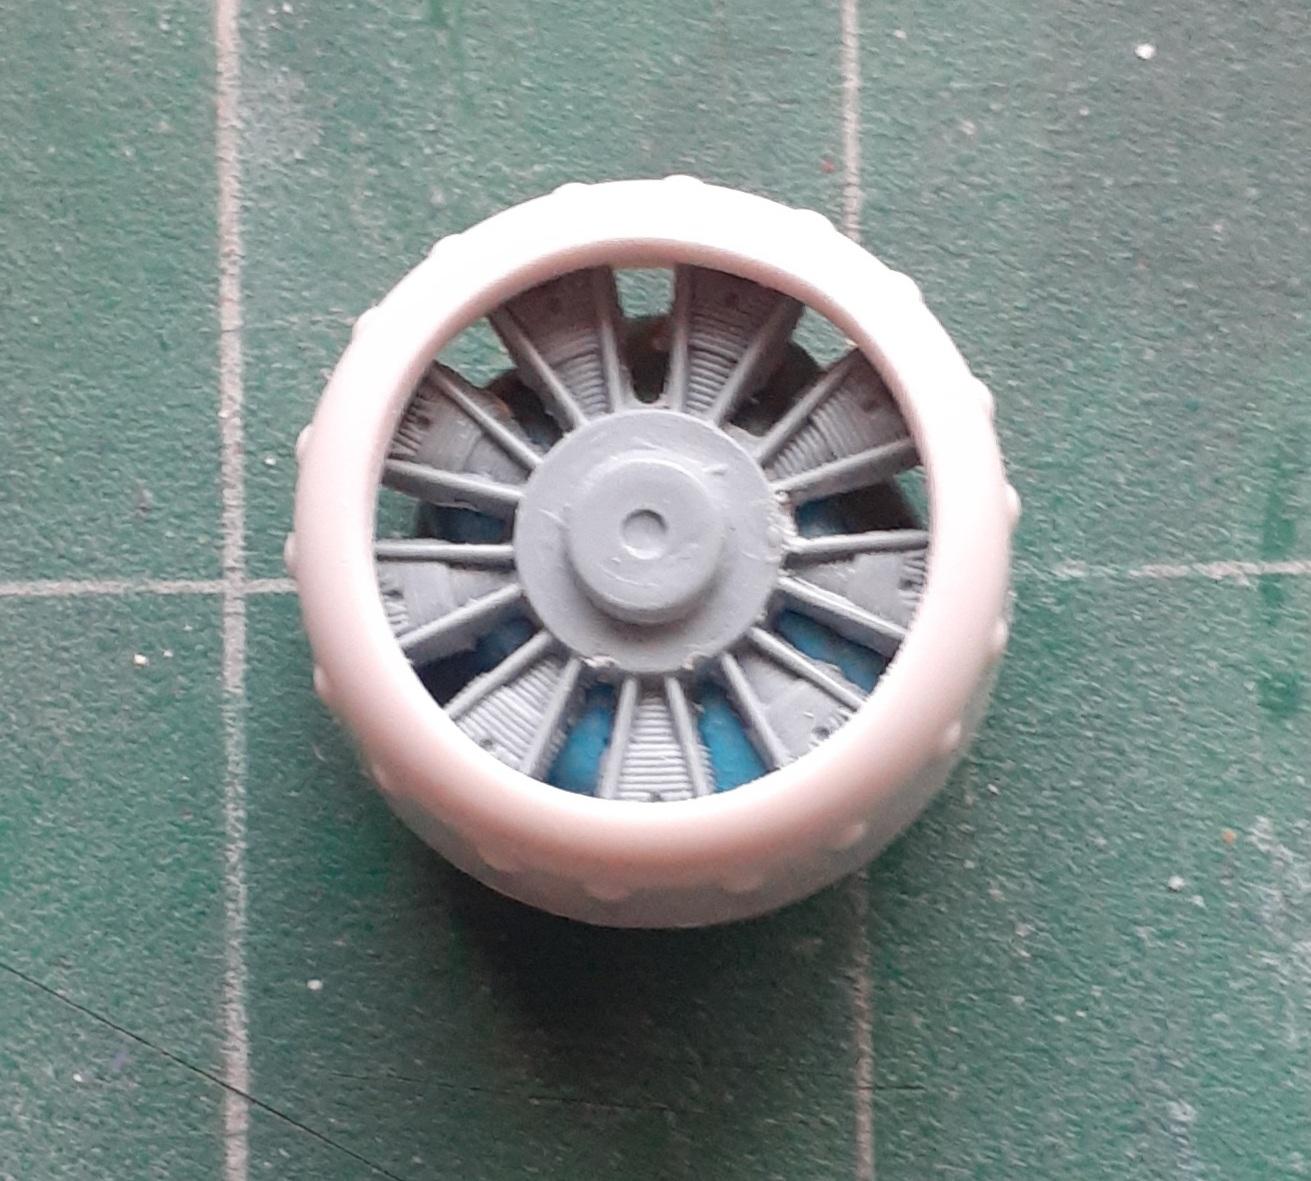
The fuselage halves were taped together to determine where a disk of .020 styrene could fit as a firewall and mount for the instrument pane. Using a pair of calipers, the diameter was measured at 7/8 inch. Some material had to be removed on the inside, particularly around to locating pin and socket. Once the disk fit well, the cowl/engine piece was test fitted. That fit was reasonable, but the 1/16-inch-thick trailing edge became noticeable. The engine facade was removed by a rotary tool, which was also employed thinning the cowl, followed by some light sanding. The spare engine from the parts bin dropped into place within the cowl. That meant that disk in the cockpit was only needed to support the instrument panel.
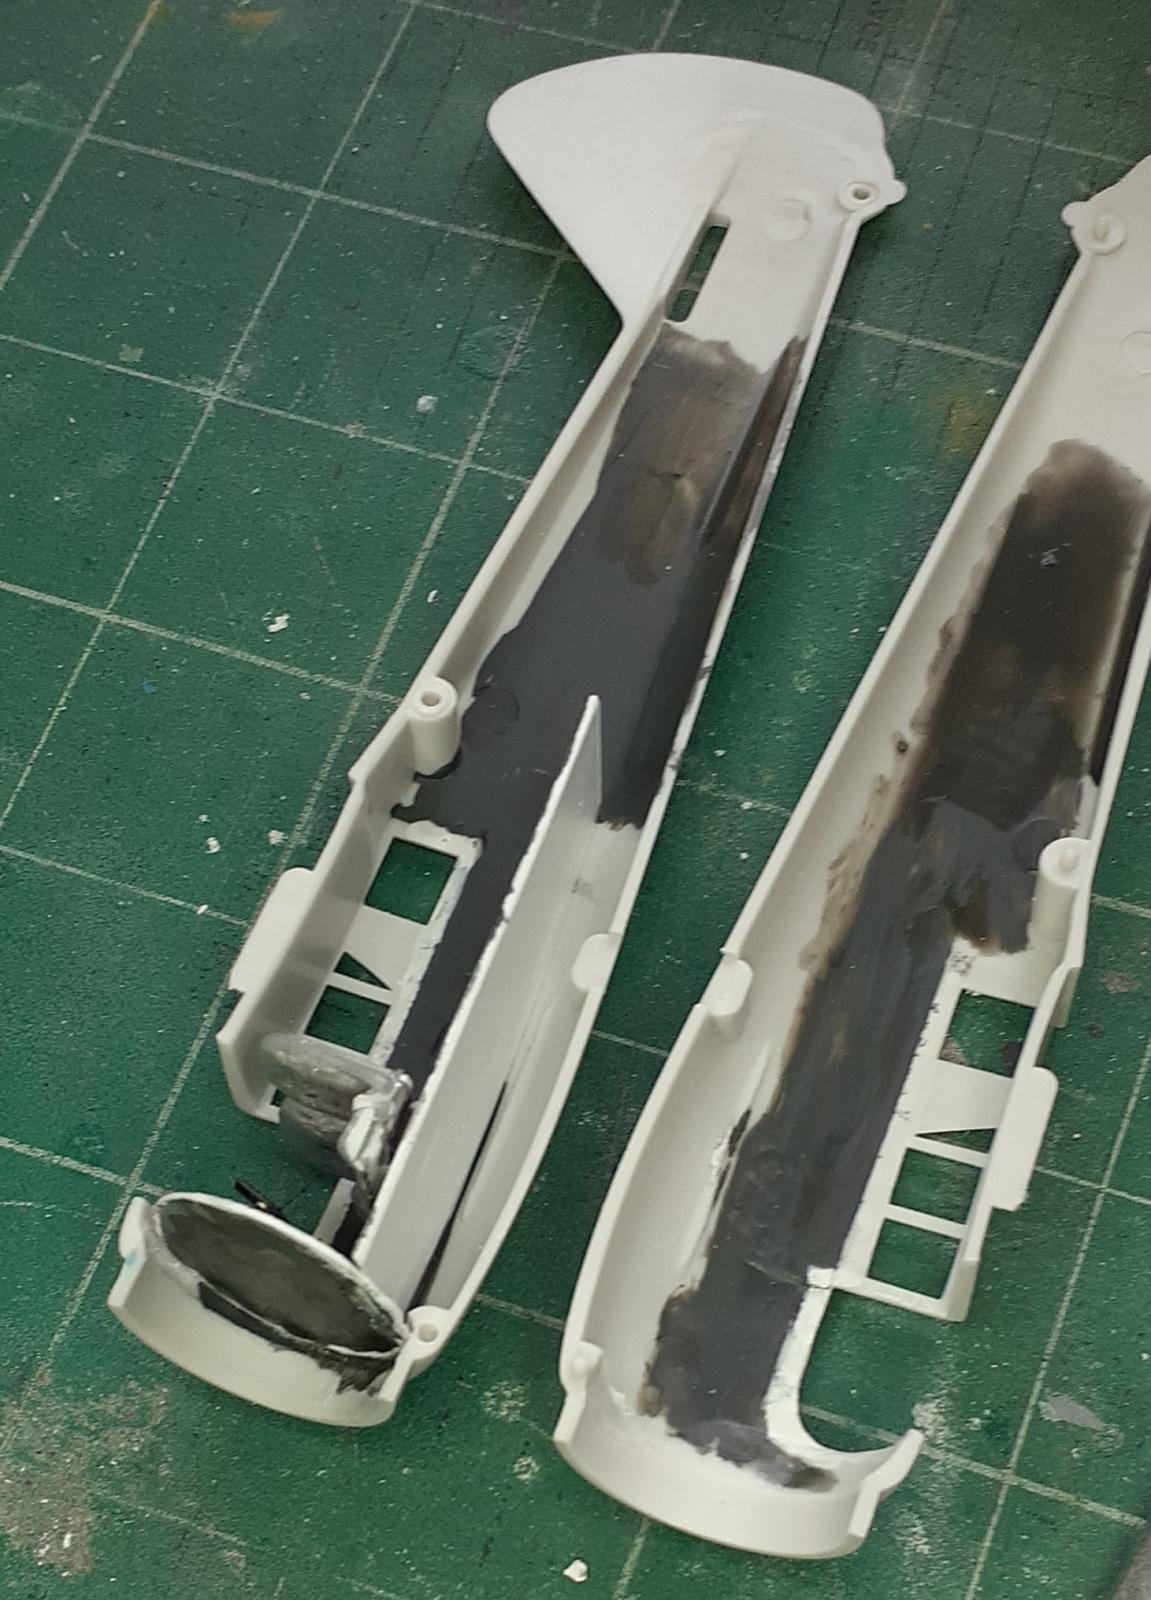
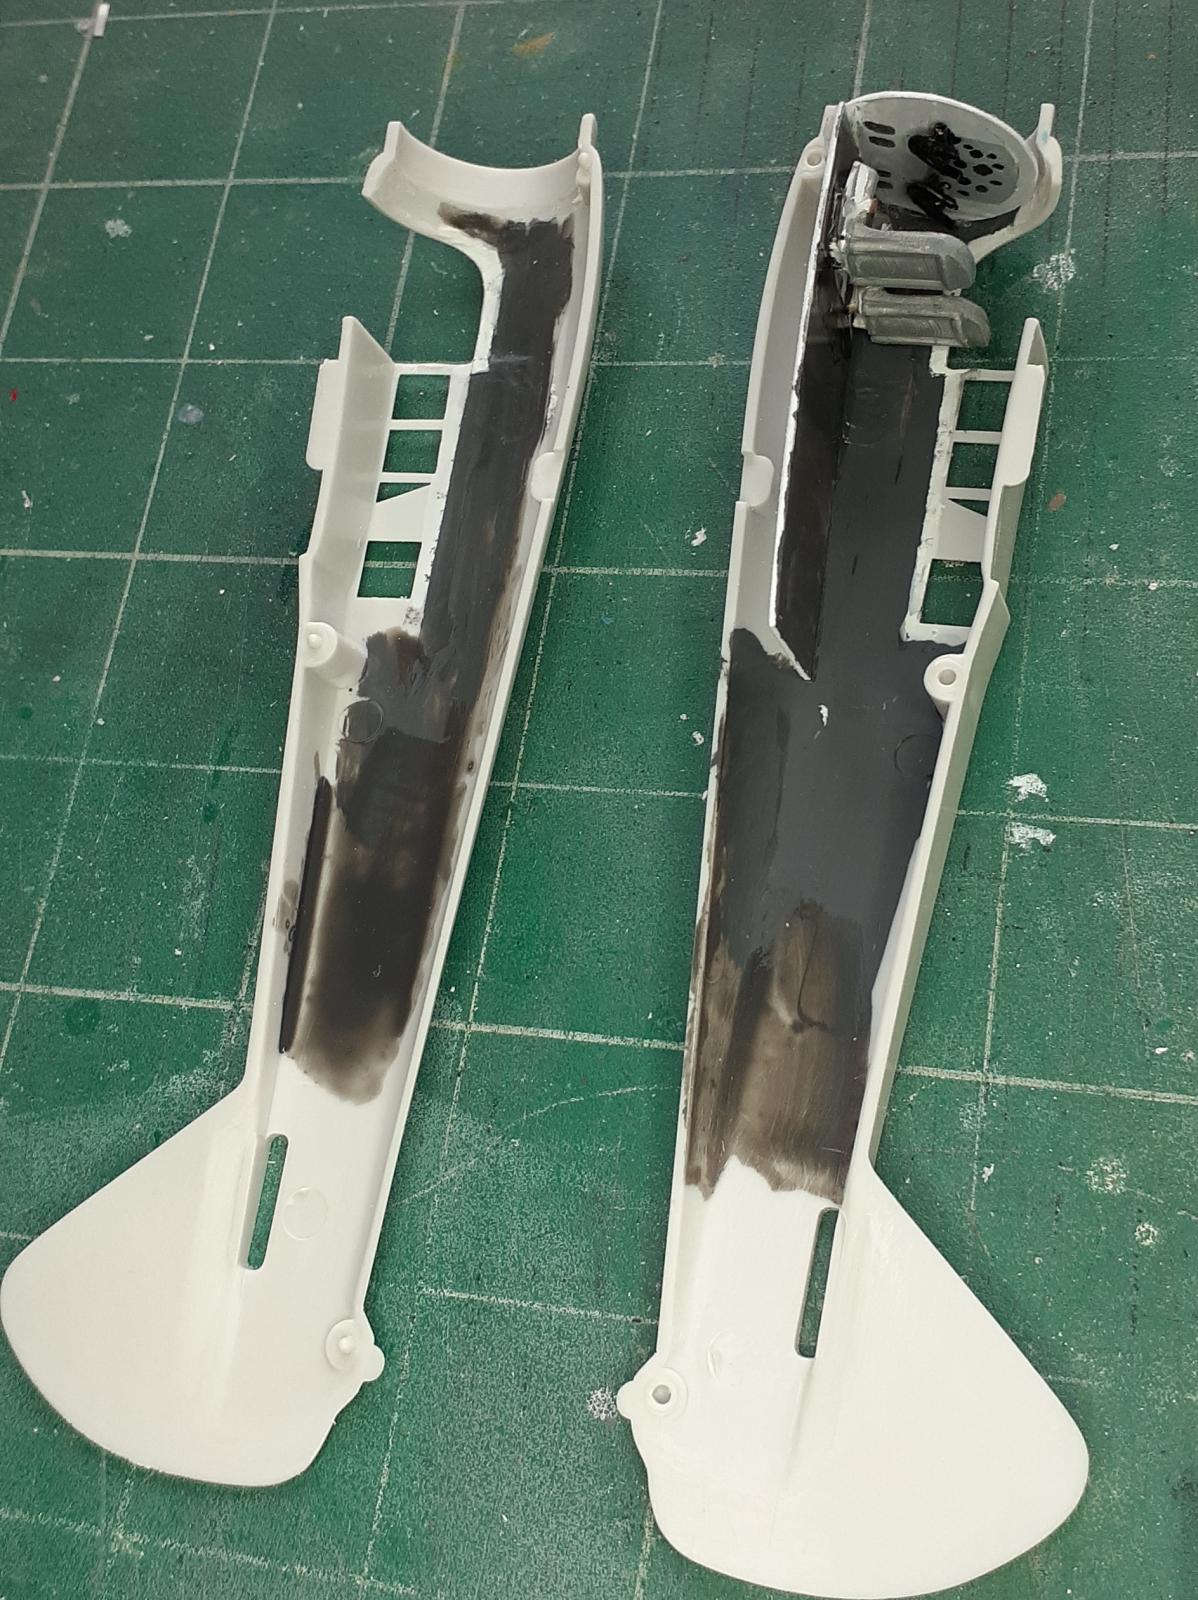
Inside each fuselage half is a molded mounting bracket for the bench that the pilot figure sits upon. These were also ground off. The socket for the landing gear fairing were used as a tab to glue the new cabin floor in place. It took constant test fitting and two iterations to get the correct shape for the floor. Finally, there was something to glue together. Once again, the fuselage halves were taped together, this time with the disk in place. The floor was inserted through the windshield opening and glued to the right half.
Also in the parts bin was a sprue fragment of seats. Two were removed and strips of HO scale 4 X 8 (.043 X .090) styrene were glued to the bottom to elevate them. Neutral gray was brushed and a black wash applied in the cervices. When they were dry, seatbelts fabricated from card stock were added.
Instead of fabricating an instrument panel, one was painted on the disc with two-tone gray and dials marked with a felt tip pen. Brass rod of 1mm was wrapped around a small screwdriver shank into a horseshoe shape to serve as control yokes. A rod was glued across the back side of each, followed by a disc punched out of .020 styrene to simulate a hub on the front. Once painted black, they were glued into place.
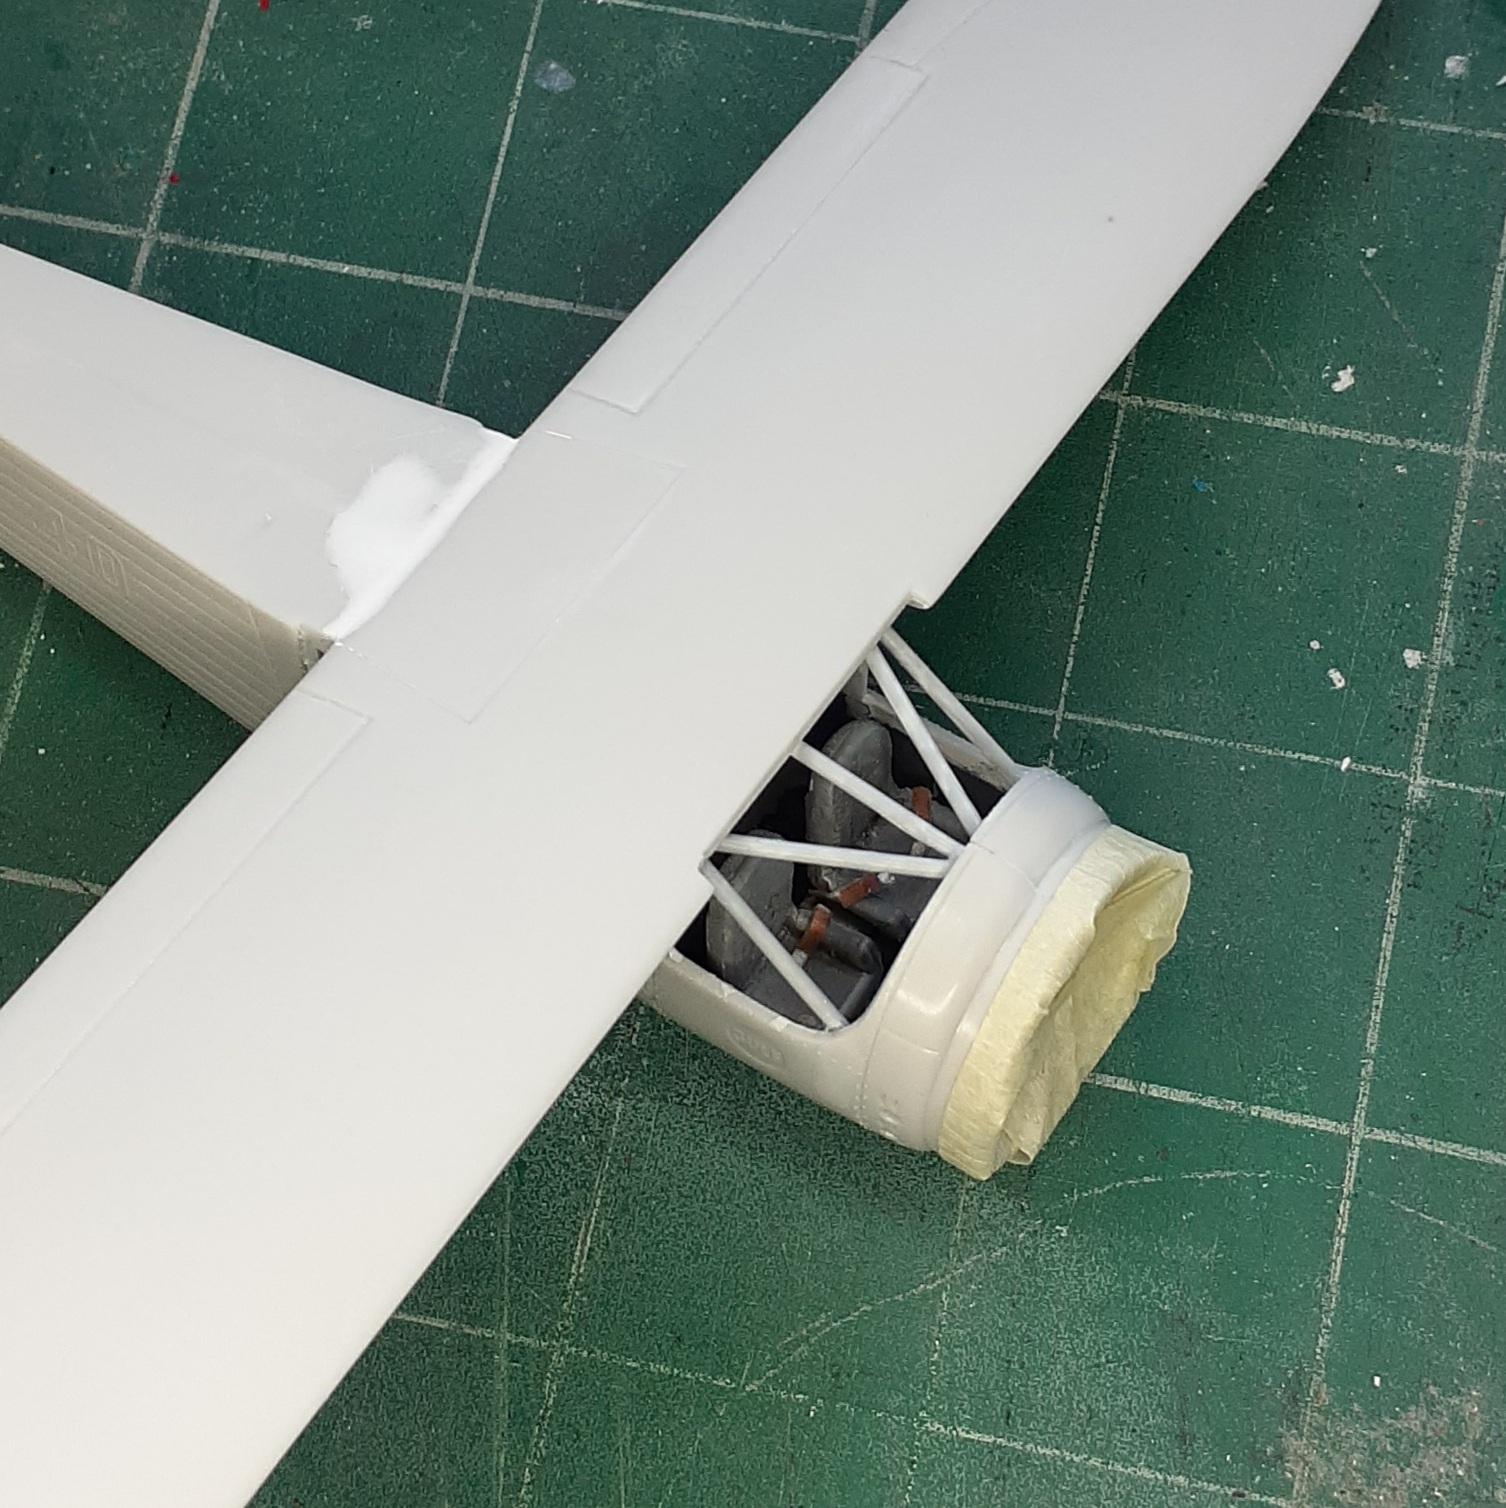
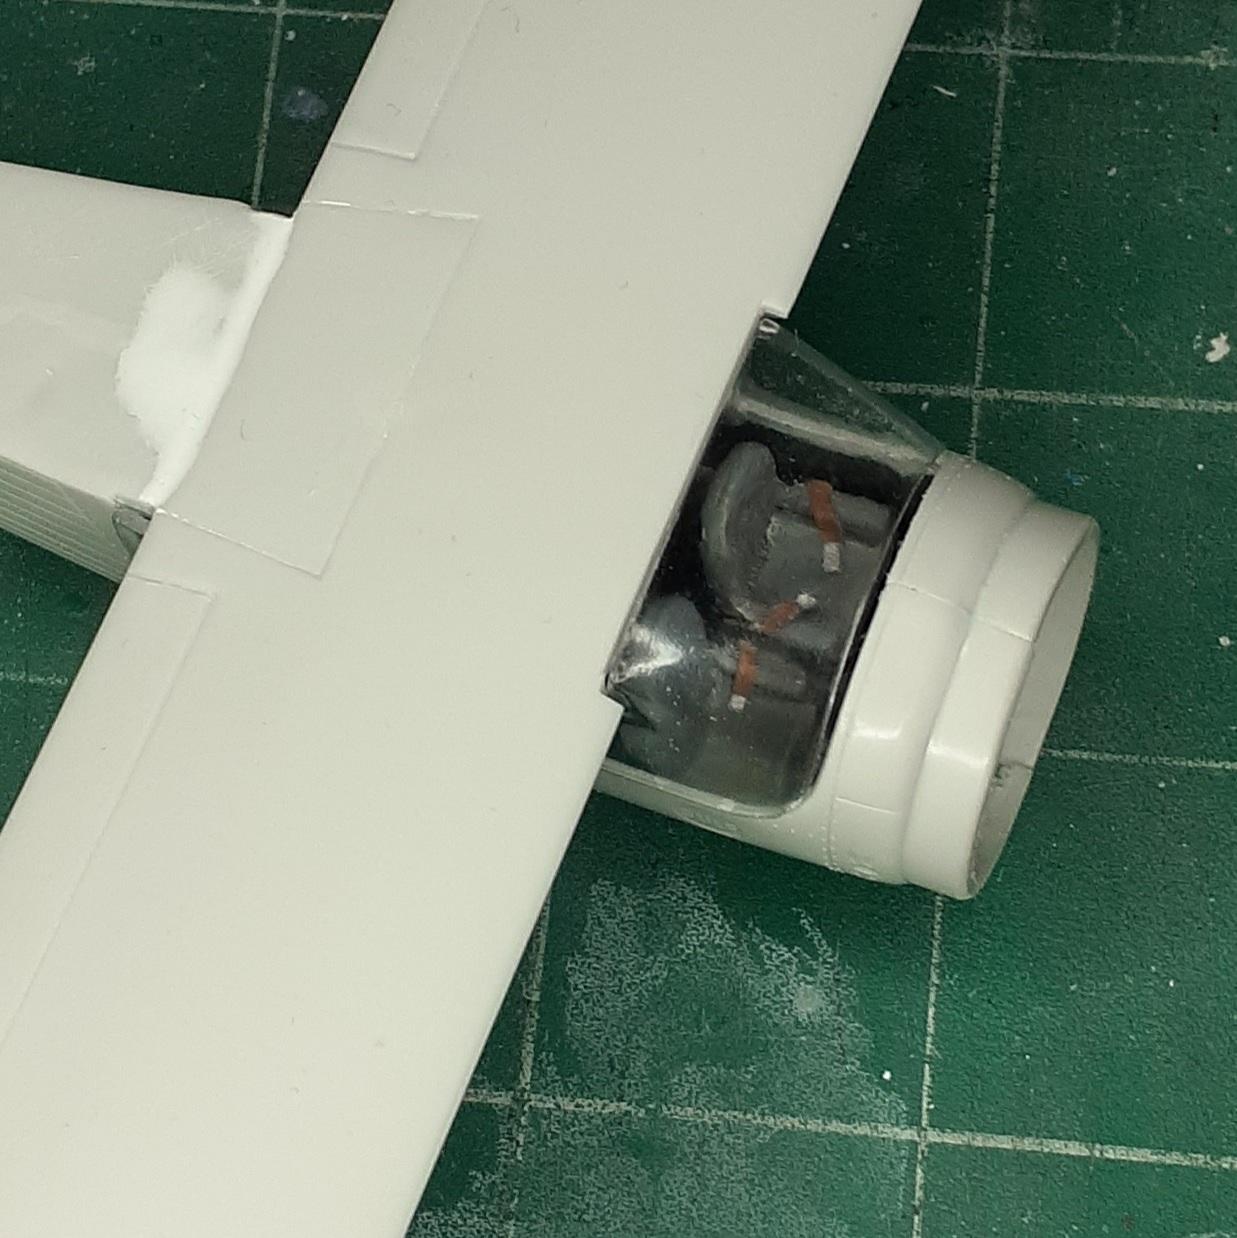
A two-tone interior was applied by brush. The instrument panel was added and the fuselage halves glued together. Seams and sink marks were filled and sanded. Unfortunately, no longerons are molded on the topside. I didn’t bother with that detail and went with the flat surface. The kit has a spreader bar between the wheels. Photos show that this is incorrect. Instead, V-shaped bracing was employed. Holes in the fuselage were drill for that rigging as well as in the fin.
Next, the wing was glued on, followed by addressing the seam at the top of the fuselage.
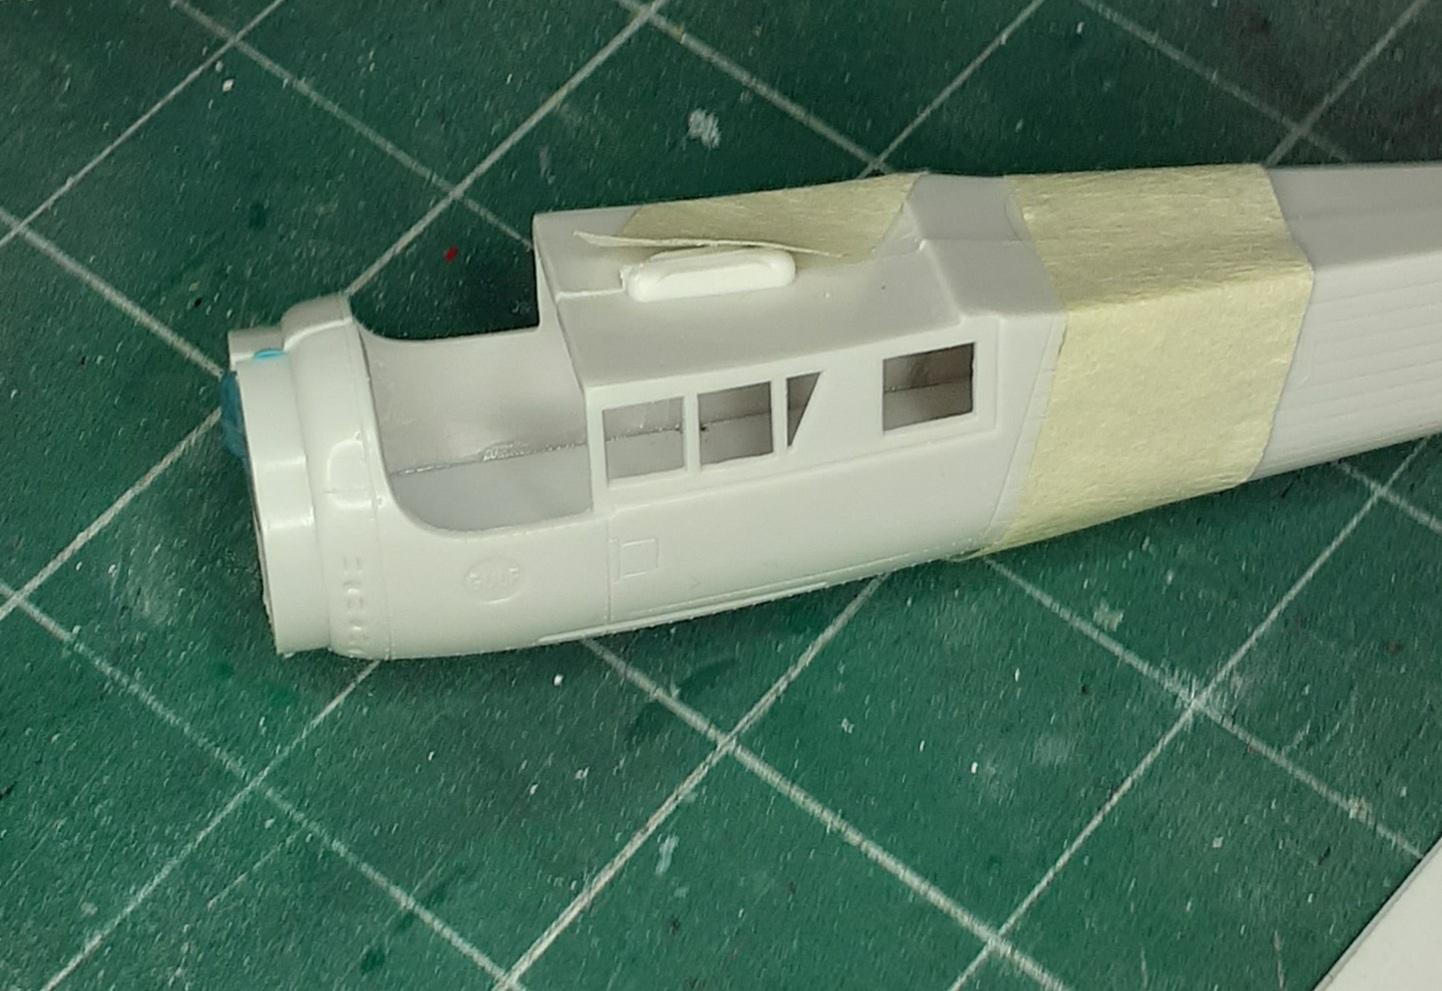
Before installing the frame members behind the windshield, a test fit of the clear part revealed a poor fit. After careful filing and sanding, it eventually settled into place, but with GAPS. The frame members were cut to length from 3/64-inch styrene rod and then painted light gray.

Nice progress so far. Keep up the great work. @jsummerford
Thanks. I think I get this by the end of the week.
Cool stuff John. I know exactly what you mean about old kit and 21st century modeler. Depending upon the mood of the modeler, the rabbit hole can be pretty deep. This is looking good so far.
Carl,
Perhaps a lot of doing this kind of project is about setting expectations. I think there is an inverse relationship. The lower the expectation, the greater the satisfaction, so I'm staying close to the surface of the hole.
Awesome job so far, John! Fantastic subject chosen! Looking forward to it!
Great start on this project, John @jsummerford
Looking great so far John. I love these old kits and updating them. Your we'll on your way the an awesome little Mr. Mulligan there. Nice work so far.
John,
Nice work on an oldie that I recall building as a kid.
Paul Matt did some nice detailed 1/48 drawings and if you do not have them I recommend you try to as they should be helpful. I started the same kit years ago and the plans will help with the interior for sure.
Keep up the great work.
Kevin
I've long been a fan of the old ex-Hawk Testors kits. I have a bunch of them stashed away and have built a few over the years. They are fun and can be used as a canvas upon which a modeler can add his own touches and details. Mr. Mulligan is a great candidate! And you've made a great start, too! 👍
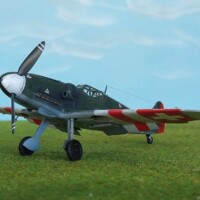
Just for grins, I took a few phone pics of one of my Testors racers that has never been photographed, mostly because it has sat "unfinished" in one of my display cabinets for over 25 years. It needed the canopy fitted and the decals, such as they are. Well, a few months ago, I fuddled around with that crude canopy and finally glued it on...and it looks like hell. Gonna need to redress that when I get around to the decals. But, here she is as it stands now:
Supermarine S.6B
and here's a few pics of my other Testors ex-Hawk models (all have been seen here before I believe):
Howard "Ike"
Nieuport 17
Me-163
🙂 ... Greetings ... 🙂 :
Nice respectable work John, hope to see the completed model.
To be honest John (see what I did there?)😳, I don't see a dilemma...unless you are a kit collector more than a modeller really. You are doing an amazing job mate, and I know nothing about the subject but if it were me, and it meant something to me, I would do whatever I was capable of to produce my beat result. Why? Well if it was something I have worked on/with, respect and nostalgia. Add to that the lessons learned and yea, in terms of value to you, it has to be worth the extra work, so we'll done. I dont have much choice and have found my modelling "taste" expanded rapidly the more obvious it became that manufacturers don't seem to care about Army aviation much (much less British Army aviation) so sometimes we have to work with what we have...and live in hope.
PS...it won't be long before they have to print "warning...may require actual modelling...🤣)...Well that's me with a warrant on my head😁