Hasegawa TBF-1C Avenger
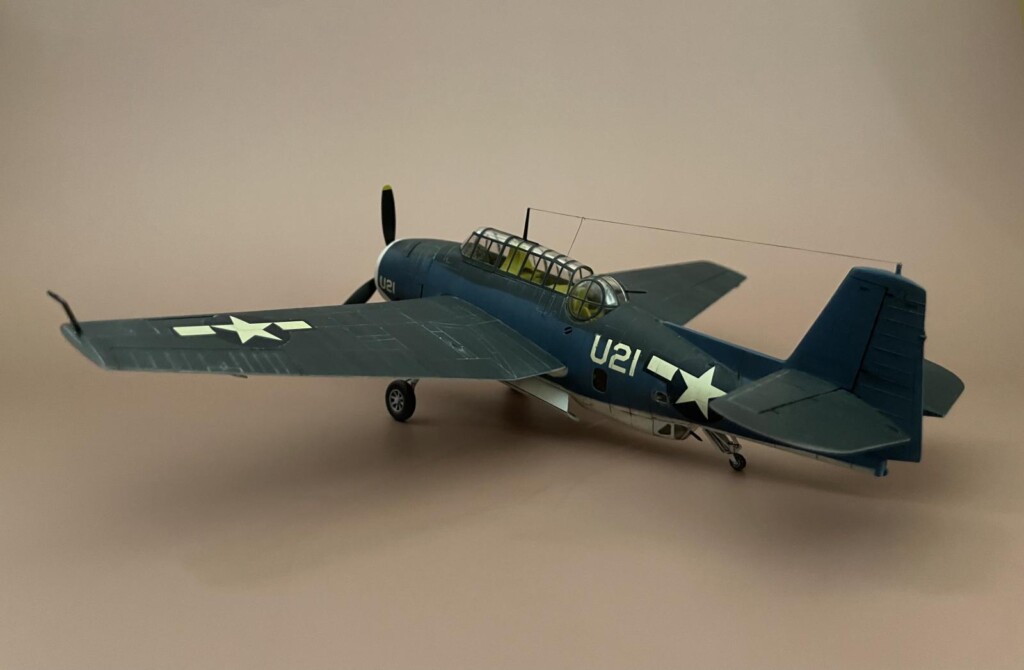
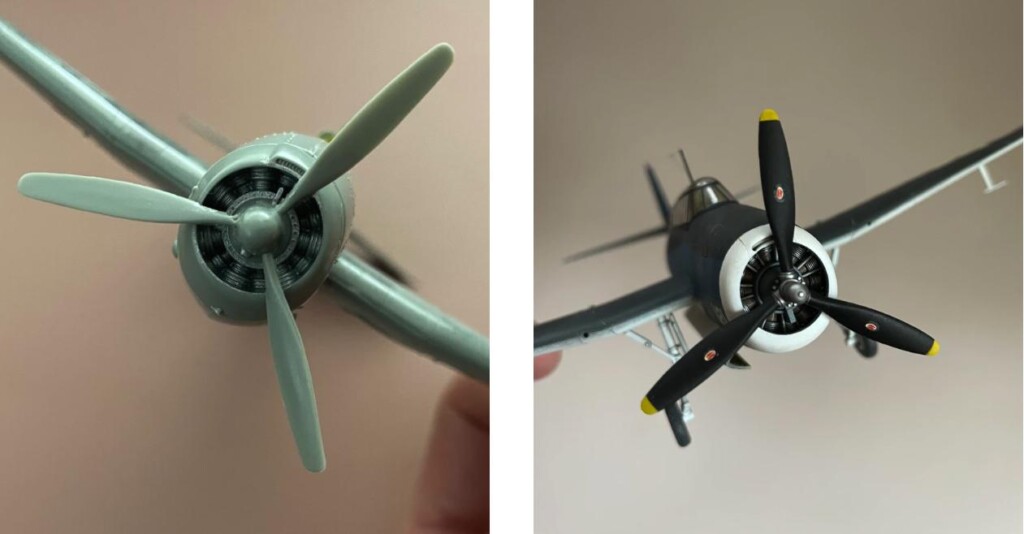
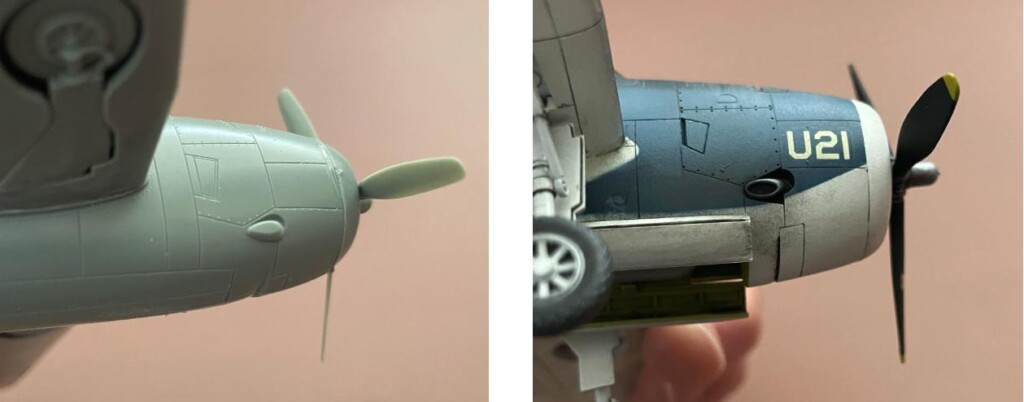
This is the 1/72-scale Hasegawa TBF/TBM 1-C Avenger from 1995. It's a quality kit: good surface detail and nice fit. My son built the Academy kit alongside me, and my impressions are that the Hasegawa has more detail in places, like the propeller and engine:
and exhausts,
The Academy kit has raised rivets (which might be your thing) and the clear pieces are too thick. You also can't open the bomb bay.
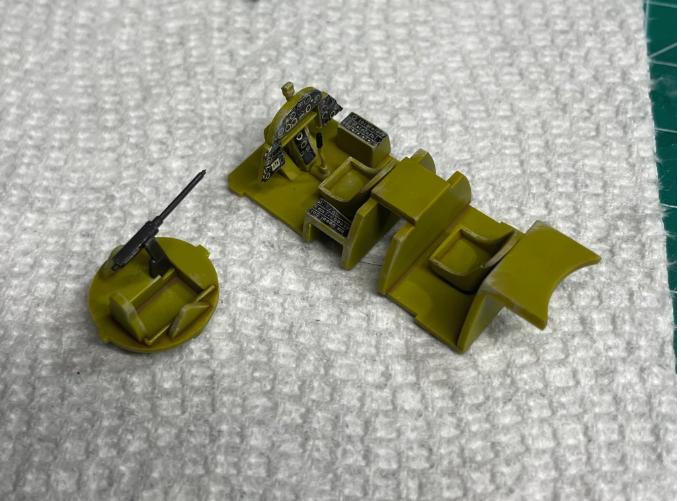
The cockpit is spartan, with decal control panels: here it is painted with Mr Color Interior Green and given a Tamiya Brown enamel wash,
For sure it could benefit from some aftermarket add-ons.
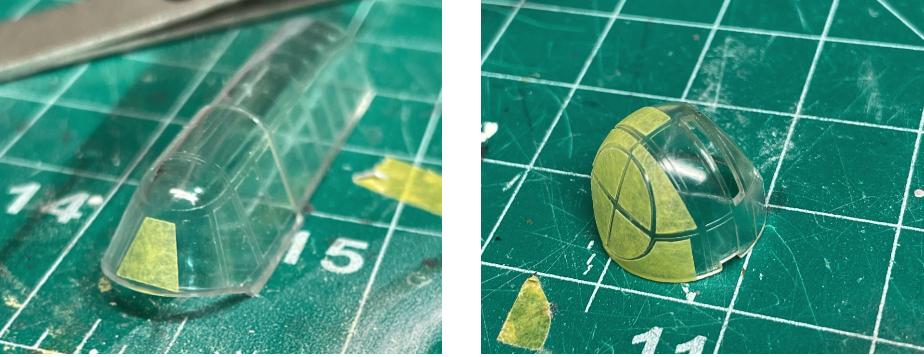
The distinctive feature of the Avenger is its long canopy and bubble turret. There was absolutely no way I was going to mask these by hand, and so I purchased Eduard's masks. These were a disaster, with multiple panels giving miserably poor fit:
Having had good recent experience with DEAD Design Models masks (for the Hasegawa Raiden), I was happy to learn that they make masks for the Hasegawa Avenger. I am pleased to confirm that these masks are lovely and they really make the model.
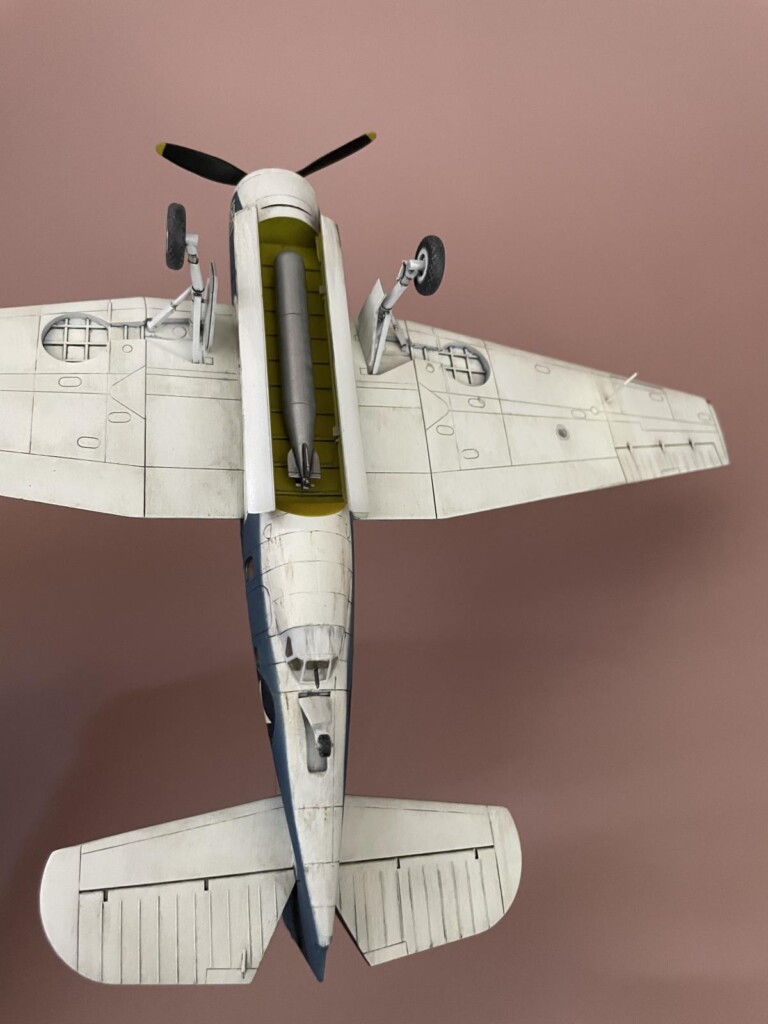
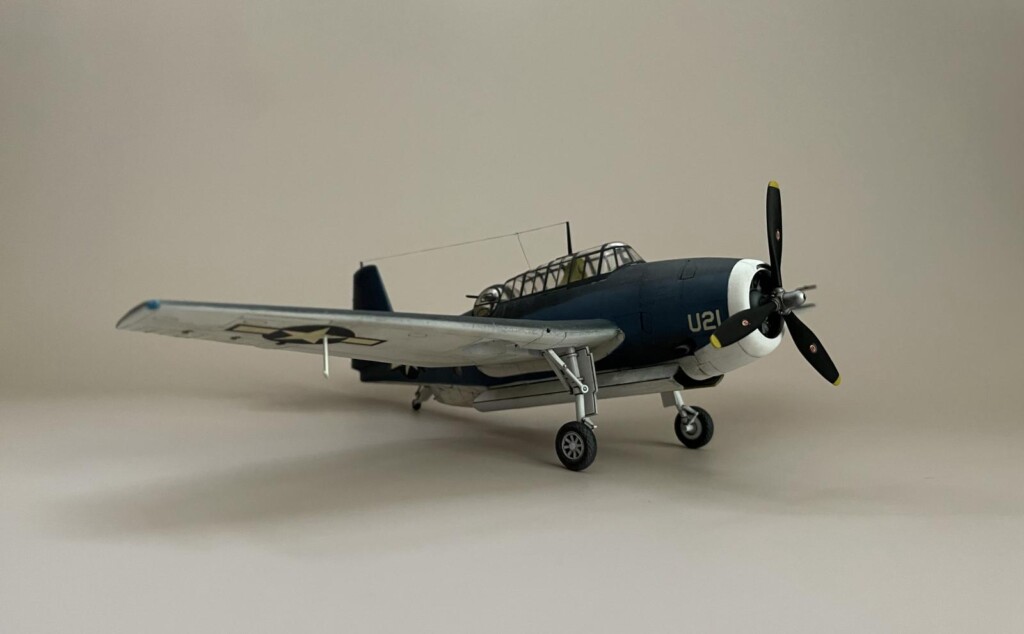
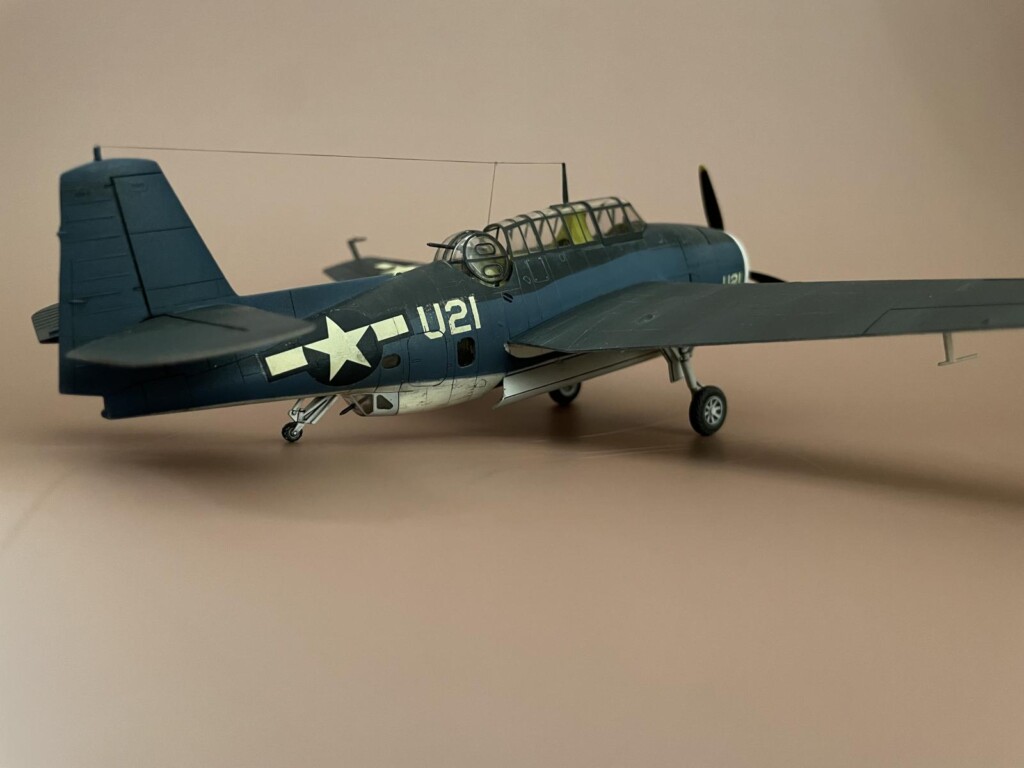
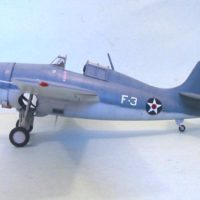
Base colors were painted as per instructions: Mr. Color 14 (Navy Blue) on top, 72 (Intermediate Blue) in the middle, and 316 (White) on the bottom. For weathering, I used a white enamel wash and light gray oils over the Navy Blue (AK 2075 and Abteilung 502 Light Grey, resp.) Over the intermediate blue, I applied a dark gray enamel liner (AK 2072) and over the white I applied a lighter shade of gray (Tamiya Gray). I applied some grime streaking and on the bottom with Abteilung Sepia and Raw Umber, and Mig Oilbrushers Starship Filth oils, and AK Interactives weathering pencils (Sepia). The torpedo was painted with Alclad Aluminum and then pretty heavily smeared with white and light gray oils to kill some of the luster,
I attempted a filter of light gray and blue oils along the fuselage to simulate fading and bleaching effects. Finally, a Tamiya black enamel wash was applied to the landing gear.
Decals were fragile and held stubbornly onto the transfer paper, a tough combination. But they ultimately cooperated and agreed well enough with Solvaset.
One caveat is that care is needed not to push the fuselage windows into the model while working. These must glue in before the fuselage halves come together, and so there is quite a bit of handling between then and when the masks finally come off. I ended up popping a window inside but hadn't yet attached the ventral gunner's pod, and so was able to retrieve it. I then had to attach this window from the outside at the very end, which was going well until I...popped it inside once again. No saving it this time! Since my son wasn't using his windows, I was able to fit a donor Academy window into the model, which, though thick as the bottom of a coke bottle, saved the day.
After a flat coat of varnish, I installed the antenna with Infini Models rigging wire.
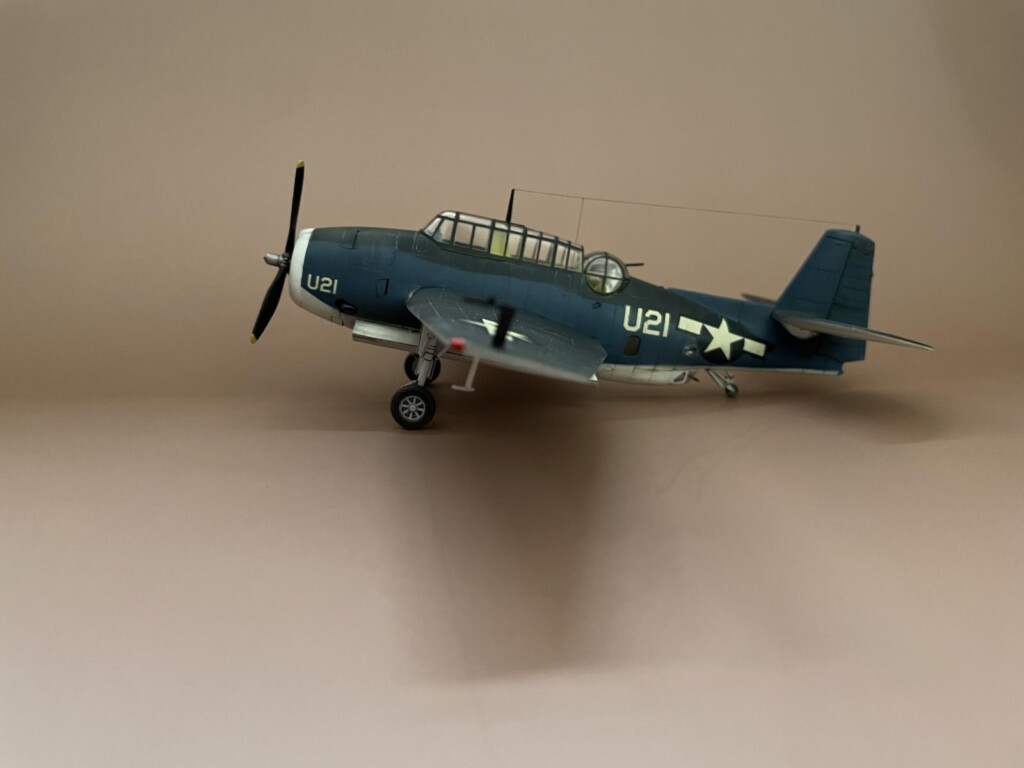
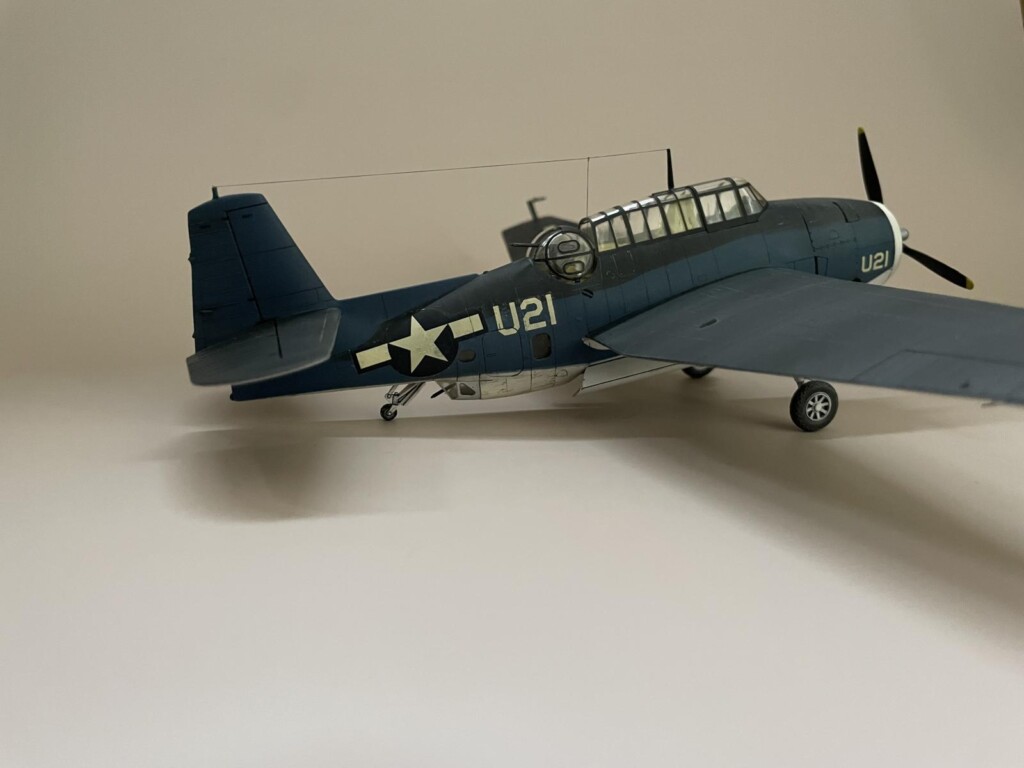
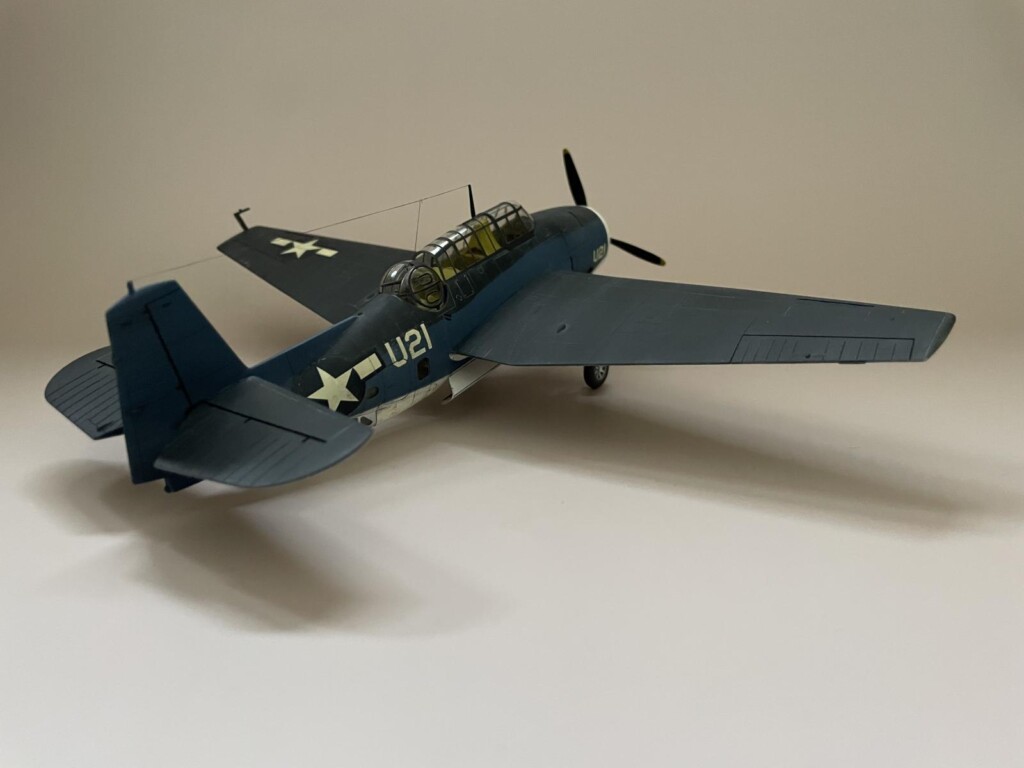
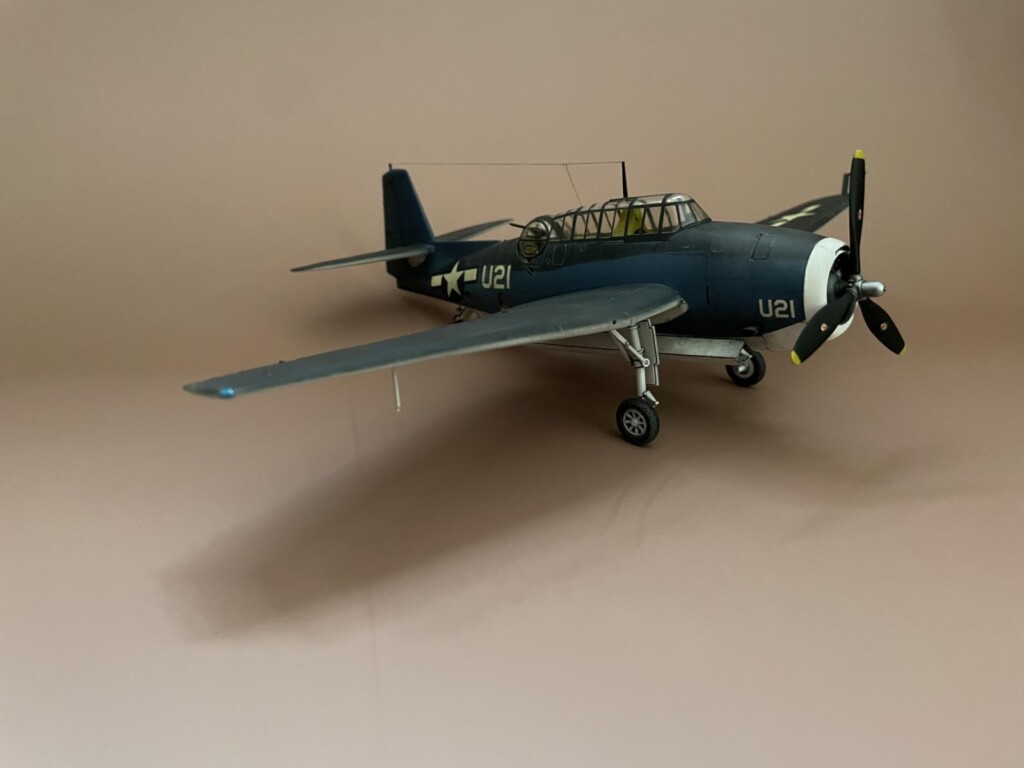
This Avenger looks really good, Brian @bapowellphys
Hard to believe this is a 1/72 scale model.
Weird the Eduard masks were so wrong but glad to see that the DEAD masks did fit much better, the canopy looks perfect.
Thanks John! Yeah, I was surprised and disappointed with the Eduard masks. They do so much else so well.
Great! I love Avenger.
Nicely done Brian I've always liked the Avenger. If you want detail may I suggest the old Accurate Miniatures series of Avenger models. Very well detailed but they only come in 1/48 scale. And they are big when completed.
That’s a nice looking model .
Nice Avenger Brian. Your absolutely rite about the Academy Avenger. I have one in my stash and it's definitely lacking detailing some areas that the Hasegawa doesn't. It's a decent kit
but the Hasegawa kit is better overall, and you made it look even better.
Fantastic y, Brian! Excellent, very detailed write up too!
Well done, Brian. Your skill makes it look more 1/48 like.
Awesome build, Brian...very sharp Avenger! It had to be a lot of fun building different Avengers in parallel with your son.
Nice work! I pulled one of those from the stash and built it last year. Fun kit.
Some great work there on this model. @bapowellphys
What a fantastic outcome Brian (@bapowellphys). Your Avenger looks great
Nice looking Avenger!
That's a fine build!
That’s amazing work for 1/72. Great looking Avenger.