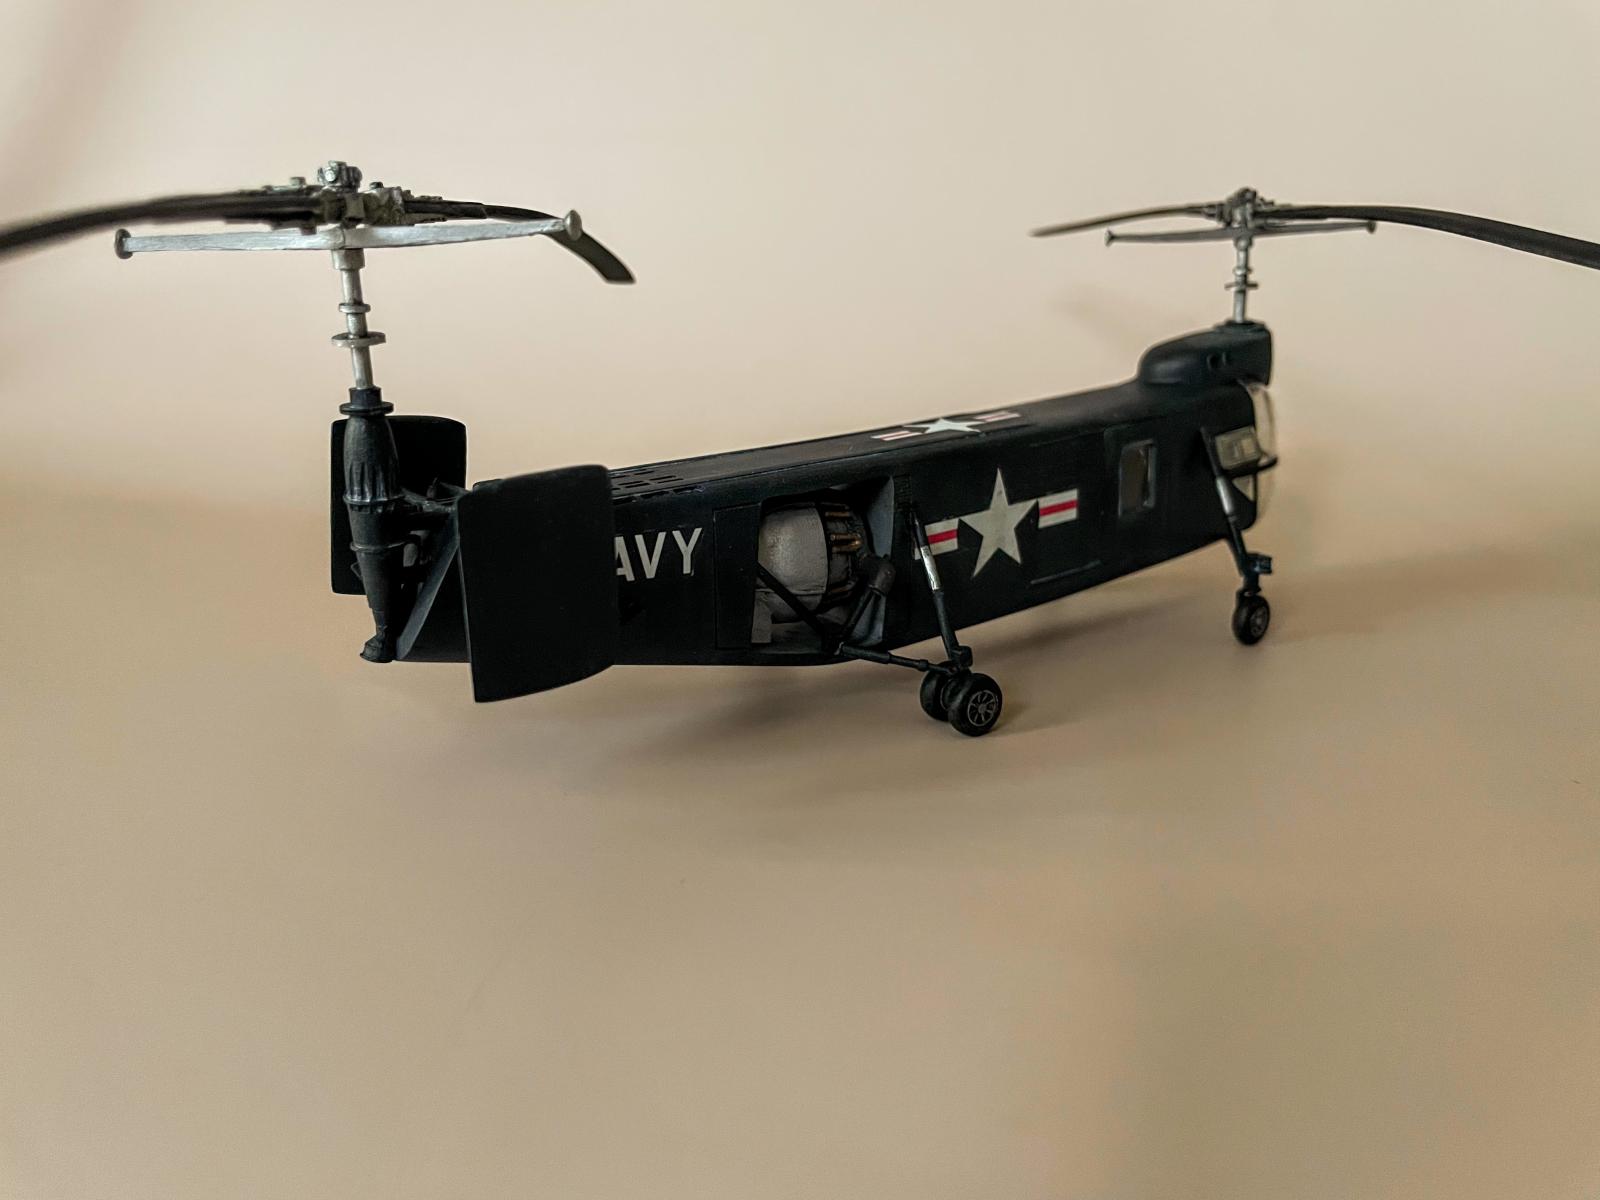
Anigrand Bell XHSL-1
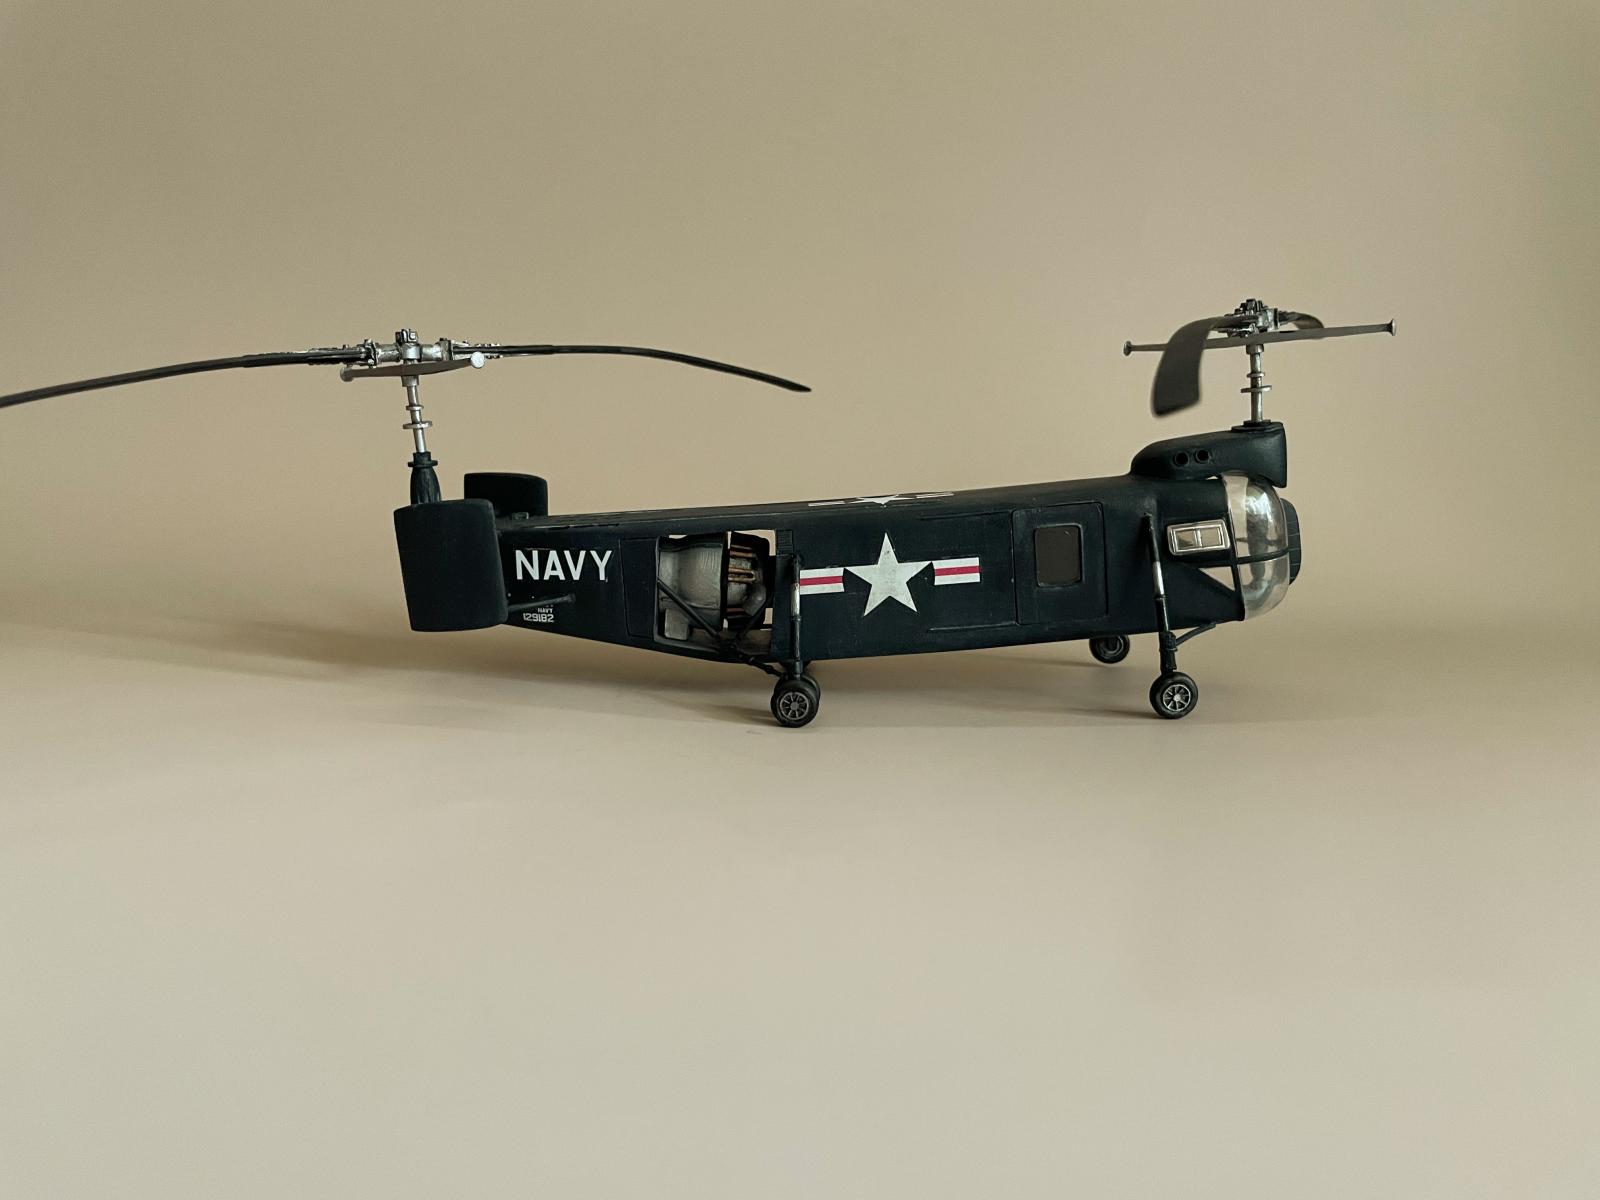
To satisfy a US Navy requirement for an anti-submarine warfare helicopter, Bell's Model 61 first flew in March 1953. It was a tandem rotor design, and the first helicopter specifically designed for this role. The name XHSL indicated the experimental version (X) of the H (helicopter), S (submarine), L (Bell) prototype.
The single engine sat in the aft fuselage and was so damn loud it disrupted sonar operation. It was also too large to be efficiently operated from carriers (prop folding was cumbersome and it could barely fit on elevators). With only 50 delivered to the US Navy, it was removed from the ASW role and put to limited use as a minesweeper. But, ultimately, the aircraft, like this model, was ill-fated and disappeared from service almost entirely by 1960.
The Kit
The 1/72-scale Anigrand Bell XHSL-1 is an all-resin, 48-piece kit. It is difficult.
There are several reasons for this. First, it's a resin kit. In general these are more difficult than styrene kits simply because CA glue is less forgiving than styrene cement. Especially when several parts need to come together in a sort of “floating” fashion, like landing gear with multiple trusses (with styrene cement, one gets the pieces together and can adjust and move things around until everything aligns). For well-tooled parts with good instructions, this isn't too big an issue even for resin, but this is the 2nd problem with this kit: some parts have no clear attachment points and the instructions are incredibly vague (just an exploded diagram). So when it comes time to attaching the vertical stabilizers and associated lattice-work, prepare to be frustrated. The final big reason is that the resin isn't the smoothest, and the casting isn't the sharpest, and it's hard to get all the surface imperfections out. This makes metallic pieces look fake, some of the more delicate pieces too fat. The result is almost toy-like. And the decals were old and on their way out.
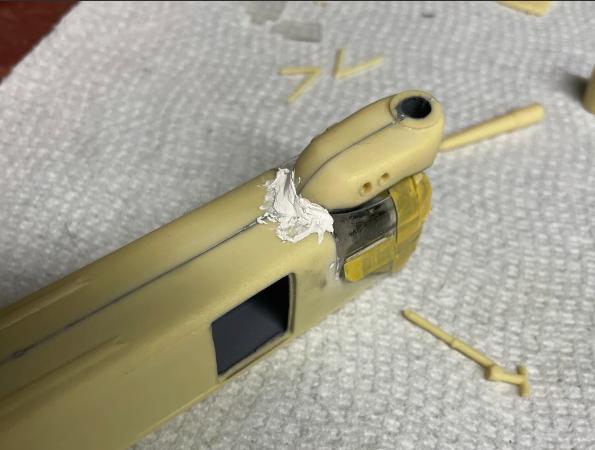
I also made several major mistakes, like prematurely attaching the canopy (before the cockpit was fully painted) and I tried and failed to scribe some rivet detail on the body. This failure I think largely resulted from my decision to add the rivets at the very end, after the helicopter was mostly assembled (notably with stabilizers attached) and painted and varnished. Why? Because I was afraid that painting and varnishing over the rivet details would fill them in. The presence of the stabilizers prevented my laying the helicopter securely on its side for scribing; instead I had to hold it up and also try to keep the ruler steady which was a horrible scene and the scriber kept slipping making slanted rivet rows. I had no choice but to sand them off, which meant sanding through all the varnish and paint and this heavy sanding left considerable scrapes and gouges in the soft resin. I tried to smooth it out but didn't do a careful enough job.
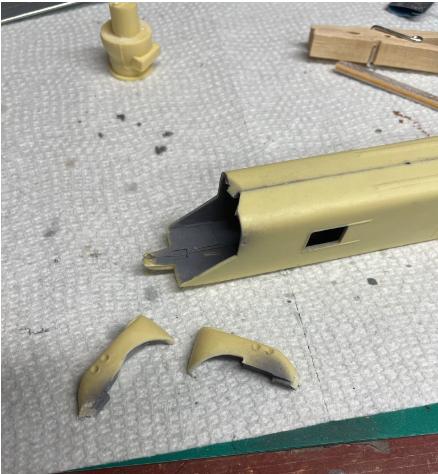
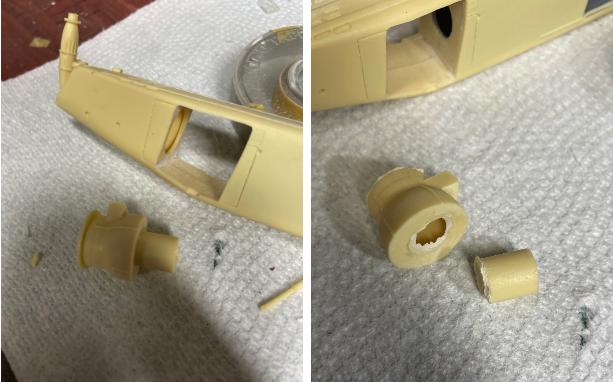
The first issue with construction is that the canopy glass simply does not fit under the propeller cowling, even after considerable reshaping. So, I decided to just snap the cowling off and re-attach later:
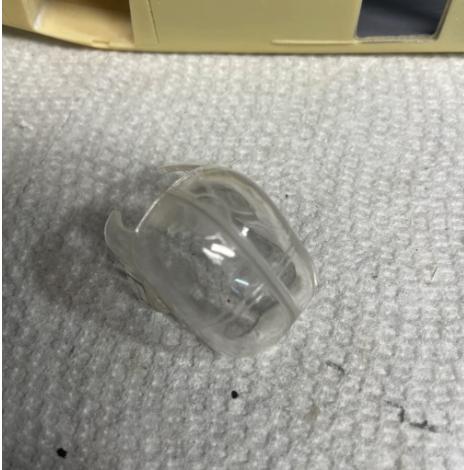
The canopy itself comes in two halves which join well; I cemented them with CA and sanded down the seam:
After masking the canopy it's attached to the fuselage and the cowling is replaced,
The model can be constructed with the side door open, to reveal two seats, some nondescript instrumentation, and a spool. These look poor, and lacking sufficient detail (the seats are decent, though), I decided to forego all of this and just close the door. The cockpit is similarly poorly outfitted (there isn't even a decal for the main control panel), but happily (?) the canopy is so thick you can't see much through it anyway.
The engine sits in an open part of the fuselage; it is supposed to go in as the two fuselage halves are joined, or else it doesn't fit. The trouble with this is that there will be a seam at the join, and it will be virtually impossible to smooth it with the engine in the way. And painting around the engine wasn't going to easy. I therefore decided to assemble the fuselage without the engine, and prep and paint the space where the engine would go. I had to break the engine in half to fit it in after,
Of course, the engine is so large you can't really see the seams anyway.
Base paint was Tamiya XF-17 Sea Blue, and metallics were Alclad Aluminum. Decals were yellowed, which I was able to reduce somewhat after a month or so in the sun. This had the undesirable effect of also fading some of the red colors (this has never happened on other decal sets that have gotten the sun treatment). The decals needed some liquid decal film to keep them from breaking apart, but some still did. For weathering, I gave the model a white enamel pin wash and applied some gray oils to simulate fading of the blue paint.
In closing, perhaps this model was too big a challenge for me. I just couldn't get things to work out the way I visualized, and it was a humbling experience.
One thing you might want to do is glue some 0.01mm wire to the underside of those rotor blades. I had the same problem when I did a resin helicopter kit.
Good work on this, Anigrand kits are not known for being even remotely modeler-friendly.
Curious about the wire: is that for support? The blades here are molded in this shape and are fairly stiff.
Excellent job on a most challenging kit, Brian!
Well done!
Absolutely great result on this difficult kit, Brian @bapowellphys
An unknown helicopter to me.
We only get better by attempting these challenges. It's a very, very good piece of work and an interesting model of one of the weirder machines that flew.
Little cracker, didn't know Bell produced a tandem.
Well done👍
Well done for finishing this to such a high standard.
The model turned out really nicely for having been so difficult to build. My hat is off to you . That’s an odd looking design, not as sleek as a Blackhawk. Helicopter technology has really progressed.
Thanks everyone, I appreciate the kind words. I've got maybe a dozen more Anigrand kits in the stash...we'll see how these turn out!
Commendable results as well as persiverence, this would have ended up in the garbage bucket were it on my bench.
They would have had to shoot me to get me into one of those things
Excellent result for what you went through to attain it! And an interesting subject - don't think I've ever seen one. We all need projects like these to keep us humble and sharpen our creativity muscles! Well done.
Nice work on a difficult kit of a not so nice helo!
Nice work. Anigrand makes some interesting stuff not available elsewhere.
Nice job on a tough build. The model looks good, but man that is an ugly aircraft! : )