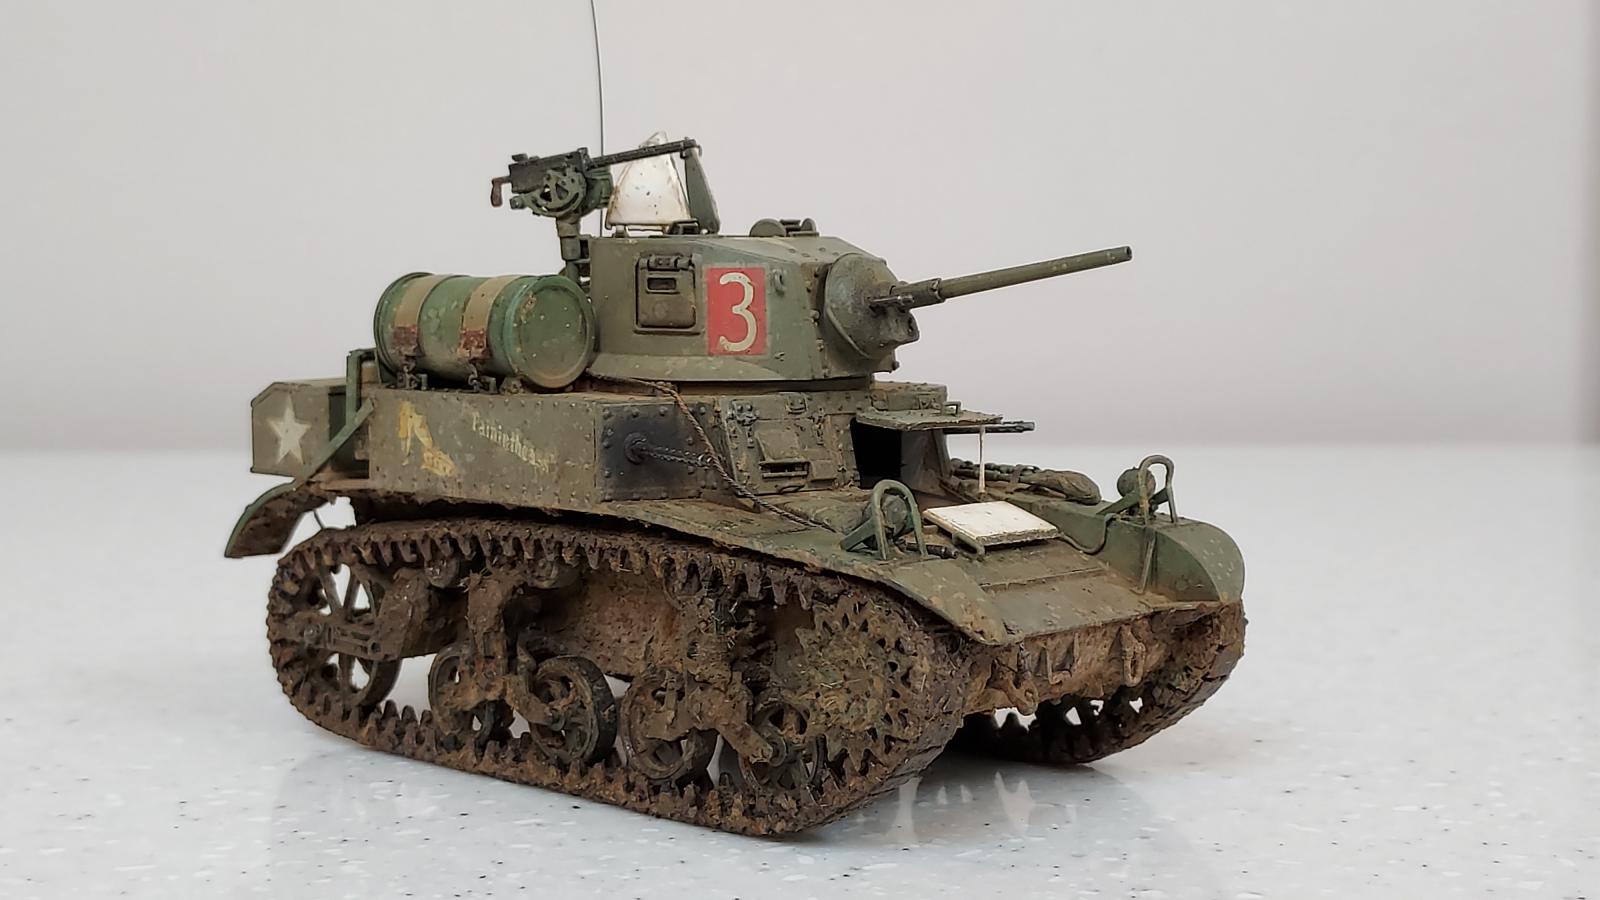
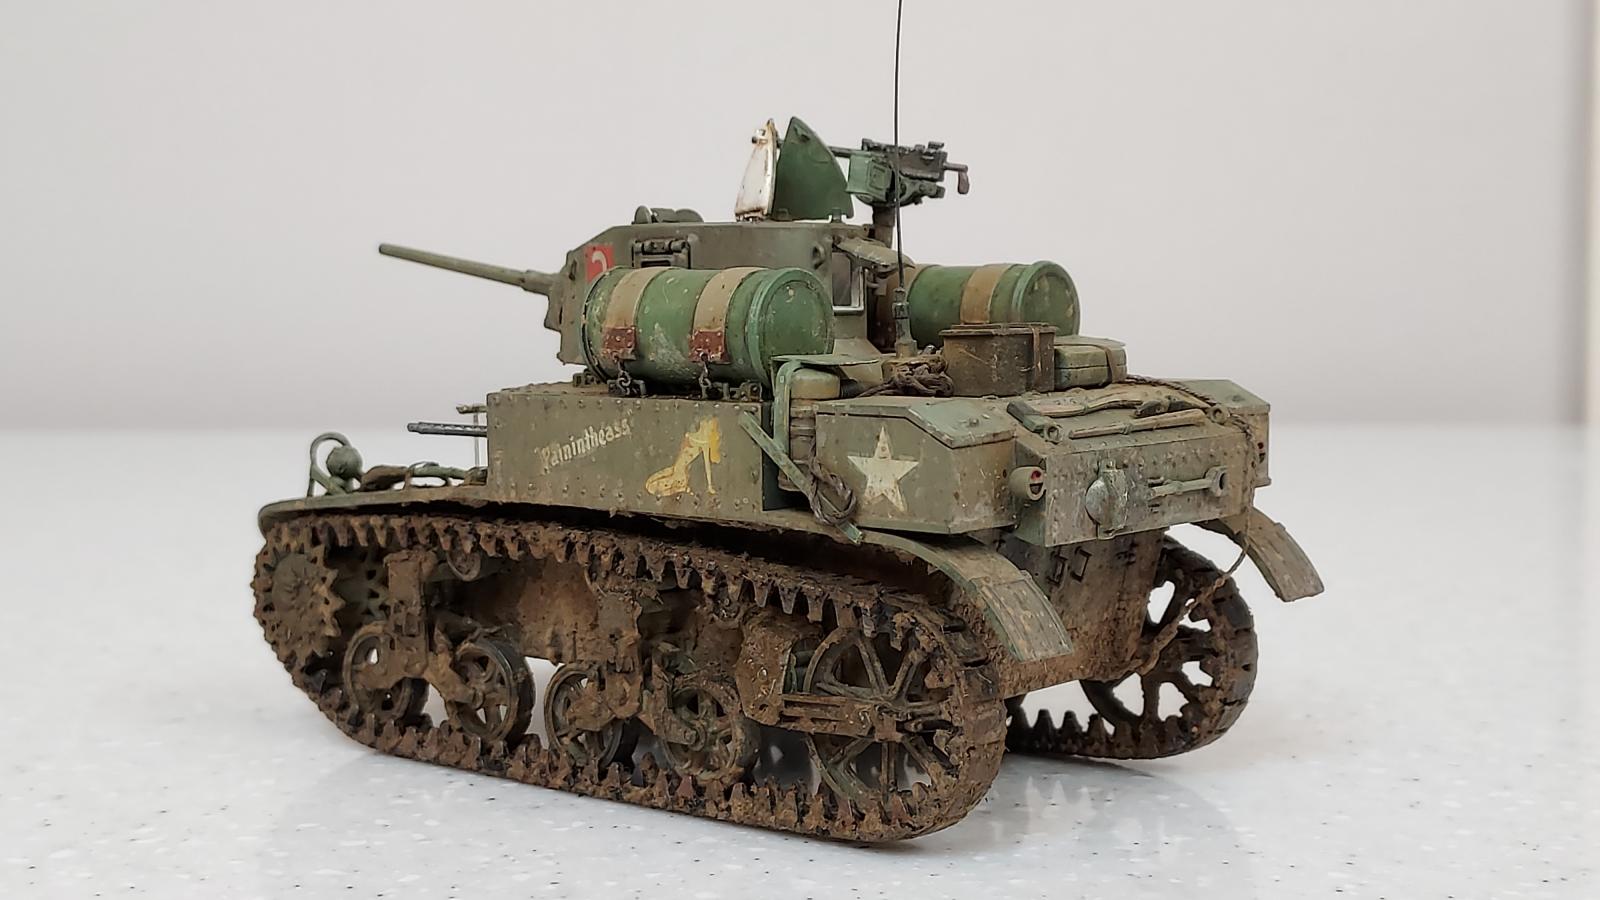
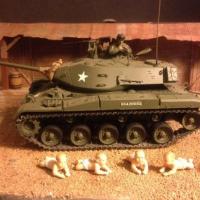
Academy M3A1 Stuart, 1/35 Scale
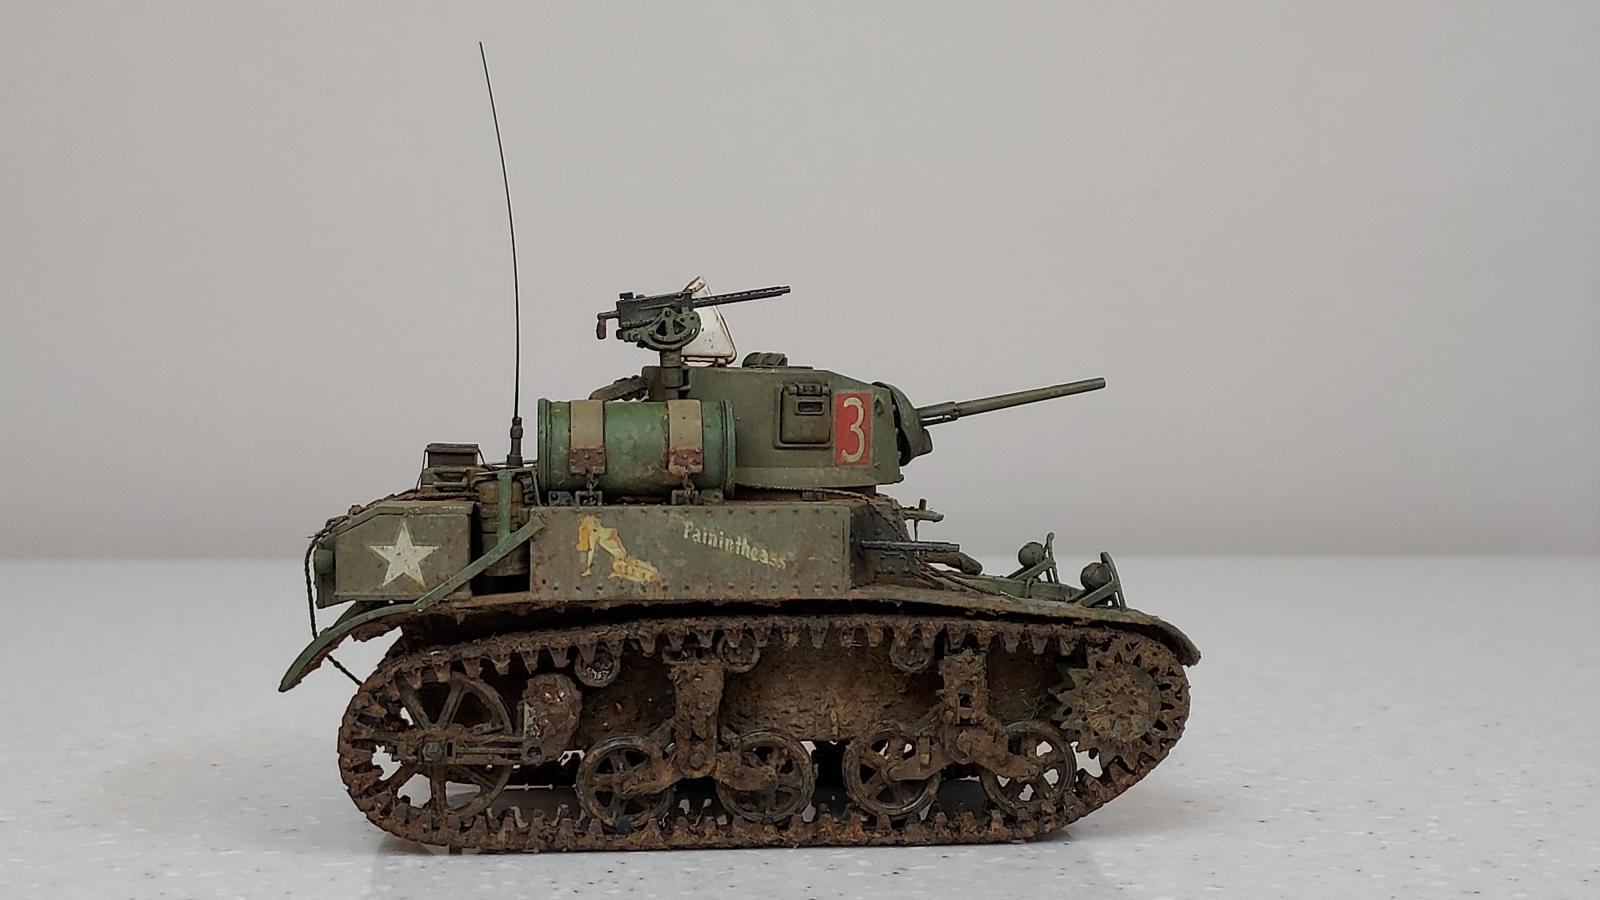
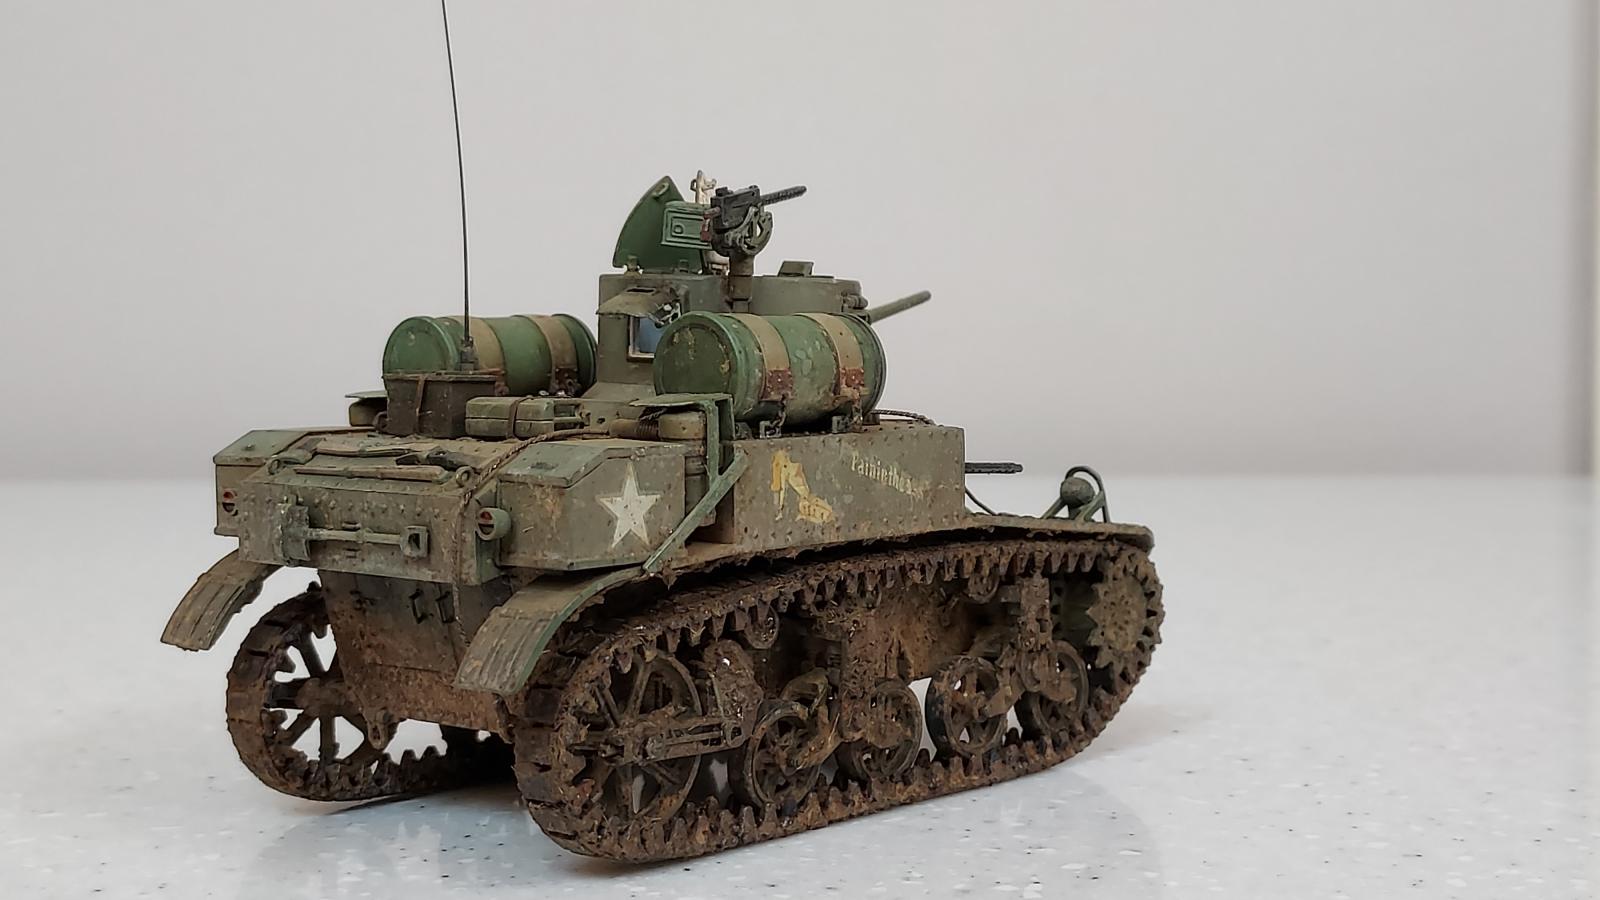
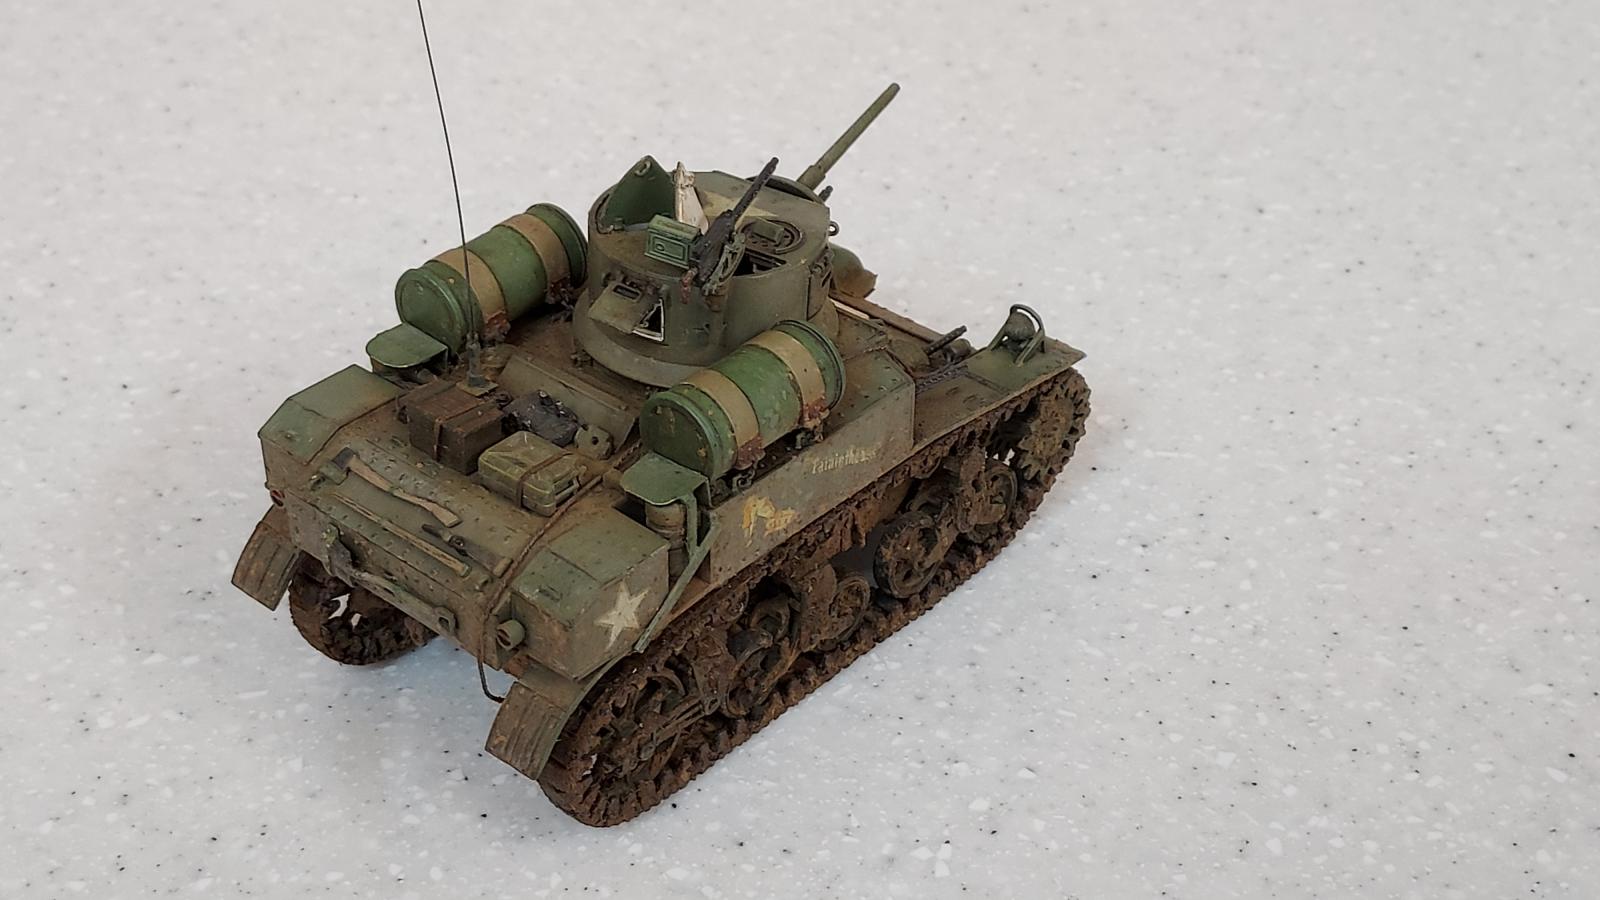
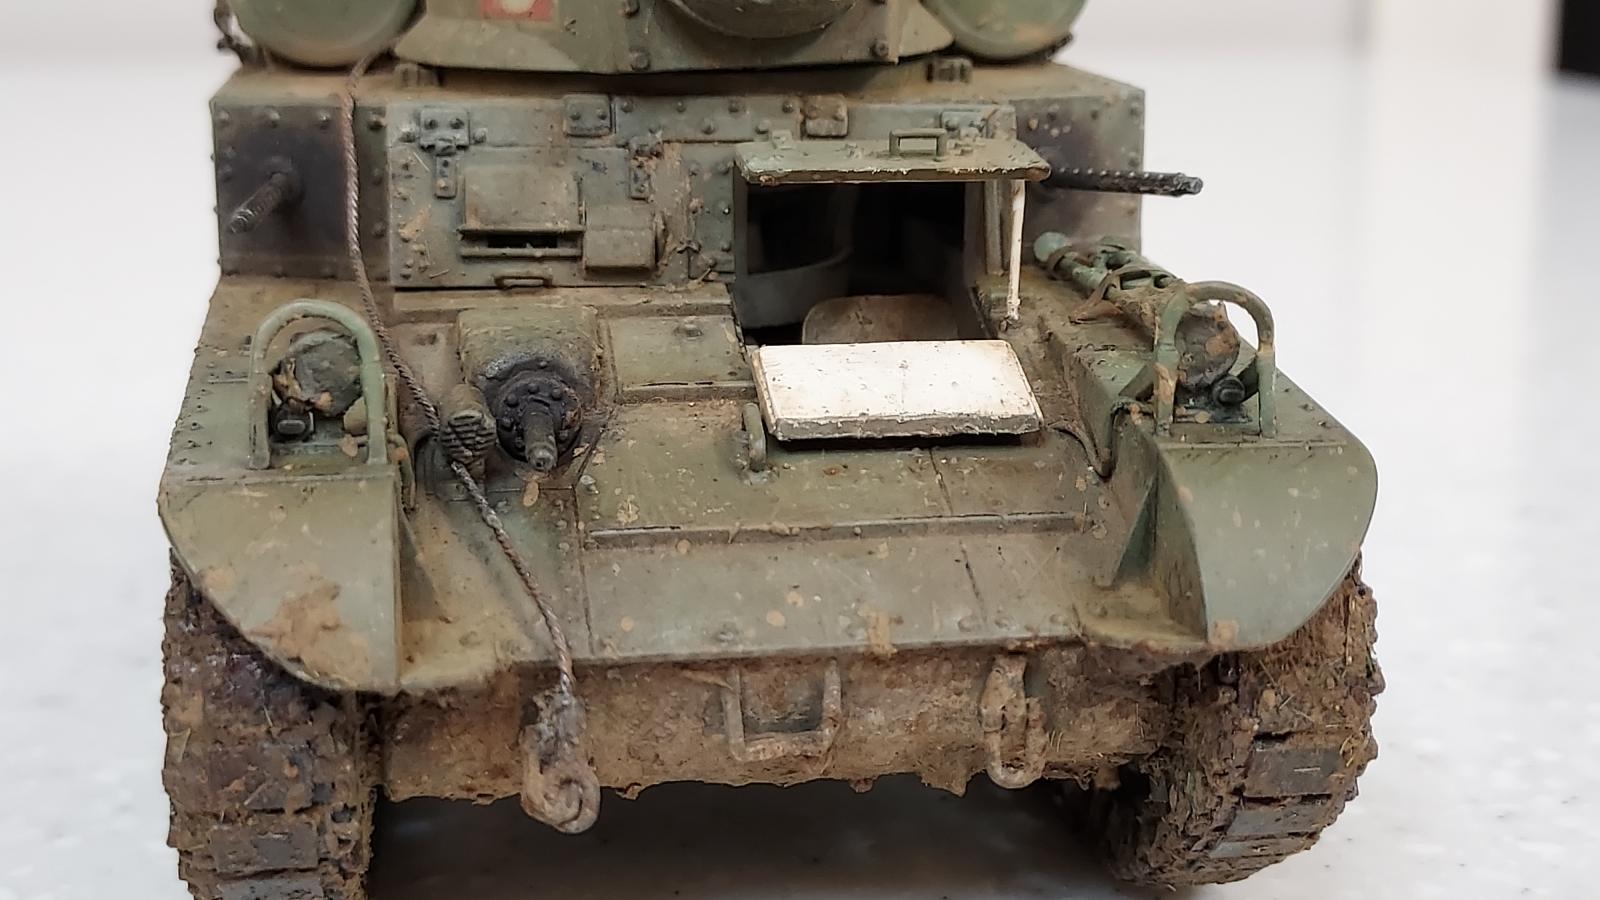
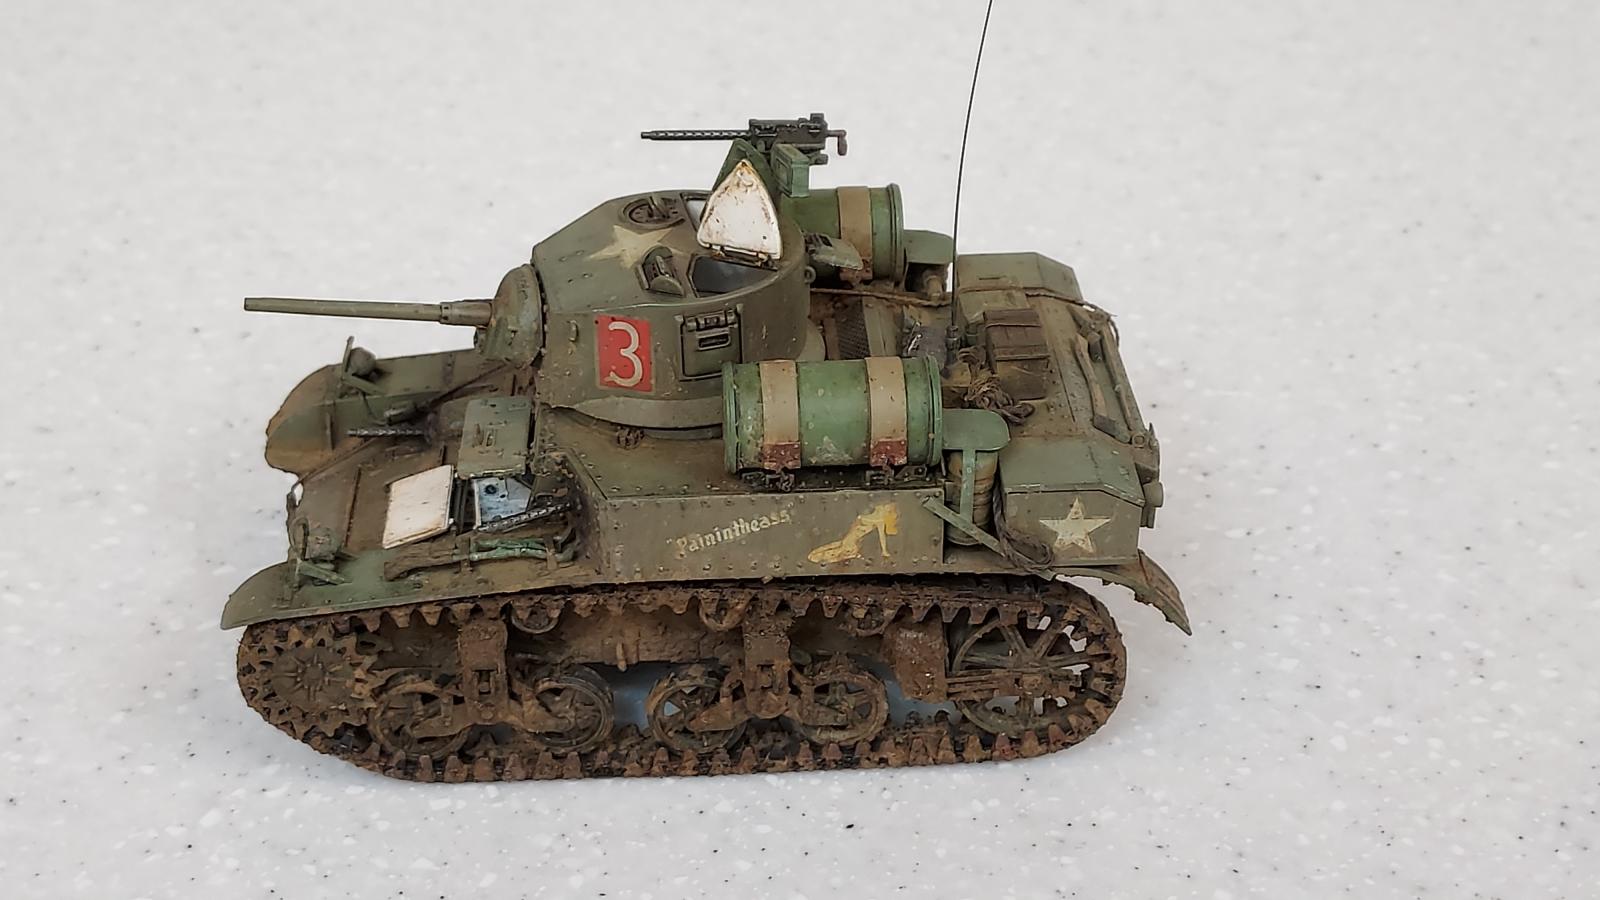
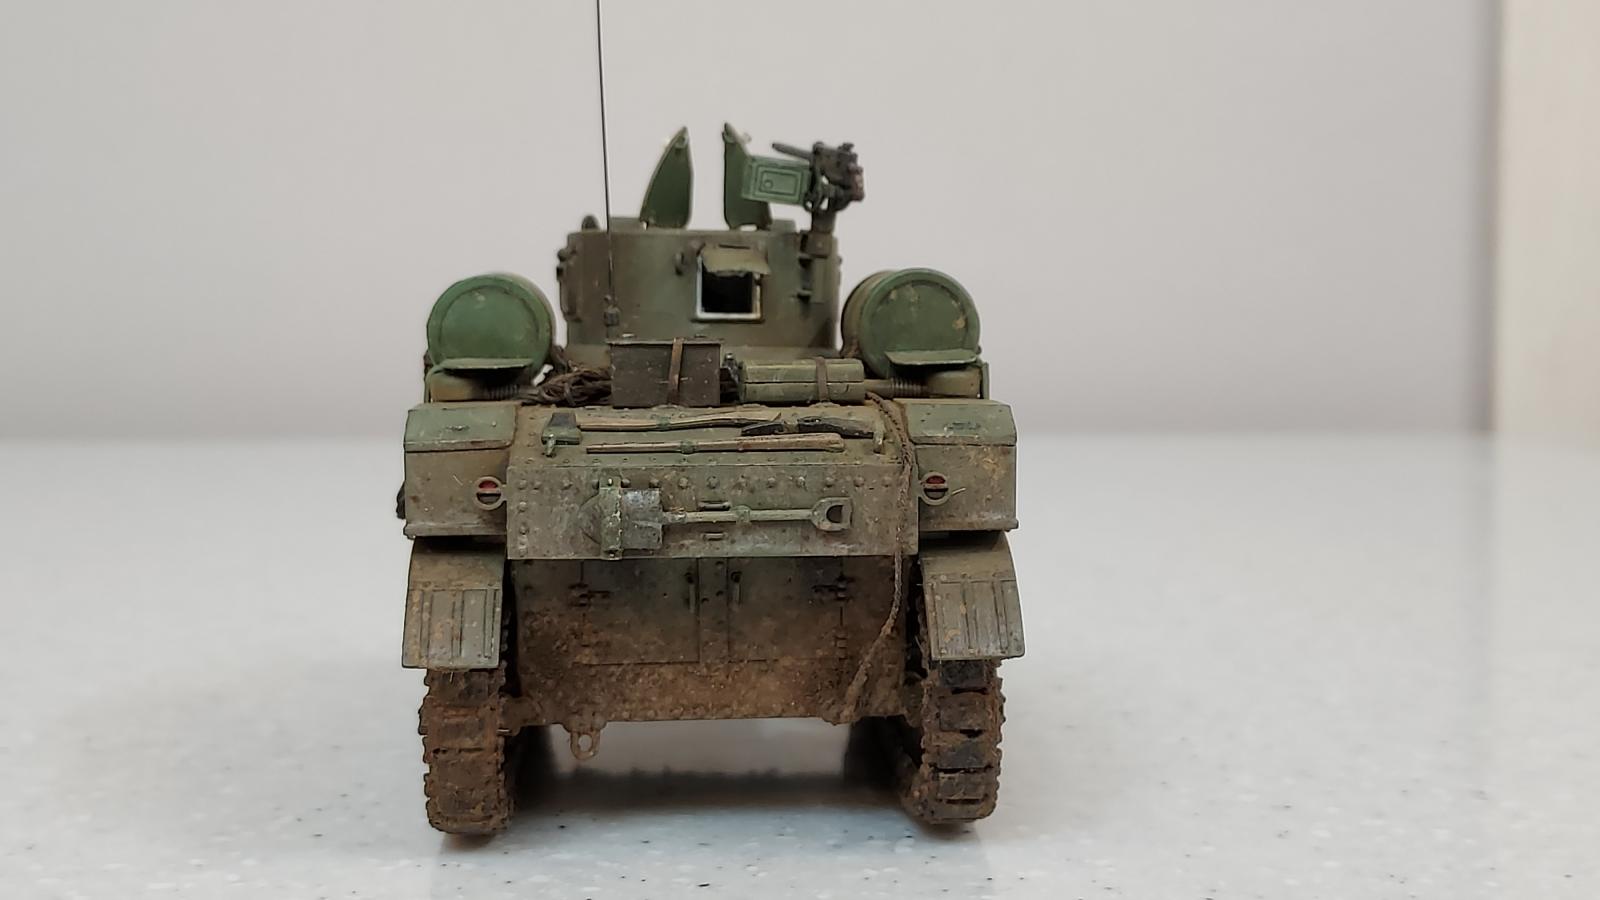
I did a lot of upgrades to this tank and experimented with a number of new techniques. Upgrades includes detailing the interior (most of which can't be seen with the turret in place), adding cabling for the head lights and horn, adding canvas covers for the headlights and machine gun tripod, adding stowage straps to the externally mounted equipment, adding chains to the tie-down straps for the external fuel tanks, adding the anti-grenade covers over air filters, etc.
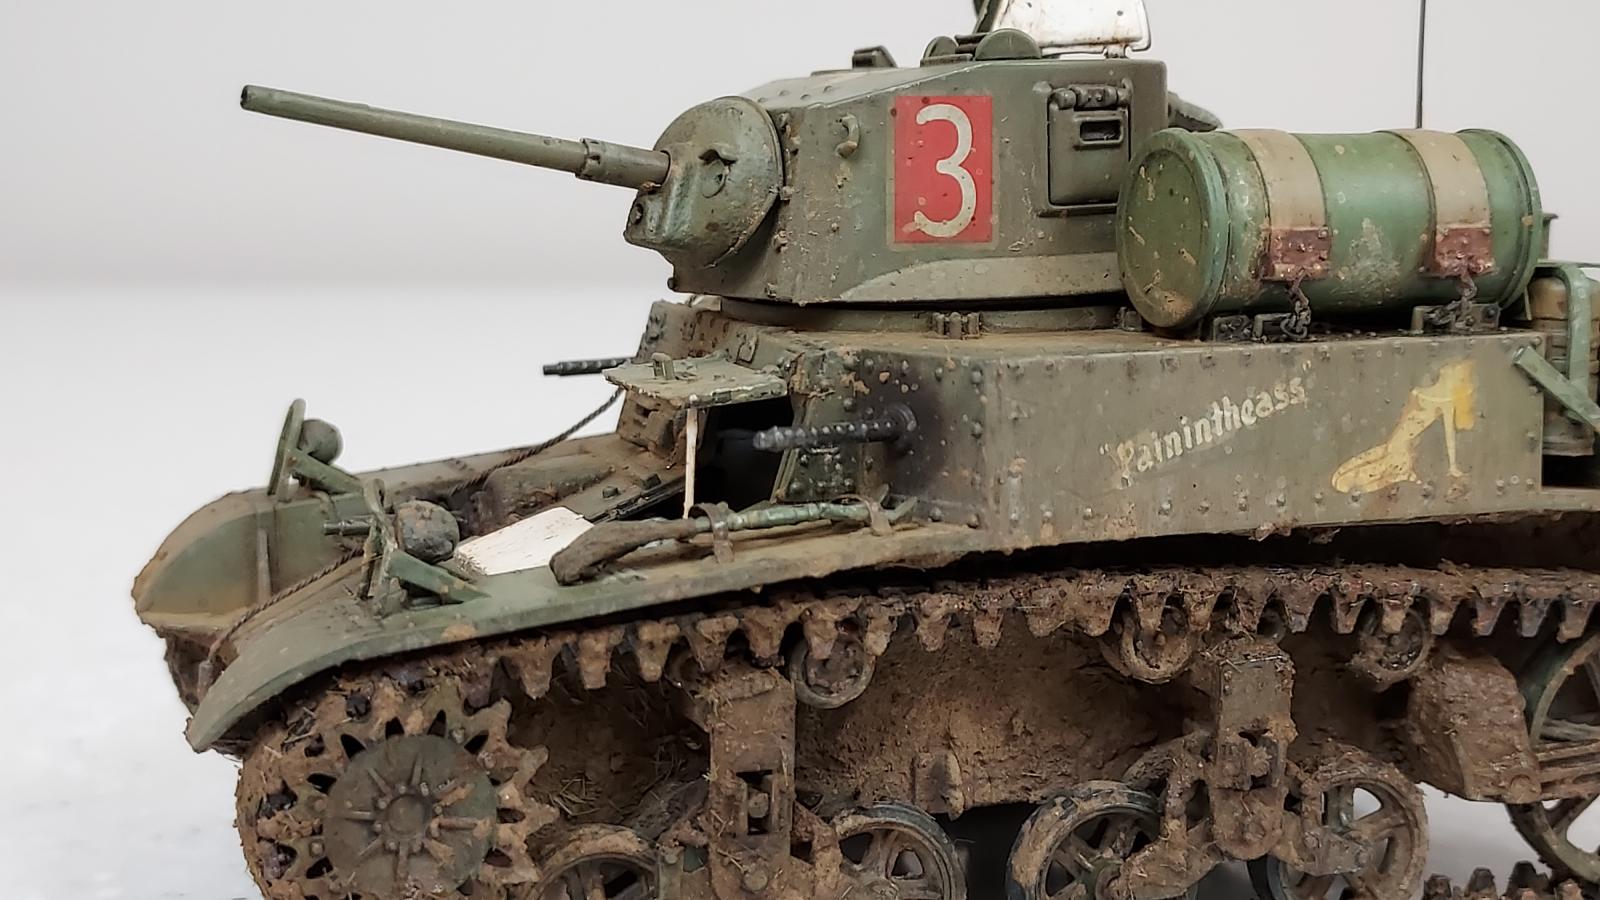
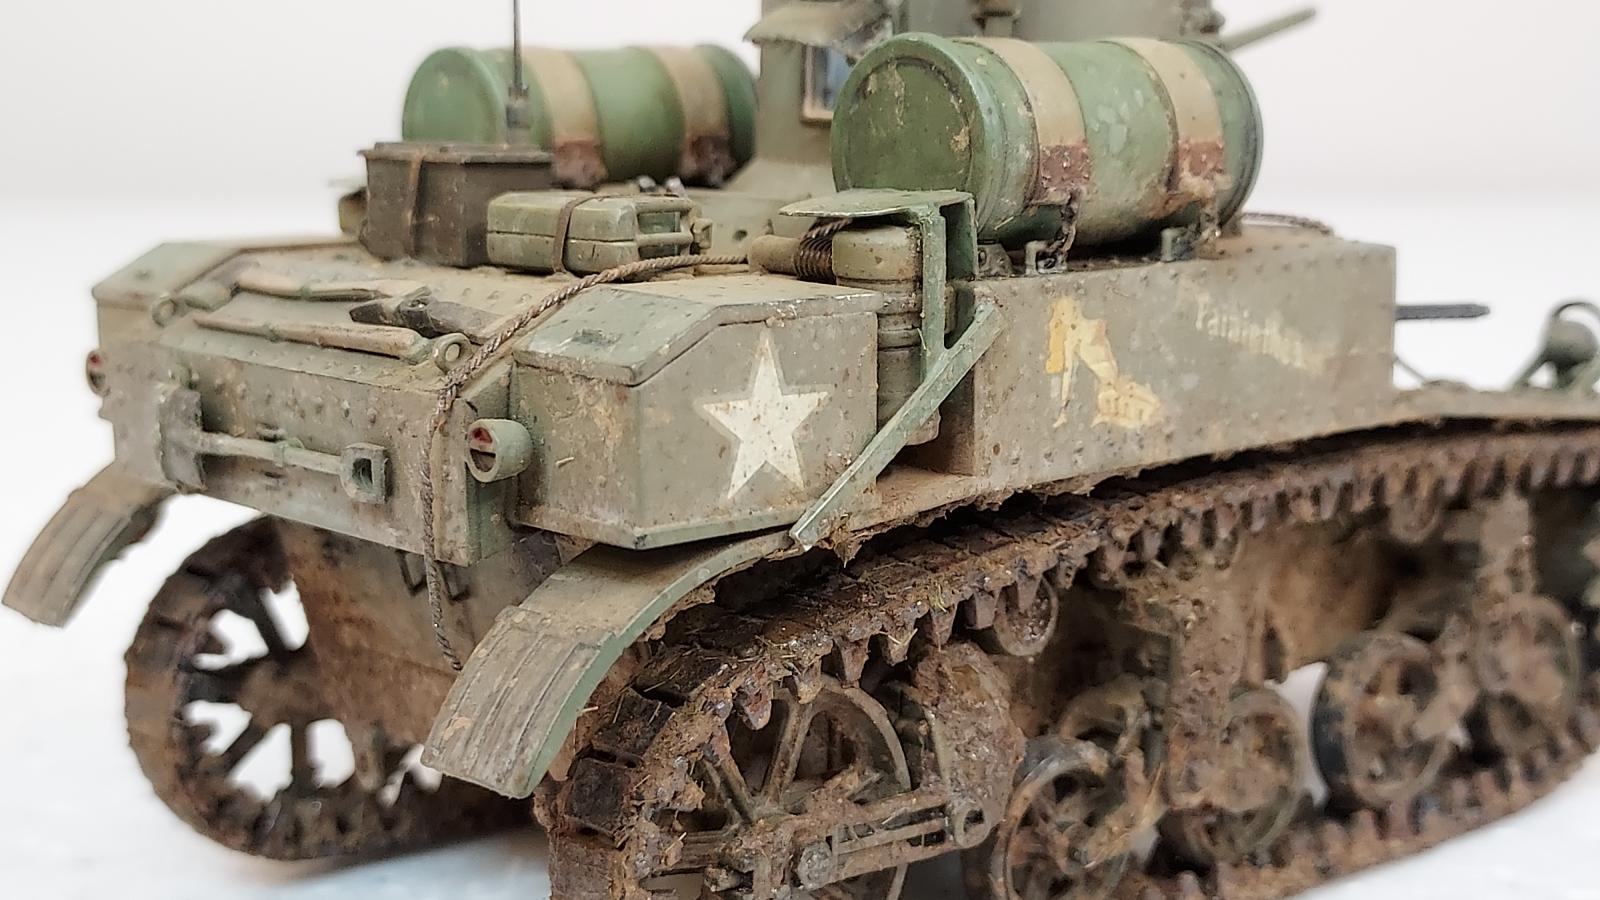
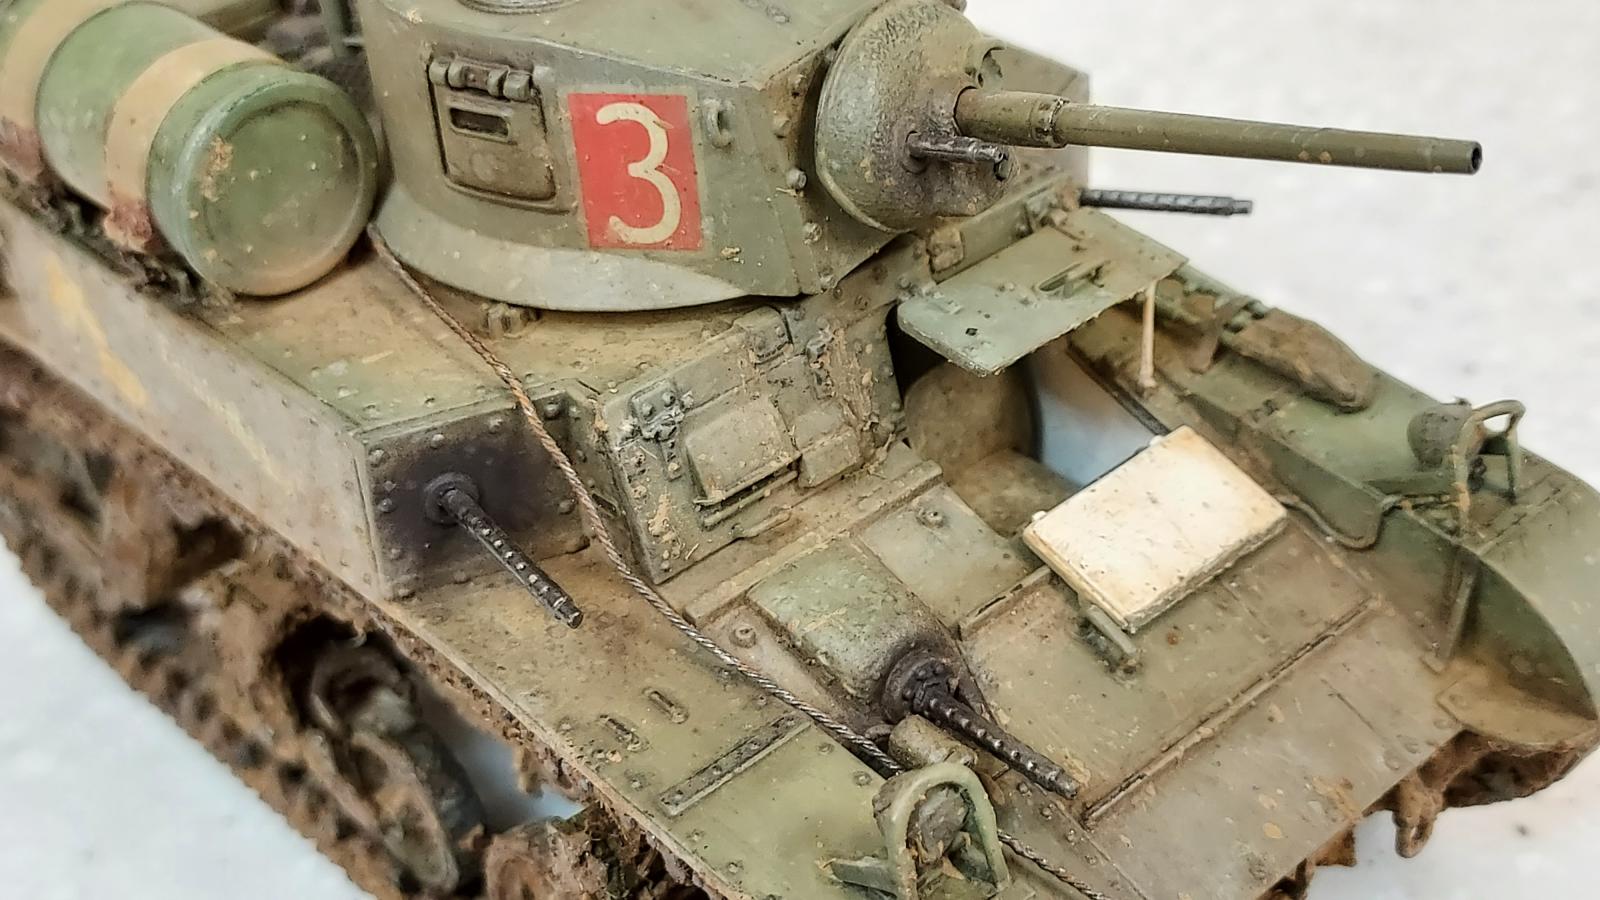
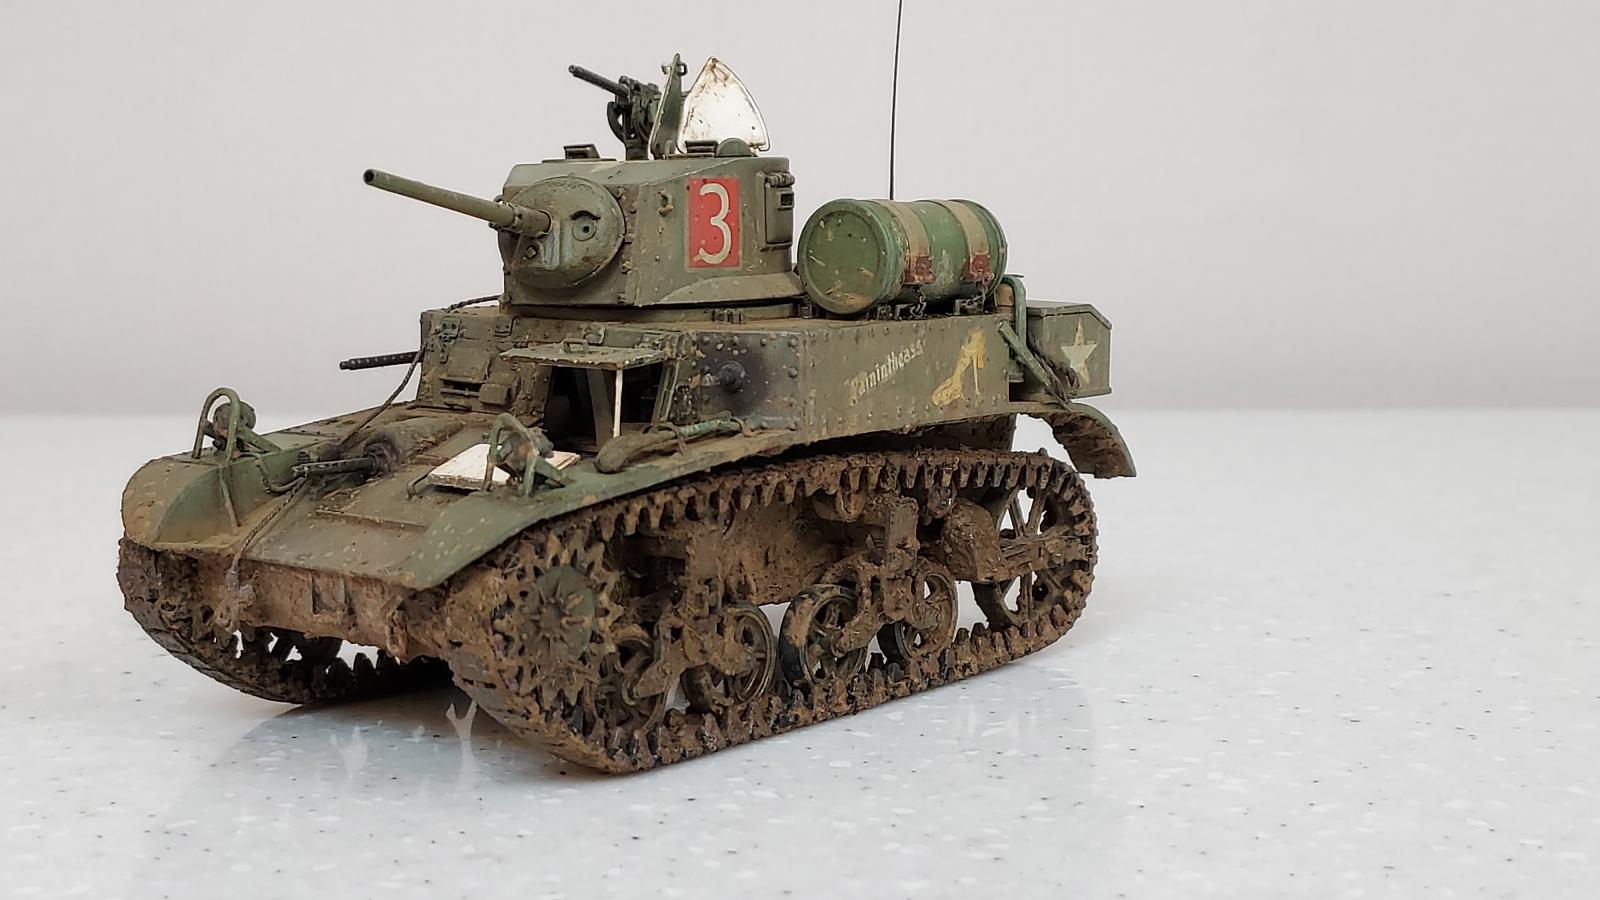
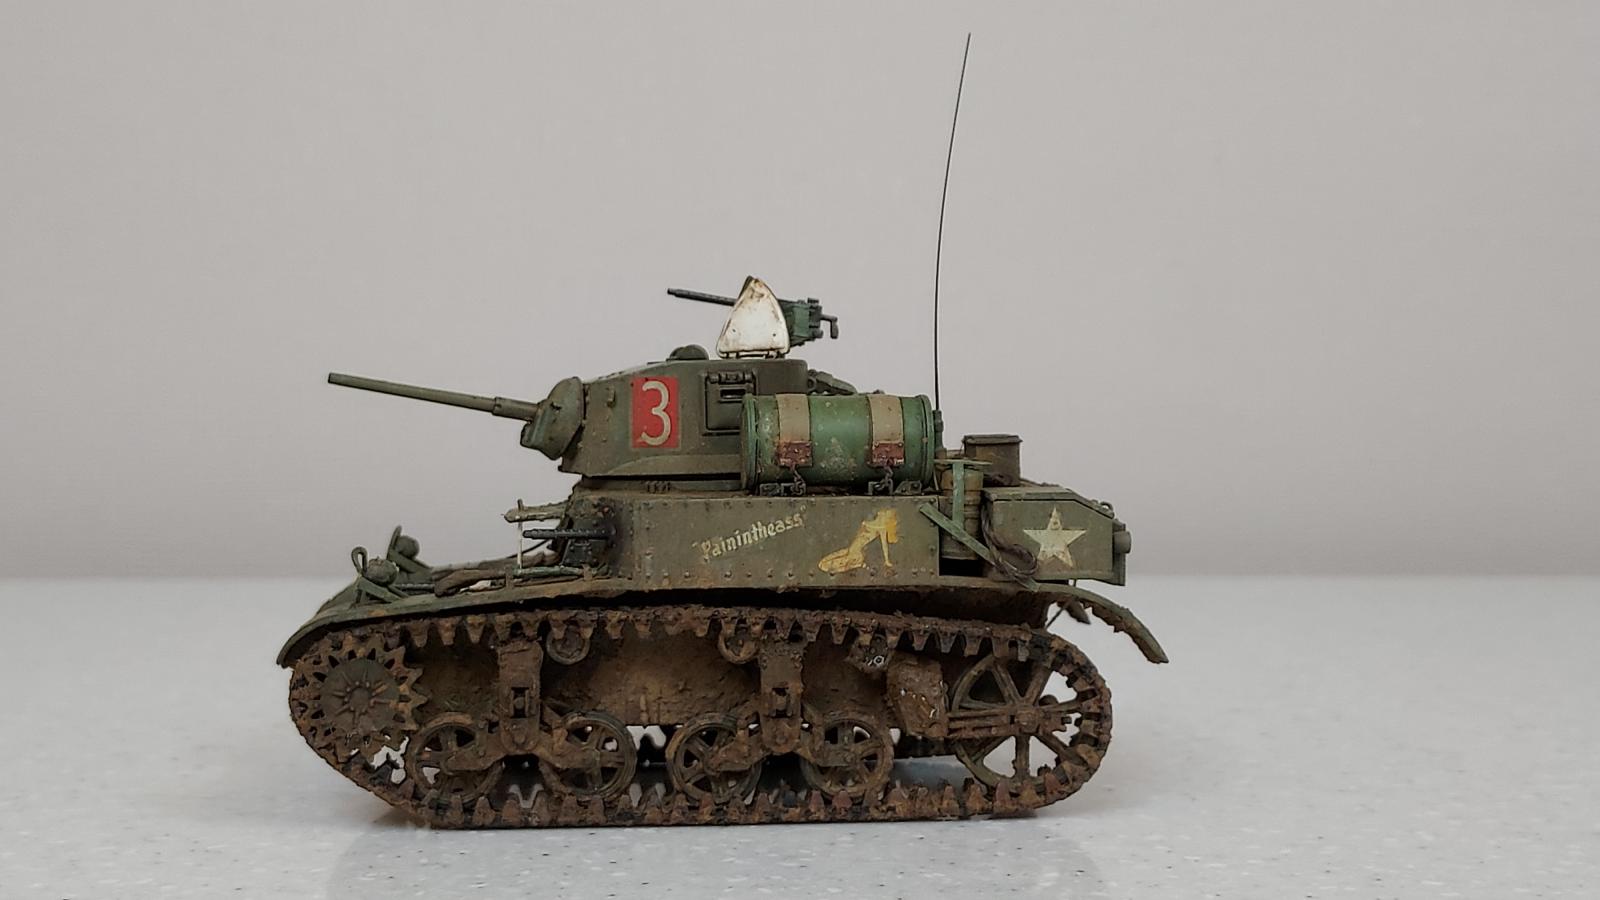
The external fuel tanks and straps are painted using water pencils. This was my first time using them. I experimented adding grass to the mud effects on the lower chassis. I felt like the oil paint weathering overall was pretty good on this tank but the mud effects covers up most of it, especially on the lower chassis. I found a USMC reference photo of this tank covered in mud and I was trying to mimic the mud effects on the photo but it looks like some of the mud splatter on the upper hull may be a bit too big to be in scale.
Pros about the kit:
- Interior is very detailed
- Comes with both rubber band and link tracks
- Comes with the parts to build the British North Africa "Honey" version, but the decals are not included for it
- Option to have 8 different hatches open to expose the interior
- Comes with numerous spare parts to add to the kit (rucksacks, tool boxes, additional machine guns, etc.)
Cons about the kit:
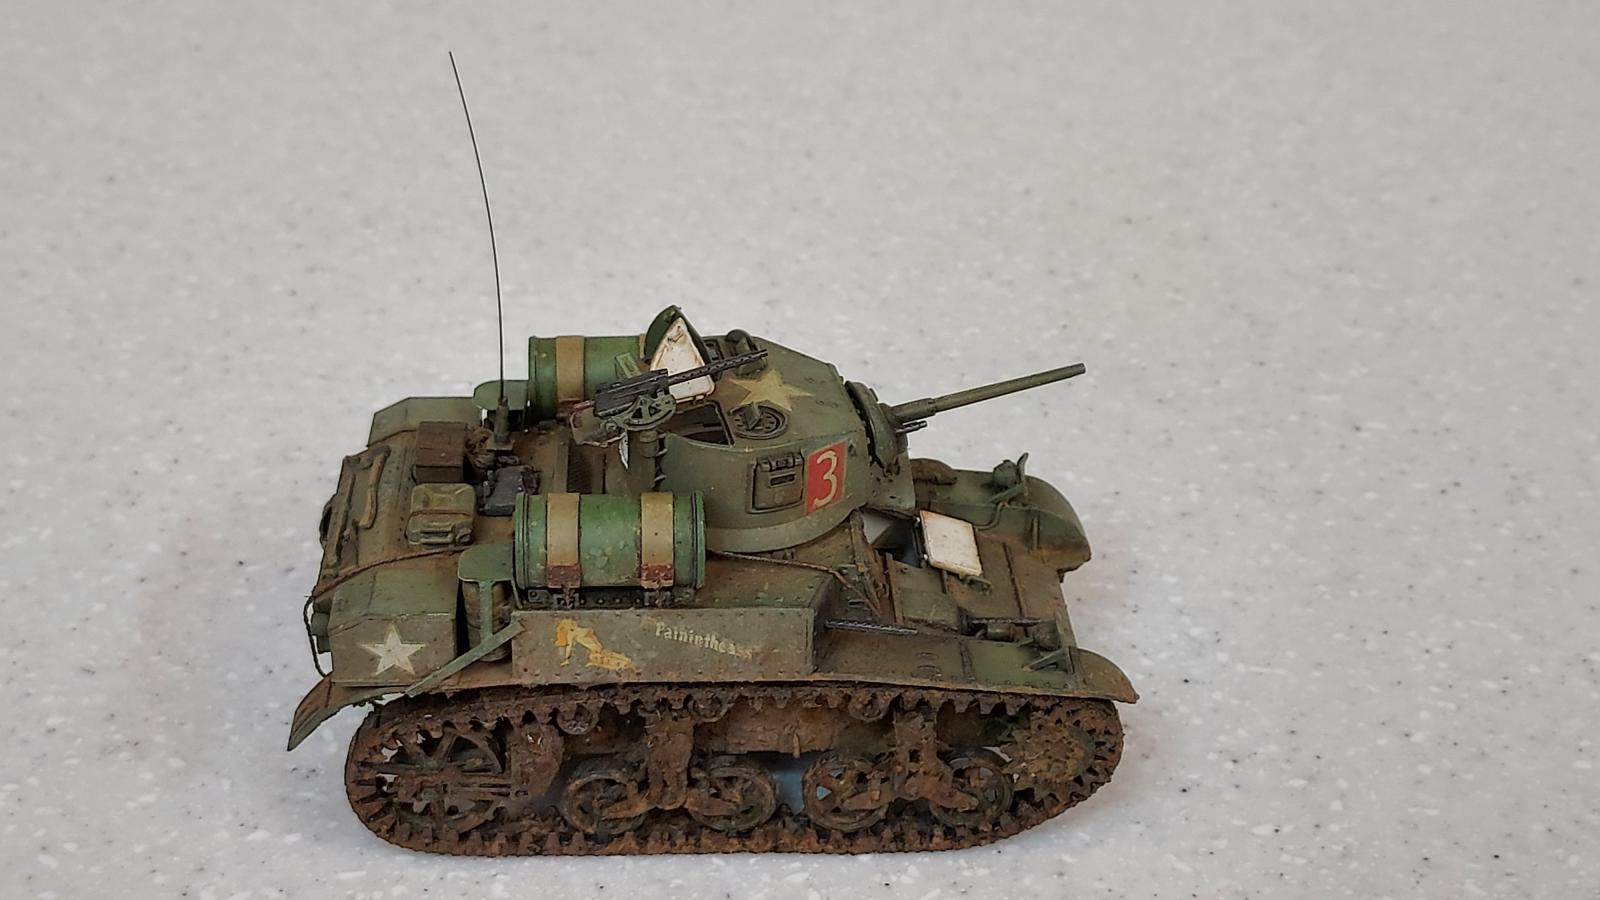
- Horrible silvering on the decals as you can see on my pics. I could not fix it not matter what I tried. i was actually going to do the 1st AR DIV North Africa version but the yellow star decals completely ripped. These decals are just overall horrible.
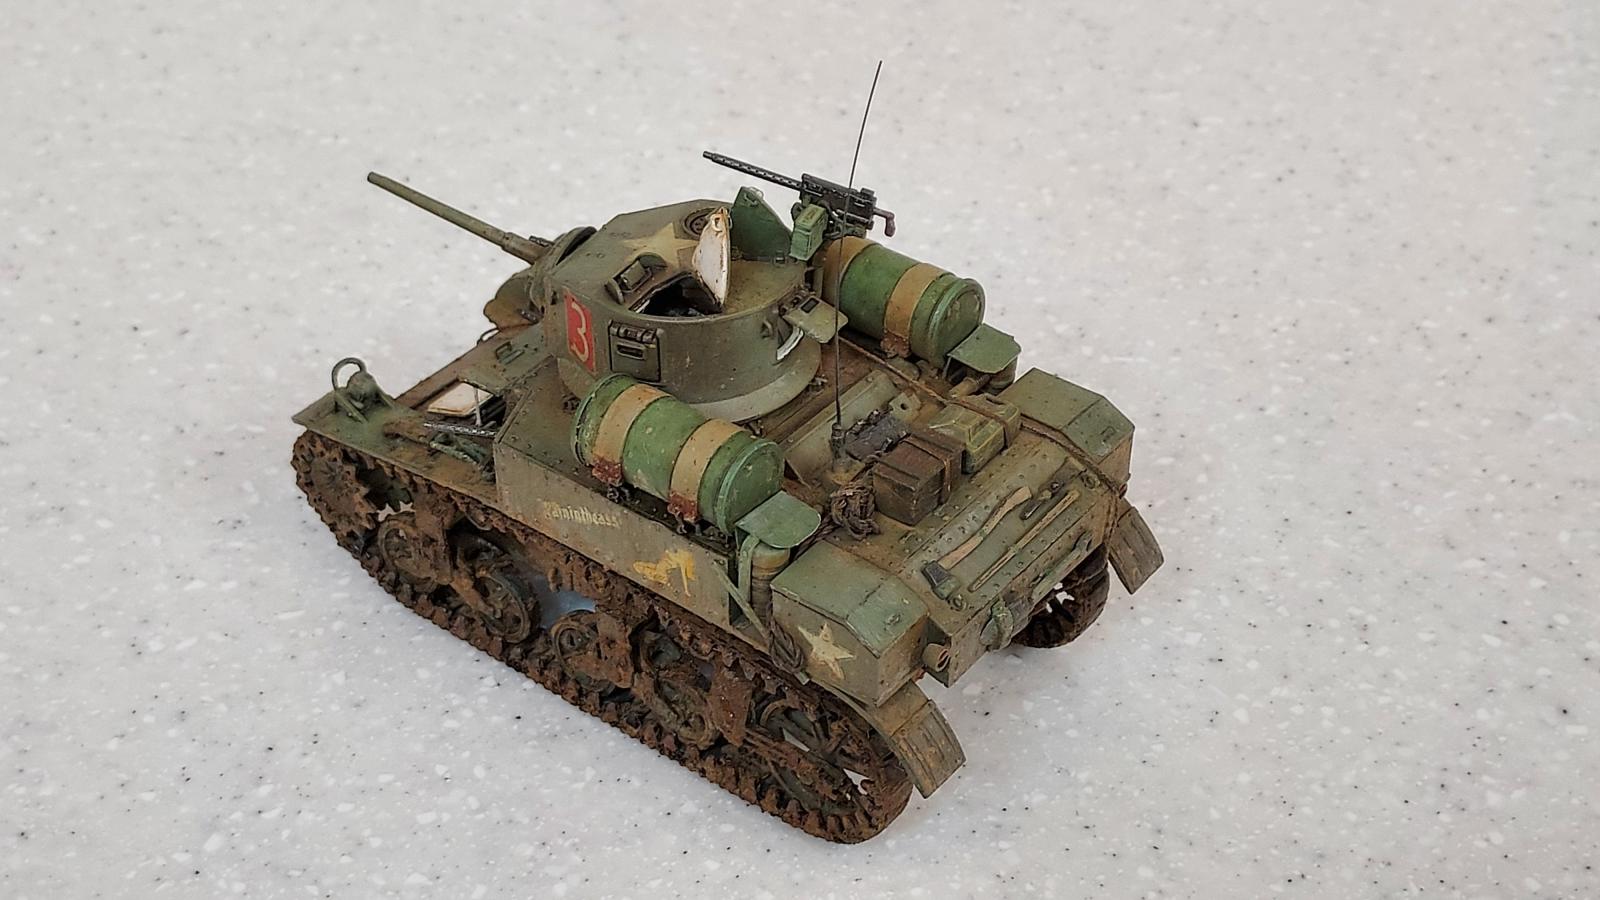
- The logo for the 3rd Marine Tank Battalion is a red #3 with a white background. These decals have the colors reversed.
- The external fuel tanks do not include the filling cap. It is a recessed component on the actual tank so you would have to be willing to cut a square hole on the top of your fuel tanks if you want to replicate it. I didn't attempt this level of detailed scratch-building.
- The straps for the external fuel tanks are supposed to be secured with threatbolts. The kit has nothing to simulate the attachment so it looks really weird if you don't add something which is why I put some chains there to tie the straps to the tank frame.
- The kit does not show you where to place the radio rack on the inside of the tank. There are no pins, markers, etc. for its placement. The problem is that if you install the machine gun on the left sponson, you can't install the MG aimed directly forward because the back of the MG will bump against the radio rack. The solution is to install the radio rack all the way against the engine bulkhead in the rear so the MG can fit but that is not accurate so the scale of the parts is not matching somewhere in this area.
- I installed both hatches on the top of the turret in the open position. The instructions do not show what angle they actually should be in the open position and I couldn't find any reference photos of them open so I just guessed that there is a locking mechanism to keep both hatches in the vertical position.
- Kit doesn't include the arms to keep the driver and side hatches in the open position. This was a simple scratch-build fix.

You've done a very good job overcoming this kit's challenges, Derek. I have an Academy T-34 shelf queen thanks to some very uncooperative decals. I contacted them asking which setting solution would work, but they never answered. Do the sponson MGs come with a handle molded on? Would removing any such handle cure that spacing problem? Your painting and weathering look good to me for a well used vehicle, and your solution to mounting the auxiliary tanks is reasonable. Congratulations on making the most from this less than excellent kit!
Christopher,
Academy printed these decals and MicroSol/Microset nor MarkFit could get rid of the silvering. I had the same problem with my Academy Panzer 35(t) that I completed recently.
All machine guns are fully molded to include the rear handle. Yes you could remove the hand and that would give you an extra 3mm or so of room to position the MG more forward or do as I suggested and move the radio rack against the rear bulkhead but that isn't accurate. The rear of the machine gun for the bow gunner touches the back of the seat for the bow gunner. There is no way a human could sit in the bow gunner's seat the way this kit is molded so Academy apparently has some scaling issues with the various components of this tank.
Looks great overall, and I especially like the mud effects, very realistic-looking!
Thanks Robert.
You clearly overcome the cons of this kit, Derek @mrocs2000
The final result looks superb on this little tank.
Thanks John.
Excellent job despite the odds, Derek!
Thanks Spiros.
Great result, Derek, your extra detailing made all the difference.
Thanks George. I am slowly improving my scratch-building on each successive kit I build.
That is a great little tank, Derek @mrocs2000! 🤩 Your weathering and scratch-work look really good to me, sir. 👍
Thanks Gary.
Nice work. Stuart’s are great subjects.