SSModels USS Northampton (CA-26)

The USS Northampton was a United States heavy cruiser commissioned in 1930. The lead ship in her class, she served during World War II until hit by two torpedos and sunk during the Battle of Tassaforanga in December, 1942. Safely away from port with Enterprise task force when the Japanese attacked Pearl Harbor, the Northampton was an important participant in early response activities. She saw action at the Battle of Midway, screening Enterprise, Guadalcanal, and the Battle of Santa Cruz, where she famously (if unsuccessfully) tried to tow the mortally damaged USS Hornet to safety.
The Northampton class of heavy cruisers comprised six ships powered by steam turbine, with a length of 600 ft and speed of 33 kn. Armament included nine 8"/55 caliber guns in three triple turrets, four 1.1"/75 caliber quad anti-aircraft guns, eight 5"/25 caliber guns, and six 21" torpedo tubes. Later in 1942, additional firepower in the form of 28 20mm Oerlikon guns was added. With a complement of around 1000 sailers, the ship carried four sea planes with two mid-ship catapults. Its main mast was topped by the RCA CXAM radar, the first VHF radar system employed by the US Navy.
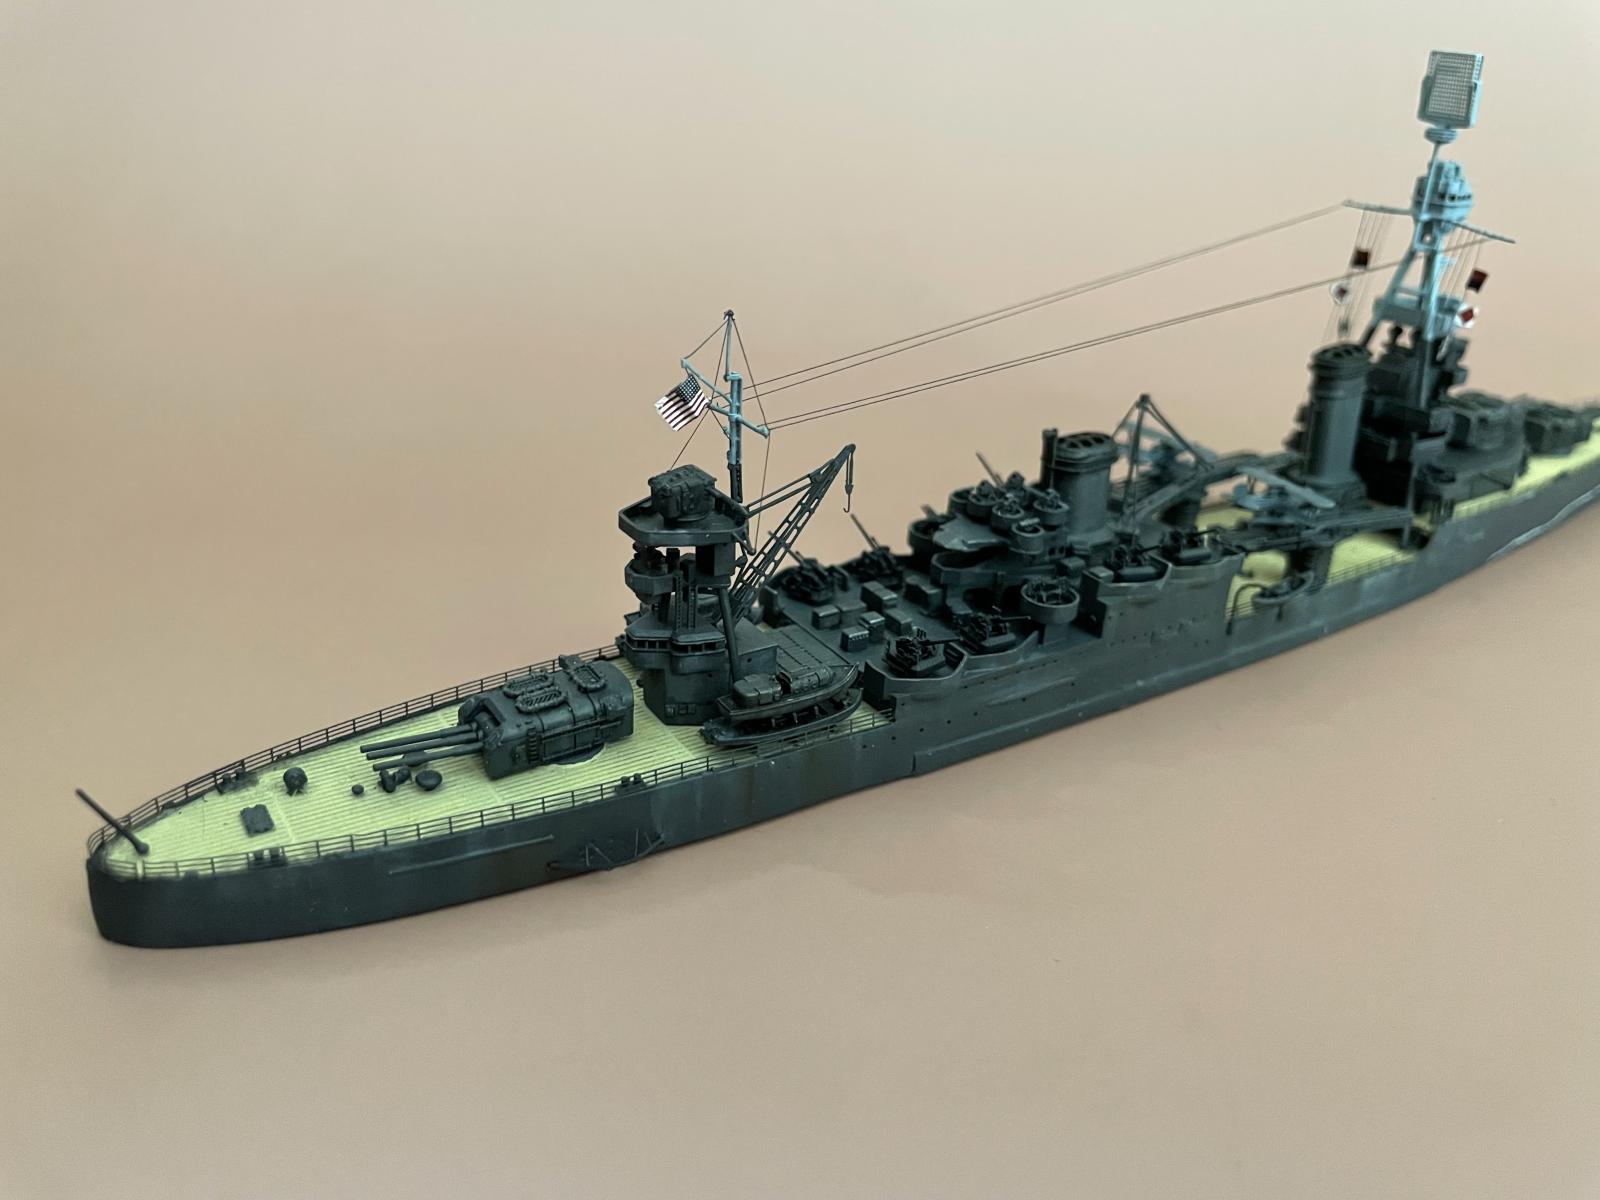
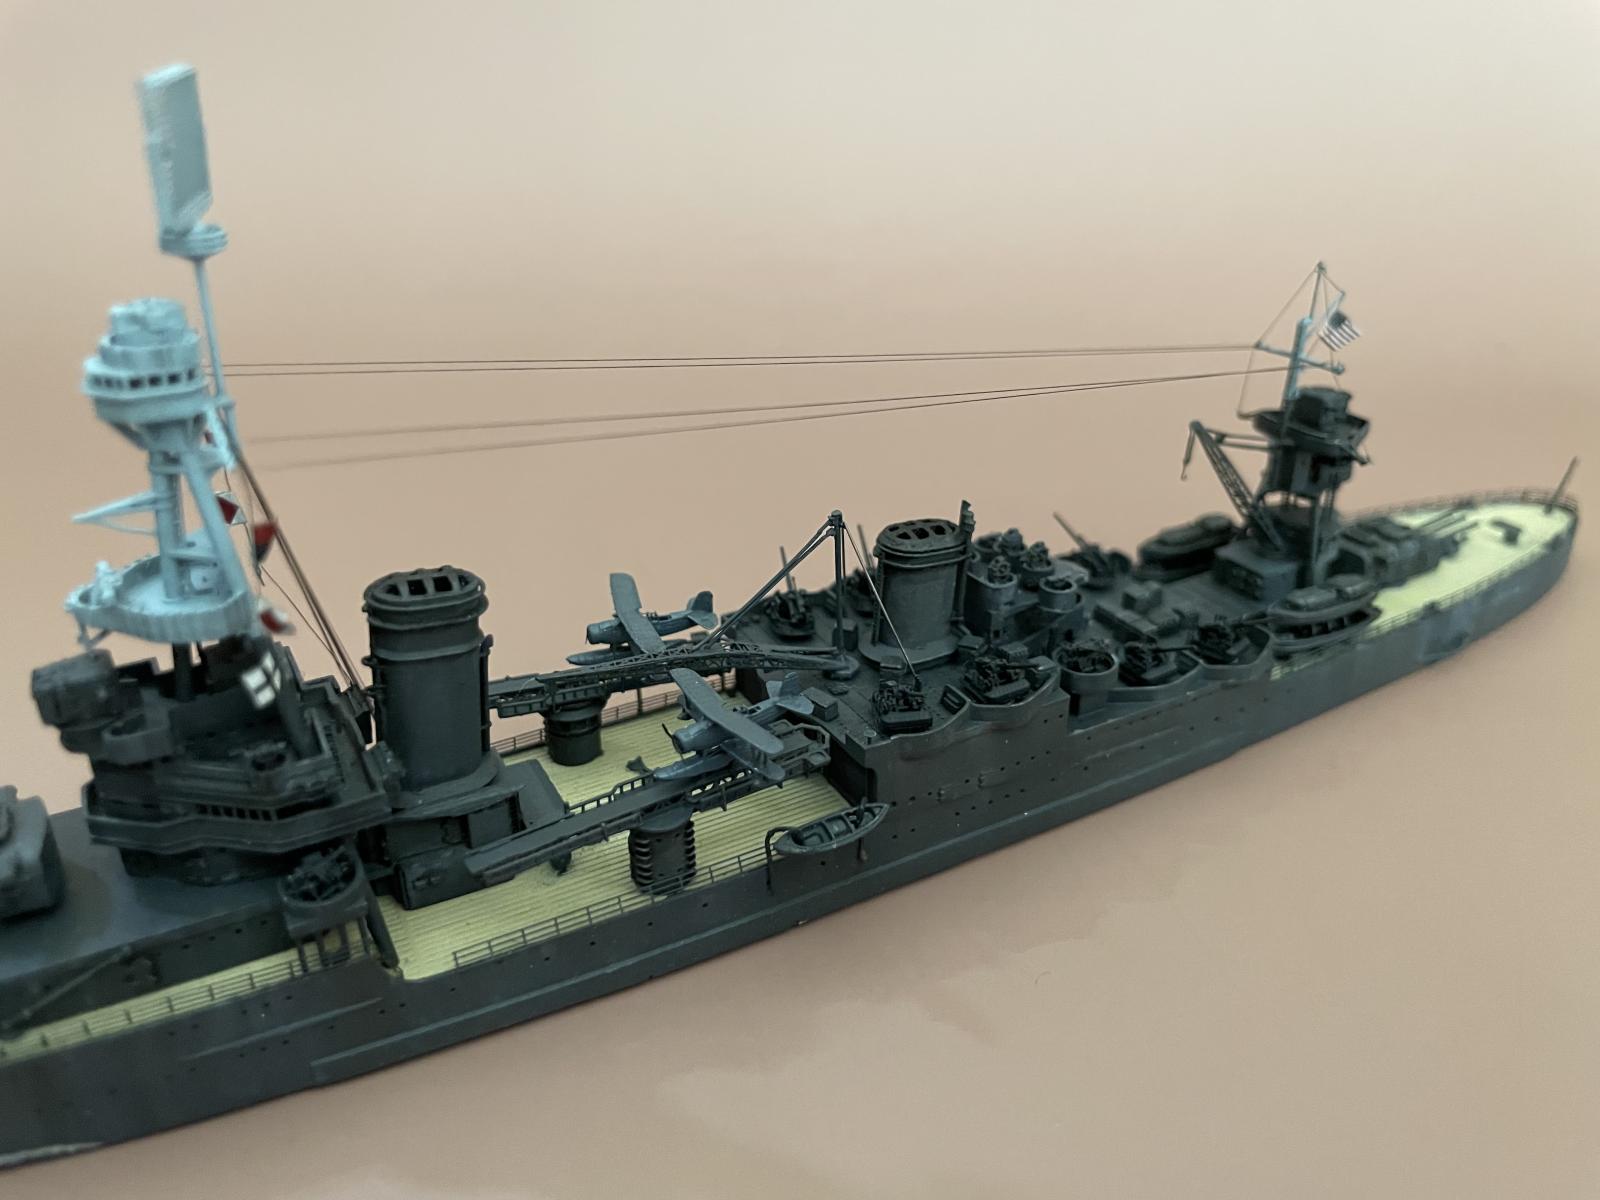
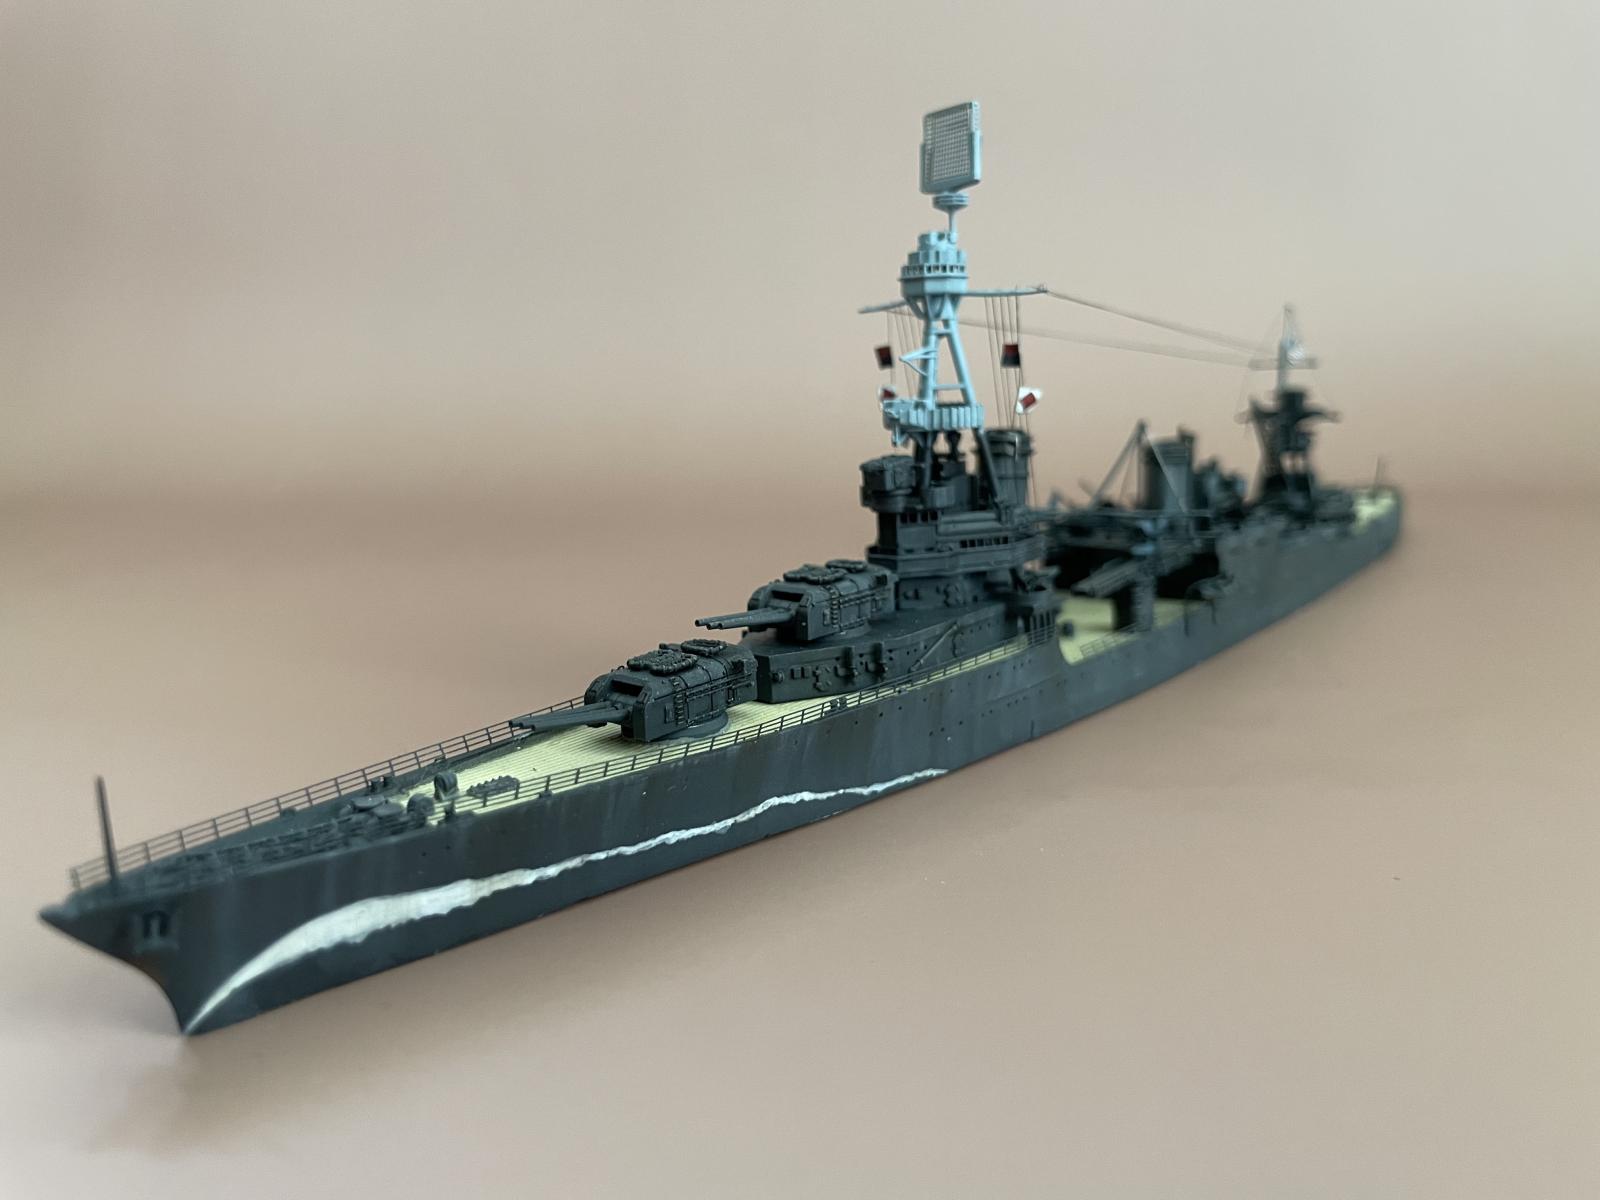
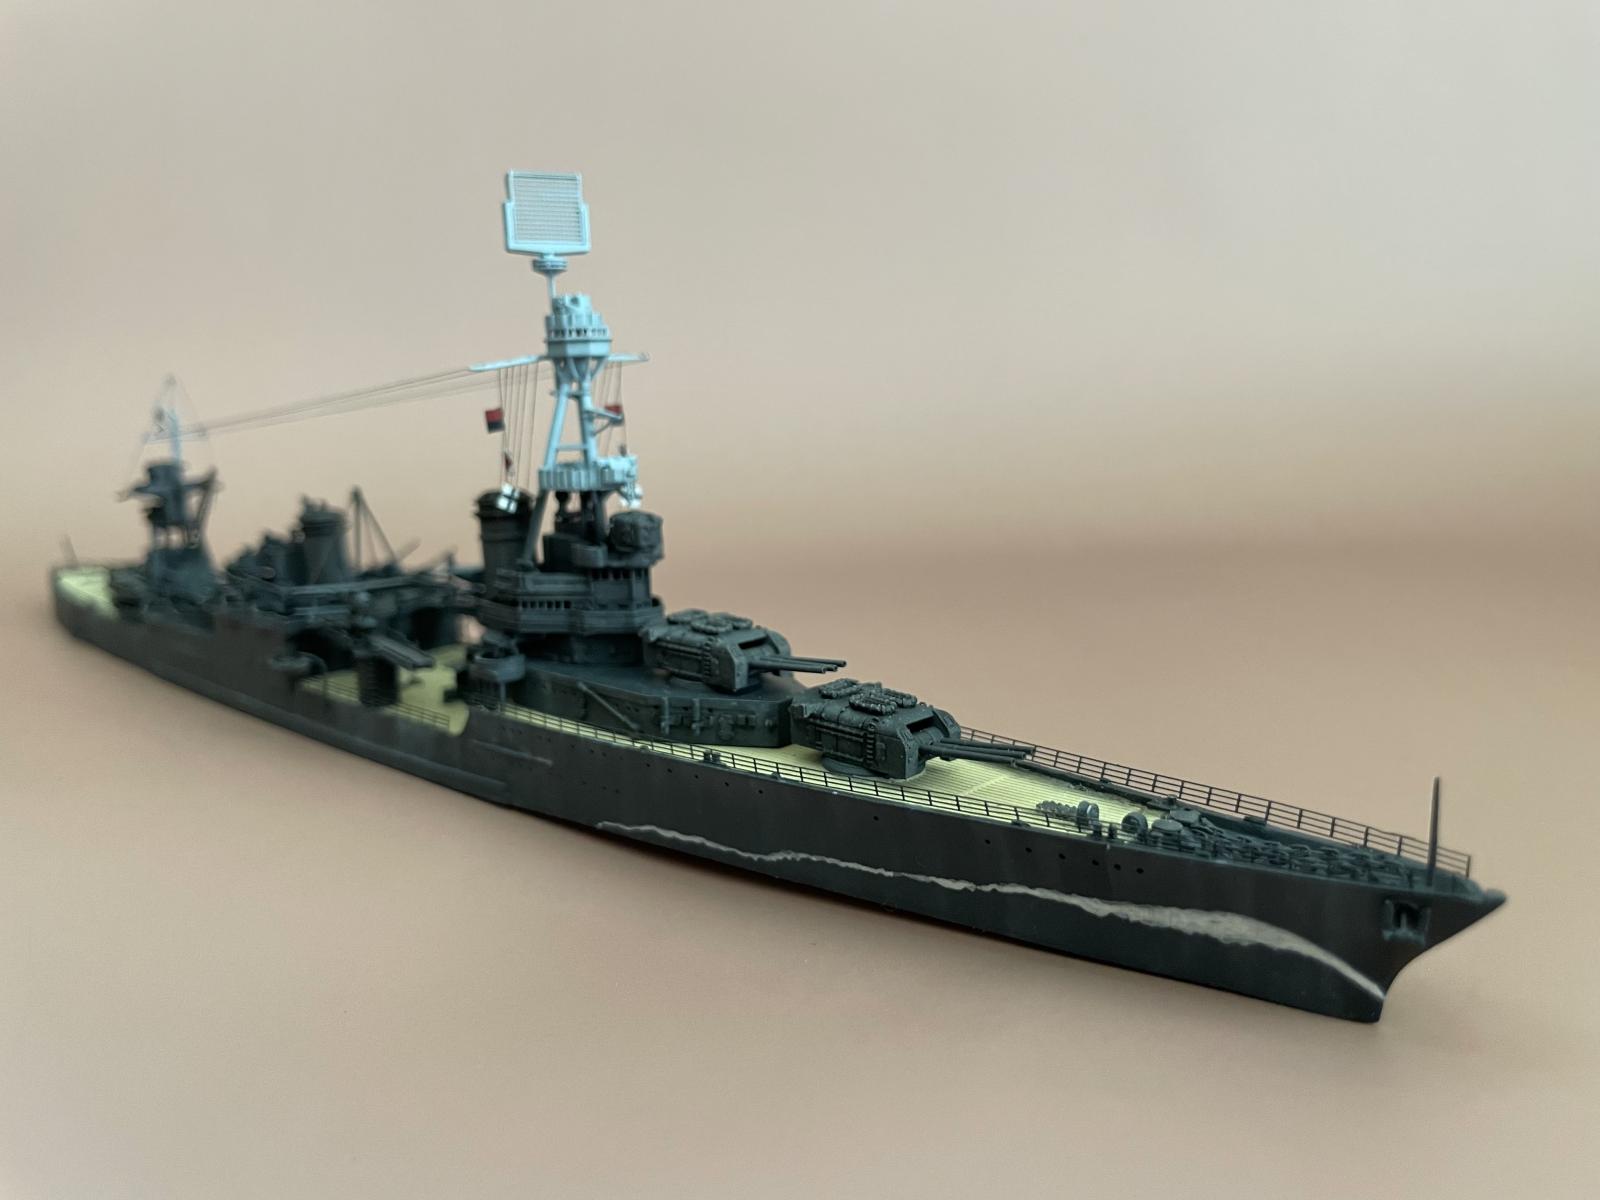
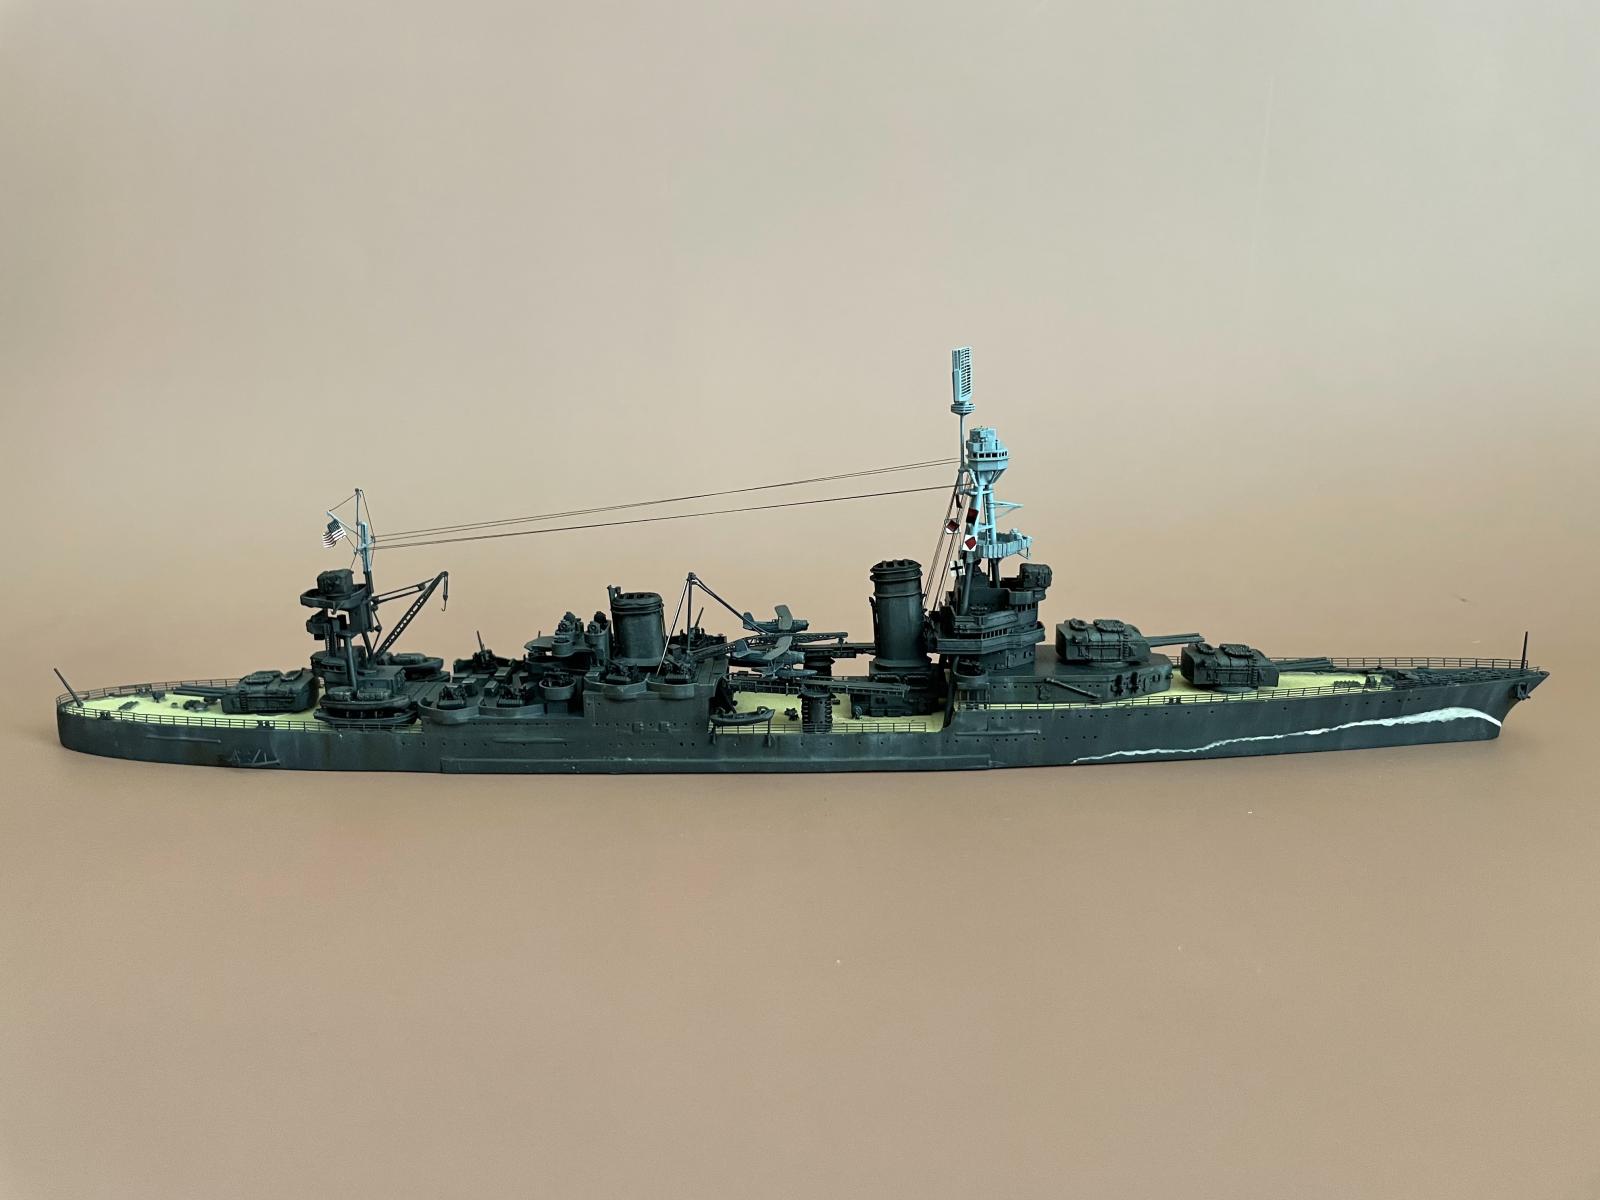
Here is CA-26 as she appeared in summer of 1941:

Note the false bow wave camouflage, known as Measure 5, meant to confuse submarines' estimates of the ship's speed. Later on in 1942, USS Northampton would be repainted, given upgraded radars, and more firepower. We will build her as she appears here, in 1941.
The Kit
Of the two options, I opted to the build the SSModels release, which is a resin kit 3D-printed using stereolithography. It depicts the USS Northampton as she appeared in 1941 before radar and armament upgrades. SSModels is a new (?) Chinese company specializing in highly-detailed toolings of warships and armor. Here is the full kit:

The hull is cast resin and was a bit of a horror show, with lots of divots and crustiness; here it is next to the Corsair Armada 1/700 USS Northampton hull for comparison:

The Corsair Armada hull was lovely, but the rest of that kit, being cast resin, simply did not touch the detail of the SSModels kit.
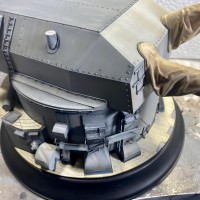
SSModels comes with brass gun barrels and an actual operational anchor chain:

Much of the SSModels parts were large and elaborate; for example, multi-tiered superstructures printed as a single part, and smaller details like search lights were already "printed on":

While the SSModels kit was superior in detail, the Corsair Armada release is more of a traditional model requiring considerable construction. As a modeler, the latter was sure to offer a more fulfilling challenge, and so I a little reluctantly shelved the Corsair Armada kit.
But, while the SSModels parts required little by way of construction, this was by no means a walk in the park. The parts are delicate, and a few actually arrived broken (SSModels has a warning included with online advertisements that one should carefully inspect all parts and alert them to any issues). But, I didn't realize this until later. In addition, some parts broke as I tried to carefully excavate them from their support structures. My main feedback to SSModels is to include some extra parts, especially the small delicate ones. Instead of 8 tiny guns, give us 10. Other vendors do this and it is a swell practice.
I noticed that some parts were not fully cured, the resin looking wet and tacky to the touch. I got out my UV mineral lamp and that seemed to firm things up a bit, but there were some areas (inside the funnels, for example) that remain swampy.
The SSModels instructions were terrible. Low-resolution images, parts not numbered. While it's easy to figure out where most pieces go, there were a half-dozen or so tiny parts that I couldn't use because I didn't know what they were or where they went. Thankfully the Corsair Armada instructions and those provided with the TomsModelWorks PE sets included lovely detailed illustrations of the ship for reference.
Which reminds me to mention the Tom's Modelworks PE add-ons: I obtained set 704 (railings and ladders); 716 (Northampton and Portland classes, which includes CXAM radar, propeller guards, cranes, and even tiny propellers for the sea planes); and 715 (catapults). These are very thin PE, easy to bend and shape (which is both good and bad). They are exquisitely detailed and very affordable.
The SSModels cranes and catapults were actually rather detailed and I wavered about replacing them with PE. Doing so would have involved extricating them from surrounding structures, and a voice inside me whispered to leave well-enough alone. But, for sure the PE would look better!

I did, however, leave the catapults alone because I'm not that much of a masochist.
Several of the guns were broken, either upon arrival, or by me, and though I tried to repair them I ultimately replaced them. I picked up some lovely 1/700 5"/38 cal guns and quad cannons from Bunker Studios; these are a little larger than they should be but not too noticeably

It was either this or a bunch of guns with snapped off barrels.
Painting took longer to plan than to actually accomplish. I decided to paint the Northampton in Measure 1 and Measure 5 as she looked in 1941. Measure 1 has all vertical surfaces above the funnels painted in light gray 5-L (to blend in with the sky), and all other vertical surfaces dark gray 5-D. Horizontal, non-deck surfaces were to be dark gray as well; wooden decks were to be left unpainted.
I spent a good bit of time identifying the FS codes and corresponding model paints for these colors: 5-D is FS35042, provided by Vallejo Model Air USN Sea Blue 71.295, Mission Model 062, and Mr. Paint 237. I went with Vallejo because that's what my LHS had in stock. 5-L is FS35526, provided by Vallejo Model Air Flanker Blue 71.337, AK Real Colors Light Sky Blue, and Mr. Paint 397. Again, I went with Vallejo.
A comment about VMA: the color selection from this line is truly impressive, but the paints themselves aren't amazing. I admit that I don't think I've got the perfect thinner to paint ratio, but these paints always spray a bit splotchy. And they seem to take a long time to dry: like at least 24 hours until they stop feeling tacky.
The VMA USN Sea Blue 71.295 is pretty dark, so I tried to lighten it a bit to account for the notorious "scale effect" that models of this scale might need to contend with. I say "might" because some argue it's not a real thing. Broadly, scale effect is what happens when you view a scaled down model without scaled down eyes. I notice it even with 1/72 scale aircraft when it comes to gloss coats: shiny models simply do not look like shiny real aircraft, and it has to do with the way sunlight glints off the scaled down surface. Something about these glints doesn't scale in proportion to the size of the object, and it looks off. With ships, it's more a matter of color saturation: a 1/700 ship simply looks darker than a real ship painted the same color. As this is my first ship, I'm sure my feelings on scale effect will evolve as I gain experience; in the meantime, my efforts to lighten things didn't amount to much and the color is still quite dark on this tiny ship.
Finally, after painting the hull, I hand-painted the false bow wave.
For the deck, I used Vallejo Ivory which I think is a swell color. To add some contrast and highlights, rather than painting individual boards various shades of tan and brown (as is done on larger scale ships), I traced a few boards lightly with weathering pencils. I didn't apply a wash to the deck because I didn't think I needed to: the base coat didn't work its way into the board lines, but the gray primer did, giving some nice contrast.
Next, I gave the the whole thing a black enamel pin wash, and then did some light, light, LIGHT dry brushing to bring out some highlights. I was very concerned about the scale of this thing: black wash will make dark shadows, and strong dry brushing will make bright highlights at this scale. I wanted things to be muted, but still textured and interesting. After this, I worked in some oils, which I went absolutely overboard with. But I can finally properly put rust on something! I did a layered application of whites, grays, umbers, and browns
I picked a few places I thought, hey, I can see that rusting on a 1940s warship. I did all the weathering without any varnish to save myself multiple steps (gloss, maybe another gloss, followed by flat), and because there were no decals to force the issue. I had to work a little more quickly than usual with the enamel washes. But oils blend so much better on a flat surface, and I like the look of oils as is without any varnish.
For rigging, I used my Infini Aero Rigging 0.05 mm. It seemed thin enough to work for 1/700-scale ship, but I've only ever used it on airplanes to create taught antenna wire. For ships, as modelers on forums like to point out, the rigging should be a little bit slack. I tried to achieve this, but it was hard: the line is either super-droopy or taught. And, while I've done basic rigging on aircraft, ships are a different ball game and it was quite a challenge. Recognizing that I'd met my match, I allowed myself a simplified rigging scheme lest I get myself into trouble in the 11th hour.
Lastly, flags. This was another first for me, and I read a tip to apply decals to aluminum foil so that the decal can be curved and bent to simulate a flying flag. I primed and gloss-varnished some foil, applied the decals, dull coated them, cut them out carefully, applied some PVA on the inner surface, positioned them on the rigging, and carefully folded them over.

All in all, it worked, though the flags still look like model flags.
In conclusion, I loved building this ship and I will certainly try more in the future.


That is quite an impressive model.
The USN treaty cruisers of that era were more akin to modern warships these days aka egg shells armed with hammers.
Nice visual. Thanks Dan!
Nice work on this.
Thank you Tom!
Impressive model and very informative writeup, Brian!
Congratulations!
Thanks Spiros!
Really nice result, Brian @bapowellphys
Thanks for sharing this detailed building process.
Thank you and you’re welcome, John!
Excellent work, Brian. I like the way you thought this one out. PE railings, radar, and a simplified rigging fit do the trick in this scale. I’ve seen 1/700 models with every last detail added, but I certainly don’t have those skills. Did you need to straighten that hull out to get it to sit flat?
Thanks John! Thankfully that was one problem the hull didn't have!