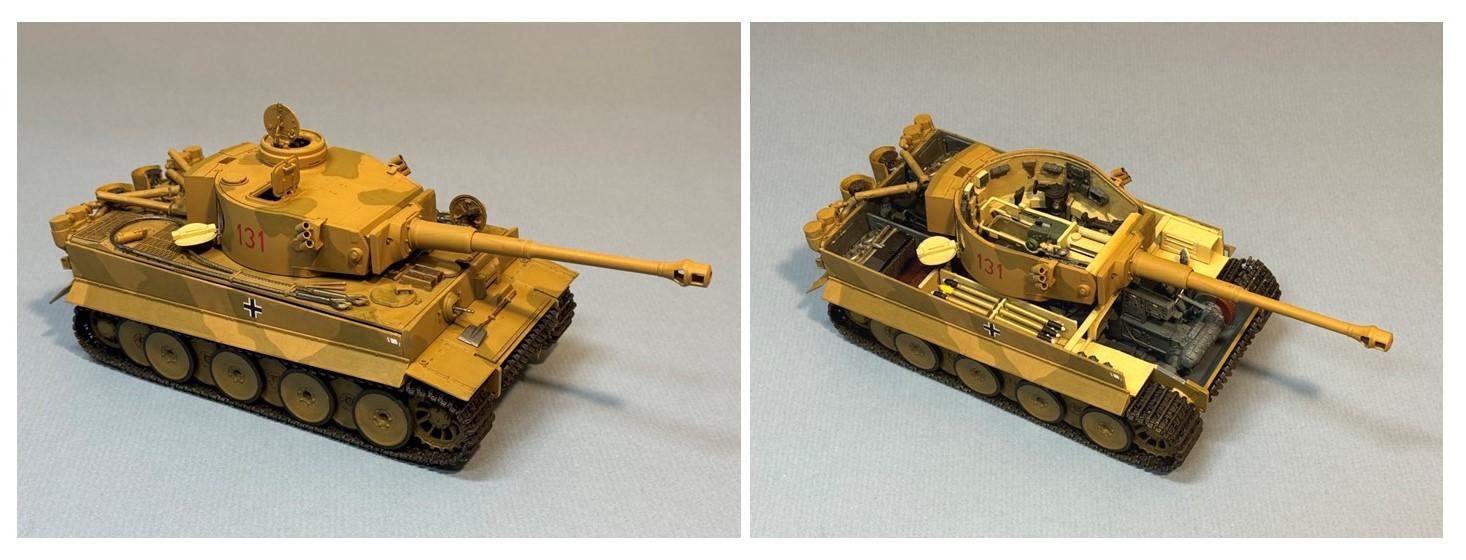
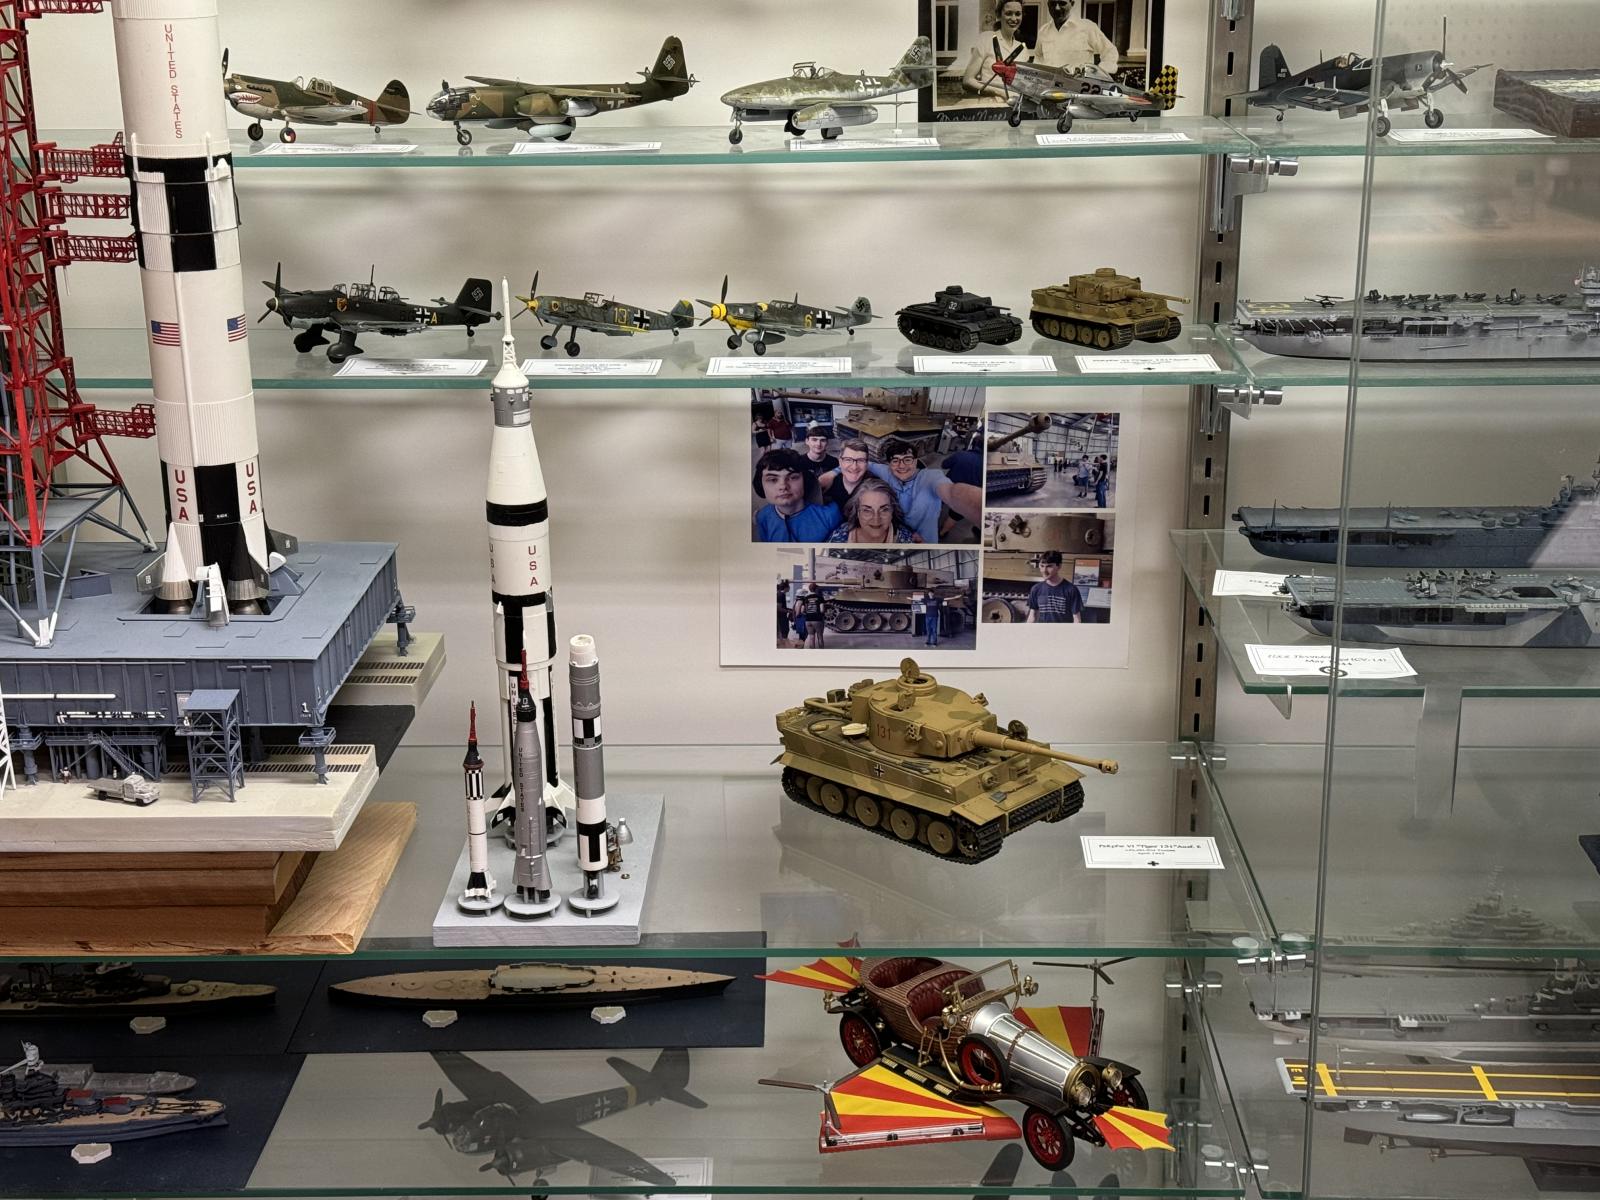
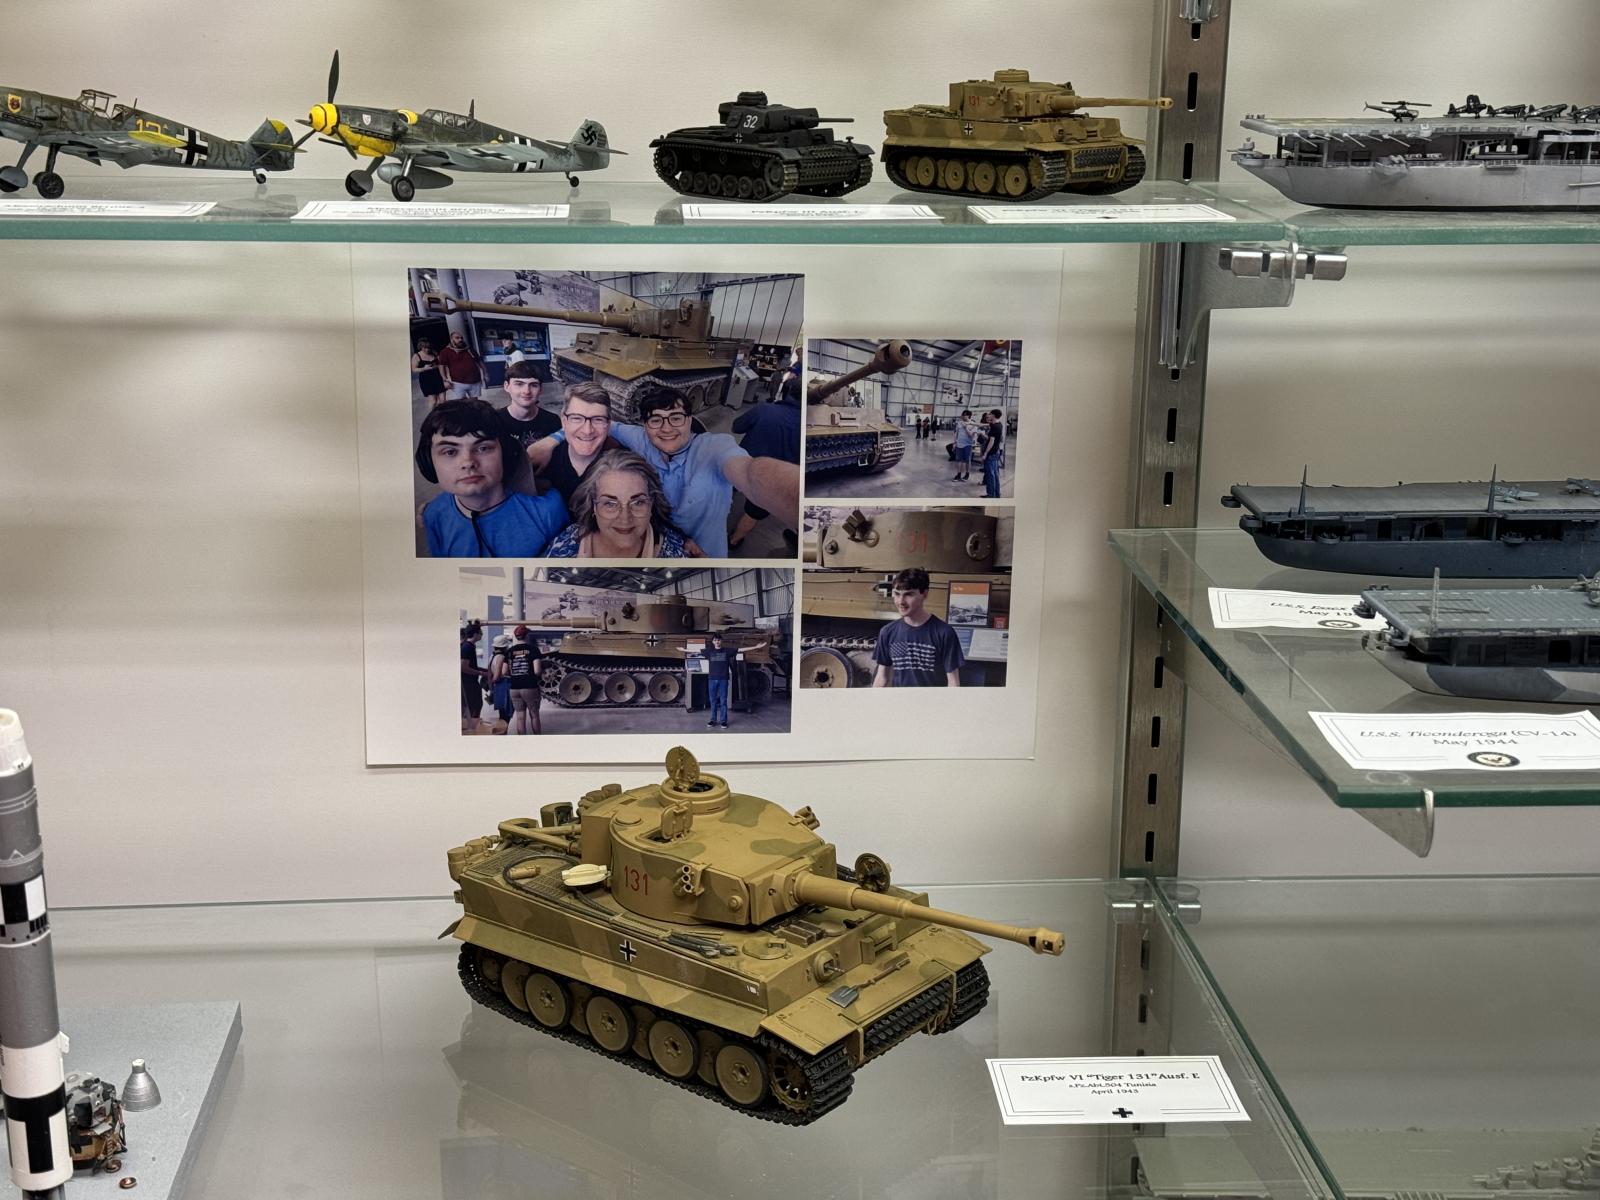
1/35 Academy PzKpfw VI “Tiger 131”Ausf. E
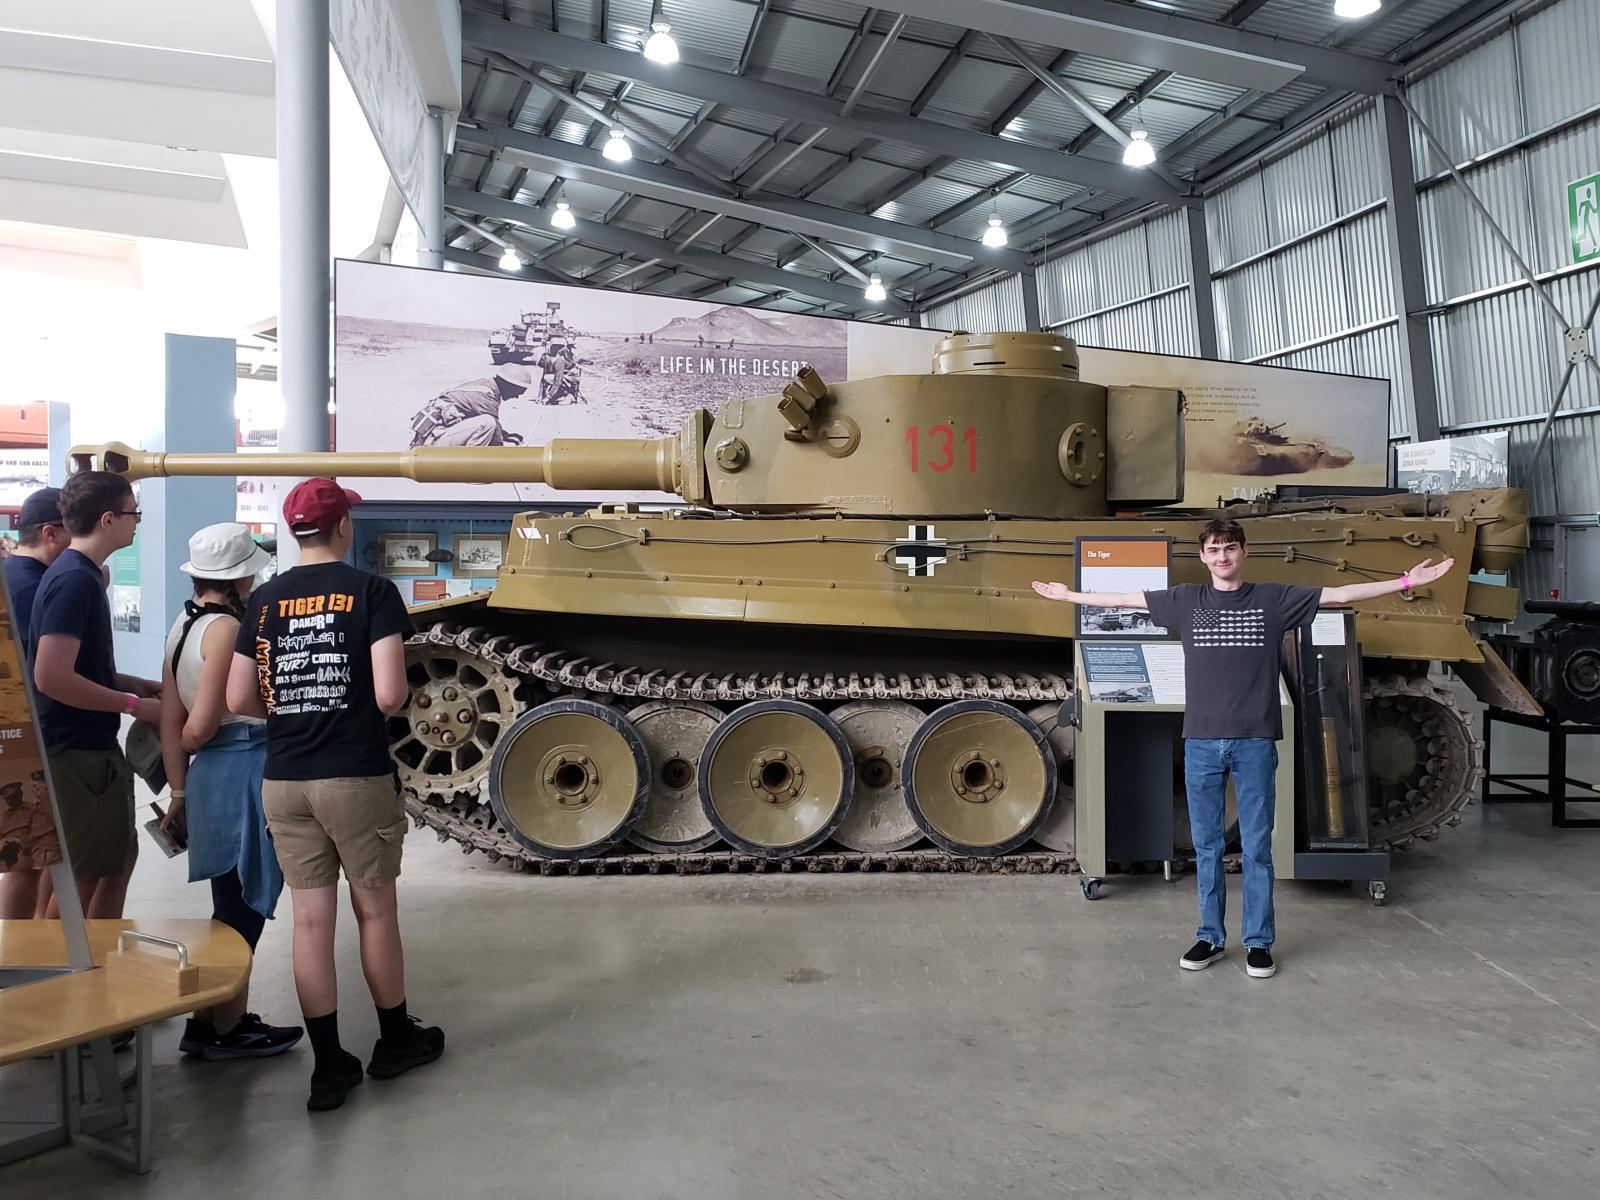
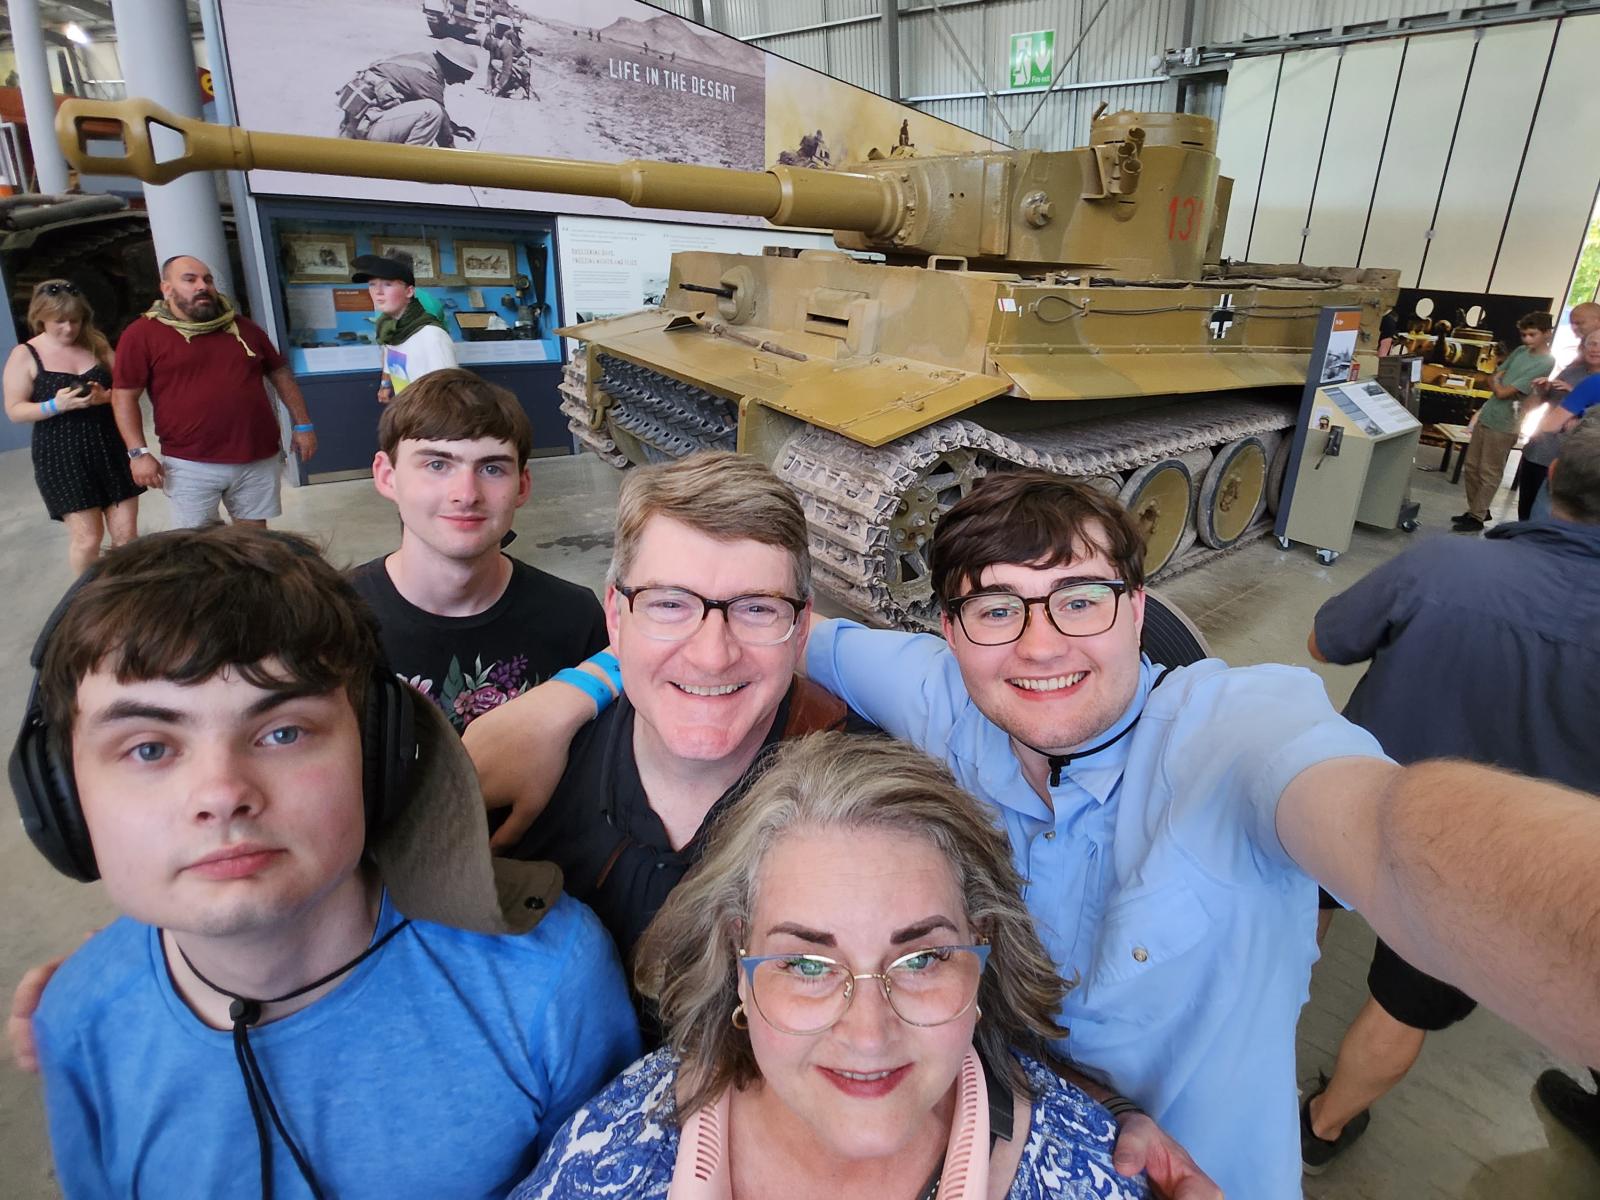
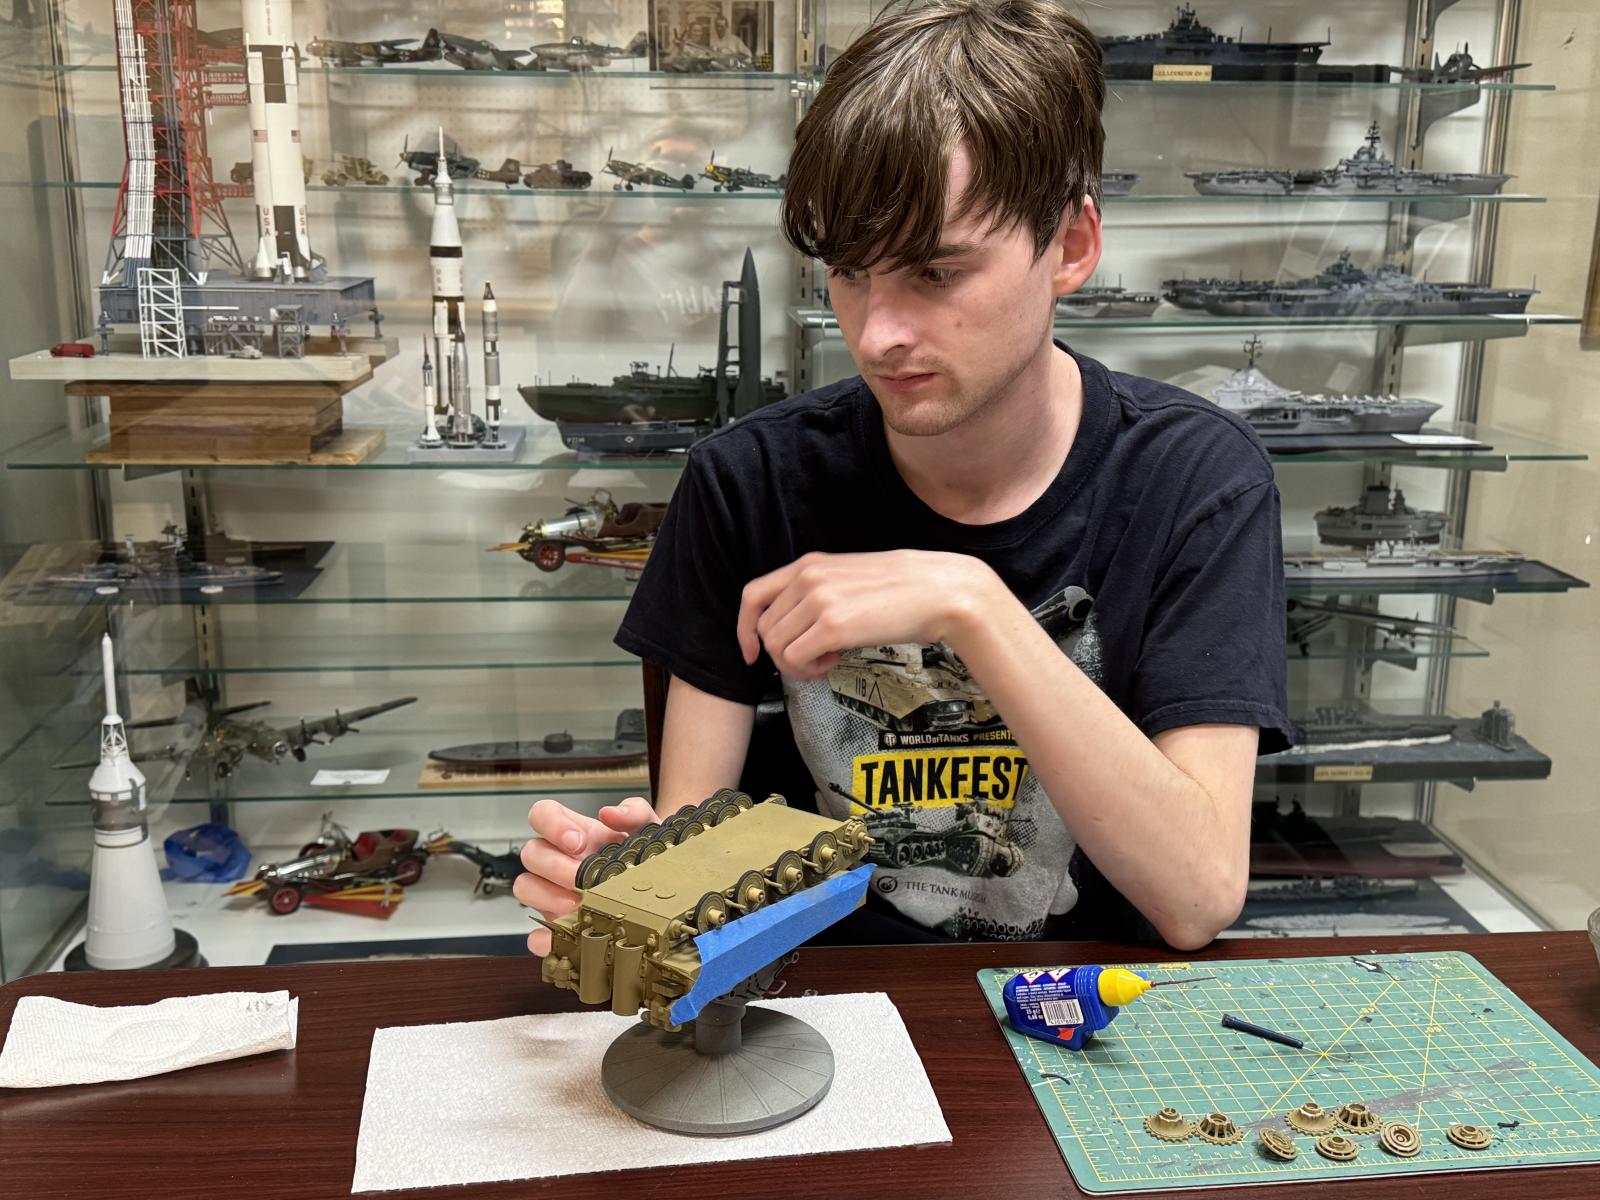
Last summer our family started our vacation with two days at “Tankfest” at the Tank Museum in Bovington, UK. Our son Parker is a huge tank nut, and we enjoyed two days there. But as you can tell by the photos, Tiger 131 was a big deal to him.
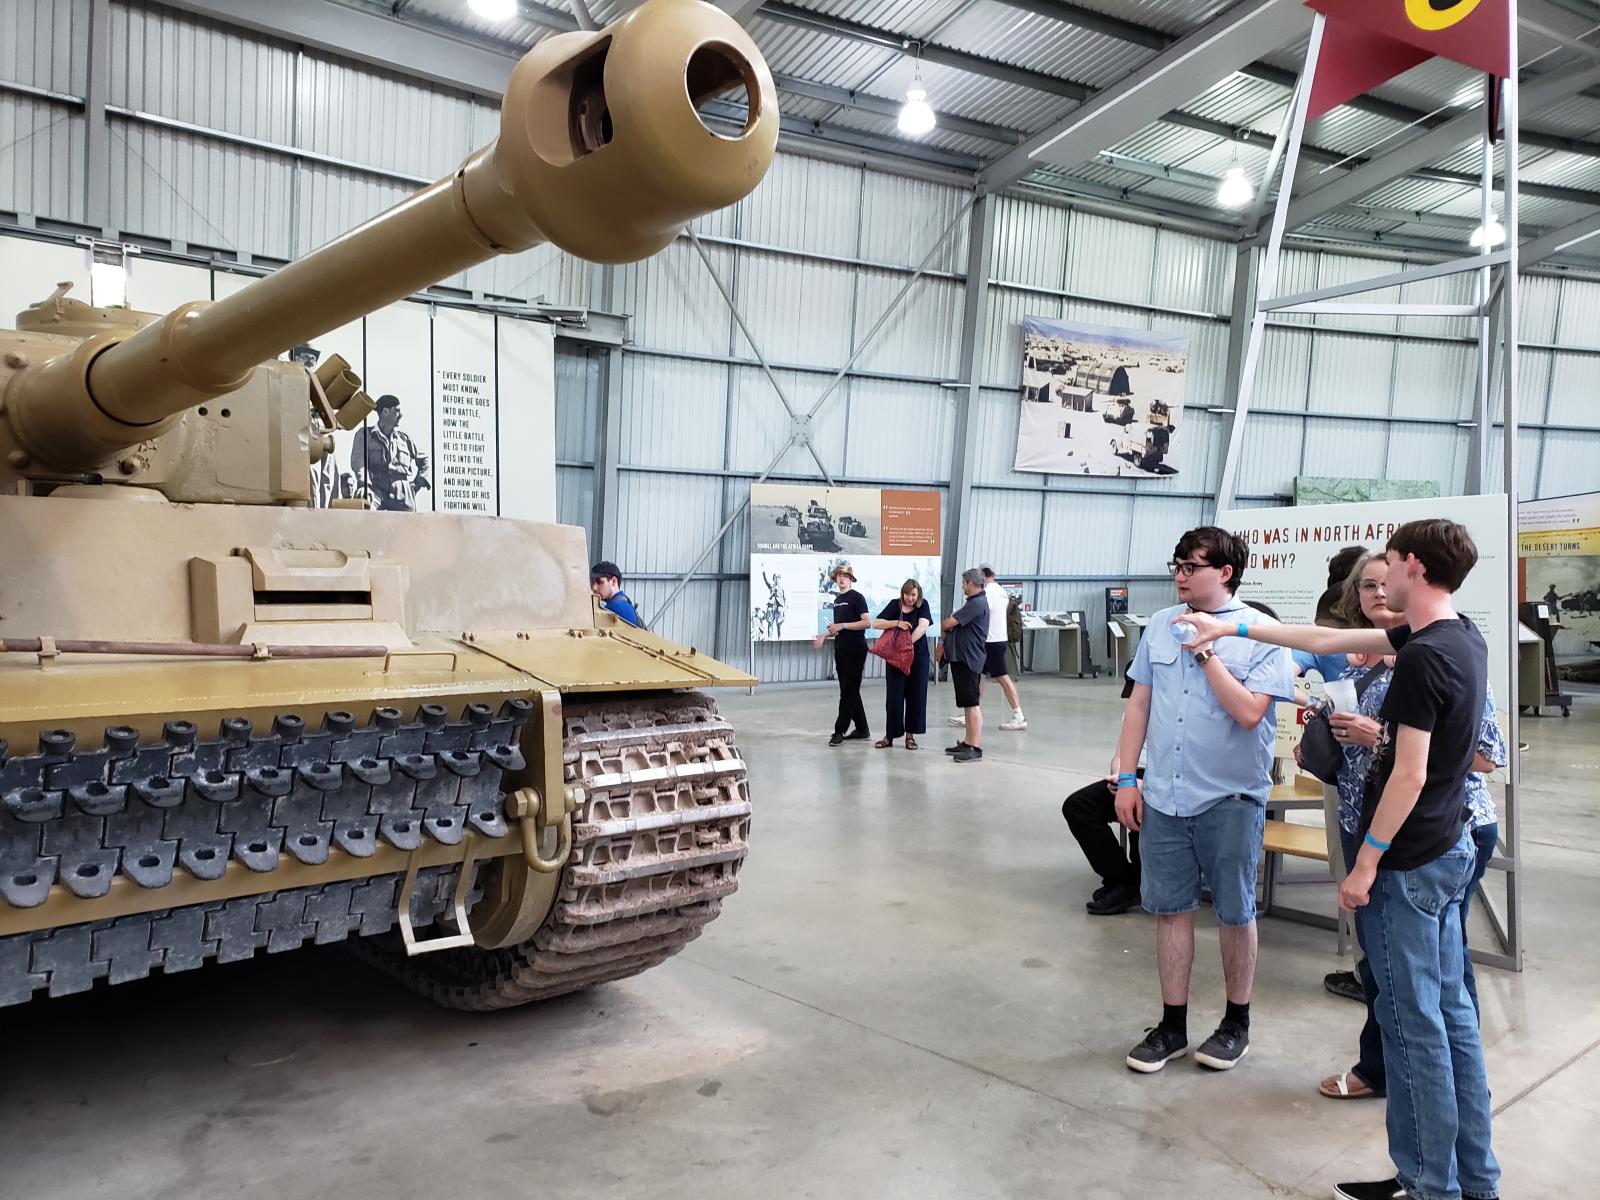
I should have located an appropriate kit of it for my 1/72 collection while we were there but didn't (an oversight he remedied this summer when we told me to pick up a 1/700 kit of the Mikasa when we toured Admiral Togo's flagship in Yokosuka).
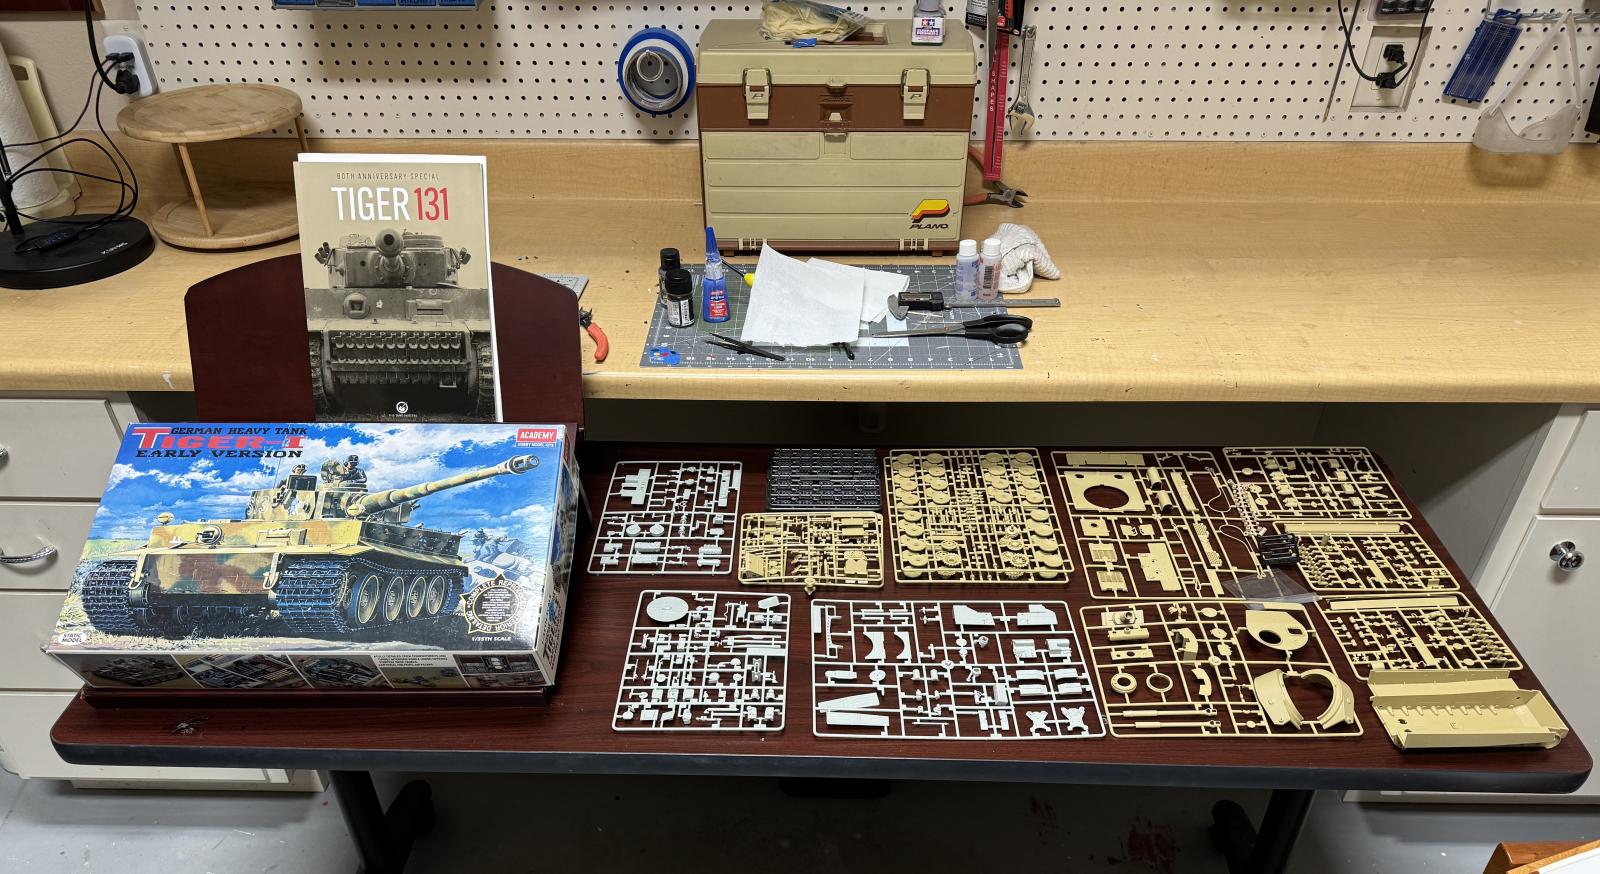
Two months ago he and I were at a model competition in Grapevine and he noted that the 1/35 Academy kit with full interior was of an early production Tiger, and that we could complete it as Tiger 131. I thought it would be a fun father/son project so I got it.
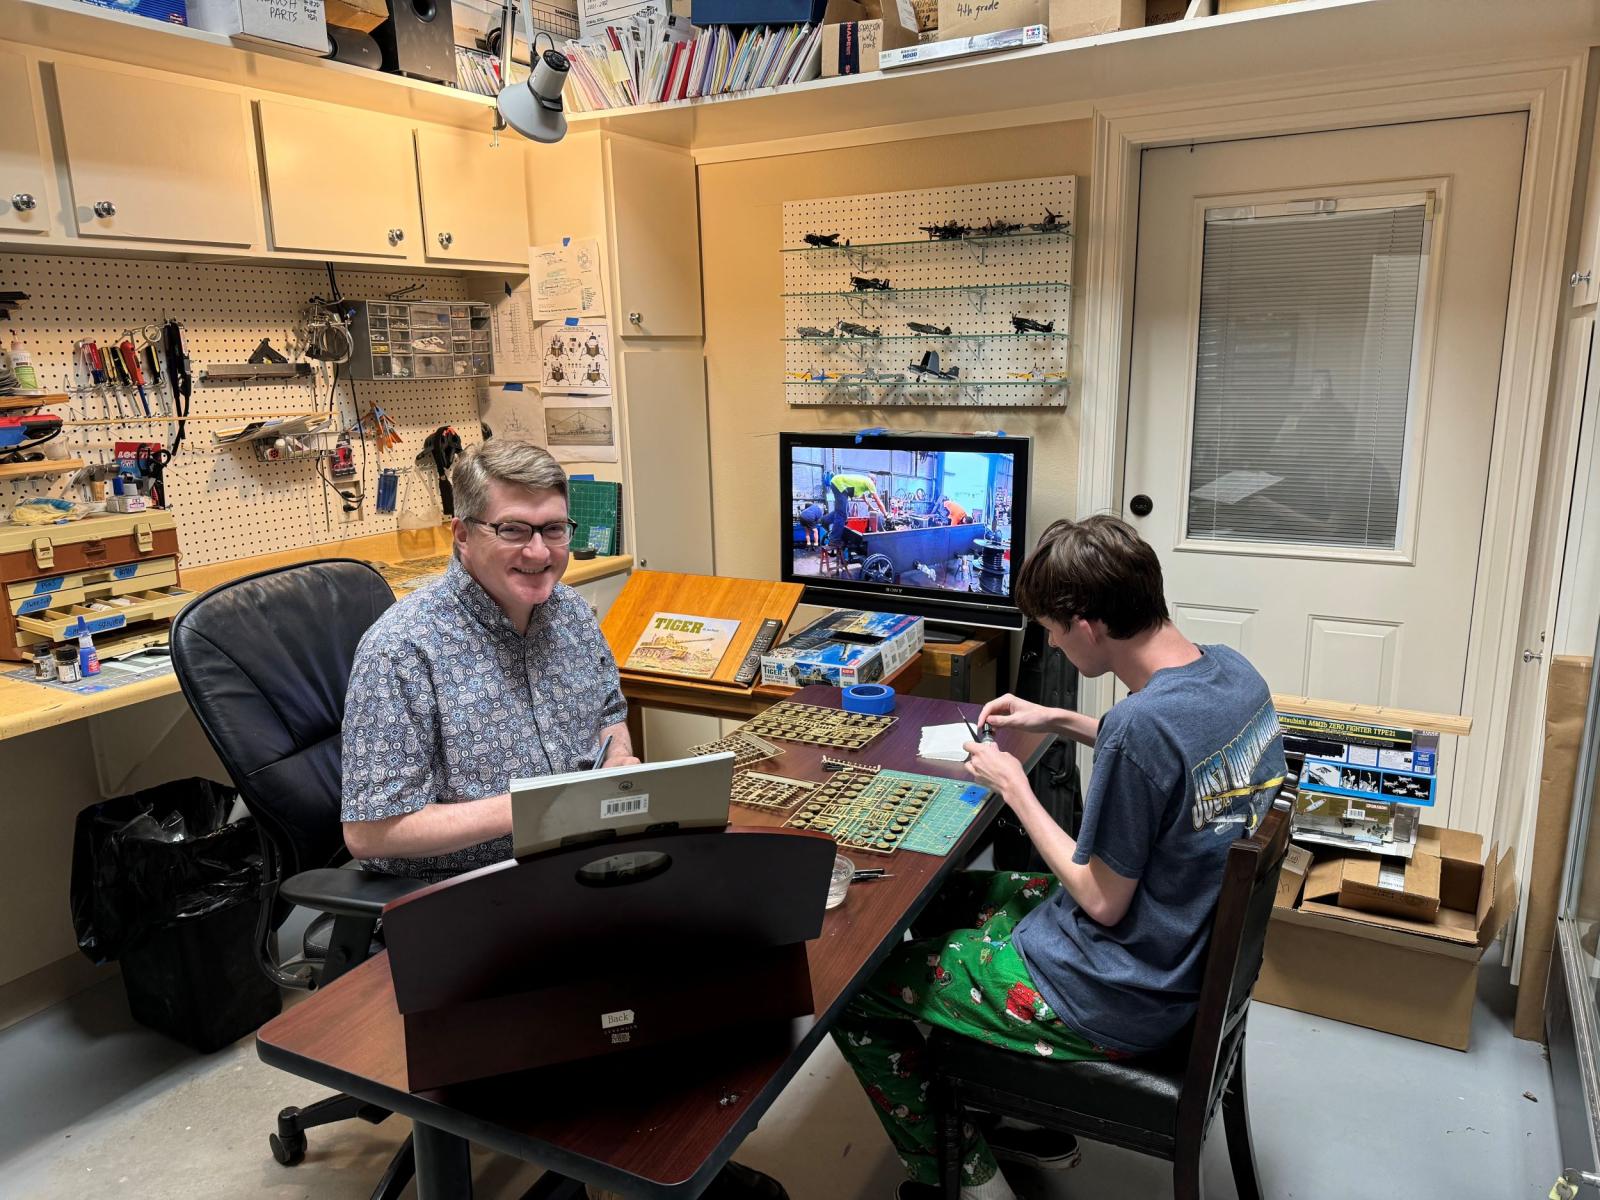
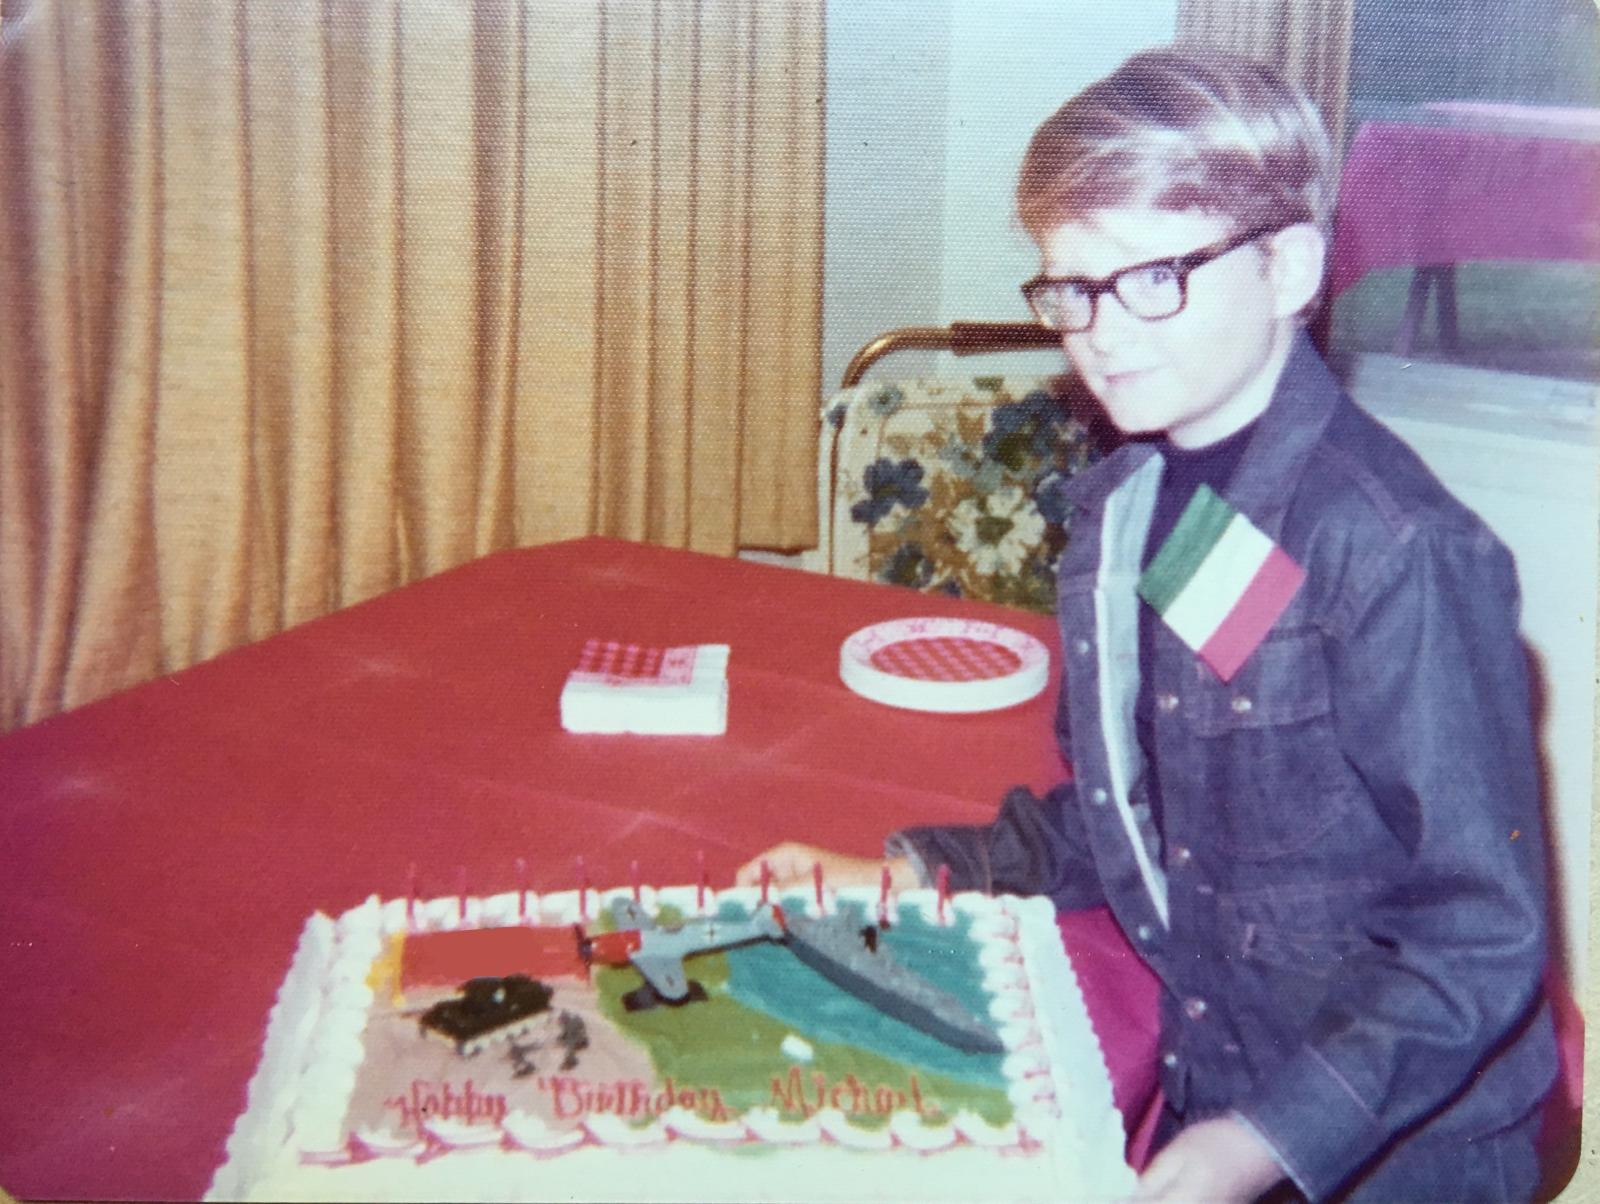
This isn't my first Tiger - I actually had one on my birthday cake 50th years ago when I turned 10th - but I didn't know much about it, and the research is always the most fun part of a project to me. And on this subject Parker would be the expert.
Parker took the thankless job of helping paint and install the 48 road wheels, while I started figuring out how to paint and assemble the interior.
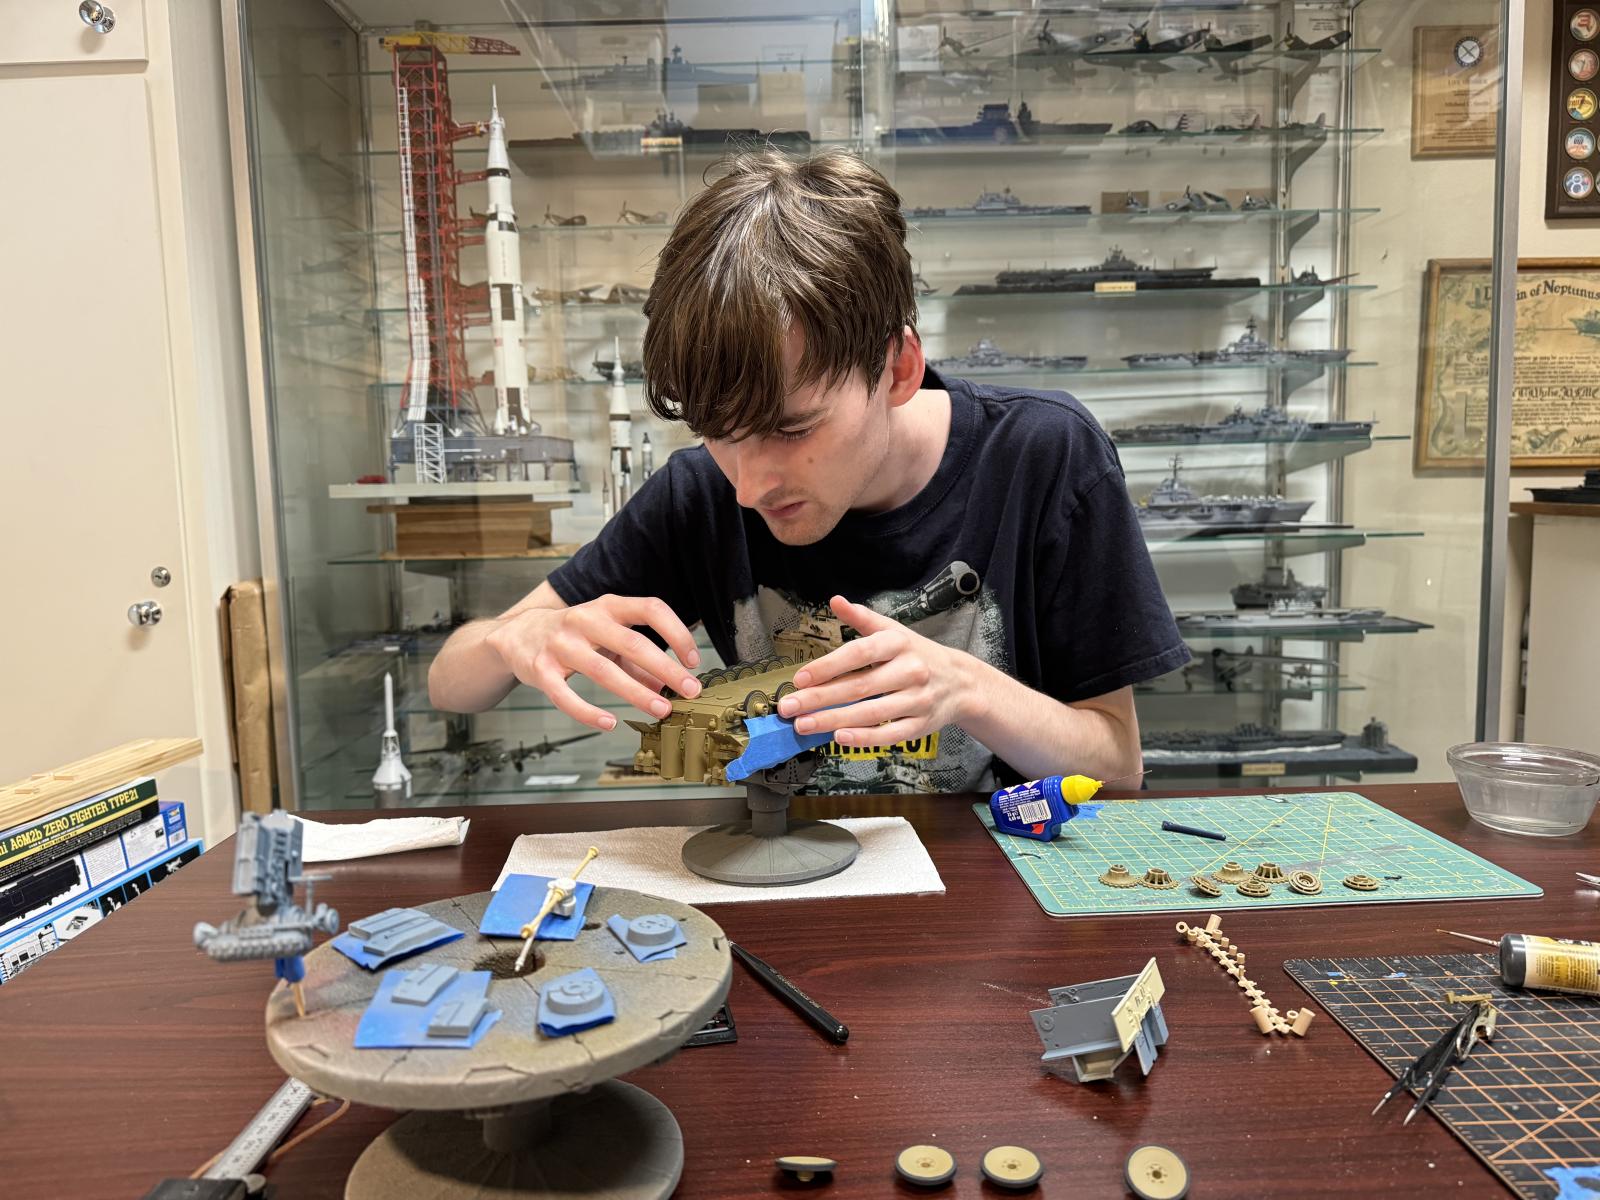
The Tank Museum's book on Tiger 131 was my principal guide, but I also consulted numerous references as I realized that the restoration didn't quite take the vehicle back to its 1943 configuration.
Colors
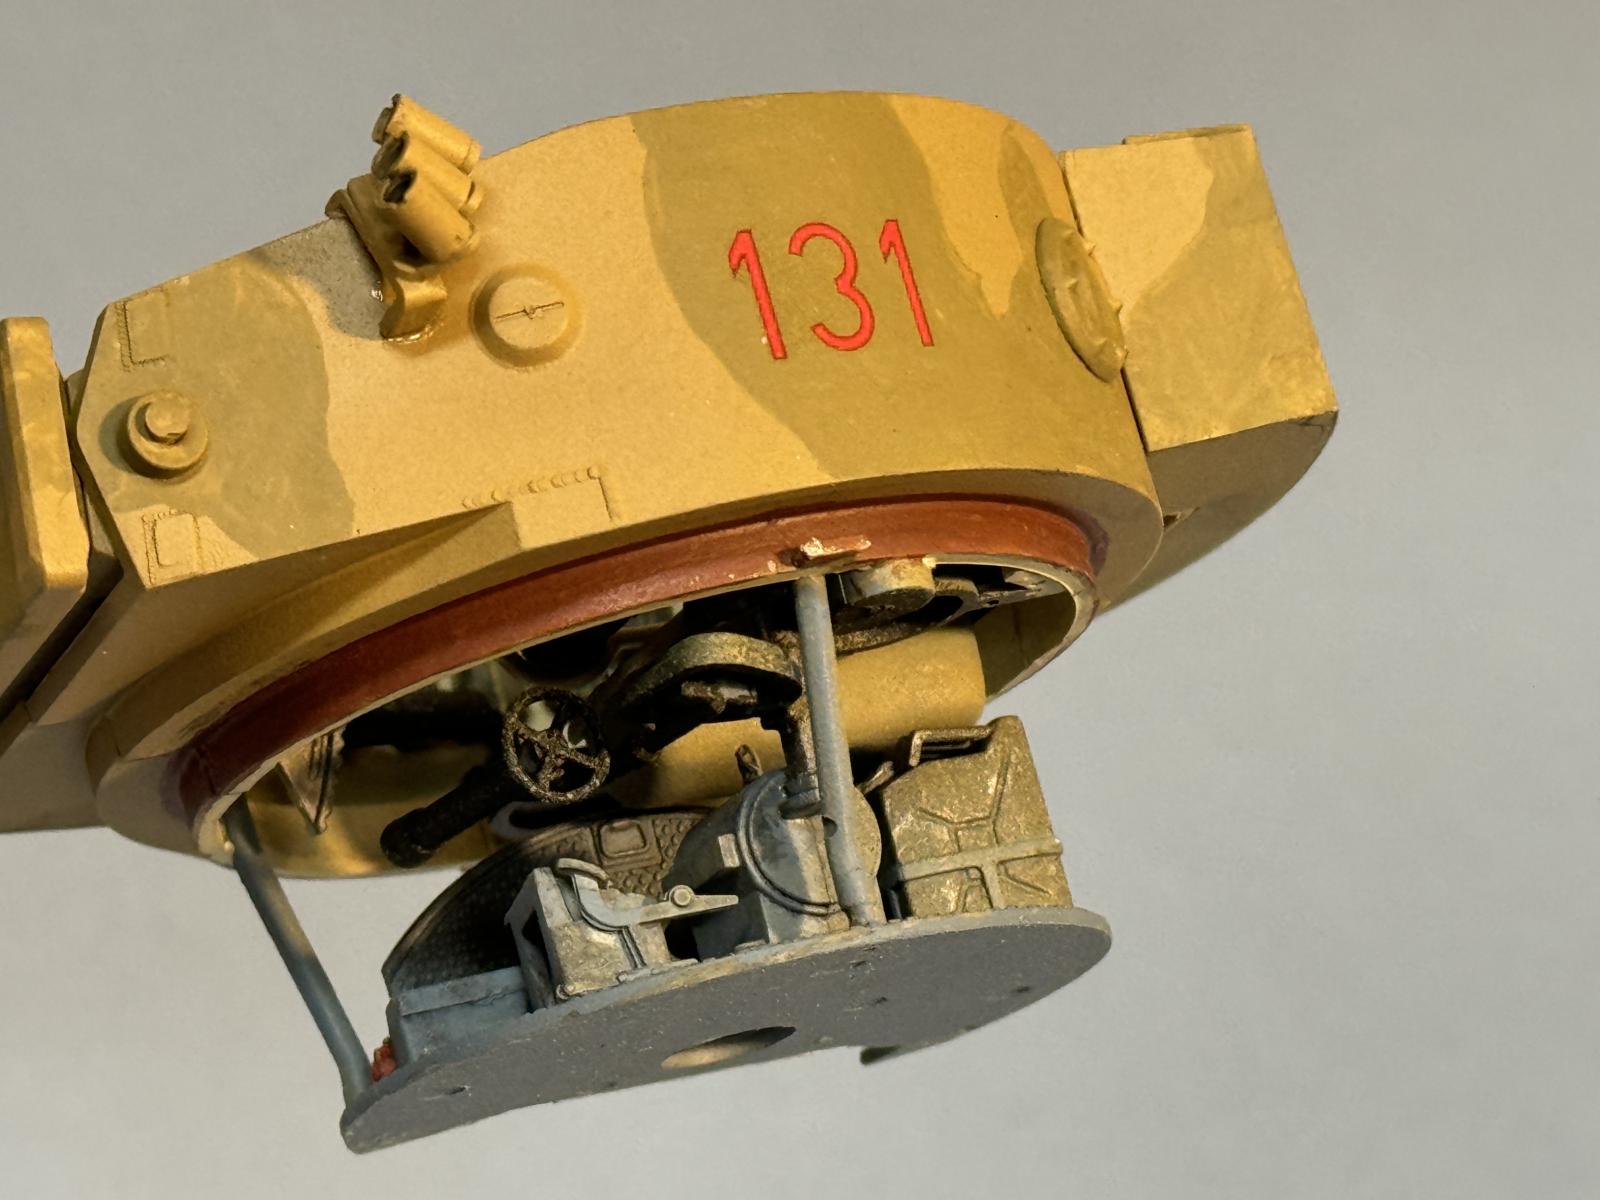
I used primarily Vallejo Model Air paints The exterior was easy - TM has tagged these as RAL 7008 grey/green and RAL 8000 yellow/brown. The road wheels, underside and rear are grey/green, but above that it's mostly the yellow/brown, with the air filters on the back the lighter shade as well. The contrast is a little more than on the real vehicle, but was reduced slightly with a wash at the end.
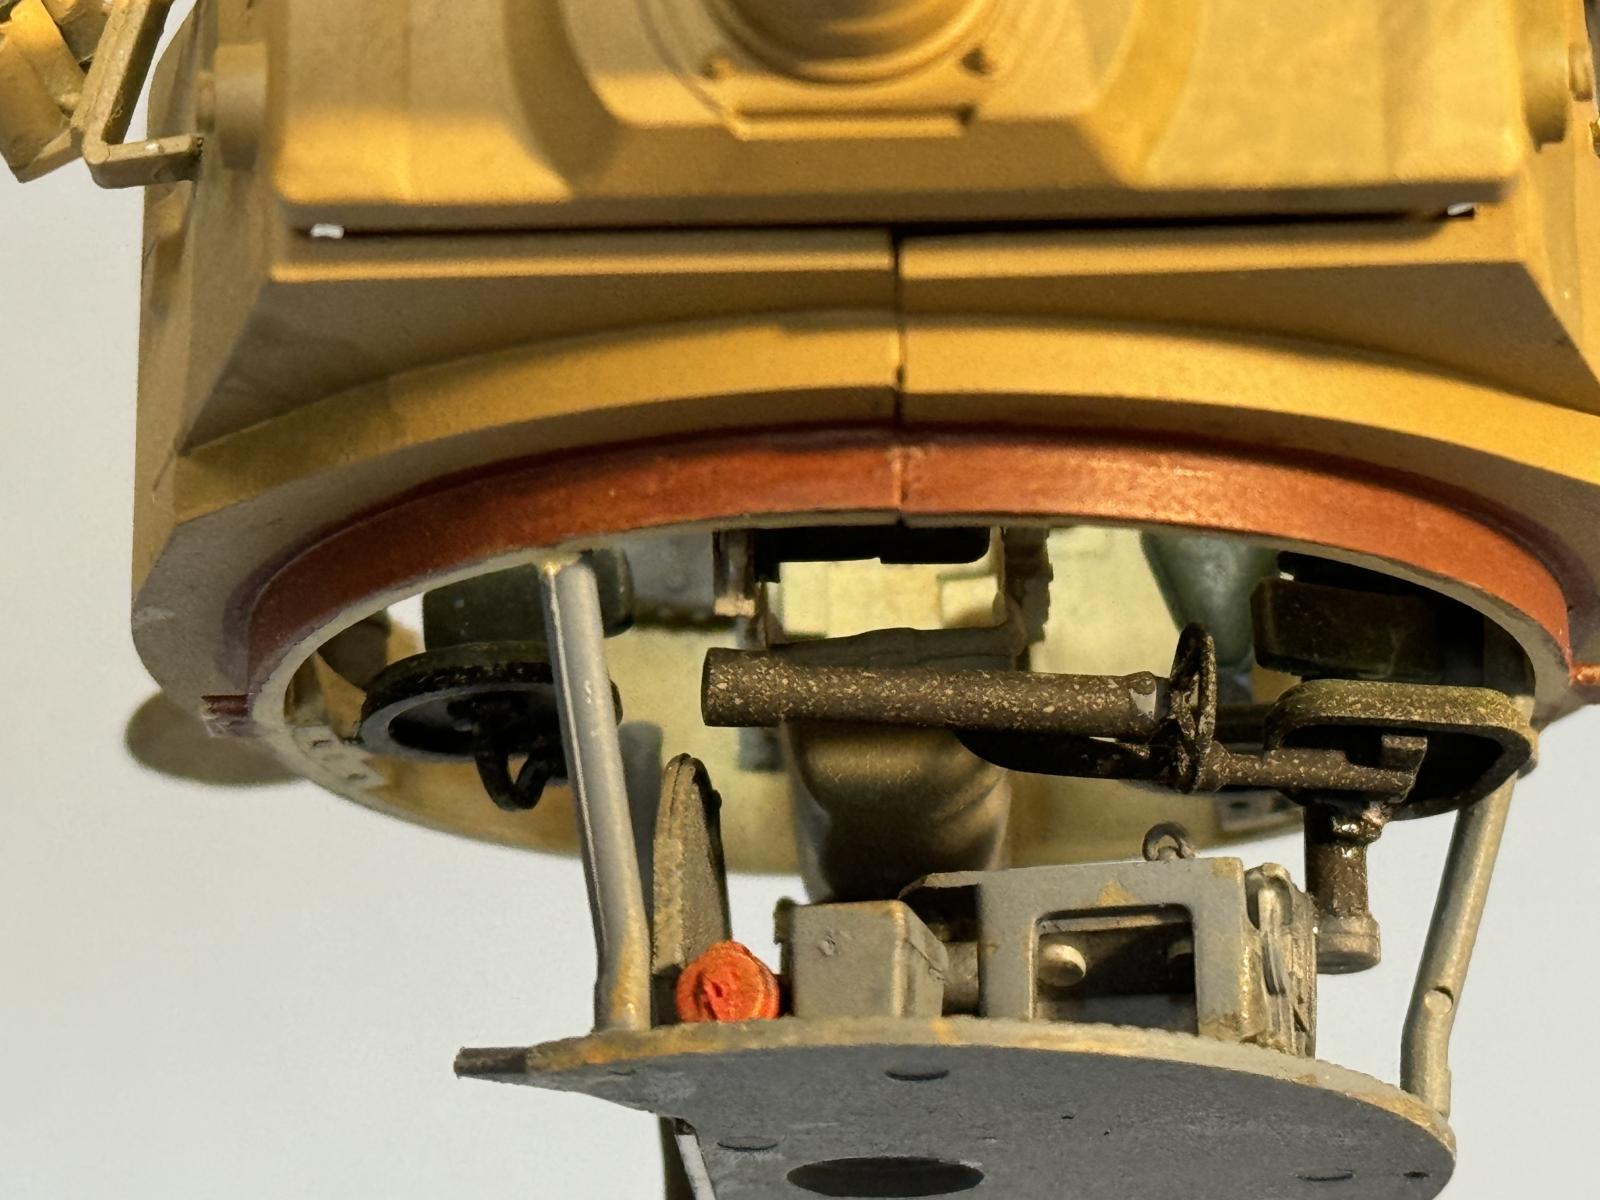
The interior was more complicated. The upper walls were RAL 1001 Elfbein (ivory), and the lower hull for this early production vehicle was referenced as field grey, but when I ran that color I kept coming up with greenish grays. But the interior color before restoration looked blue-gray (some photos with less flash did appear a little green), and after restoration was definitely blue. I started with the best “field grey” I could find FS 34086 (Valleo “US Loam”) and it was far too green, so I changed to FS 35164 Intermediate Blue with a gray/green wash. (After I finished the model I ran across Vallejo 71.268 “German Grey” RAL 6006. In Model Color the same FS number is RAL 7009, which some references place as the lower interior color for vehicles, so if I were doing the model over I'd use one of these.
But that same grey is the color for many of the interior fittings, so I started with the intermediate blue and then gave it several washes with either RLM 02 or the US Loam to dull it down. I also kept the 88mm breech shiny green, and otherwise tried to match the colors to the pre-restoration arrangement where I could.
The leather seats were painted with satin varnish and the the breech block gloss, then everything inside and out was airbrushed with a matte finish, followed by gray/grunge washes on the inside and a light wash on the outside.
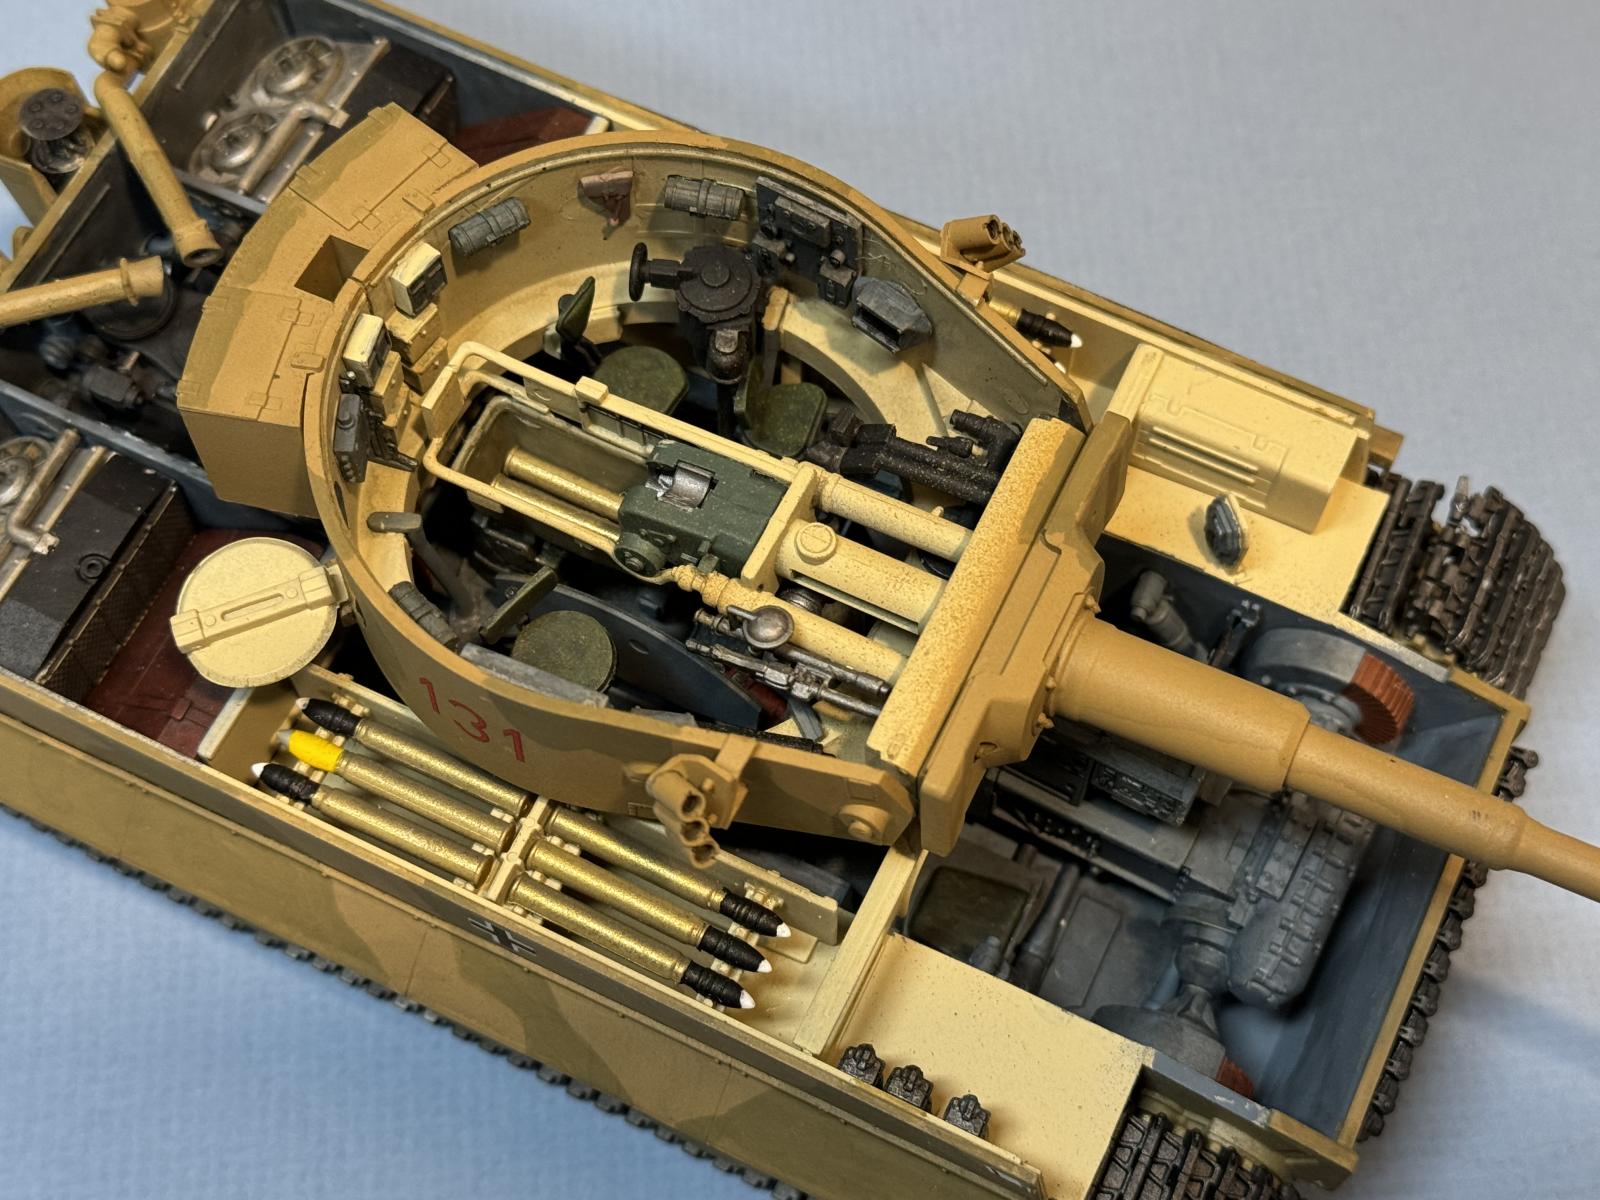
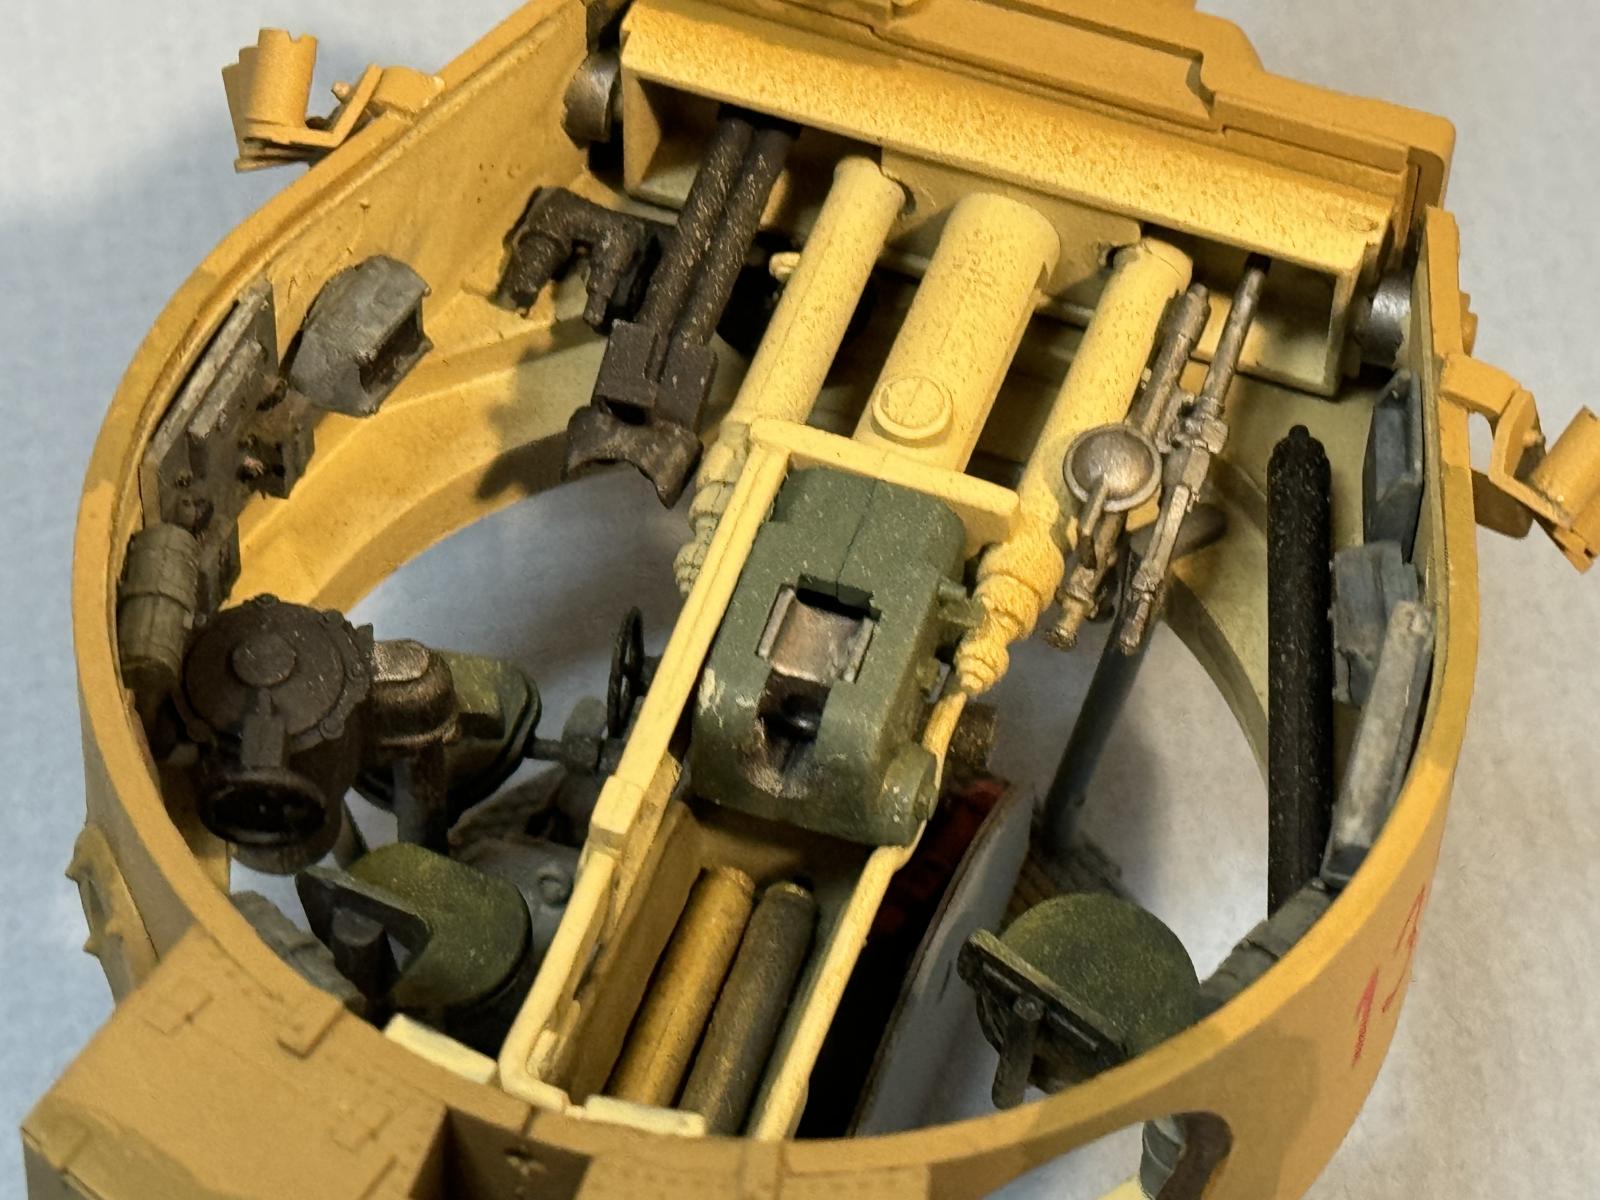
Interior
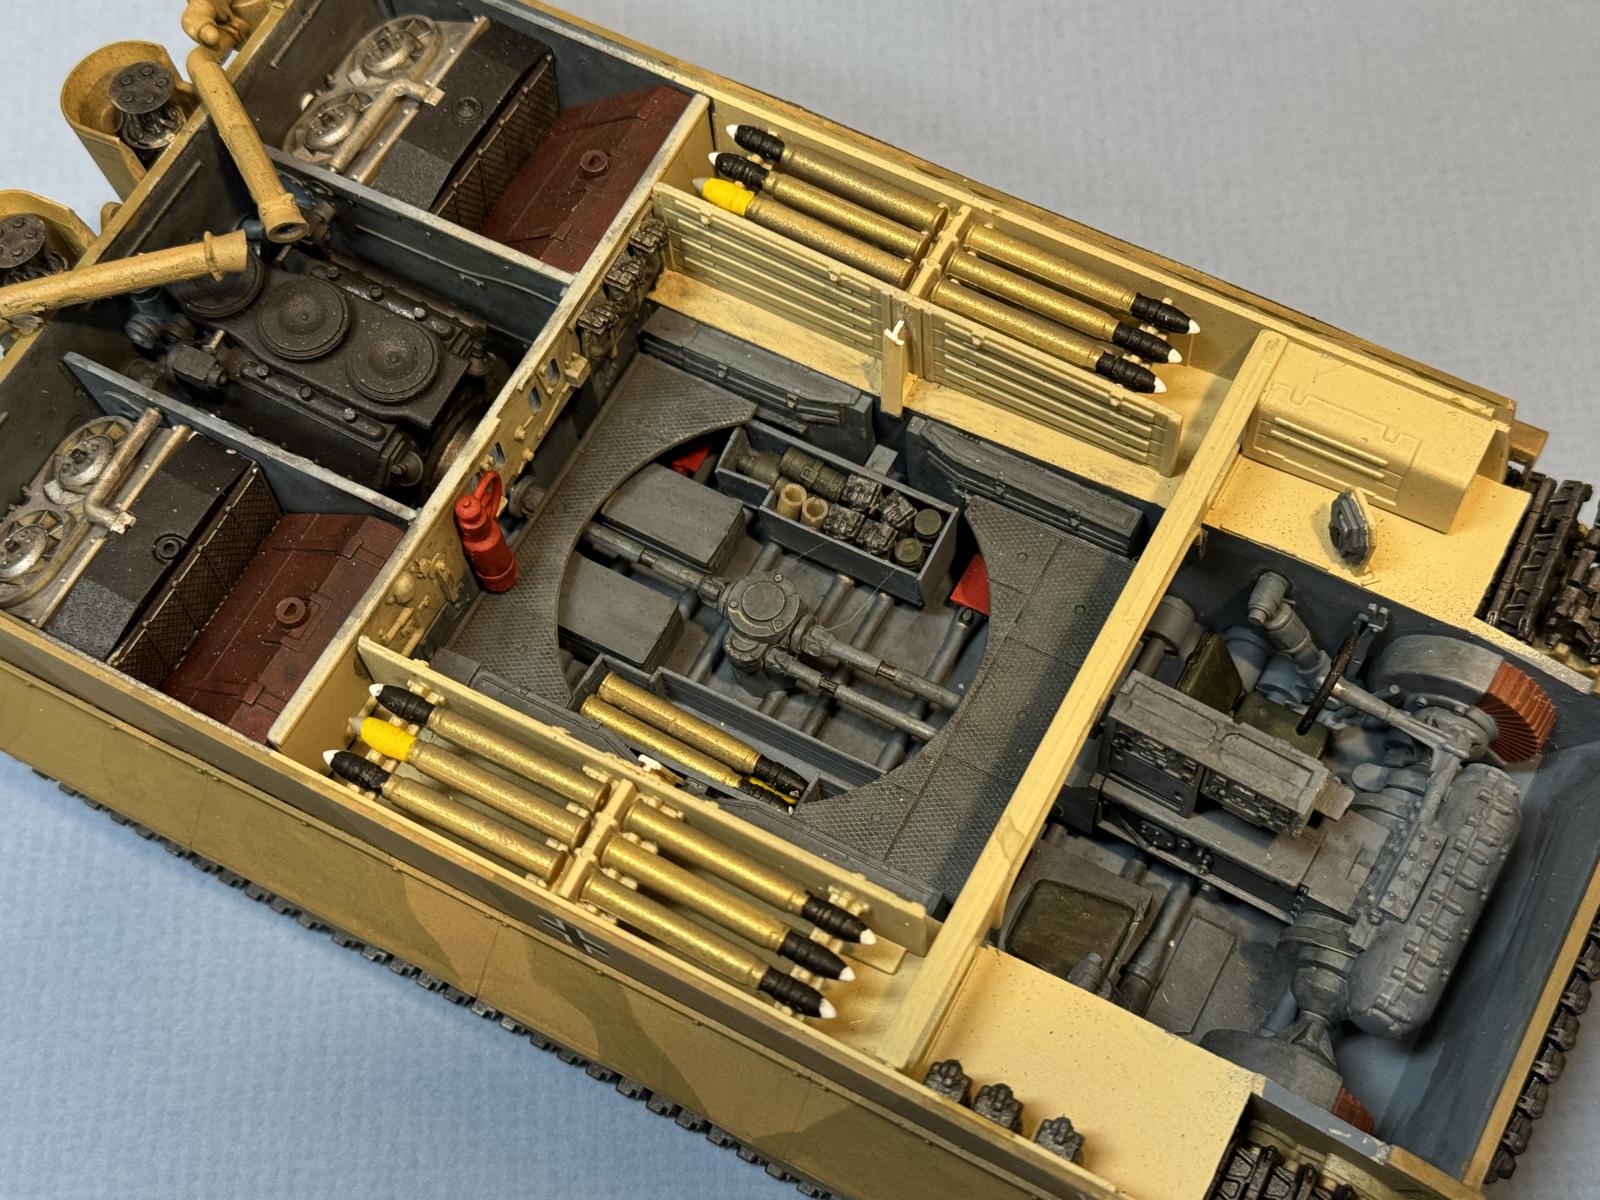
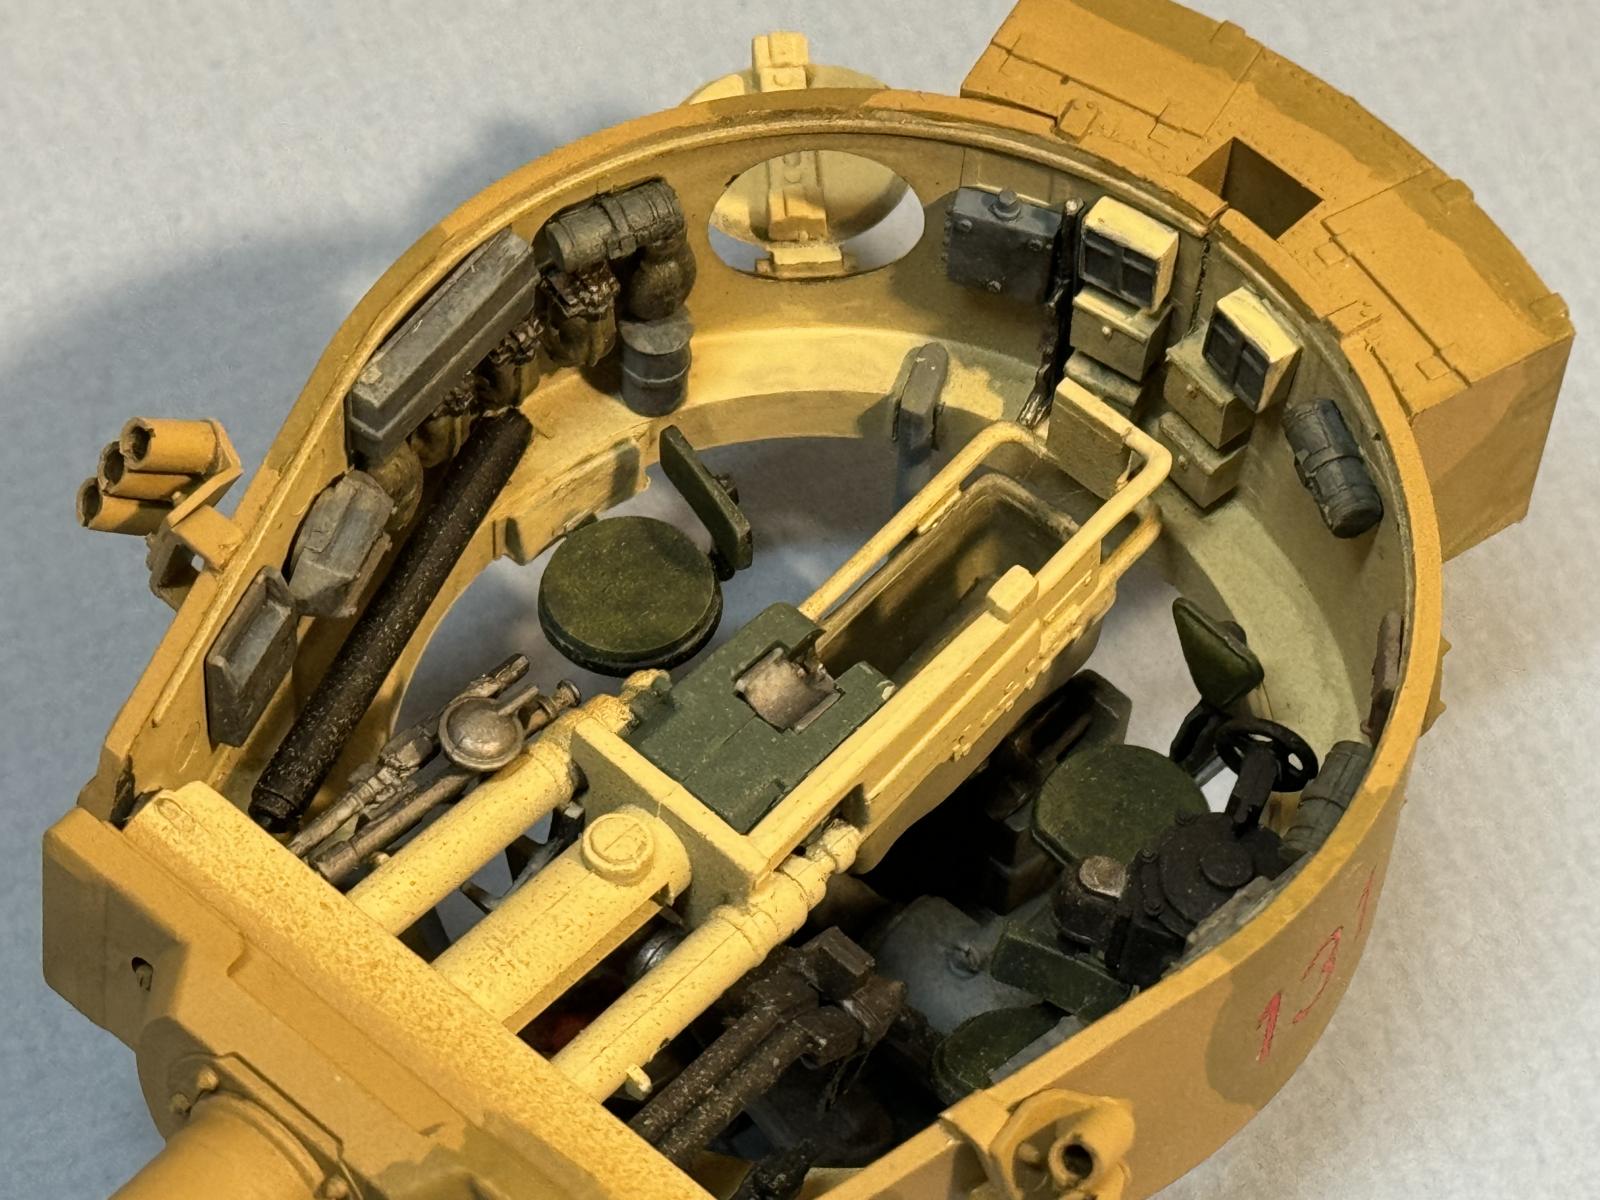
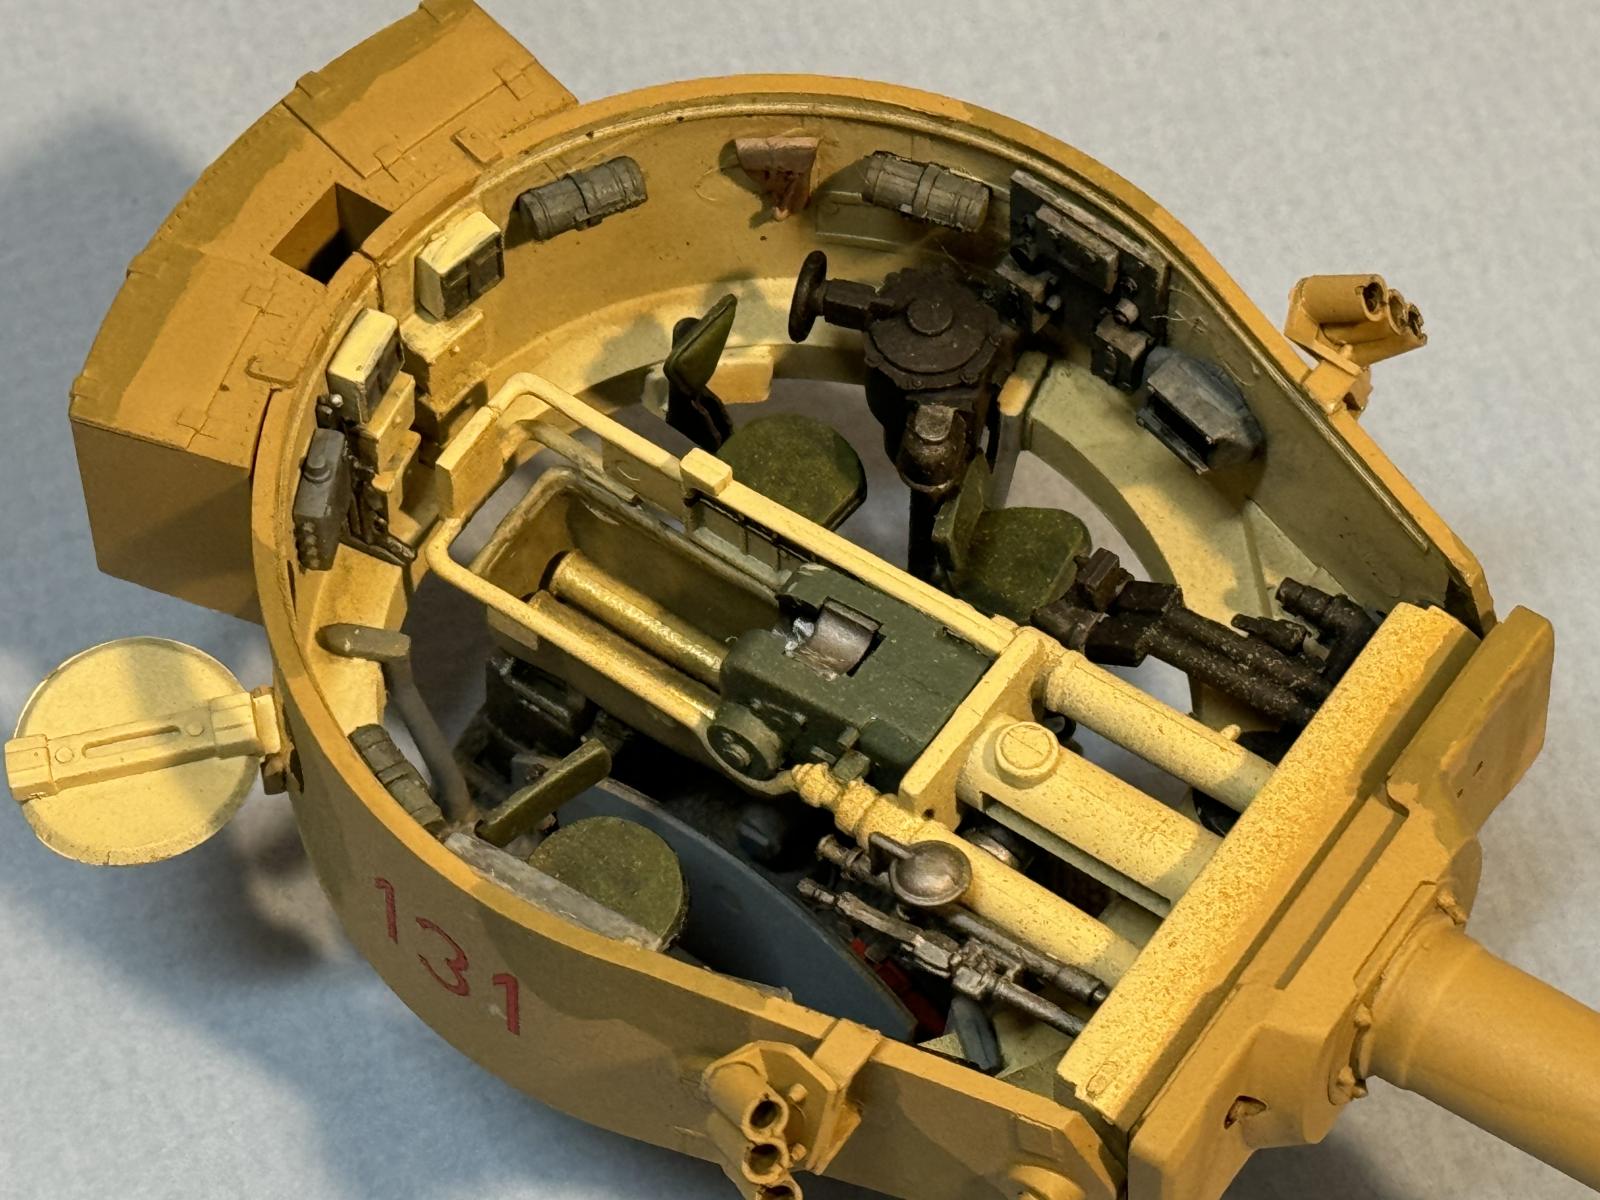
I constantly cross-checked the kit against the photos on 131, and as a result added some interior details the kit lacked, such as the four red lubricating oil stations on the hull floor, and the two stowage bins under the crew compartment floor. (More on these later). I also changed the colors and arrangement from what the kit recommended where the Tiger 131 photos showed something different.
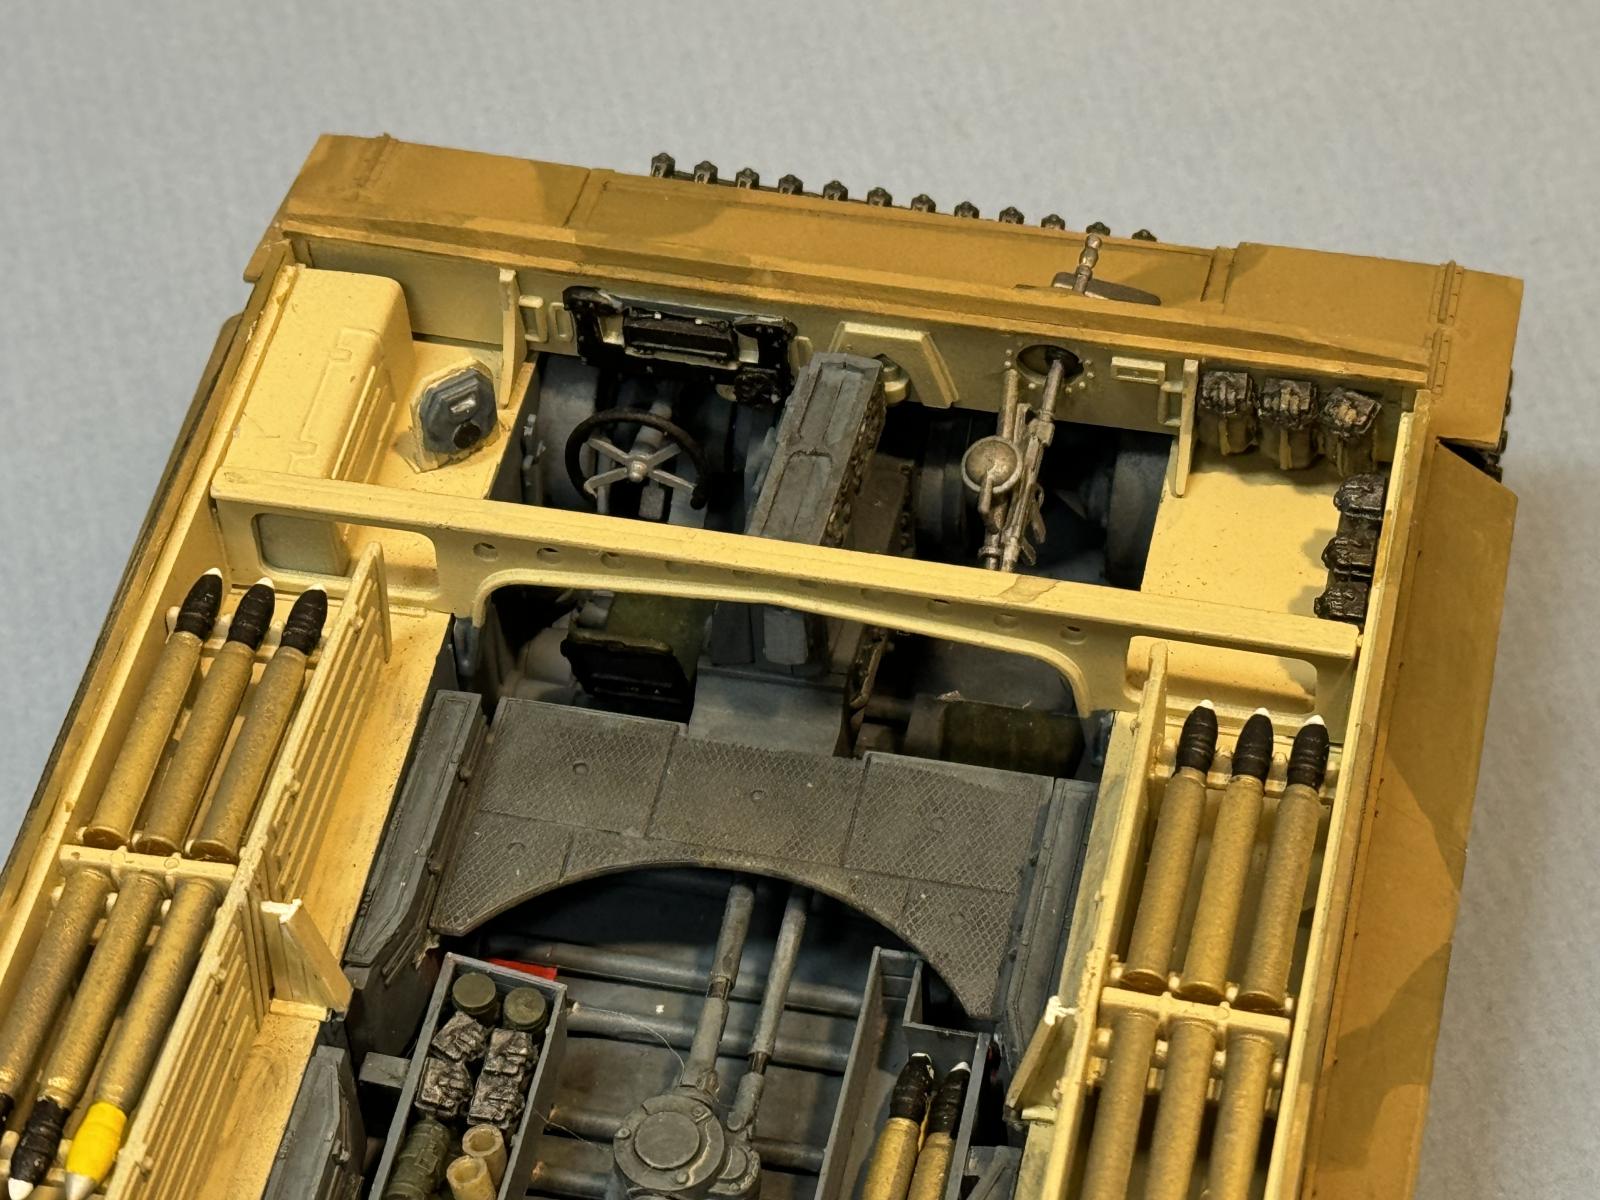
I learned a lot during this build about the interior arrangement and fittings of the tank. For example, the instructions showed two rows of what looked like canvas bags, and some investigation revealed these to me as ammo pouches for the tank's two MG 34 machine guns. More investigation suggested a likely paint color - RLM 02 with tan straps and steel top. I also painted a number of the 88mm shells with yellow/silver tips to represent high explosive shells, while keeping most the black/white tips for armor piercing.
Changes to the Kit
As I learned more about the interior arrangement of the tank I realized that the main 88mm shell stowage bins were a problem. They were missing a structural member in between the forward and aft ones, and half the lower compartments weren't long enough and were not centered on that missing structural member. I scratchbuilt the structural beams, and extended the aft lower bins. But that wasn't all that was needed.
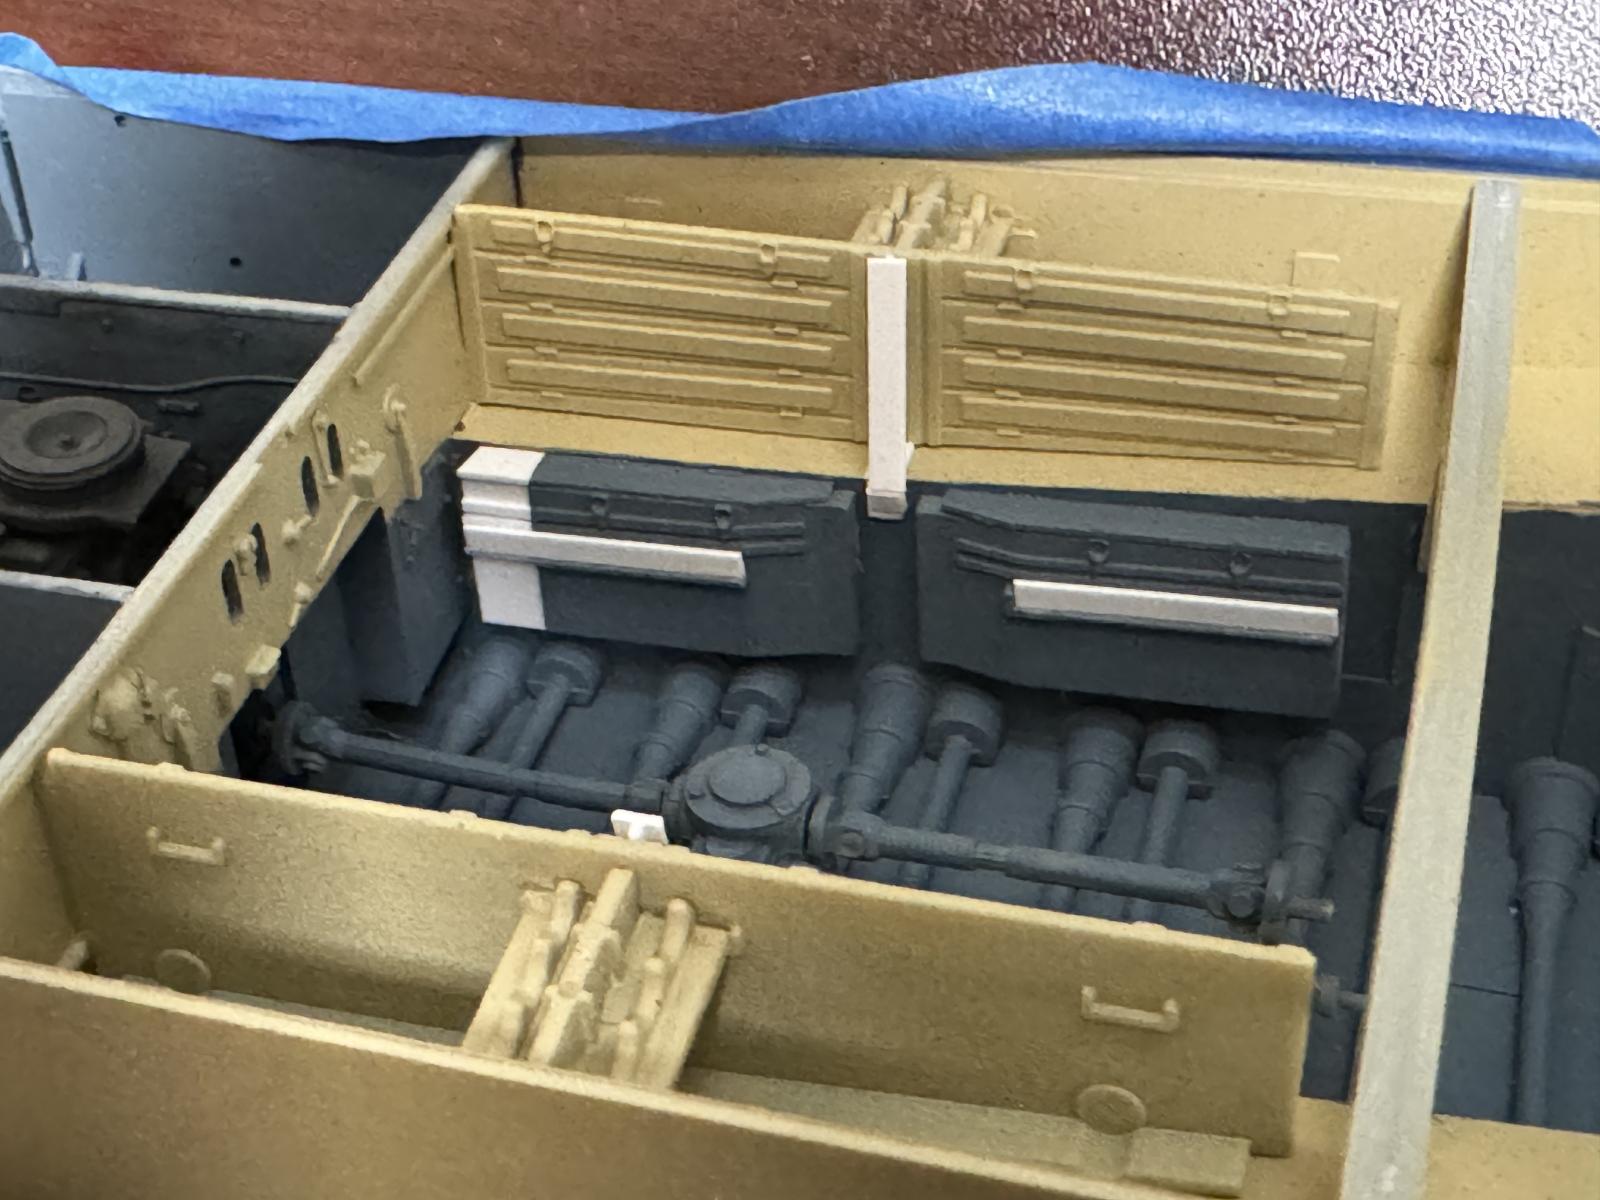
The kit was completely missing the stowage bins under the crew compartment, whose absence would show when the turret was removed. So I scratchbuilt those and filled them with shells, and after viewing a 1943 photo showing the turret basket floor panel raised to allow access to the shells I cut the floor panel out and folded it up to allow the same view.
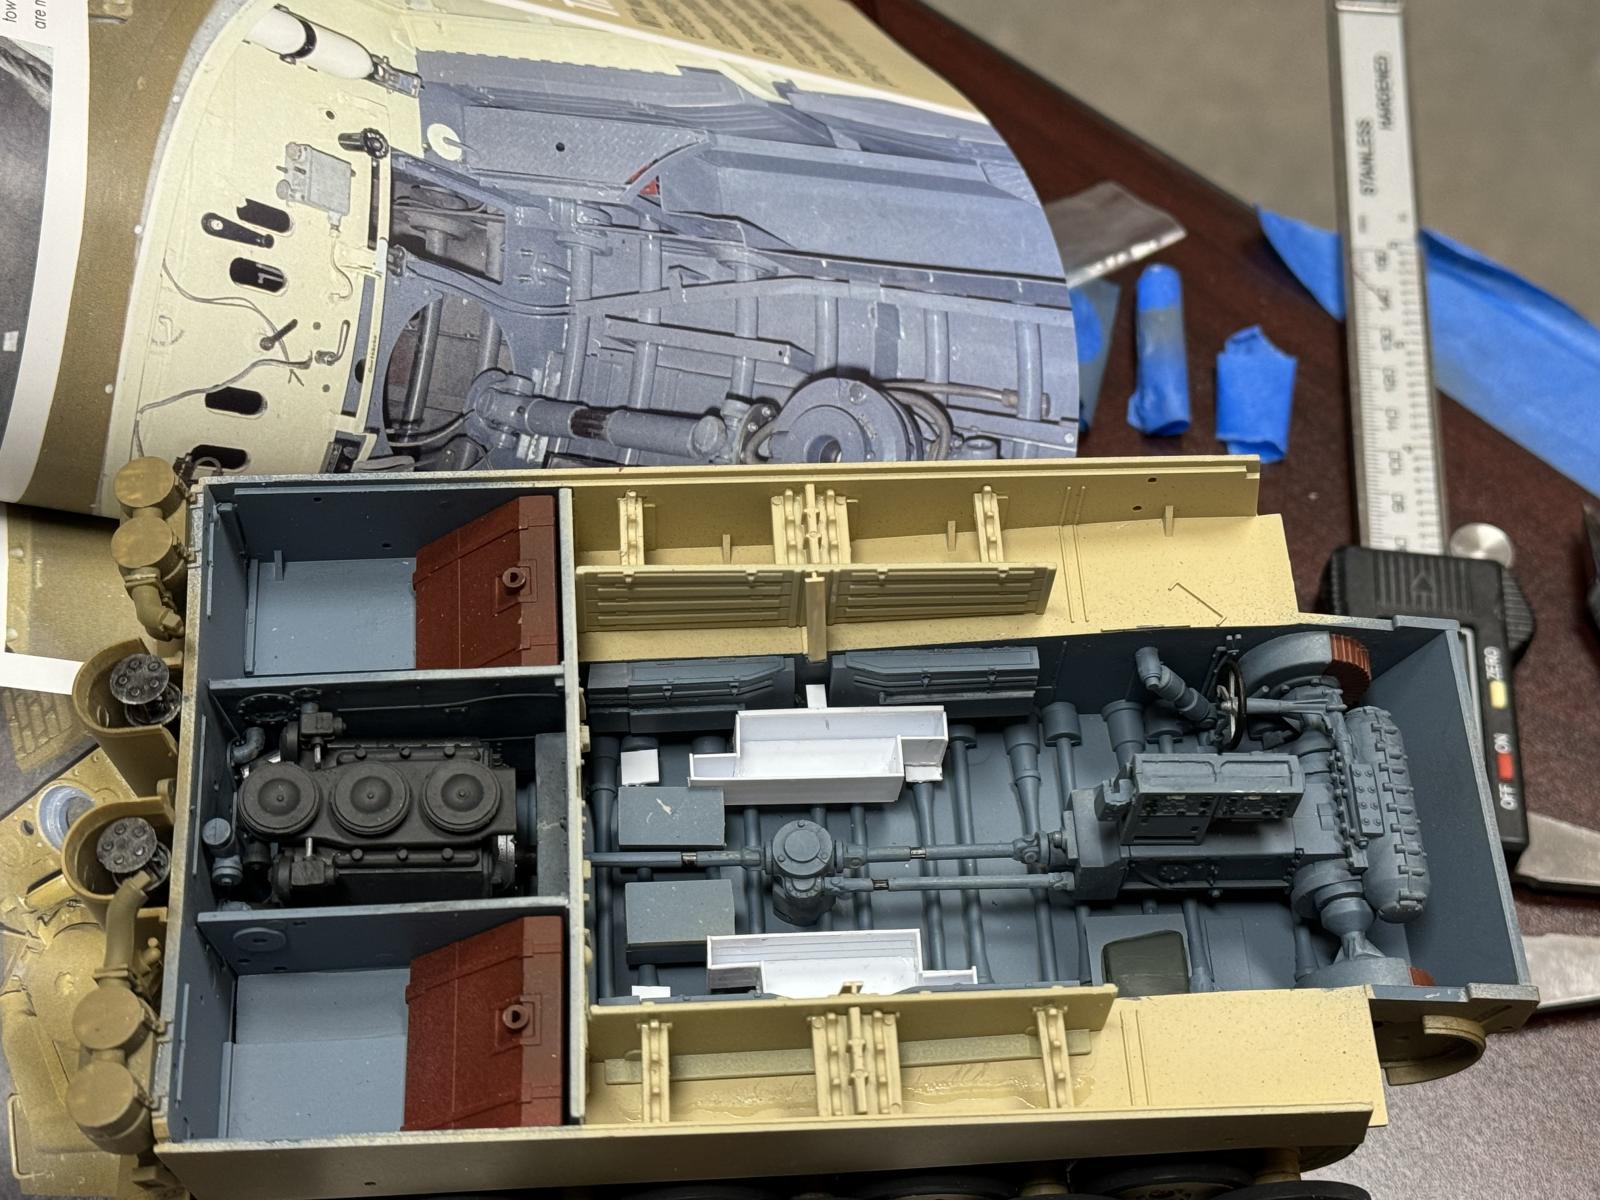
I then ran across another source that explained that only the right side bin was for shells - the left side bin was shaped differently and contained general storage, including the self-demolition charges intended to destroy the tank if necessary. So I extracted the box, rebuilt it, and filled it with miscellaneous extra parts (gas masks, ammo pouches, engine parts).
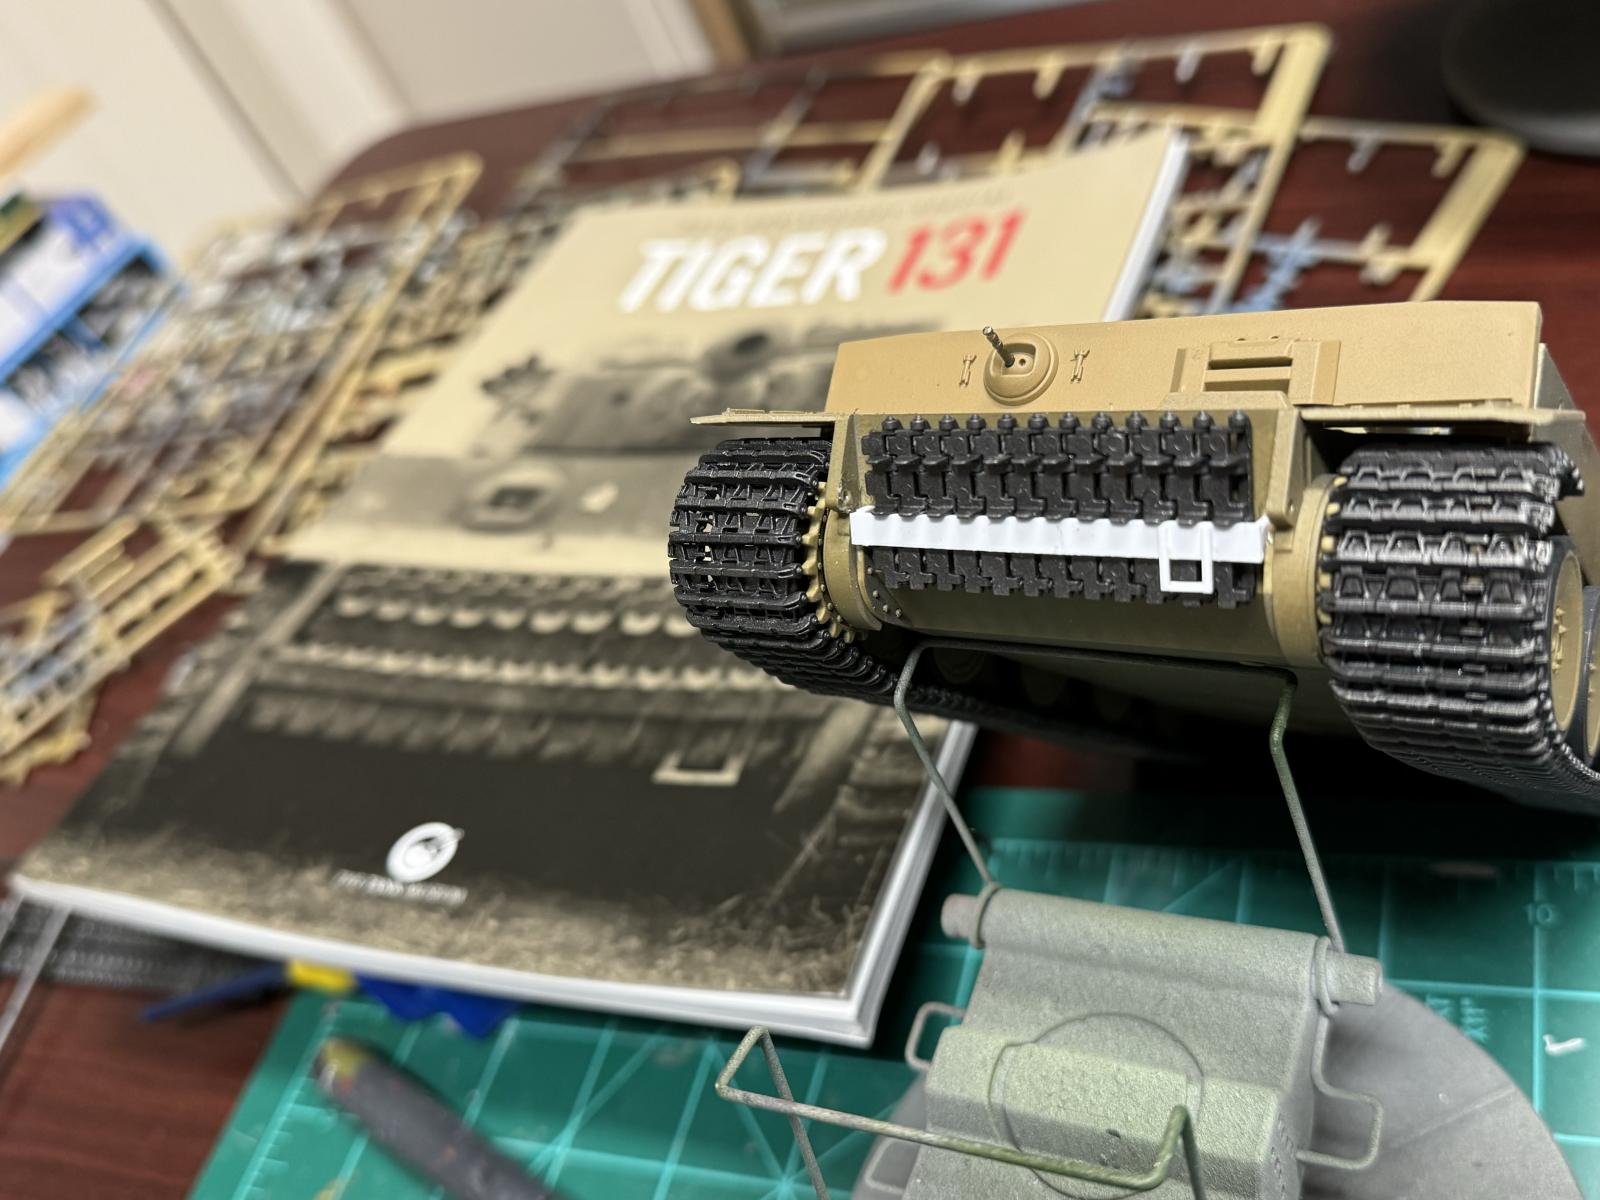
On the outside, I had to build the track holder on the front of the hull with its characteristic ladder, as well as delete the headlamps. I left every hatch I could open, but one of the forward ones had to closed to allow the turret to rotate properly.
Conclusion
I now know that the kit is not the best Tiger interior in 1/35. The instructions are poor, the inside inaccurate in at least some respects, and the top deck fits poorly, leaving a significant gap on each side that can't be concealed without sealing the interior. But building it was a great experience with my son, and gave me a chance to learn about an interesting piece of military hardware.

What a fantastic father and son project, Michael! Superb result!
Congratulations!
A super project from both of you, Michael @mcsmith1964
The result is excellent, well done.
Your hobby room is great as well.
What a wonderful journey!
The Academy kit, for reasons unknown, remains one of my favorite kits.