Focke Wulf 1000x1000x1000 Bomber B
This article is part of a series:
Subject
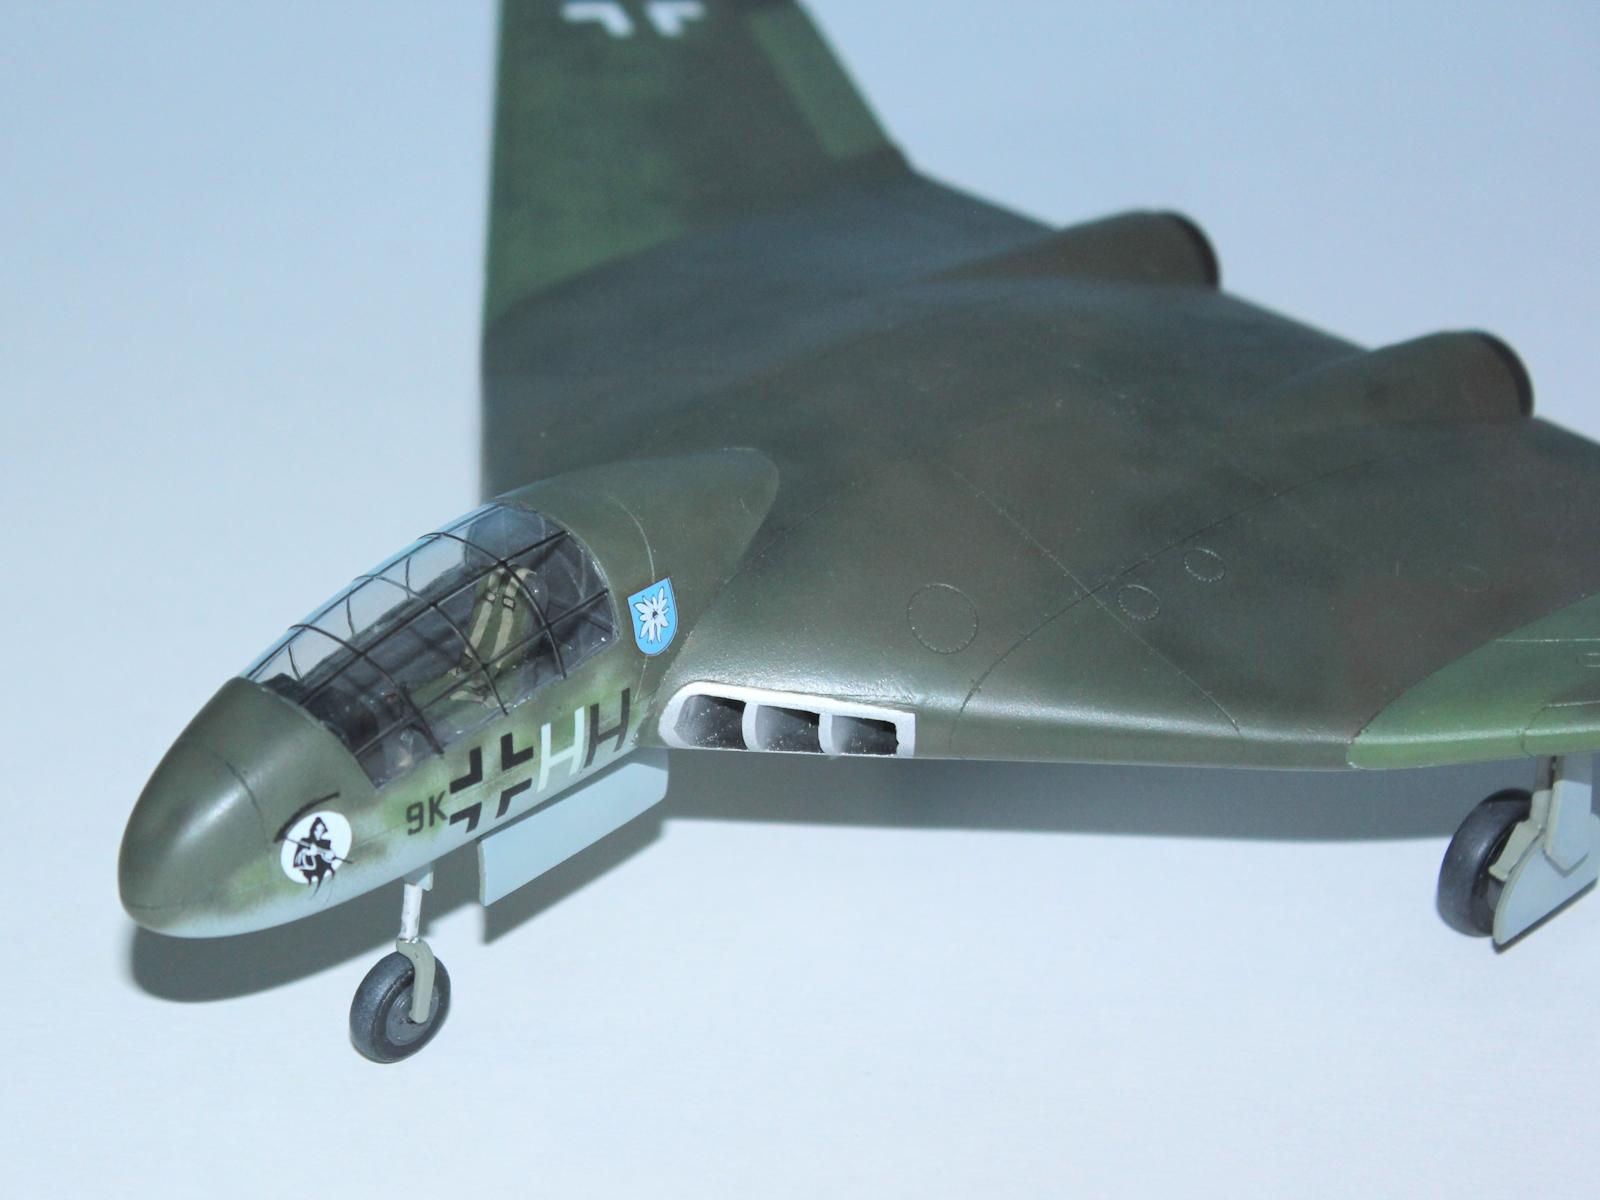
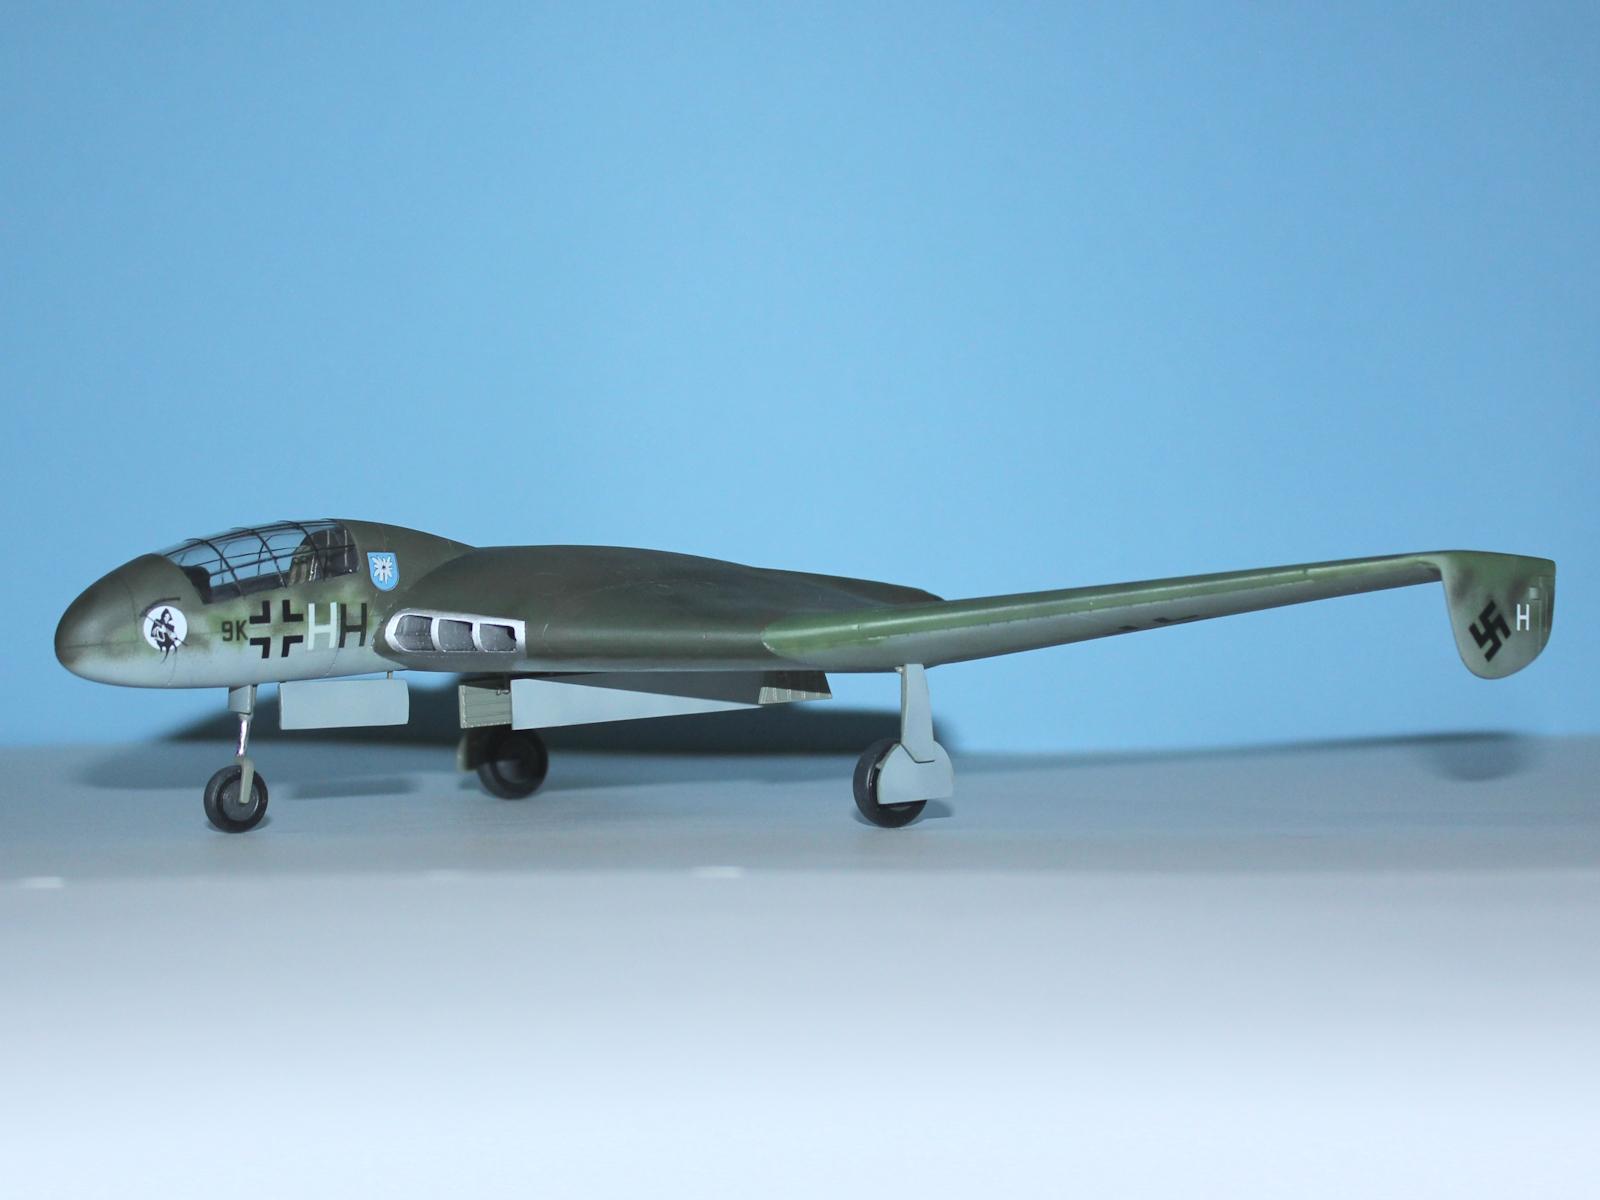
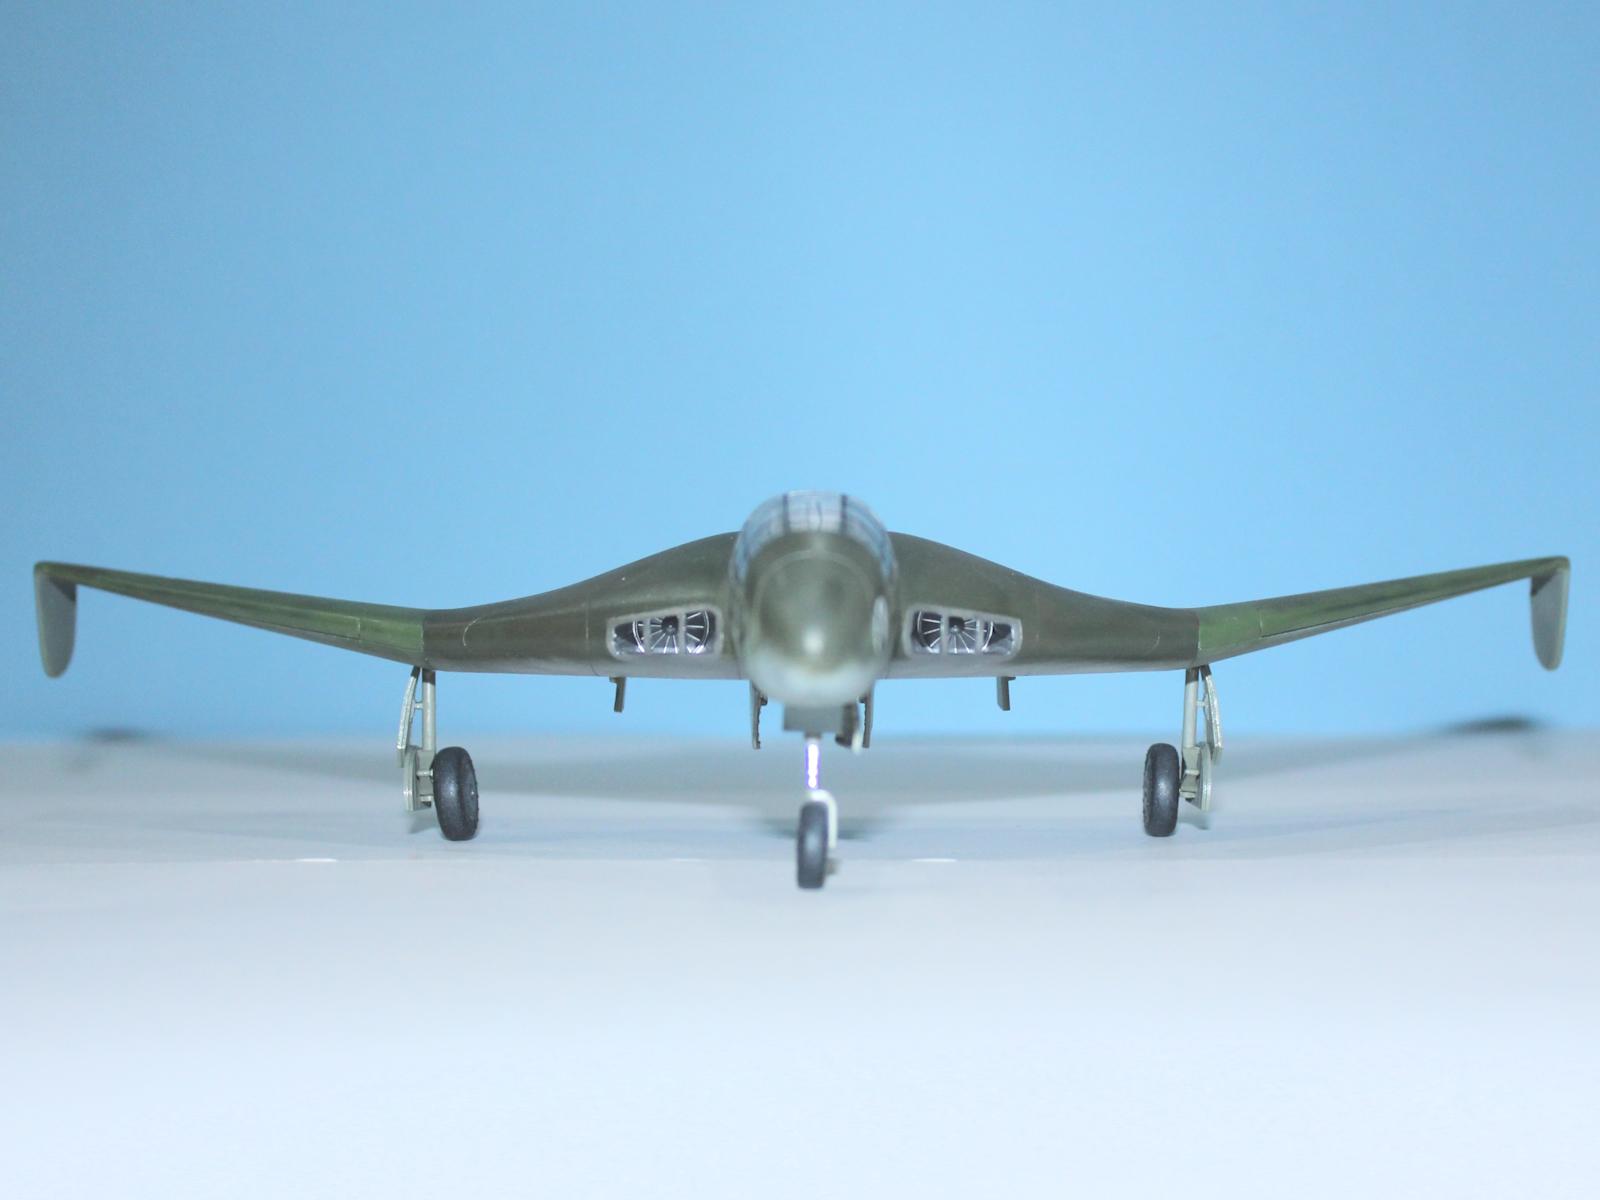
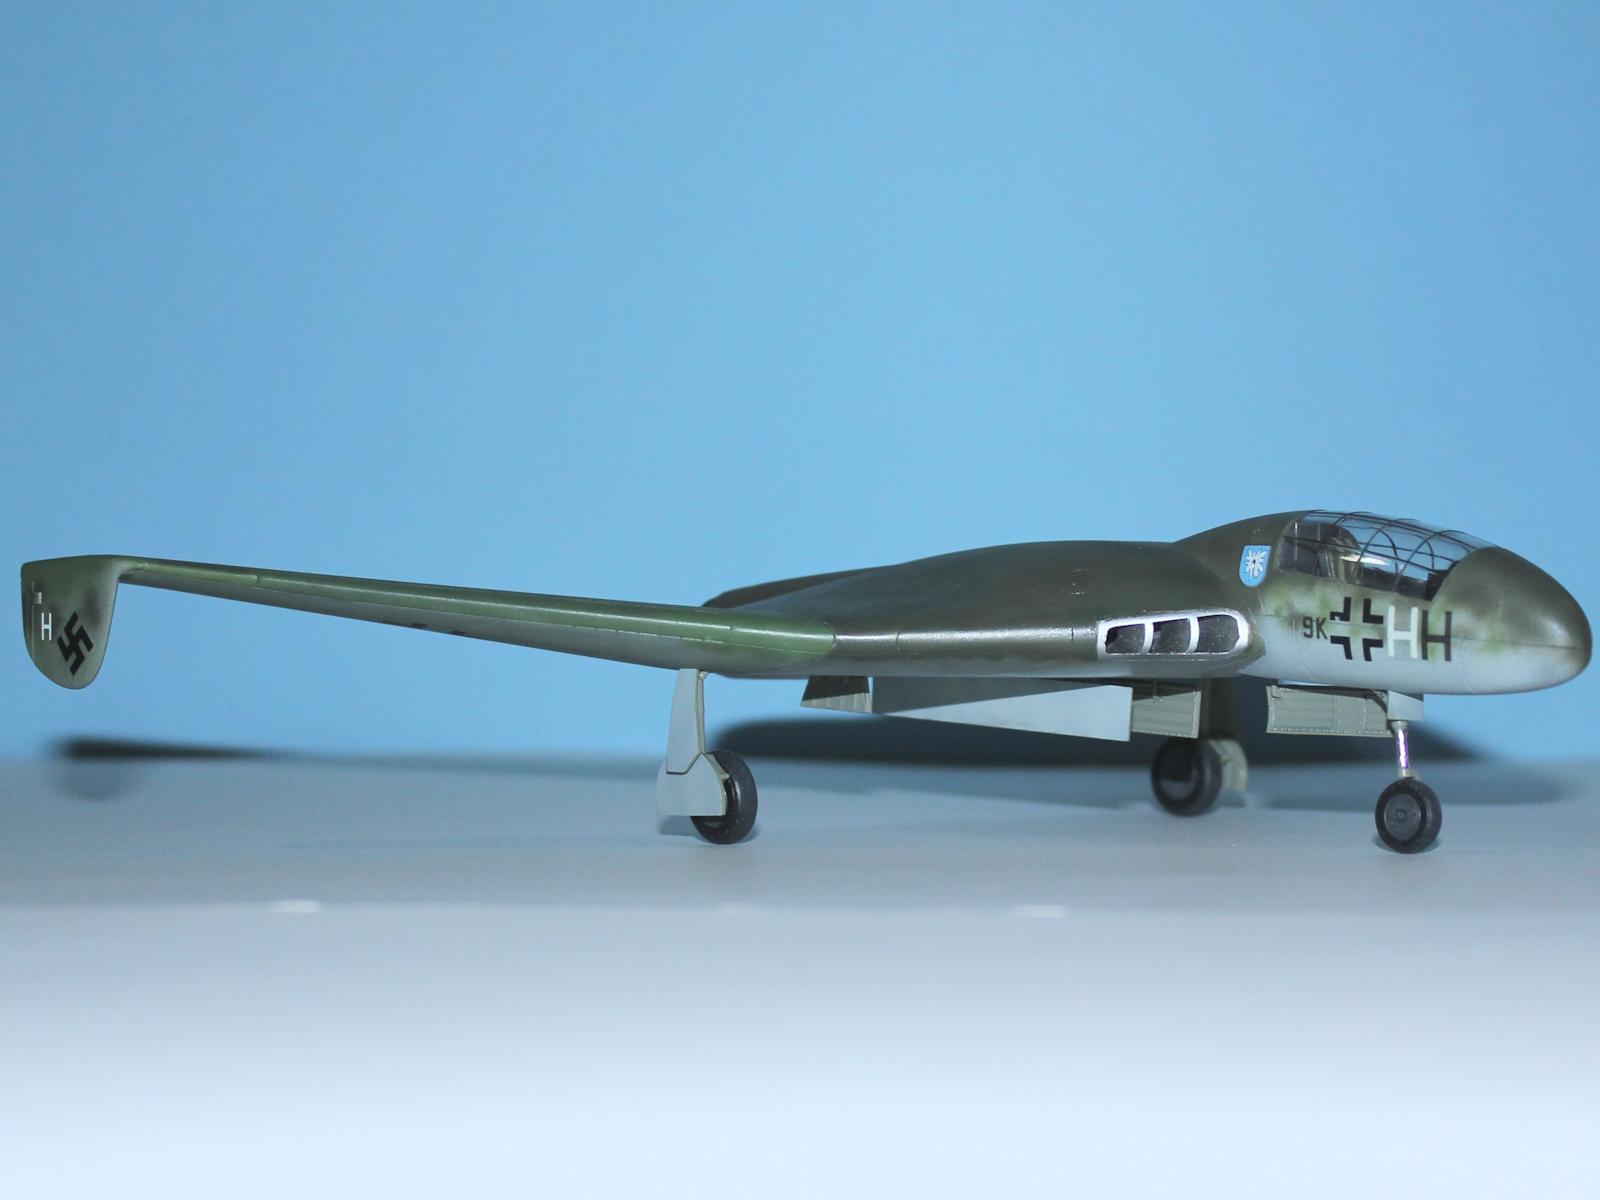
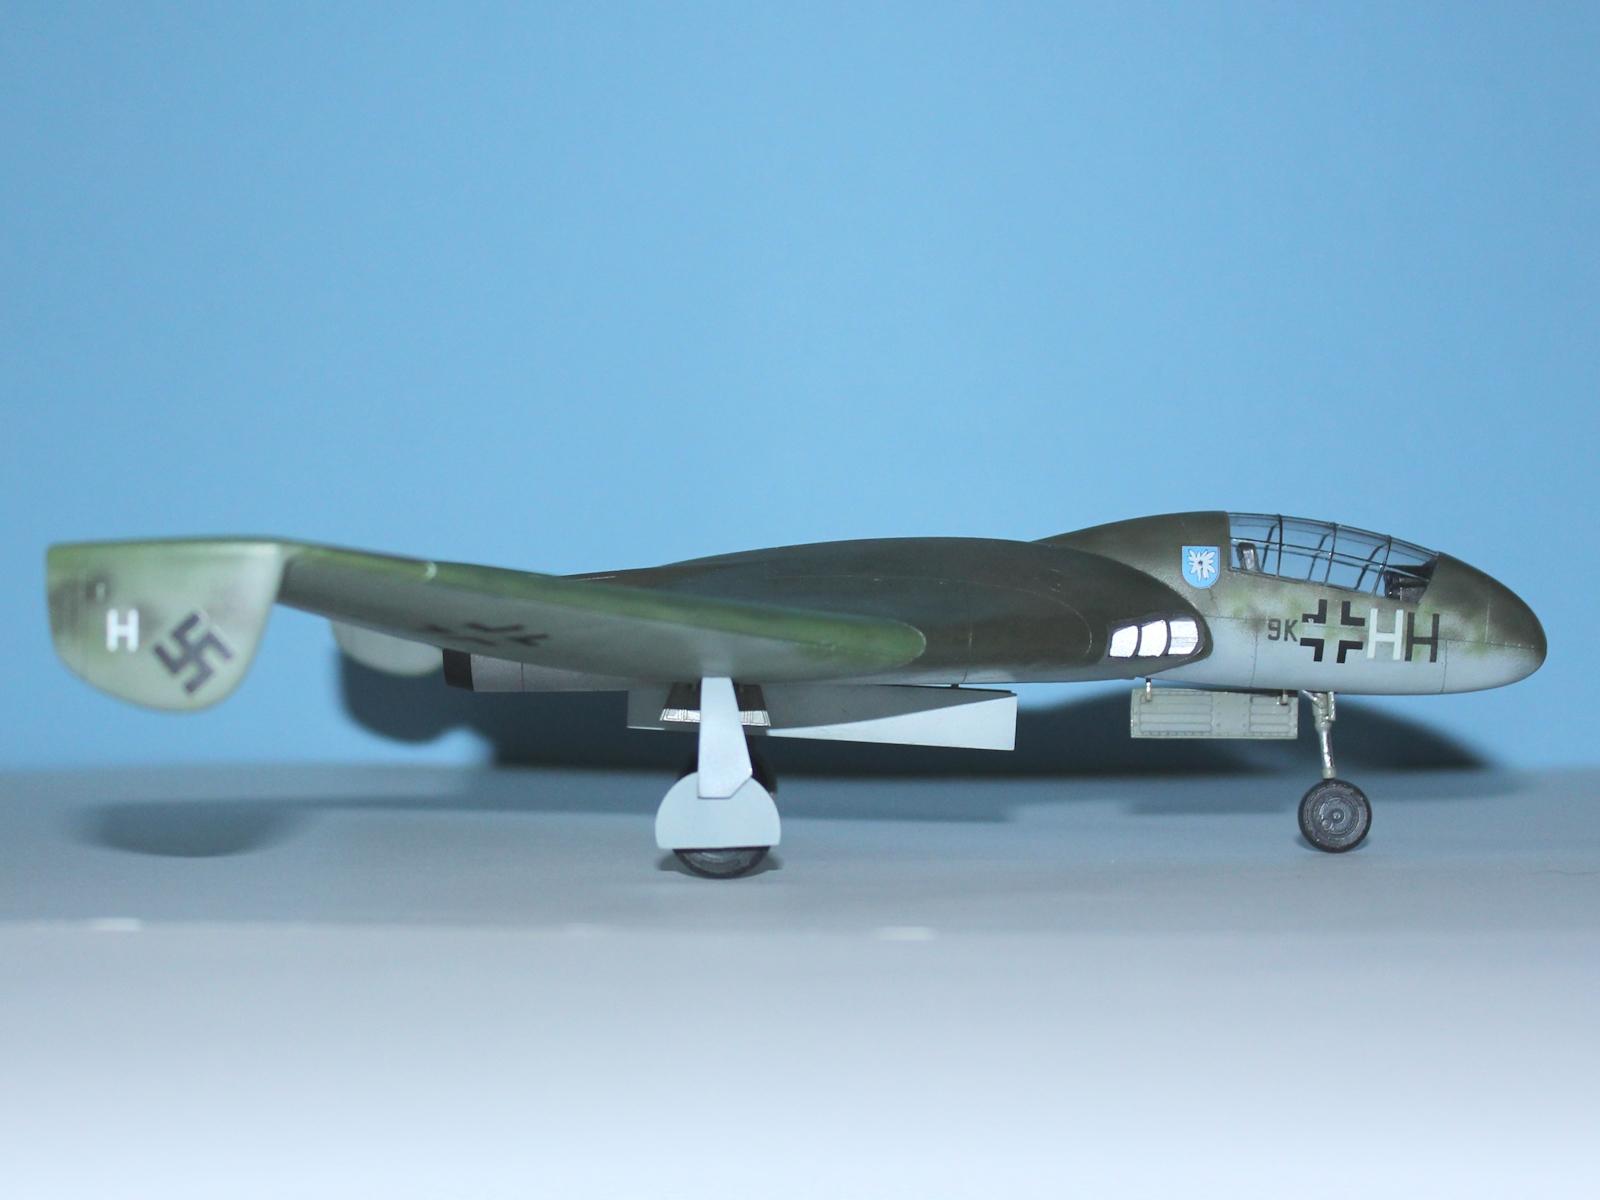
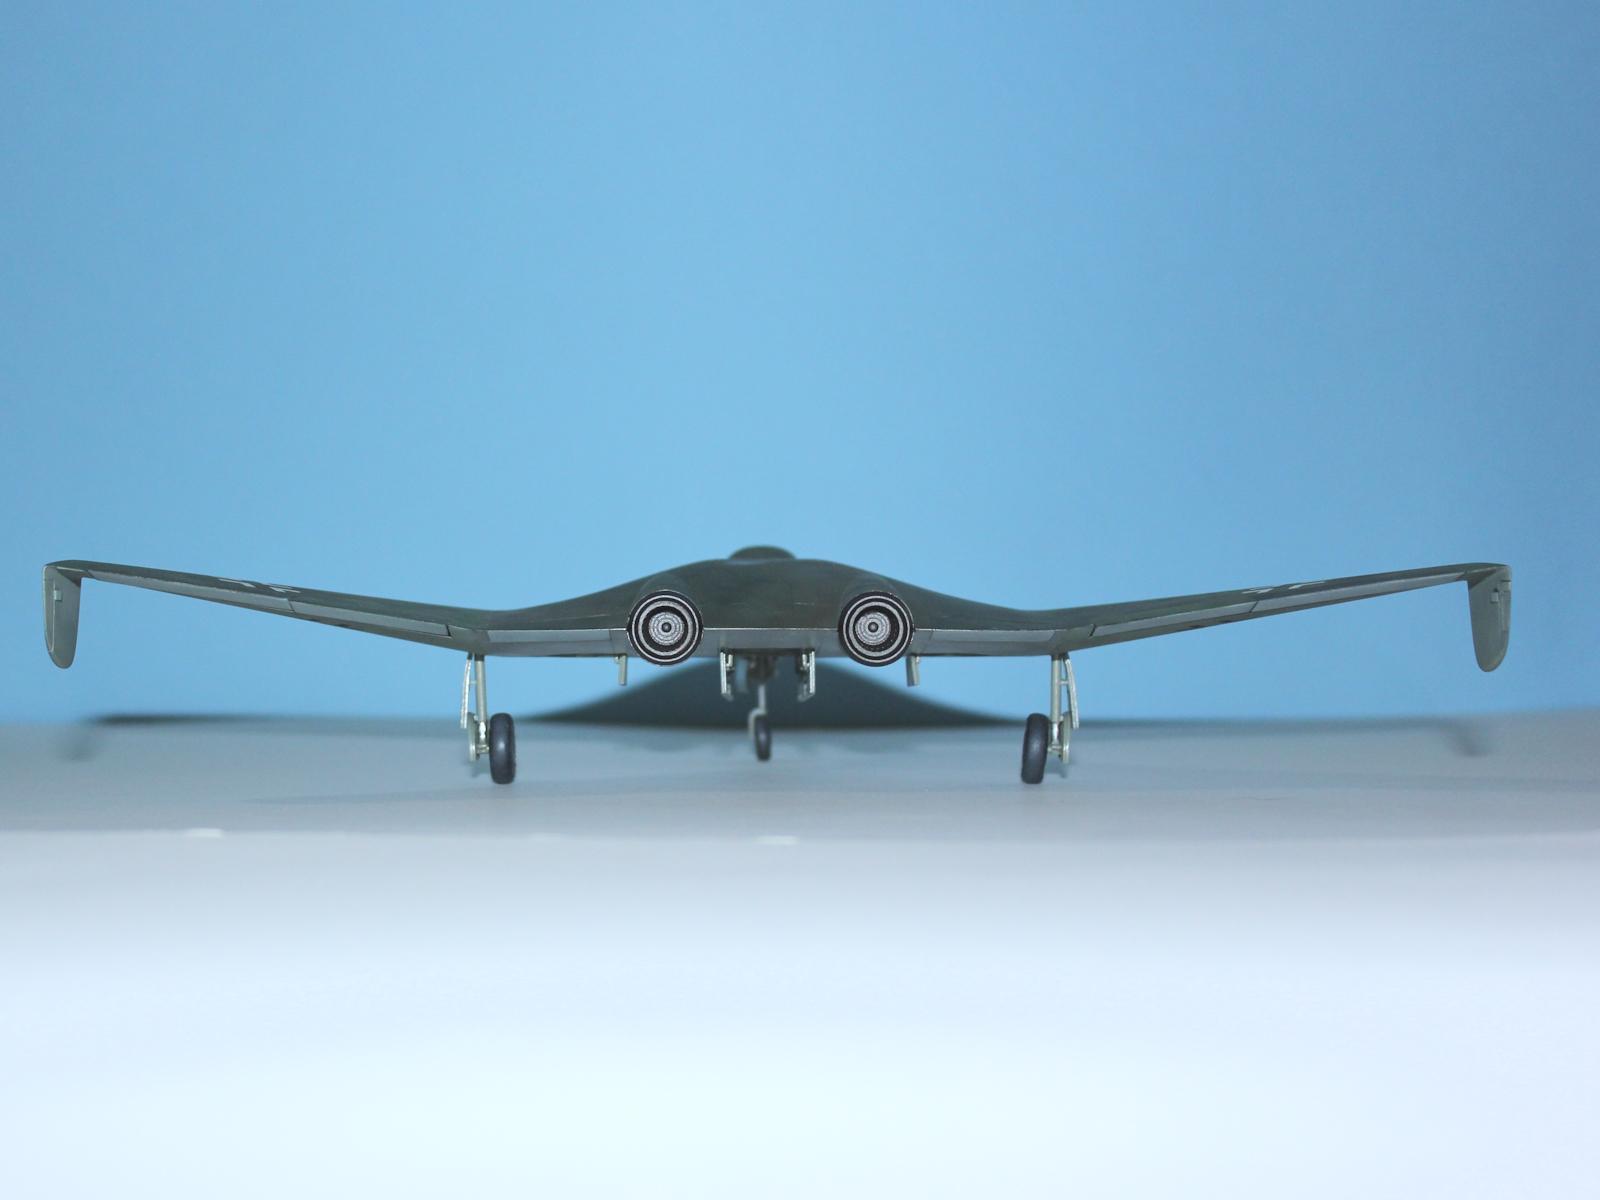
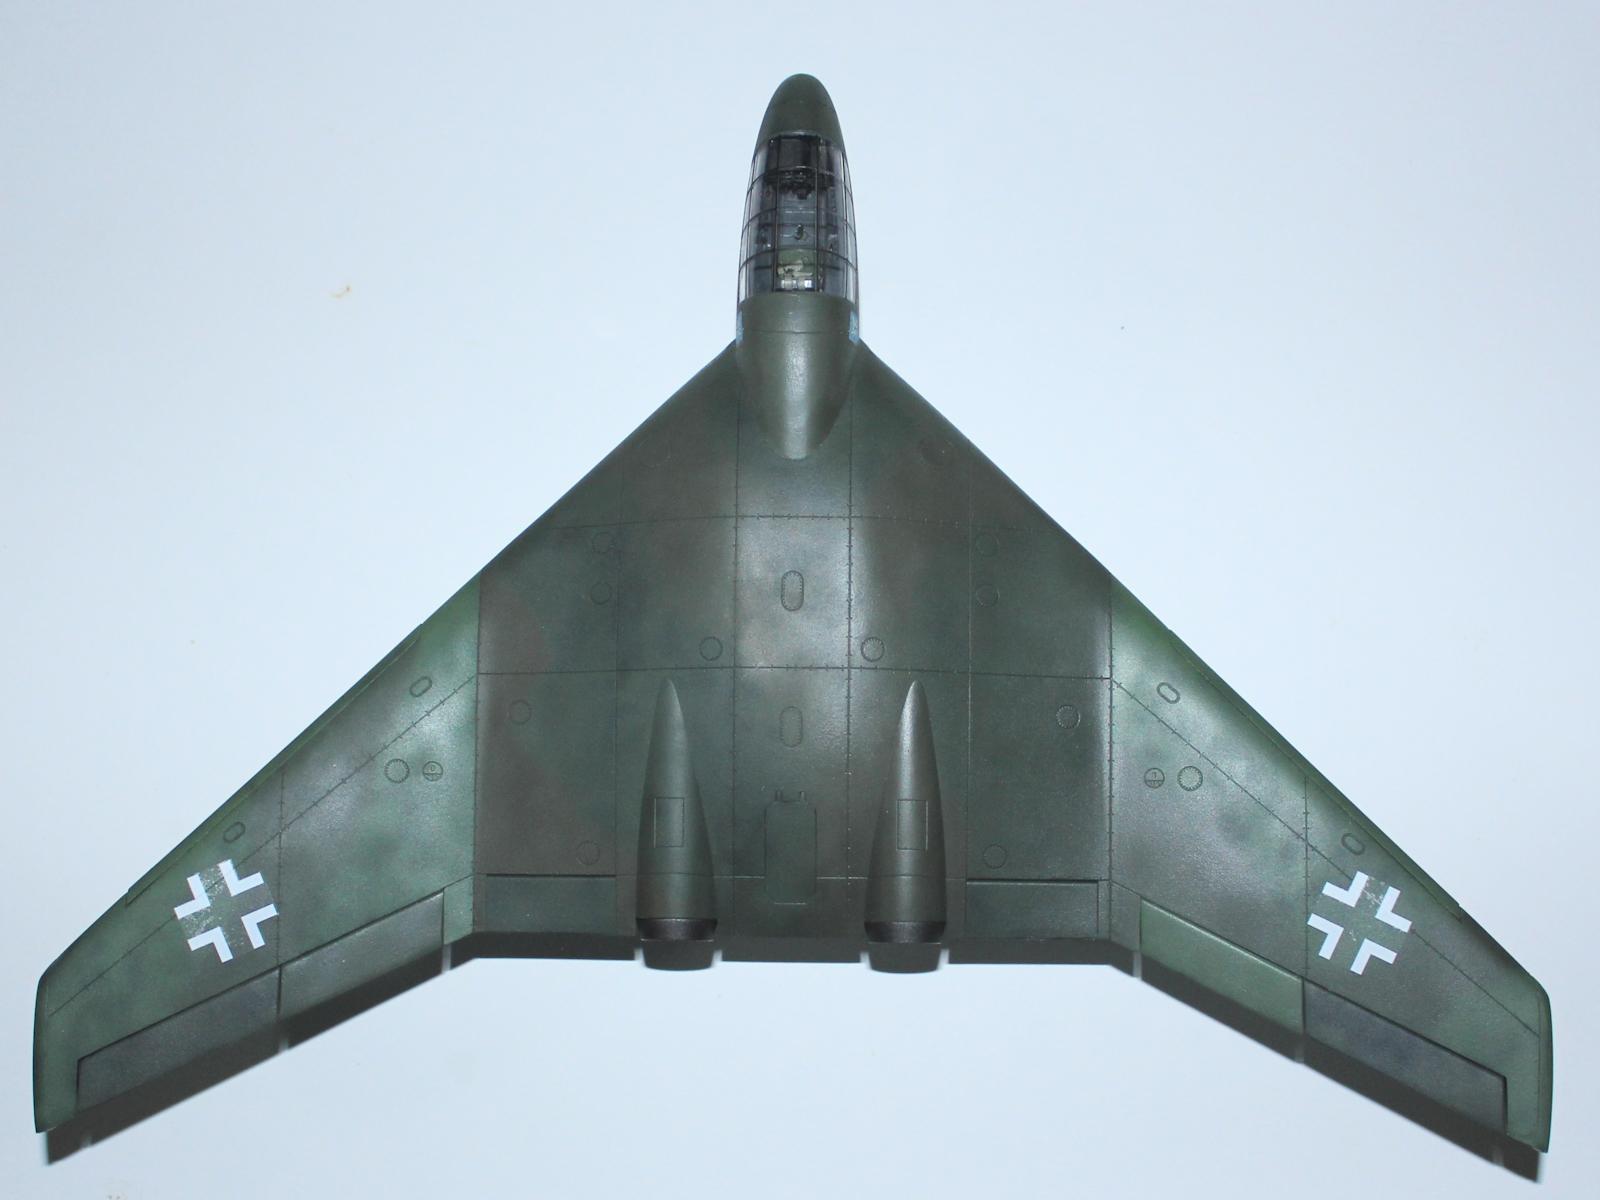
This model represents the Fw 239, which was a paper project by Focke Wulf for an aircraft that could fly 1000 km at 1000 km/h and carry a 1000kg load - the 1000x1000x1000 bomber. Three different configurations were considered with this one being the second, or "Project B". It was the smaller of the three, with only a single crew member in a flying wing configuration.
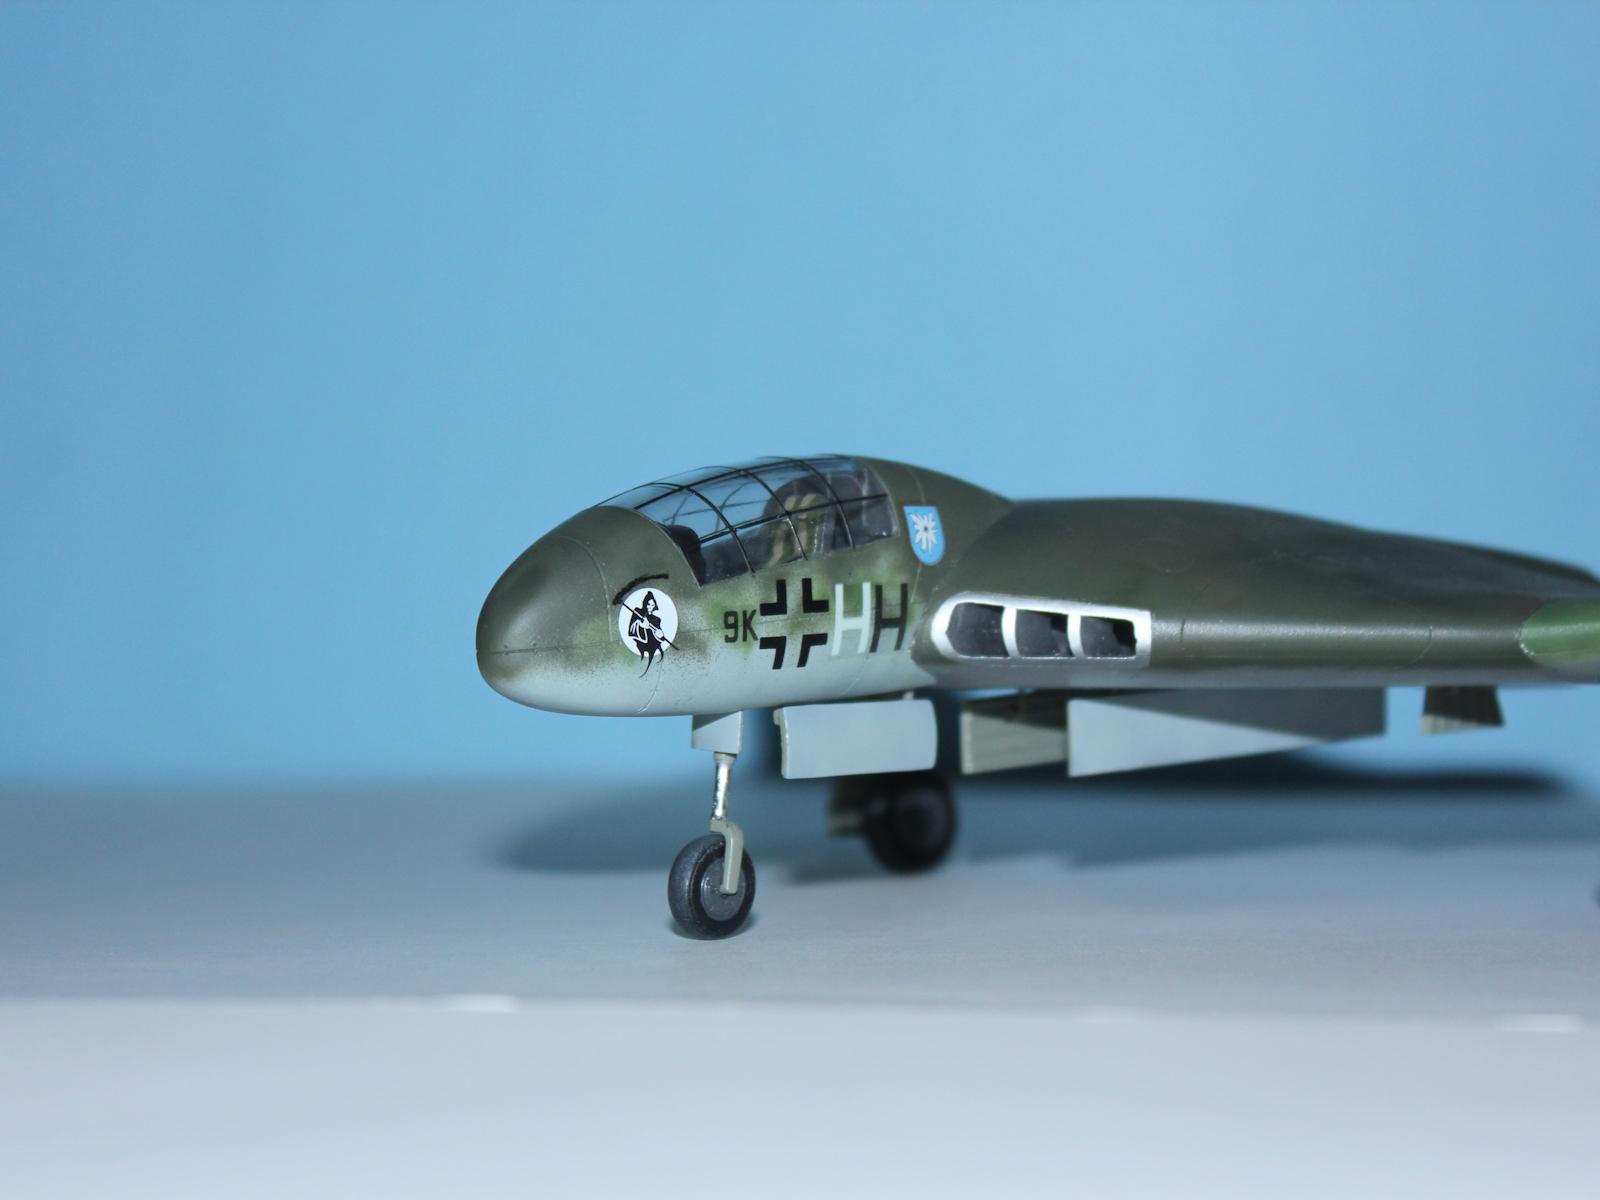
I decided that KG 51 would have given up their Me 262s for the Fw 239 in a heartbeat, and so decided on an aircraft from 1/KG 51.
This kit was discounted at my local hobby shop from about AU$100 down to AU$28 so, even though Luft'46 is not my usual thing, I decided to buy it, hoping for a quick build.
Construction
As there is not much information available on this aircraft, Modelcollect must have designed this kit based upon a basic three-view sketch and some guesswork. The kit has relatively few parts and consists of upper and lower wing halves, left and right cockpit and wing tips forming the major structure. The moulding is generally clean, detailed and parts fit together well in the main and detail is generally good, with neatly scribed panel lines and rivets, but I have the feeling that the kit designer was not too familiar with aircraft.
For example, the centre fuselage surface is defined by a series of square panels where you would expect the spar line of the outer wing to continue to the middle, perhaps squaring off just aft of the cockpit section and forming the forward bulkhead for the bomb-bay. Similarly, a carry-through structure forming the aft bomb-bay bulkhead and out to the outer wing join, then forward to the front spar, would make a typical aircraft structural box. I would also expect the main gear legs to be contained inside this box, leaving the outer wings a simpler and lighter structure.
The cockpit is adequate but the seat and joystick sit a long way back from the instrument panel and the rudder pedals are tiny due to the fact that there is barely any room under the instrument panel. While the moulding is lovely and the layout aircraft-like, no decal is provided for the instruments, so I used spare dials from Eduard Fw 190 and Bf 109 kits. The kit lacks throttles, but I decided to make this an out-of-box build, so, apart from aftermarket seat belts, I left the cockpit as is.
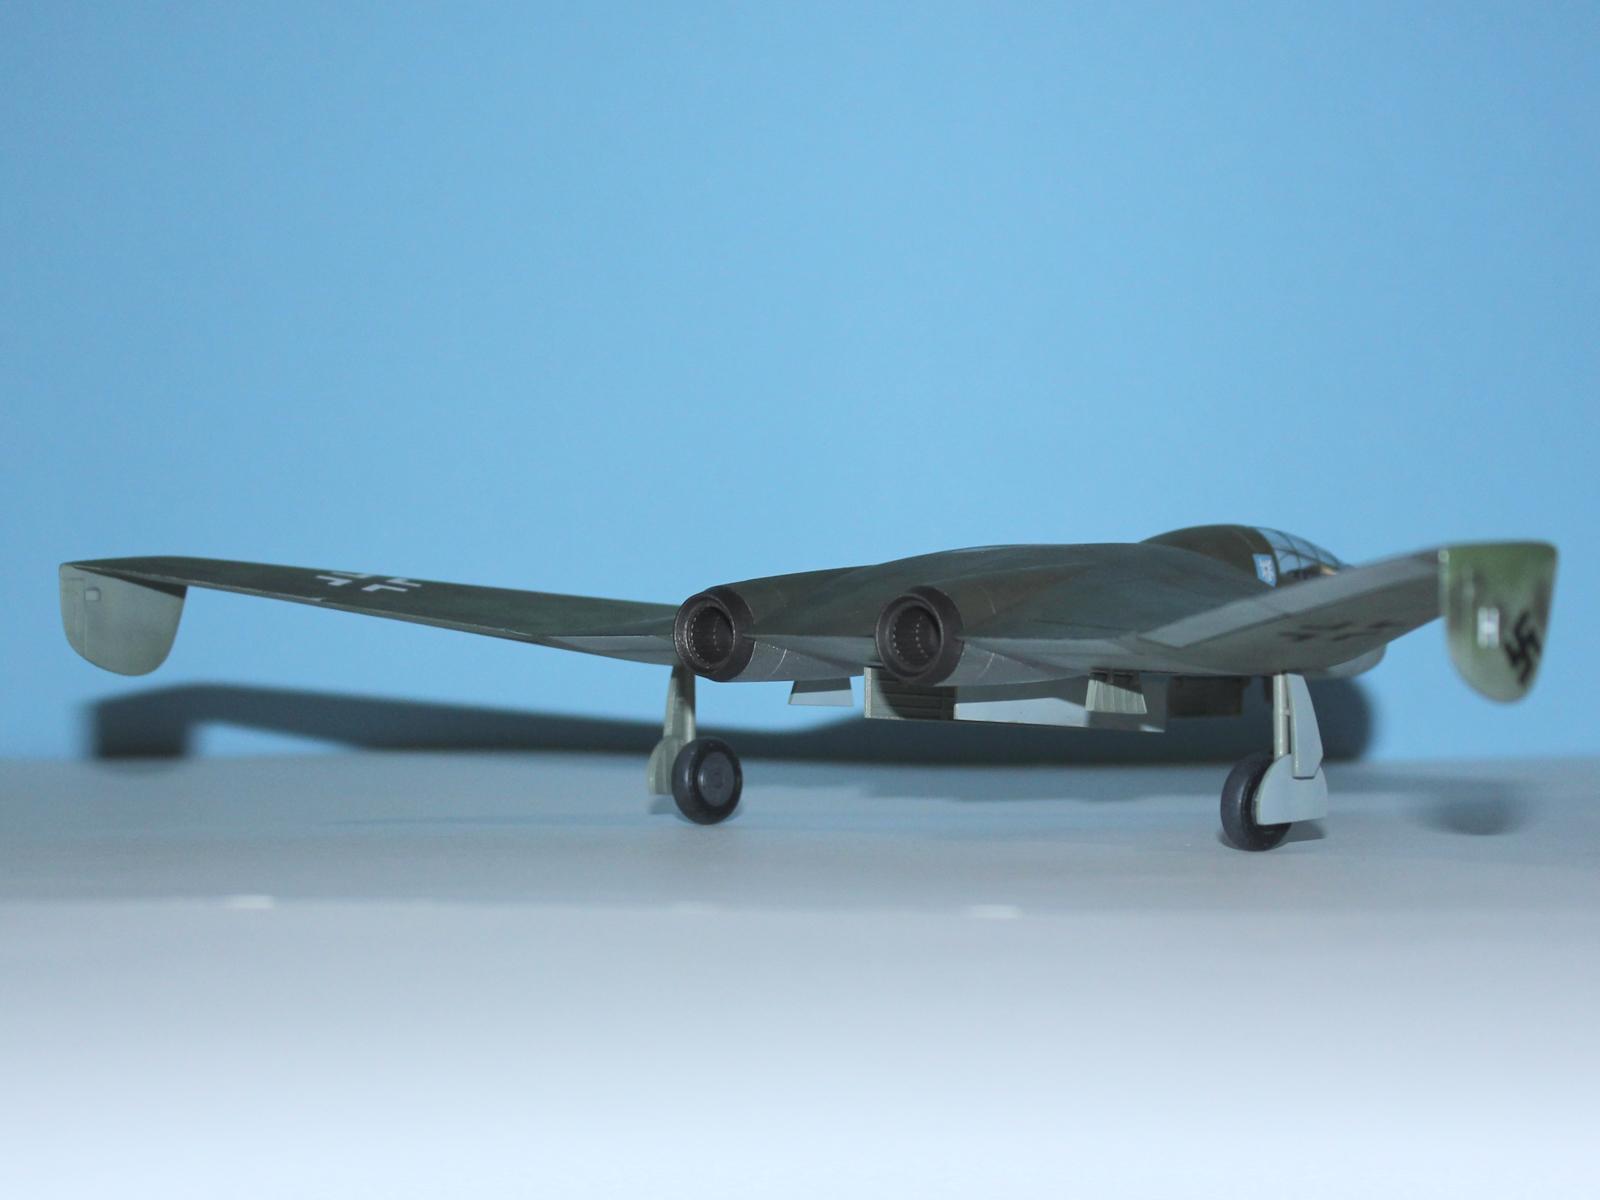
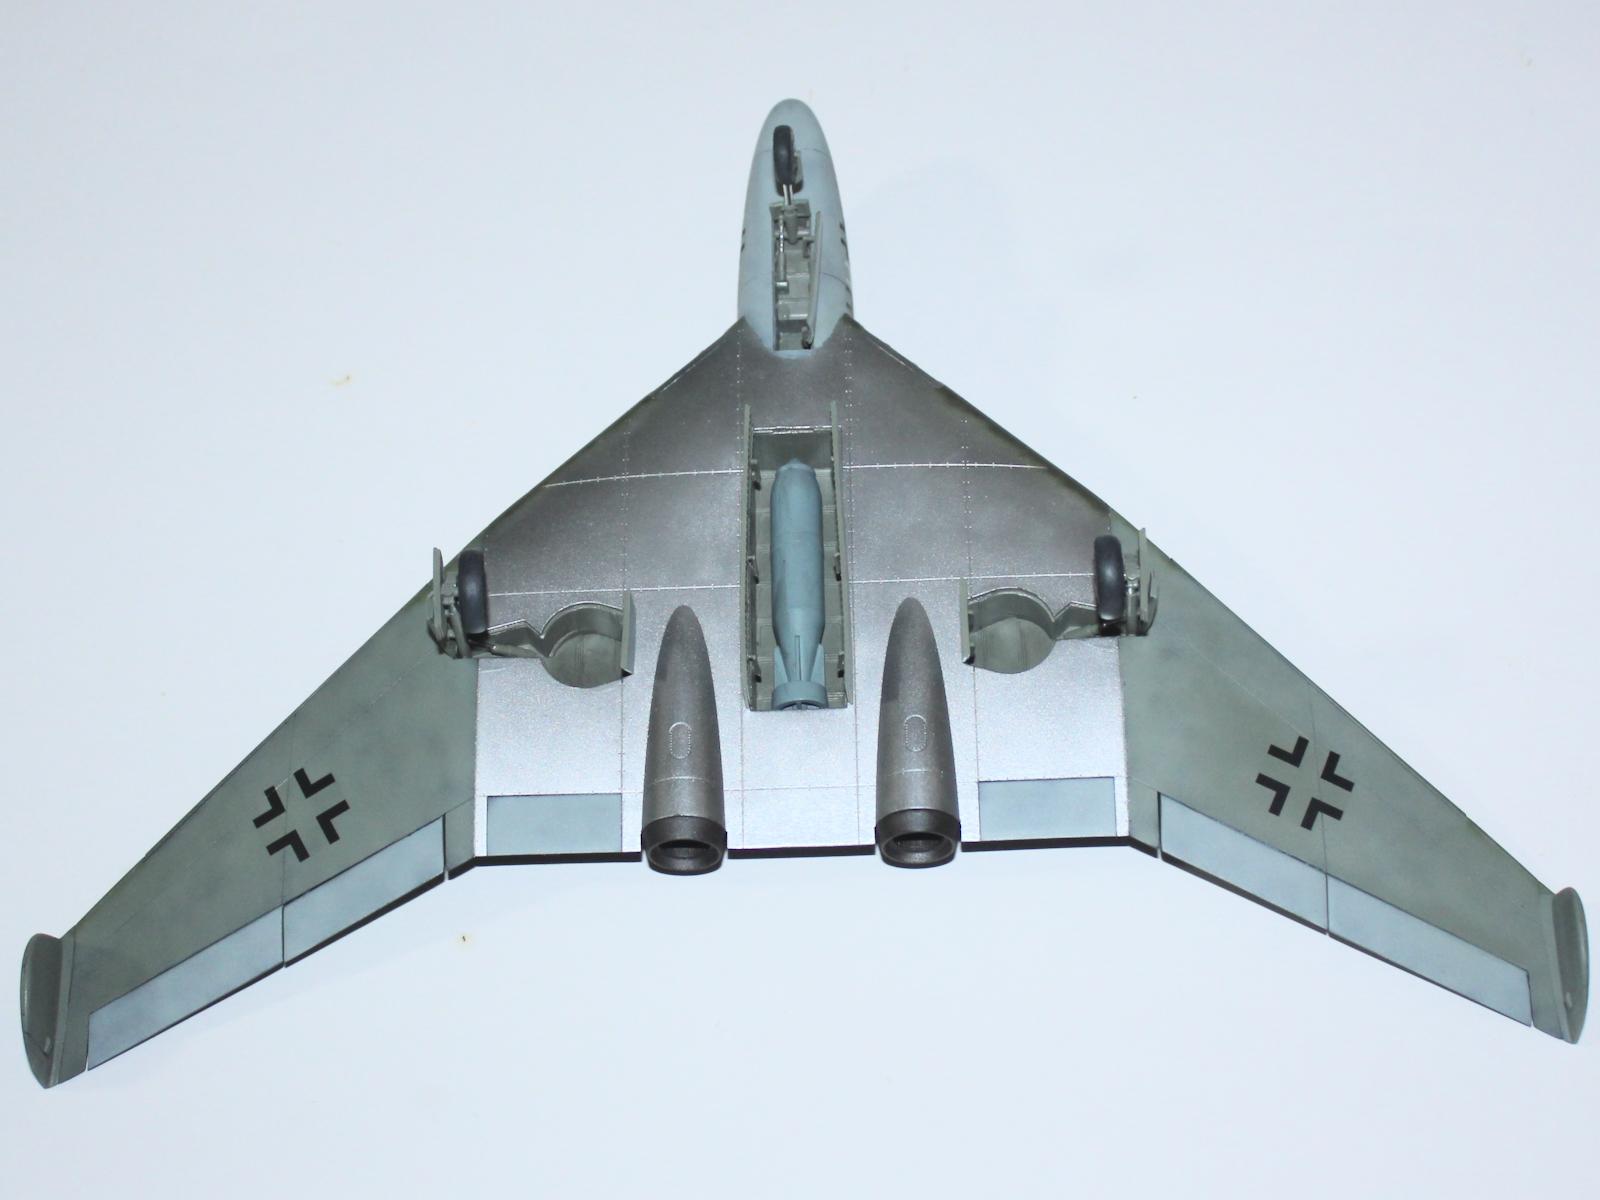
The most disappointing part of the kit is the engine intakes. They are composed of upper and lower halves, two splitter plates and the engine fan face. The internal moulding of the duct parts is messy and not up the standard of the rest of the kit. Both top and bottom parts have three large ejector pin marks, one close to the front, one central, but still visible, and the last one half covered by the engine face. I filled these in, but it is virtually impossible to deal with the side seams so just lived with them.
The main undercarriage legs are inserted into the wheel wells before the latter are glued to the lower wing, but fortunately, they rotate completely into the wells to keep them out of the way for the rest of the build. The intakes and bomb-bay are also glued to the lower wing and then the upper wing closes up the main body of the aircraft. The wing is finished off with the addition of the wing tip fins.
The nose wheel well is made up of three parts and also captures the nose gear leg which also rotates in to protect it during the build. The cockpit assembly and nose wheel bay are enclosed in two forward fuselage halves which must be then slotted into place on the wing. This is not a straightforward task and I had to trim some of the keyed flanges and repair some damaged surfaces once in place.
I needed to add a bit of filler on the wing-tips and the wing leading edge, including a bit of sprue-goo, and the cockpit centreline. I also used sprue-goo on the wheels, which had a definite seam between the halves.
Although the box art shows a pitot tube and antenna, these are not provided in the kit and I didn't bother trying to add them as it was an out-of-box build.
I glued the canopy in place and masked it ready for painting, including temporarily placing the gear covers and bomb-bay doors in their closed positions.
After painting and decaling, I assembled the undercarriage, added the engine exhausts and the bomb in the bomb-bay and called it done.
Colours and Markings
As a "paper" plane, the camouflage and markings are obviously up to the modeller's whim and preference.
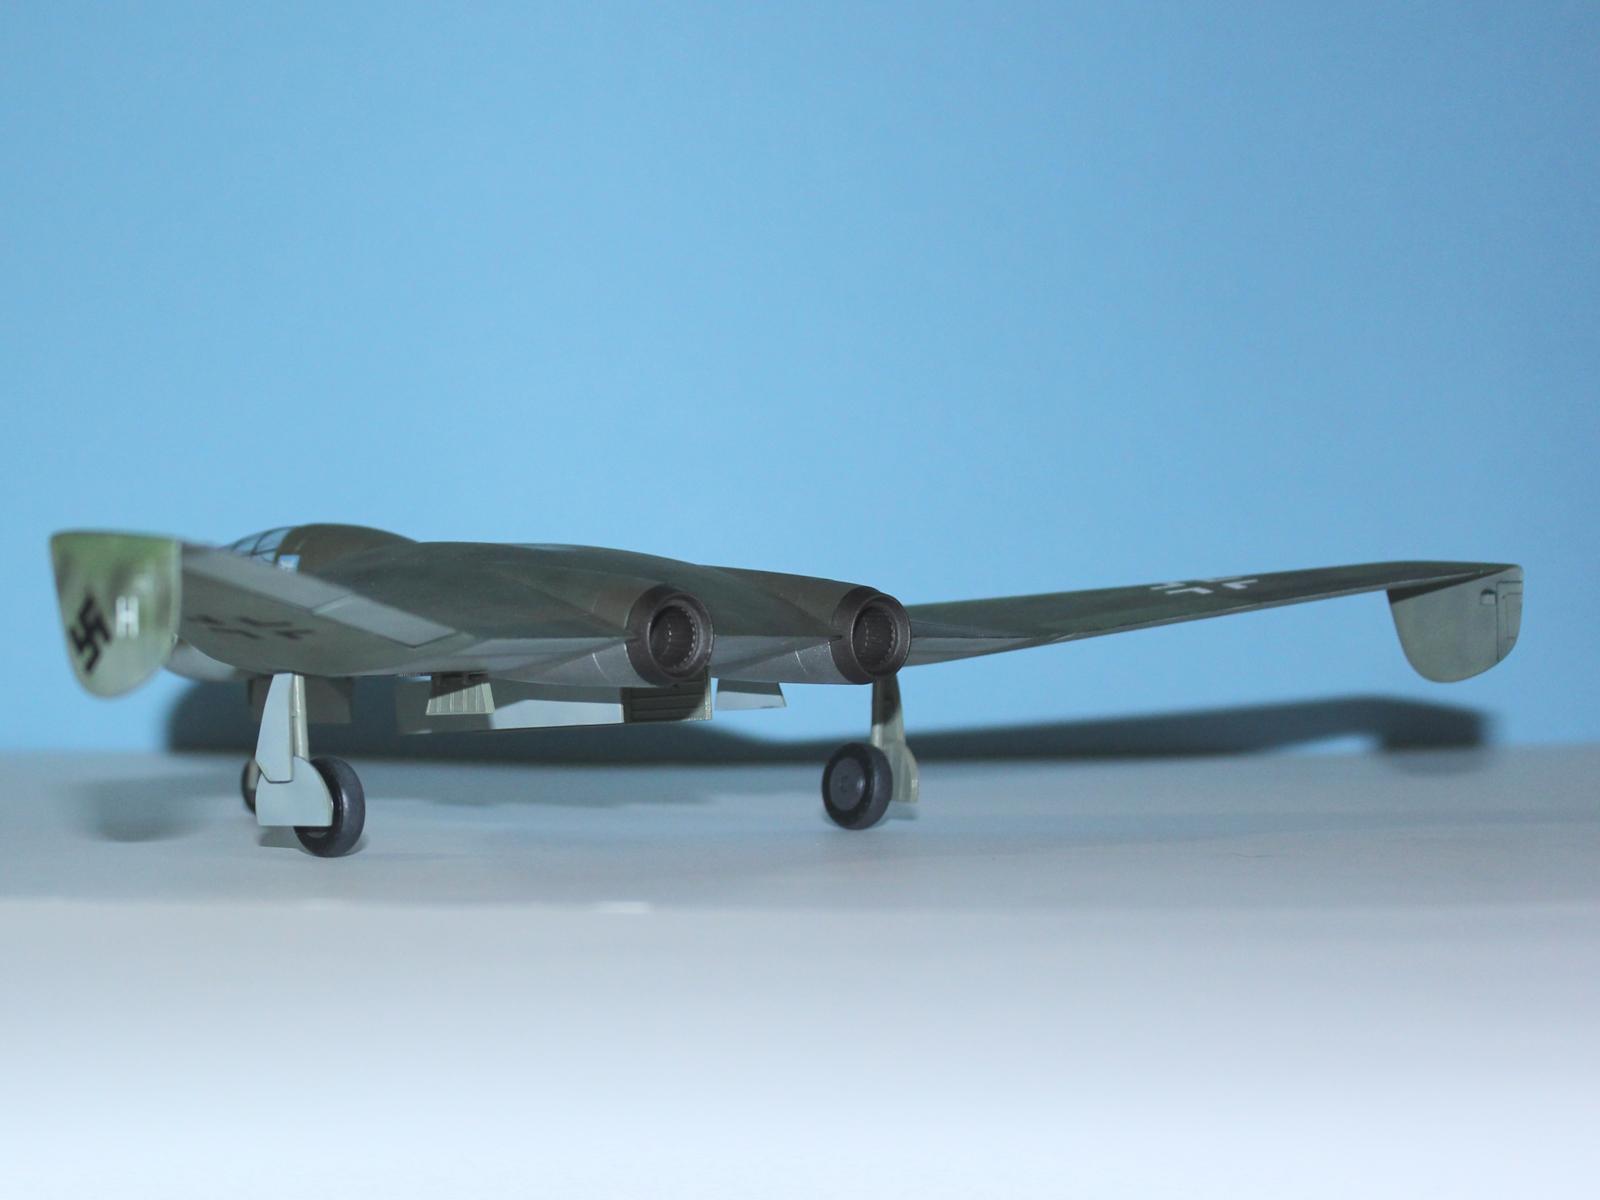
I decided to paint it in a late war, mixed scheme as if it was manufactured and painted as components and then assembled. The lower part of the forward fuselage, gear and bomb-bay doors and control surfaces were painted Gunze Sangyo H417 RLM 76 Light Blue while the outer wing undersides were painted my own mix for the greenish RLM 76 that seems to have been used toward the end of the war. My personal theory is that, with paint shortages due to logistics problems and materiel shortages, some of the older green camouflage paints were added into the RLM 76 to make it stretch further. So, I added some green into an RLM 76 paint jar that was getting low and came up with my own blue-green RLM 76.
The upper surfaces of the outer wings were painted Gunze Sangyo H421 RLM81 Brown Violet and Gunze Sangyo H422 Light Green as if these parts were manufactured and painted separately.
The lower centre section of the wing was left natural metal whilst the upper surface was painted Gunze Sangyo H423 Dark Green and RLM 81, although I added some brown to this to try and improve the contrast with the RLM 83. The forward fuselage was painted RLM 81 with some additional mottling in RLM 82.

The decals are another area where it seems that the designers are not familiar with Luftwaffe aircraft as Modelcollect provide an odd set of markings. There are three types of large crosses for the wings, but there are three of each type, and three different swastikas. But then they provide choices of fuselage crosses with aircraft codes, but these are in matching pairs, only one is large and the other is small. The instructions show all these being applied in a most un-Luftwaffe like manner. Plus, there is some nose art, which are perhaps not typical Luftwaffe types.
So, I raided my old 1/72 decal stash to grab the codes from an old Matchbox Me 410 which had the code 9K+HH from 1/JG 51. I sourced the fuselage crosses and swastikas from two generic insignia sheets and the Edelweiss shield from a 1/72 ESCI Ju 88/He 111 decal sheet. I used the kit wing crosses, one of which folded up on itself so the third one was used, and I used the Death with Scythe nose art. Plus, I cut out two of the larger white "H" and added them to the fins.
Conclusion
I don't normally build Luft'46 aircraft, well this is my second after the Triebflügel, but I couldn't refuse the bargain price. As for the quick build, this took me around 6 days to complete.
Mission accomplished!

Excellent nob and a really freat whatiffer, Michael!
A bargain at AU$28, how can you pass over it?
Congratulations!
I fully understand your decision to build this one, Michael @michaelt
Your skills turned it into a beautiful flying wing, I do like the way the camouflage turned out.
Nice work, Michael (@michaelt). I have seen the Modelcollect hypothetical armor, but this is the first aircraft I have seen from them. I have always thought it was harder to create a hypothetical paint scheme and marking than it would be to model an actual plane. Your paint scheme and markings are really well done and look very realistic.
G’day Spiros (@fiveten), John (@johnb) and George (@gblair),
Thanks for your kind comments, as always.
Very nice project! Well done.
G’day Greg (@gkittinger),
Thanks. It was fun to do a quick build.