Italeri 1/72 F-117 Nighthawk
Hi all, I just completed my second aircraft after taking a multi-decade break from the hobby. I'd like to share some photos of the finished model and impressions of the kit.
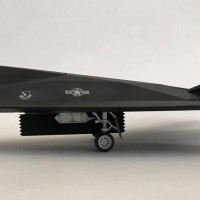
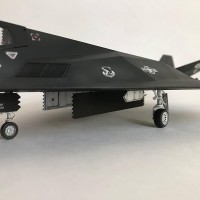
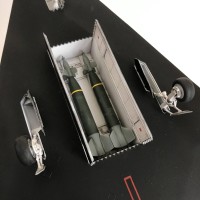
The Italeri kit is made of black styrene with 41 parts. Weapons options include two GBU-type laser-guided bombs, and what appear to be two “dumb” bombs. Decals are for the sole operator of the F-117, the 37th Tactical Fighter Wing out of Holloman Air Force Base, NM. The kit seems generally accurate, except for the bomb bay doors which are inexplicably mounted along the outside edges rather than along the mid-line of bay. Some of the sawtooth edging around the canopy is not quite correct, either. In terms of detail, the rear wheel-wells and the sides of the bomb bay are totally plain. The exterior of the craft has raised panel lines and other markings with good detail.
My initial impression of this kit was that it was going to be easy. I mean, so few parts! The challenges seemed to be: 1) painting the saw-tooth pattern on the canopy, 2) the paint job (for reasons I'll explain), and 3) getting clean decals down against a uniform black surface.
Overall, my process was as follows:
Prime (Stynelrez at 25 psi)
Base coats (Tamiya acrylics thinned ~50% with Tamiya X-20A at 20 psi, Alclad metallizers at 15 psi)
Gloss coat (Alclad Aqua Gloss at 20 psi)
Decals
Gloss coat (as above)
Weathering/pin wash on landing gear, bomb bay, and exhaust ducts
Dull coat (Alclad Klear Kote Flat at 20 psi)
Cockpit Canopy
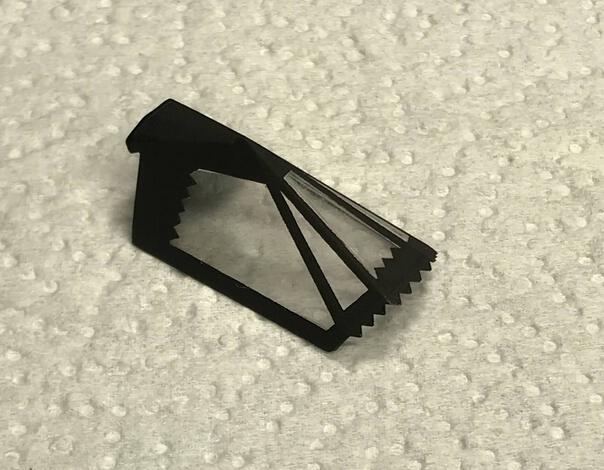
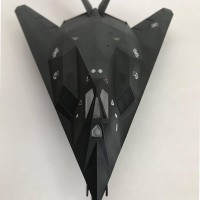
After looking at this thing for a while, I became convinced that masking the canopy to paint the sawtooth pattern was going to be a nightmare. I'd read one innovative solution where someone used an actual saw of just the right size and shape to cut the mask. No such luck here, though I tried a couple obvious things like the teeth of a Scotch Tape dispenser. So, what did I do? I tried to cheat. It turns out there are these amazing canopy masks for specific models made by a company called Eduard, and they make one for the Hasegawa F-117. I bought it hoping it would fit the Italeri canopy well-enough. It did not. Bummer. And so I decided to just get to work masking the canopy myself, using lots of tiny strips of Tamiya 3mm tape:
This was very tedious and I'm honestly amazed it worked so well. This was the first thing I did, since I didn't want to spend weeks building the model just to botch the canopy at the end. Satisfied, I wrapped the canopy up in paper towel and stashed it away lest it get scratched and scuffed.
Paint Scheme
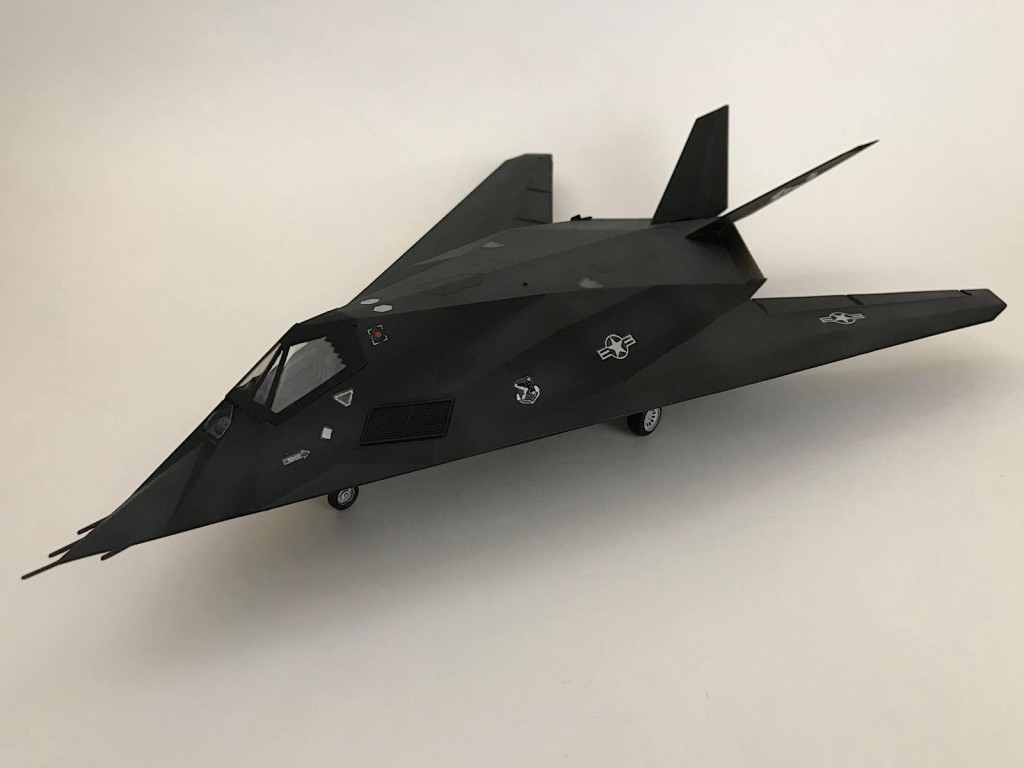
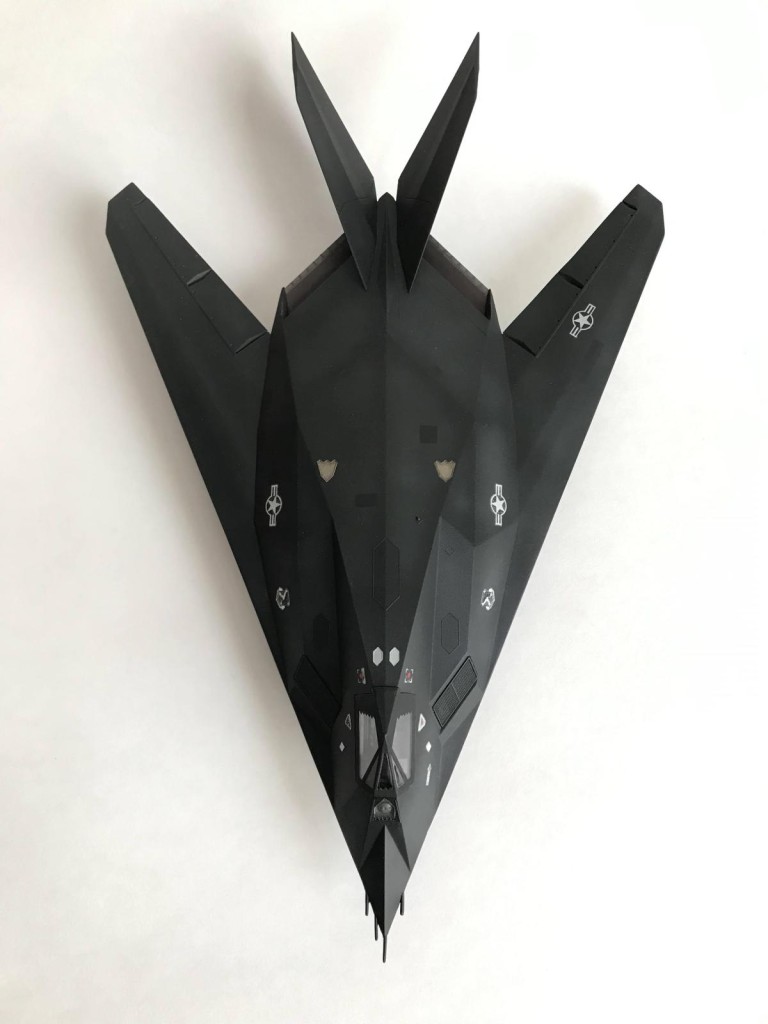
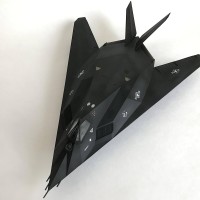
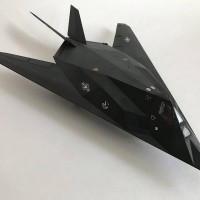
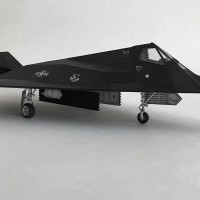
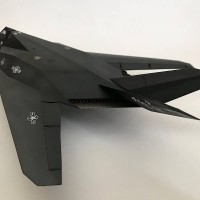
So the F-117 is just flat, plain black, right? I thought so. But I spent a lot of time looking at photographs of actual F-117's ahead of this model and I noticed that, yeah, it's black; but it is far from uniform and clean. Operational F-117s seem to fade in places, and there is sometimes visible patch-work on the surface. The various vents and retractable gadgets are variously visible on different aircraft. I used Tamiya flat black as a base, then randomly sprayed a lighter shade (Tamiya NATO black) in the centers of the panels and along the wing contours. I then went back and repainted the flat black over the refueling nozzle and engine access panels, and I painted an assortment of rectangles to simulate patchwork. The engine air vents got some Alclad burnt metal and (what I think are) the flush antennas behind the cockpit were painted gray. Here's the top of the finished model:
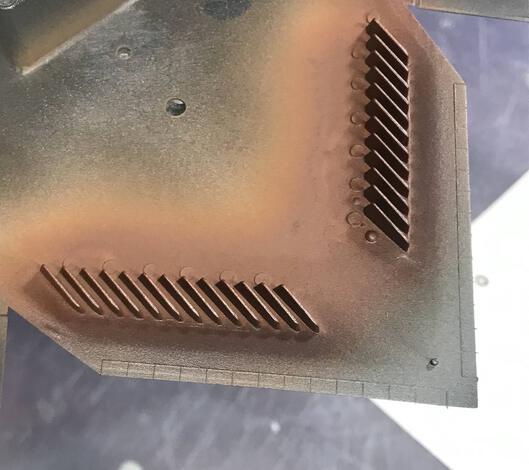
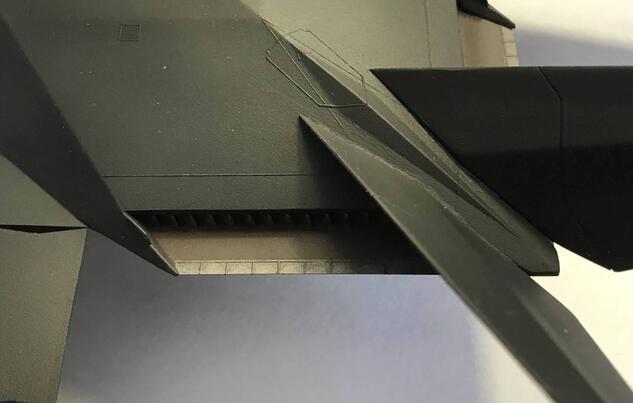
I had a surprisingly difficult time getting good example photographs of the exhaust ducts. Those I did find showed these surfaces to be either black or pale aluminum in color; a few showed a more ruddy surface. Certainly there is room to improvise here, and so I first mixed some red and brown and created a rust-colored base. I then went gradually and very lightly over this with Alclad burnt iron, which is actually a very dark gray tone. This two mixed into an almost maroon shade with a slight metallic tinge,
I painted the strip along the edge Alclad flat aluminum and did some weathering with Tamiya black panel line accent to get the final look (after a final dull coat):


What an amazing result, Brian @bapowellphys
You definitely did not forgot about modelling during your time off.
A great entry to this community, welcome.
Great article as well.
Looking forward to more of your builds.
Thanks John! I just checked out your WWII aircraft and was blown away. I'm glad I discovered this community, looks like there are some extremely talented modelers here!
Nicely done! The work on the monochromatic black surface brought more visual interest to the project. Looks great!
What an amazing model, Brian! You took the most out of the Italeri kit! The work you did with the canopy and the exhaust is outstanding: it's really great that you came back to the hobby with such quality results.
I believe that 1/72 might be the perfect scale for the Nighthawk (and the U-2 and the SR-71).
Welcome back to the hobby and welcome aboard!
Great work on this tough black scheme. Looks great!
Nicely done Brian, welcome to iModeler.
Thanks everyone! Excited to be here.
Excellent - the tones you got on that black are brilliant.