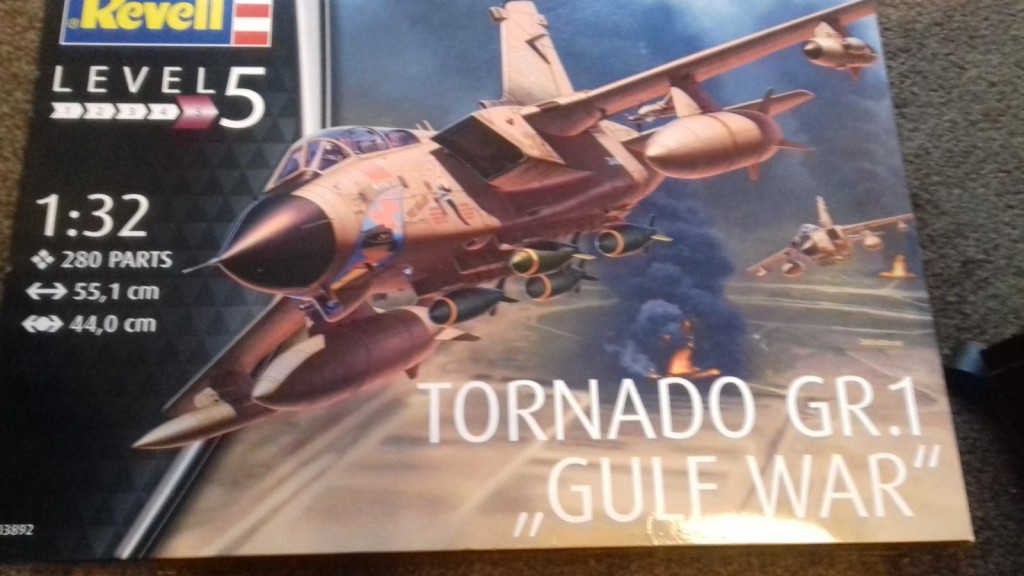
REVELL 1/32 TORNADO GR1 "Gulf War"
THANK YOU SANTA, ok, thank you to the Mrs.
Next build, and it'll be a LONG one to boot. Revell's 1/32 Tornado Gr1. At 55.1cm, this one will take pride of place in our living room, IF i can do it justice.
I know it's an old kit that's been re-boxed, but it doesn't matter too much.
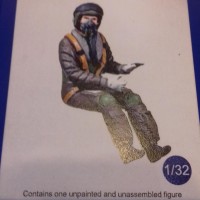
Extras ordered (so far) 2x resin pilots and 2x resin ejection seats, this WILL be a challenge as I've never worked with resin.
Work starts today, and I'm going to have a play with the kits seats, just to get my feel of this thing ( i might even add some wiring/tubing at the same time, even though I'm not intending to use them.
ANY hints/tips/ideas welcome, and so is PLENTY of encouragement will be most welcome.

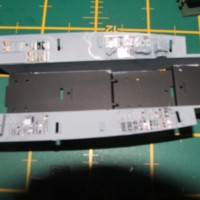
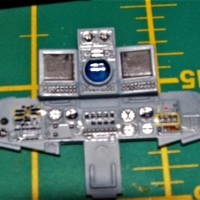

This is a wonderful entry, Tony! This Revell kit is a nice kit, gradually becoming a classic, being "superseded" by the new offering from Italeri. I have started (but still not finished) the older version of this kit in my Chuck Villanueva's "Desert Storm" GB some time ago, orking on it from time to time. You may check my progress here:
https://imodeler.com/groups/30th-anniversary-desert-shield-desert-storm-informal-group-build/forum/topic/revell-1-32-raf-tornado-gr-1-mig-eater-tabuk-1991/
Looking forward to your progress!
WOW, hope I can do mine justice. Your work is amazing. Daily using your link for inspiration
You received an amazing gift, Tony @tonyanderton
Looking forward to this build.
It's moving along S L O W L E Y John.
Updated photo's (better quality) have been added
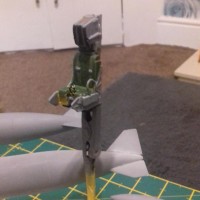
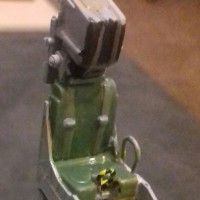
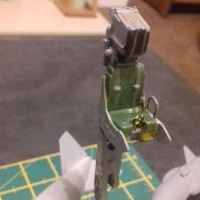
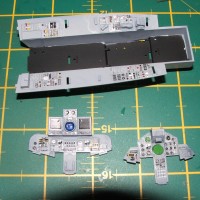
So i made a half-hearted attempt at the KIT ejector seats as i'm still waiting on the resin ones to arrive.
"Quite" happy with the results, as I've never really had the chance to paint up seats
3 attached images. Click to enlarge.
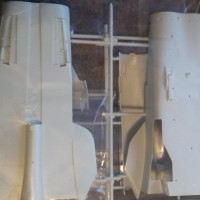
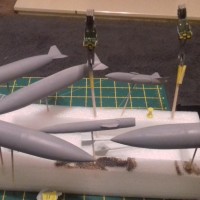
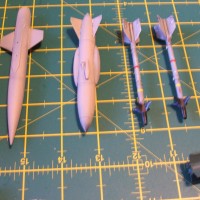
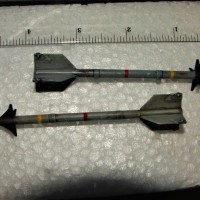
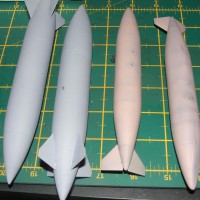
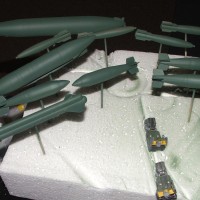
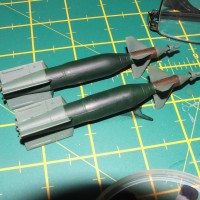
Also started on the ordinance and fuel tanks (which are bigger than some 1/72nd kits I've built in the past)
Primered using a normal "rattle-can" primer, then I'll shadow the panel lines.
I must admit, after watching various builds on YouTube, I'm tempted to have a go at the "Mottling" effect prior to top coating...should be fun, as i think a seal in my airbrush has degraded and not working properly. I have another airbrush on order, so i may have to wait a while
5 attached images. Click to enlarge.
So, now the "Beastie" is in black primer...not looking too bad i don't suppose
4 attached images. Click to enlarge.
Added some tonal variation to the Vallejo tan primer...new technique for me, so we will see
12 attached images. Click to enlarge.
OH BOY...Vallejo "Sand-Pink" is EXACTLY what it says...PINK!
Repainted (paint is still wet in these photo's) with Vallejo "Sand Yellow". Once it's dry, i'll cover the whole lot in a clear, then weather it.
I personally think the colour is pretty much right.
5 attached images. Click to enlarge.
So, a dark dirt wash has been applied, BUT, after cleaning it off i think the colour is now TOO brown.
i have two options...
1, learn to live with it under "artistic lisence"
or
2, attempt to respray the clear with a couple of drops of the basecoat and white to lighten it up.
What are your thoughts folks?
12 attached images. Click to enlarge.
The colour i'm left with, and i REALLY cant decide what to do!
5 attached images. Click to enlarge.
So, i "bit-the-bullet" and re-sprayed the beast in Desert-Pink (2 light coats) and then re-cleared the whole thing.
Once this was dried, i re-applied the Dark Dirt wash and scrubbed away merrily. The wash did what i hoped it would, by not only leaving panel lines visible, but also toned down the pink to a more (in my eyes) pleasing colour.
Next step, another coat of clear to protect the wash and then onto adding the stencils.
After that, I'll re-attach the bits I've managed to knock-off, and concentrate on the landing gear.
8 attached images. Click to enlarge.
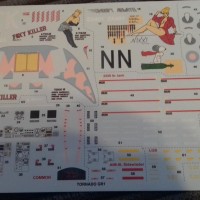
Started applying the decals tonight, and boy, the sharks-mouth was a PAIN...Micro-Set & Micro-Sol was used in COPIUOUS amounts, and they are only just now conforming to shape. More applications of Sol will be required.
I have to say, that at first glance, the decal placement guide looks good, but once you start, it will give you a headache.
I will do the other side and underneath tomorrow, then leave for a day or two before I apply yet ANOTHER clear coat. This time either matt or satin, I haven't yet decided, but I'm hedging towards Matt.
7 attached images. Click to enlarge.
Well, "Foxy Killer" is ALMOST finished, and i must say i'm rather pleased with the outcome so-far.
A few more decals, and bits to put on, the one last coat of matt and im going to have to find a nice dust-free area to keep her.
Would i build another?
HELL YEH...fancy doing one in a grey scheme, and do things differently to what i've done on this on.
Hope you all like the outcome as much as i do as i tried different techniques that were a little out of my comfort zone.
Final images will be posted later this week hopefully
27 attached images. Click to enlarge.
FINISHED.
had a few "moments" building this beastie. Lessons have been learnt and will be used on the next one i build.
Noticed a few (now) mistakes and areas i could have improved on.
All paints were from Valejo, was was from Ultimate, and glues used were tamiya extra thin and Revell Contacta.
Critics welcome.
23 attached images. Click to enlarge.