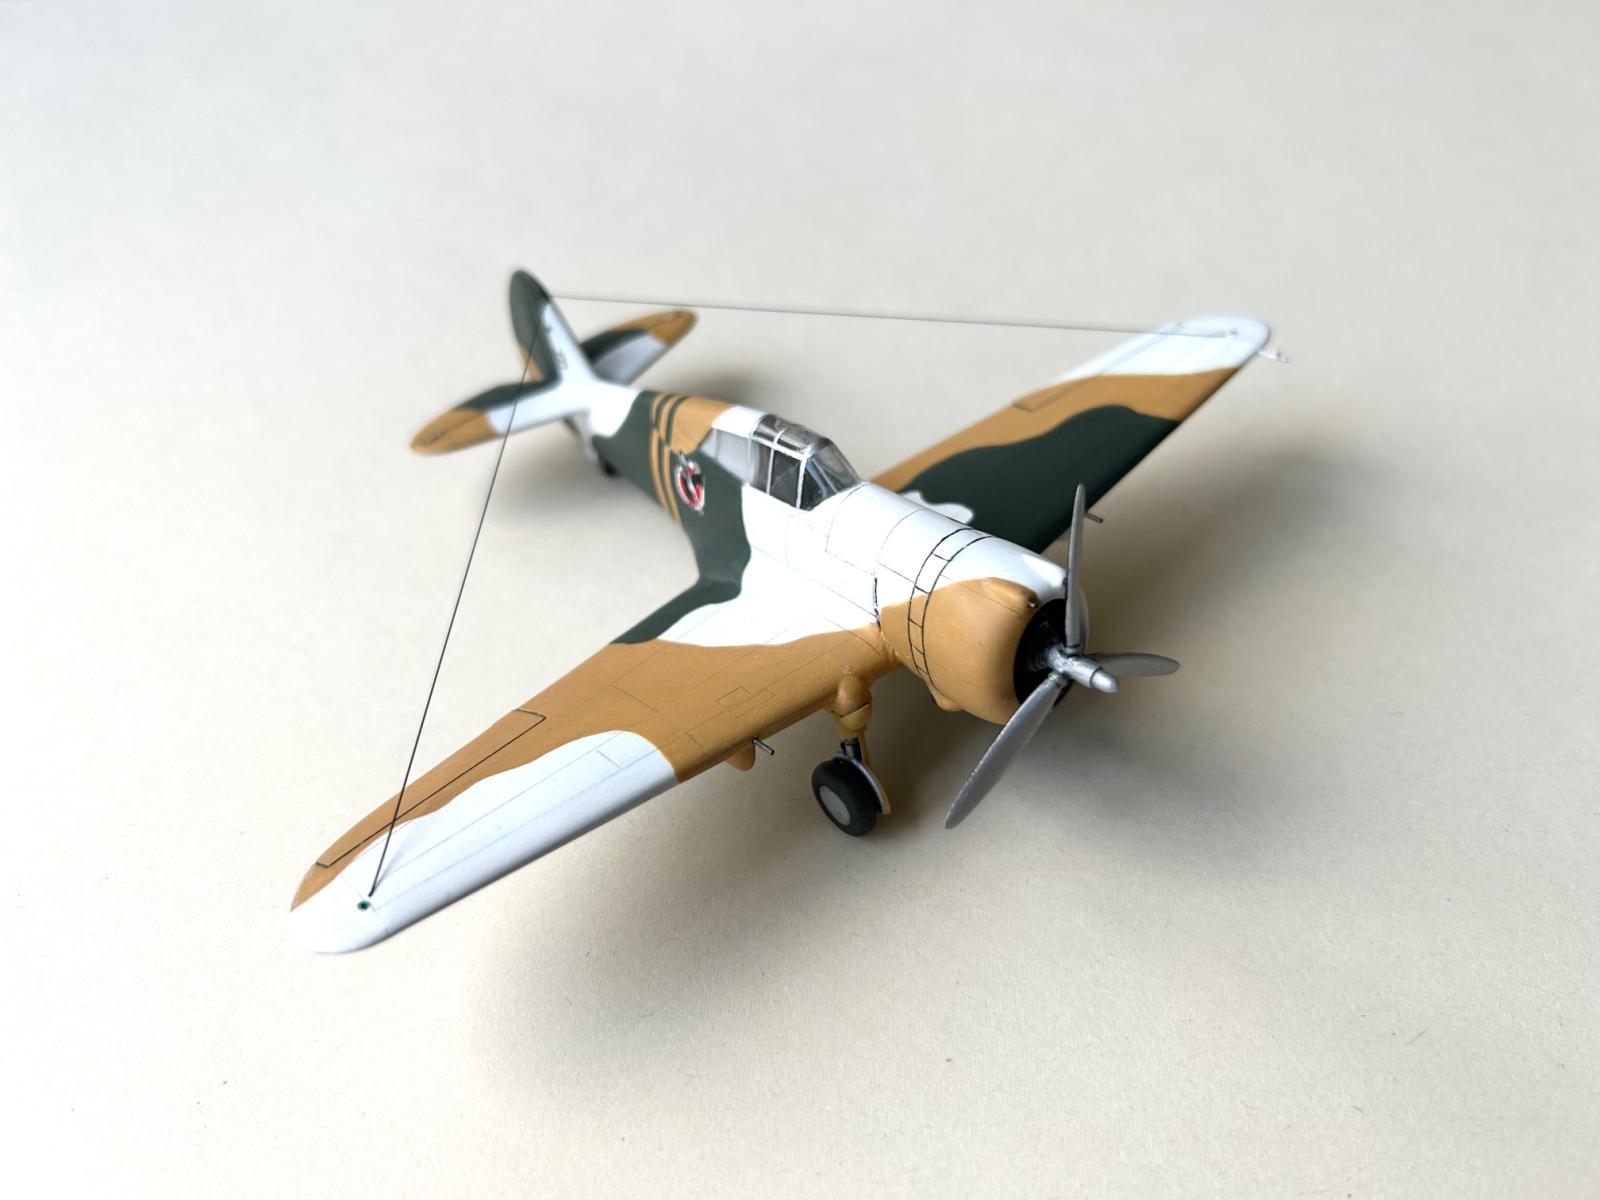
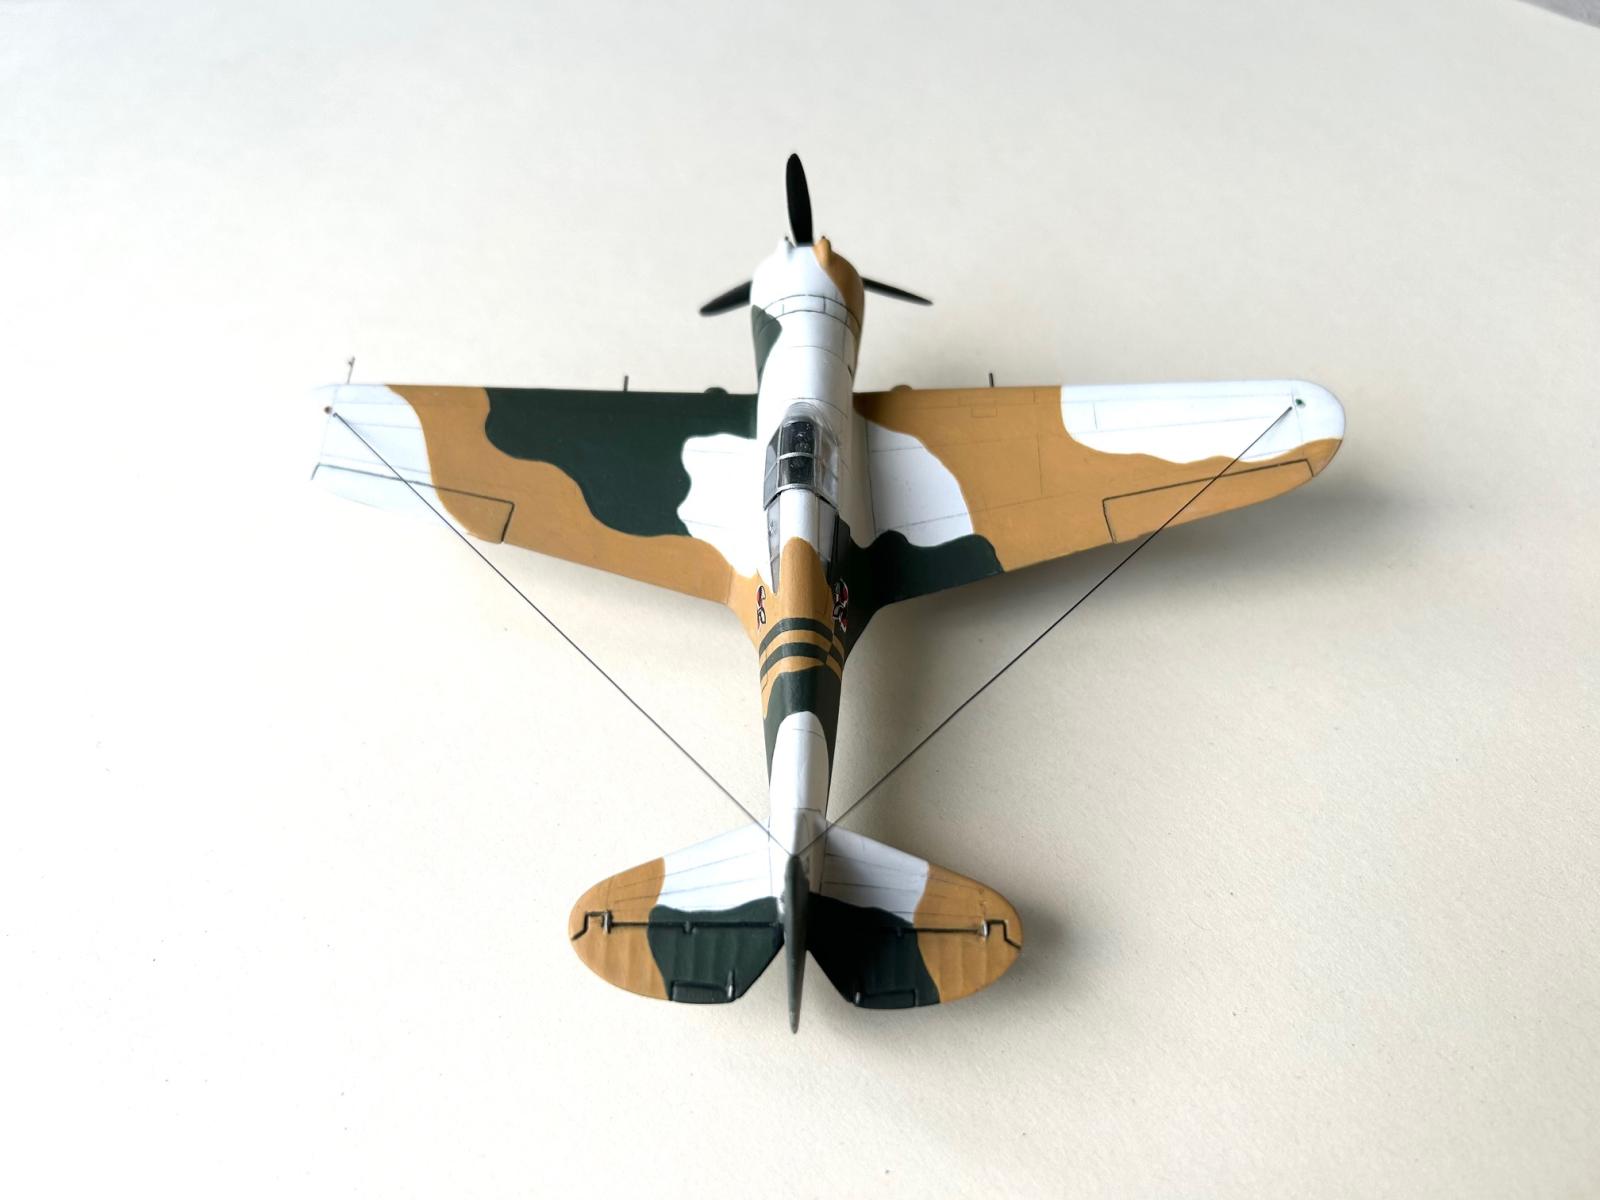
Curtiss Hawk P-36 – Revell 1/72
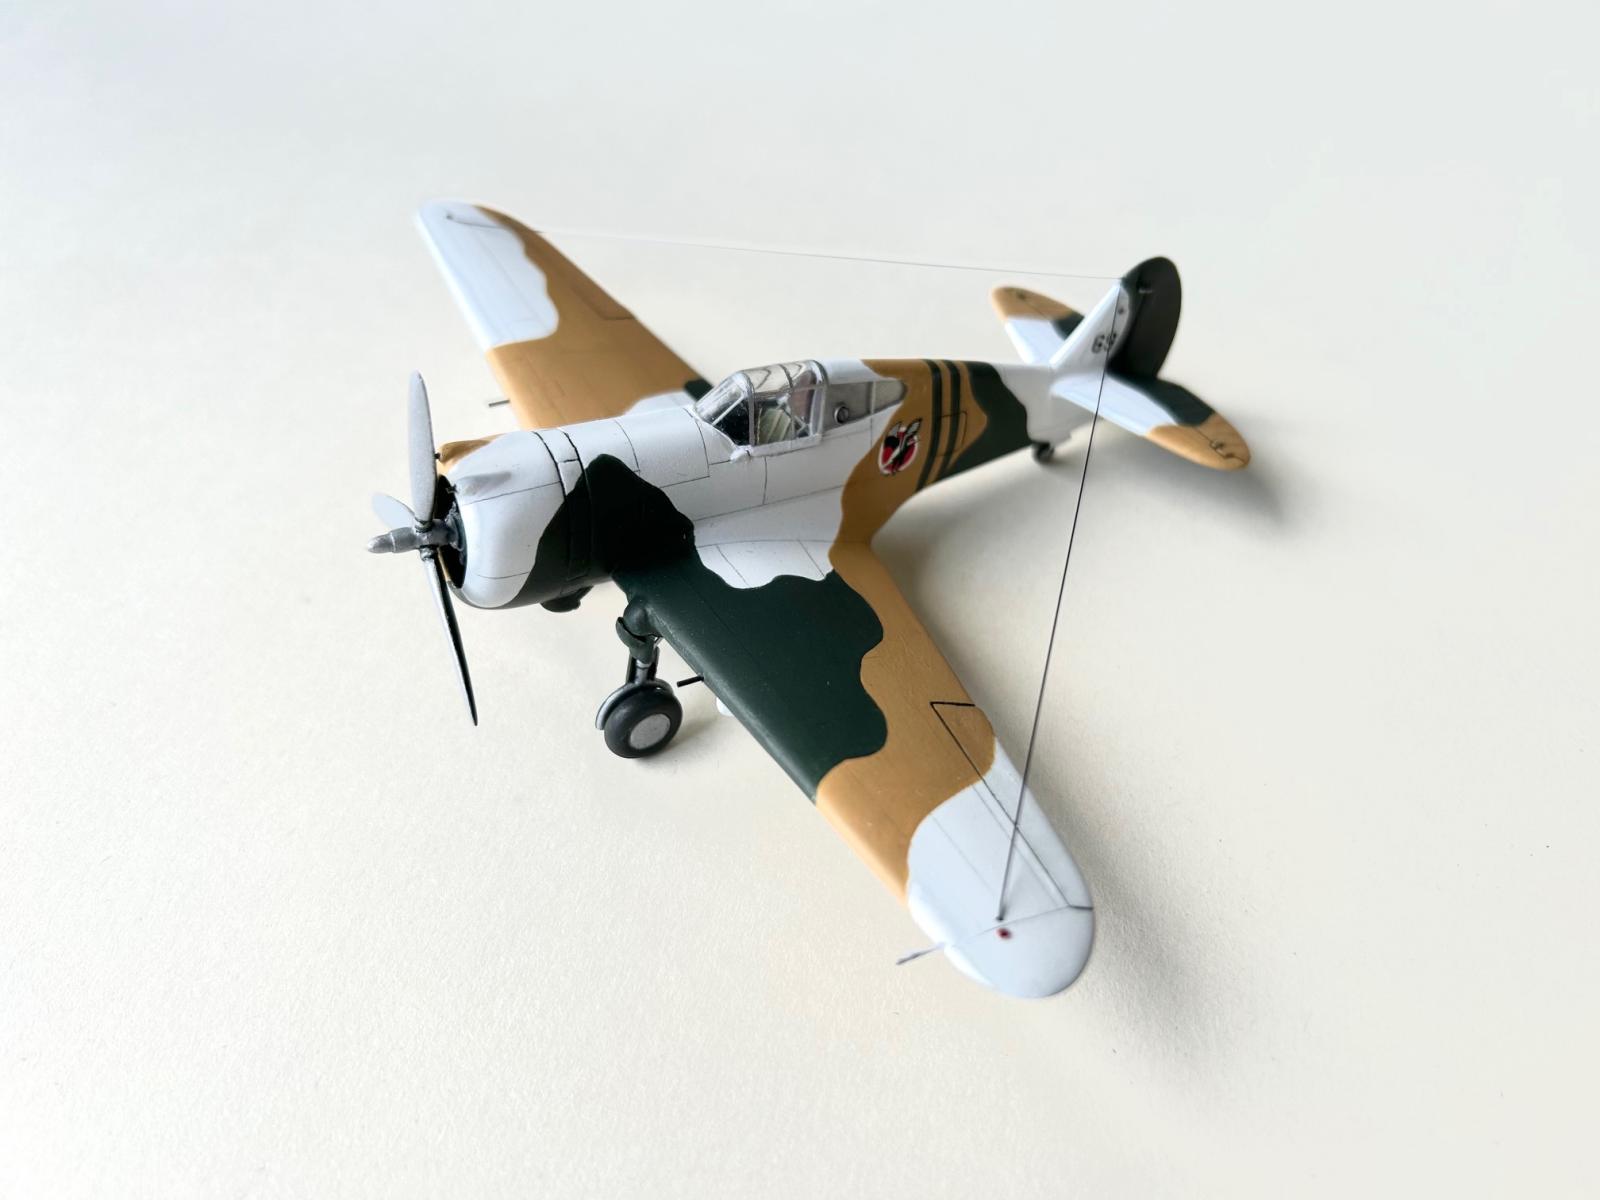
Here is my vintage Revell Curtiss Hawk, upgraded and corrected. The kit is still excellent if a few easy corrections are made:
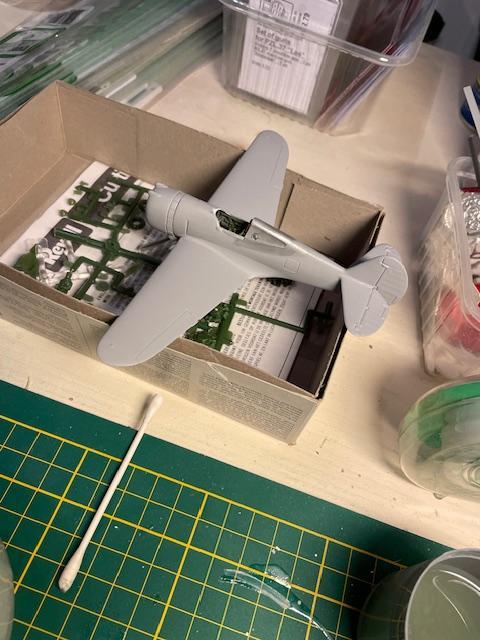
- Fuselage top width (aft of the cockpit) to be increased abt 2mm with plastic strips, 1mm between the cowling and the cockpit. Refer to plans and pics.
- Engine cowling front opening to be slightly reduced (plastic half-round strip), and guns bulges to be replaced as they are undersized.
- Ailerons width to be increased (scribing).
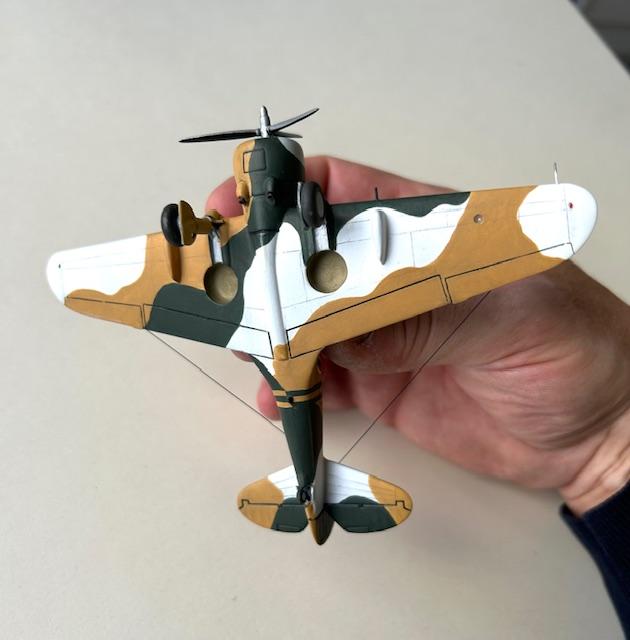
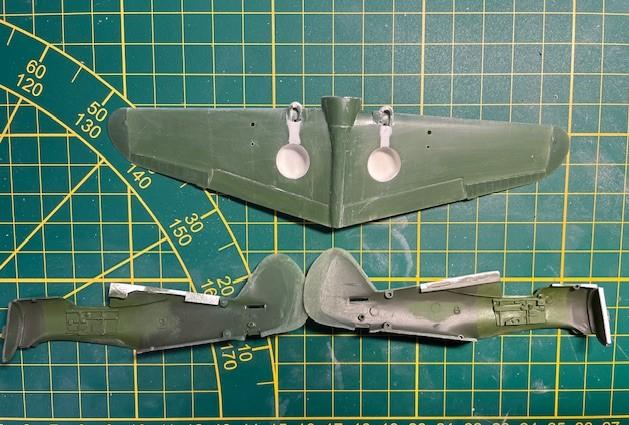
- Wheel wells provided with their canvas cover, gear legs fairings replaced (plastic profiles and Milliput).
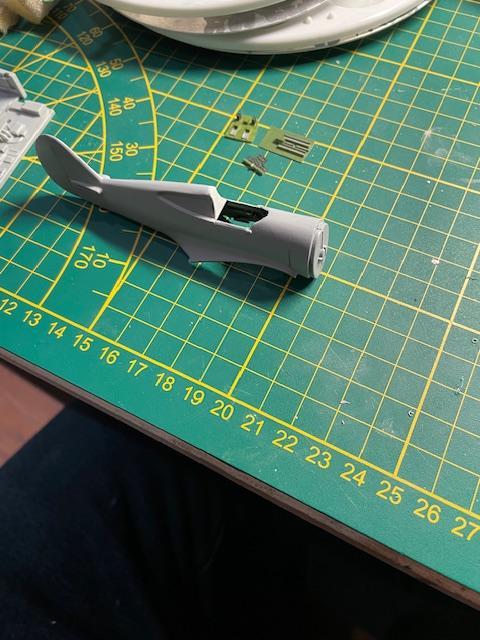
- Cockpit from a Starfighter resin set + scratch pieces.
- Propeller from Aeroclub (although the original one is usable).
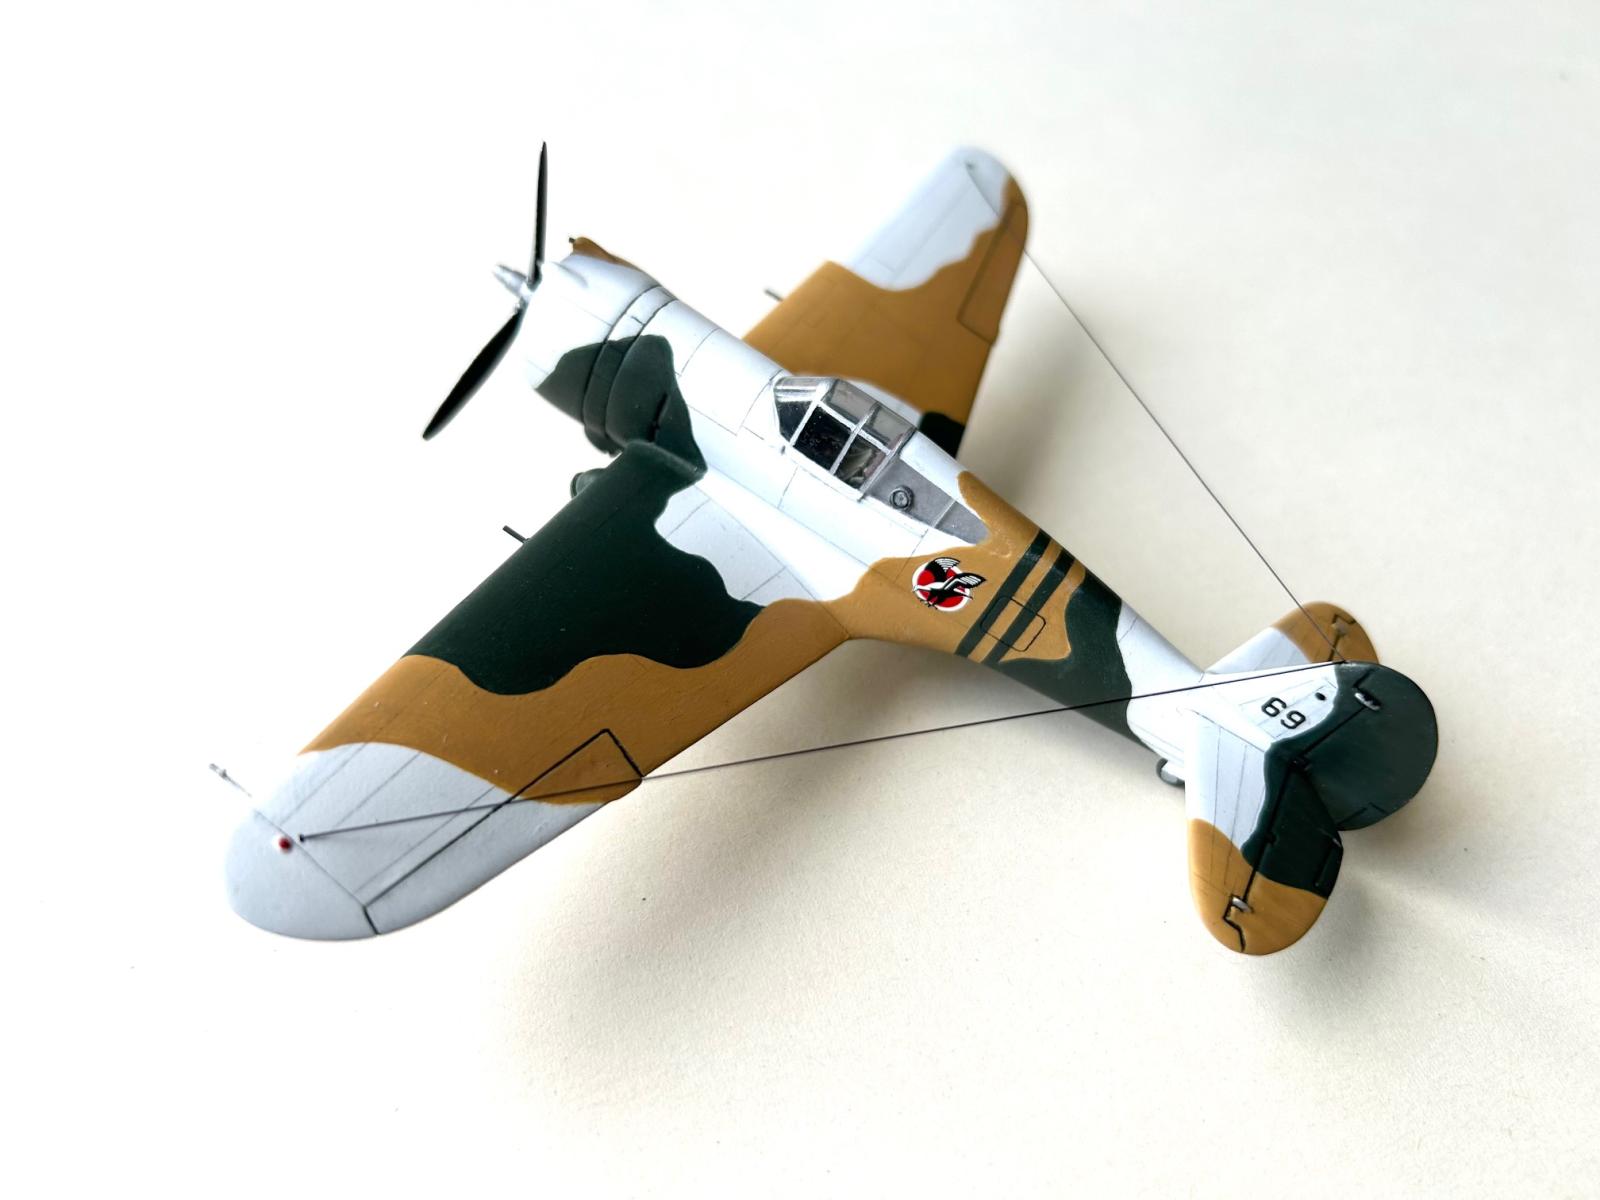
- Canopy reduced in height, polished and new frames painted. Aft side windows shape corrected using masks and surfacer.
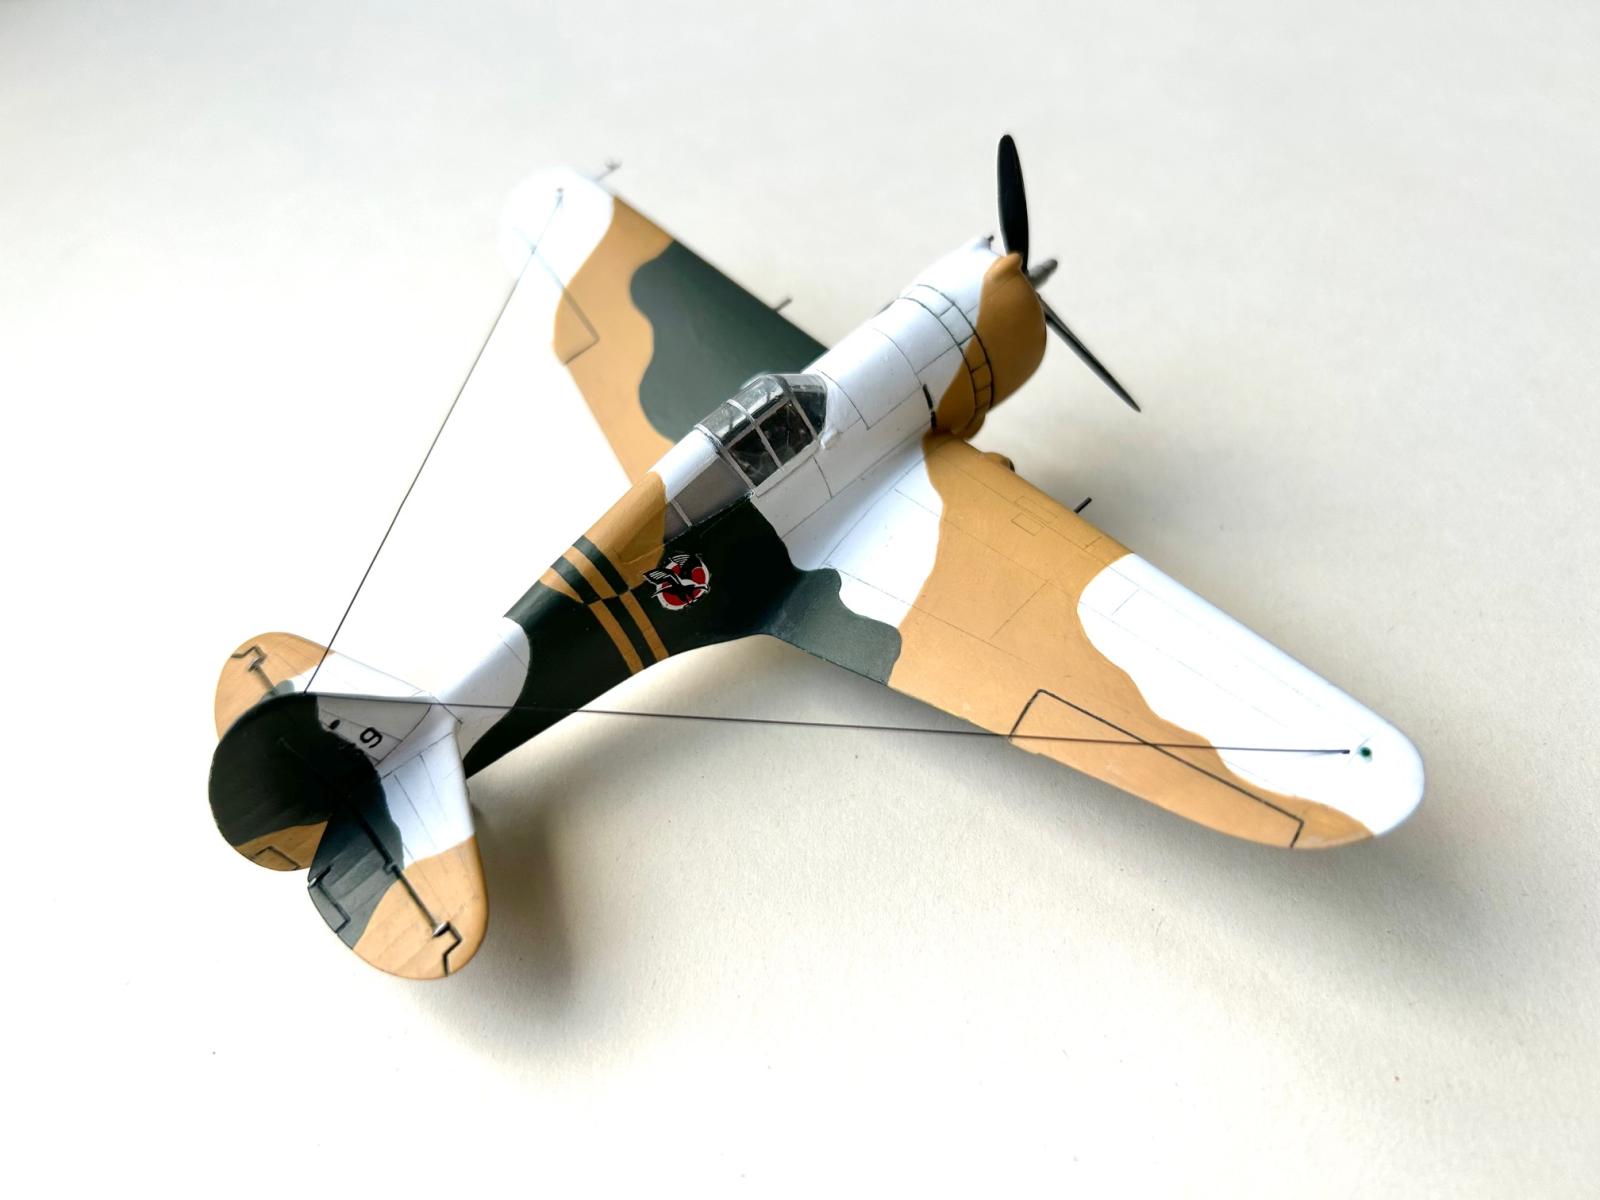
- Camouflage painted with airbrush and brushes.
- Decals from an ABT sheet of the 60's
Cheers,
François


Very nice build.
Thanks a lot Jim!
Sweet lil' model, Francois @friga! 🤩 So cool! 😎
This is a beautiful build as well, Francois @friga
Quite a unique camouflage scheme.
Thanks a lot guys! I really like to work on those vintage kits and bring them to an acceptable level 😉
I like that! Old vintage kit with a cool (and unusual) scheme. Well done!
Thanks Greg!
Excellent job and great improvements on the Revell kit, François!
Thank you Spiros!
Nice work. While I built several of the Monogram P-36s as a kid, I’ve never seen the Revell kit built.
Thanks John. Actually, I consider the old Revell kit at least as good as the Monogram. That kit is a joy to build and the few mistakes are easily corrected. More important, the Revell engine cowling has a better shape. That's the main flaw of the Monogram kit, difficult to solve.
A great classic build!
Thank you Robert 😉
Looks great, François @friga! How did you add 2mm of plastic on the fuselage and is the result visible?
Hi Felix, thanks! Yes, the added plastic is absolutely necessary, otherwise you'll get a kind of razorback fuselage, quite inaccurate. It is easily solved, just glue some plastic card shims on the fuselage edge, preferably on both sides. Once the two halves have been glued together, sand gently and restore a slightly rounded shape that matches the aft edge of the canopy.
I added a few more pics of the parts during the building, it will be self-explanatory 😉
Cheers
Thanks for the info! It’s something i couldn’t do for sure 🙂
It's easier than you think Felix, really 😉
Excellent build on this old kit, François @friga. This is the best looking Revell P-36 I've seen. Amazing work.
Thanks Bob, appreciated! You did a similar job on the Revell P-39, another good vintage kit I want to tackle soon!
That Little bugger looks REALLY good. Can;t believe what you did with that old biscuit. I remember having that as a kid, was part of a 3 model boxing, forget what the other two were. Fabulous modelling Sir.
Thanks a lot for your kind words Bill, appreciated 😉