Two become one, one becomes two: a strange modelling story about an even stranger flying vehicle,: A-90 "Orlyonok" Ekranoplan, part II
Sometimes things don't go as planned: I finally managed to get hold of a second kit of this impressive ground effect vehicle to start a double project on the subject - and then I realised that essential components were missing from one of them! As complaints would not help in this case - an estate sale - I had to make the best of the situation with a little ingenuity.
I soon came up with the idea of actually only tackling one more model of the A.90 Orlyonok, but to make it presentable both upright and in flight by using parts from the incomplete kit.
In the following, I would like to describe how I achieved this. In a previous article, I have already briefly described the astonishing history of the development and operation of this remarkable ground effect vehicle from Soviet times. If you are interested in the history, please refer to this first article on this model.
A model in two variants
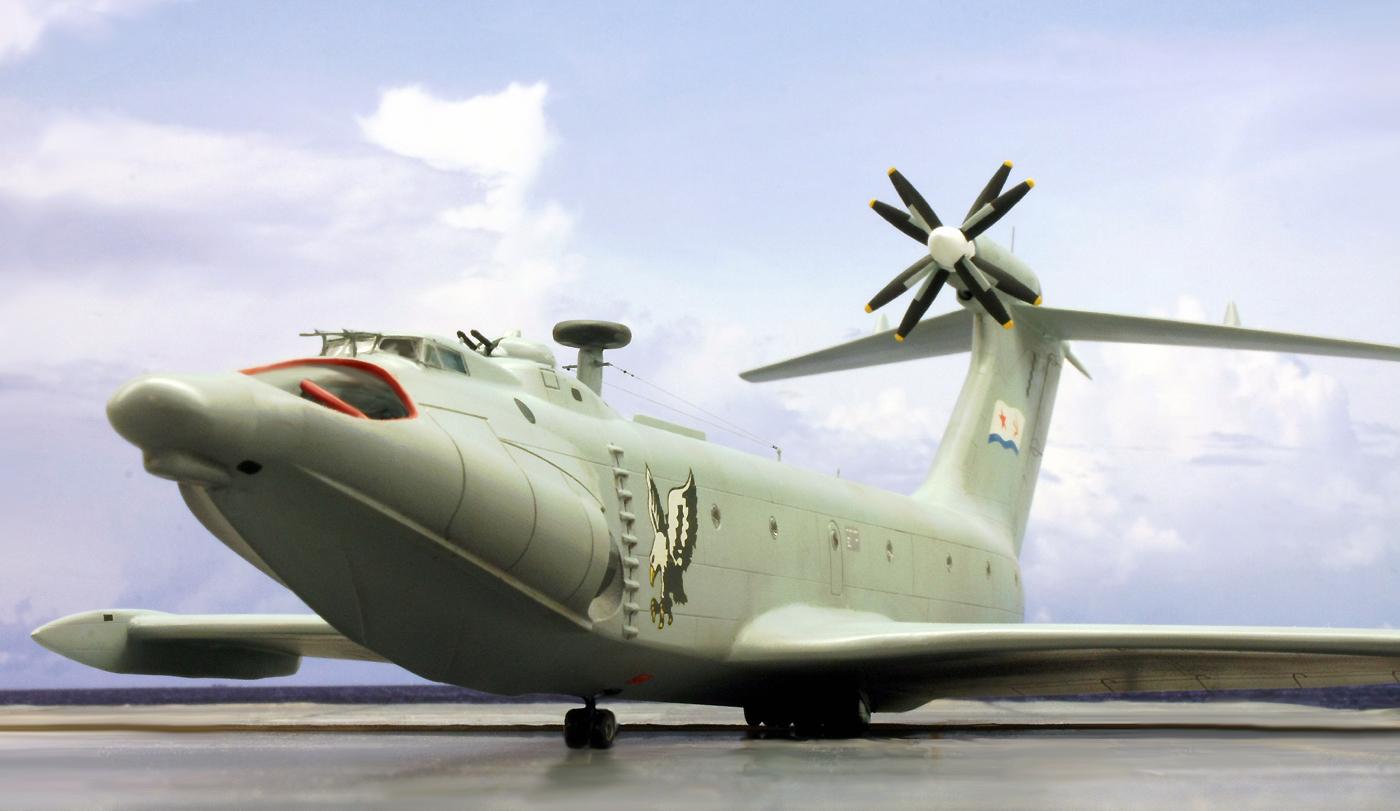
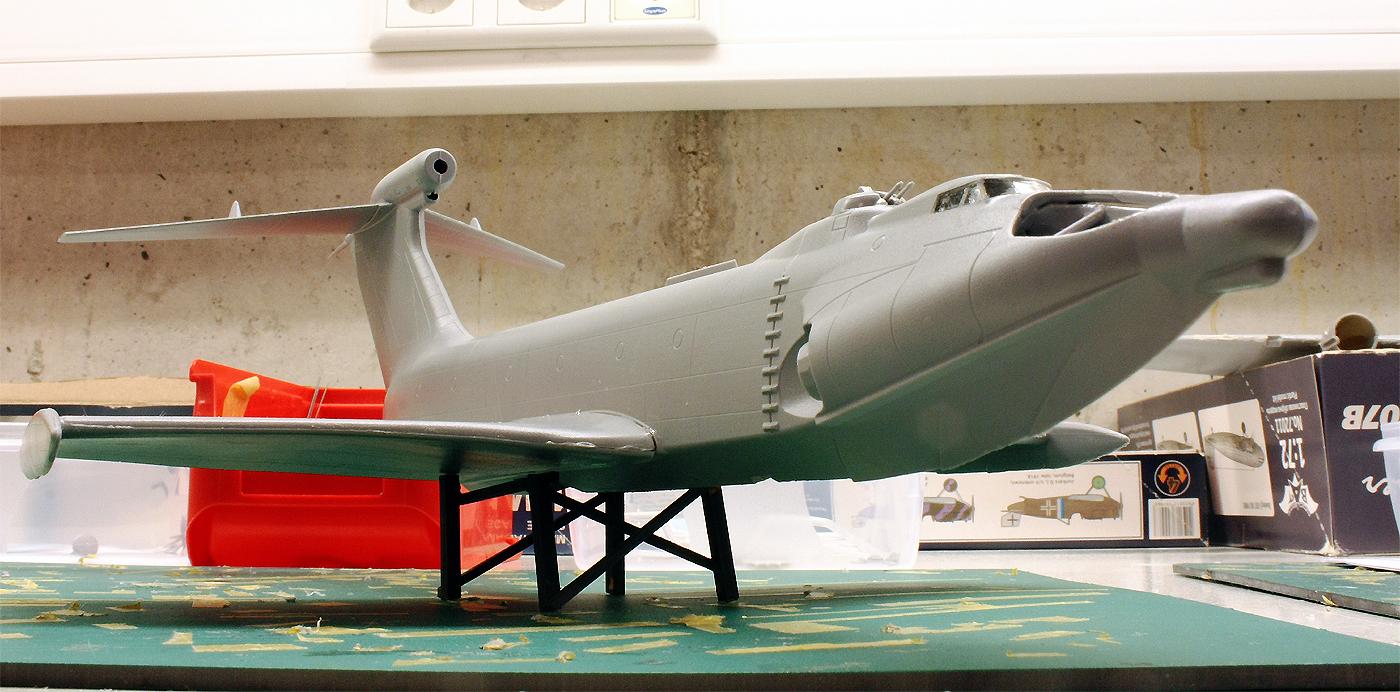
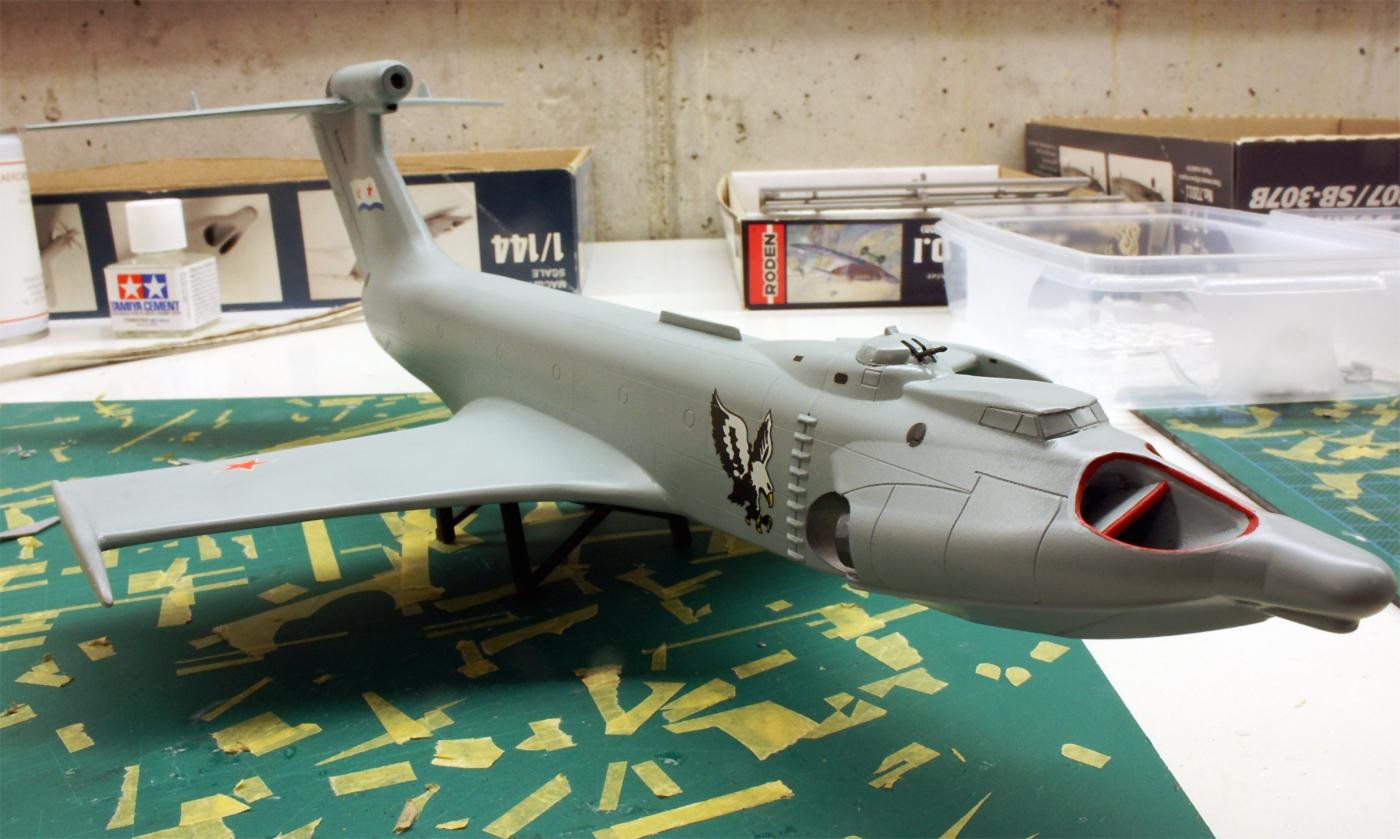
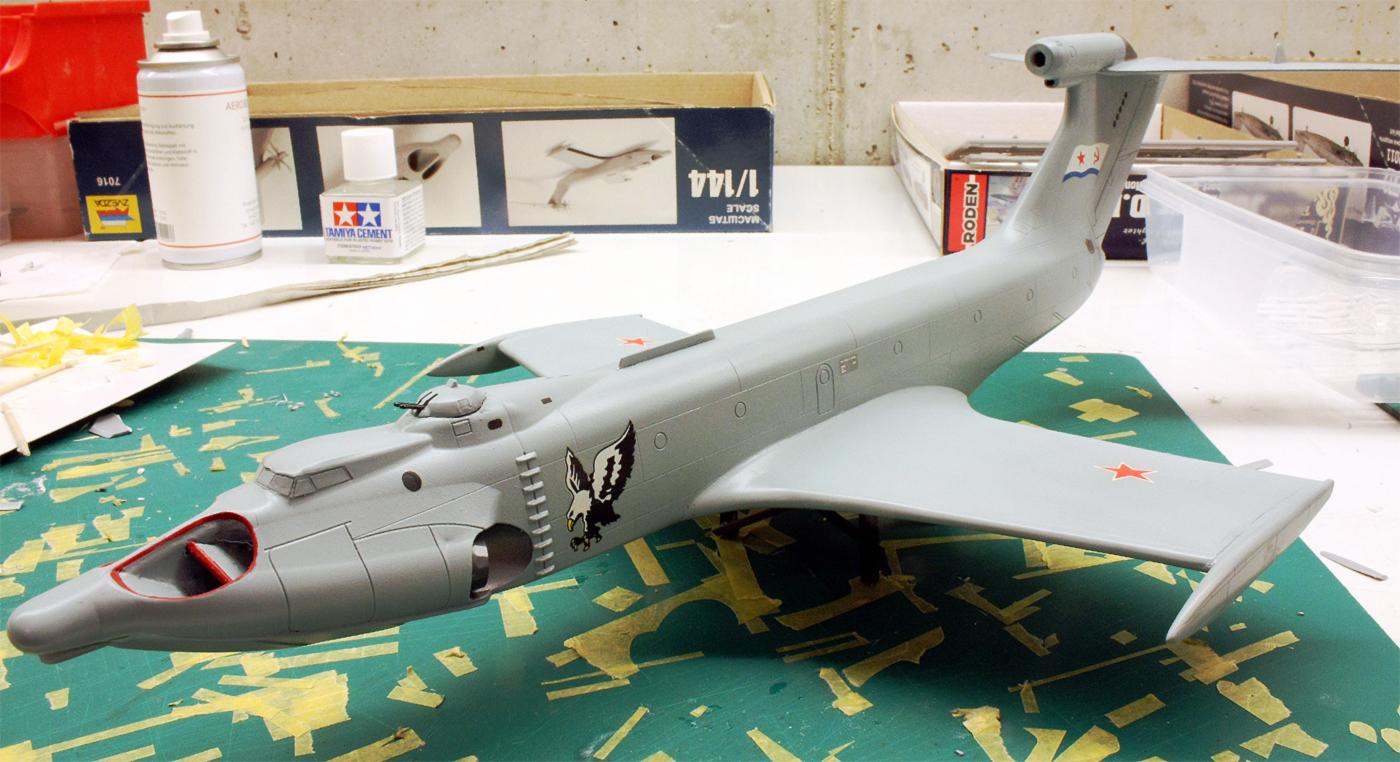
At first glance, modelling the A.90 stationary seemed to be the easier and less complex task. The large counter-rotating propellers of the turbine at the top of the huge tail fin are stationary and the construction rests on its many small main wheels and the double-tyred nose wheel: that should actually be easy to do! The only problem was that the kit only provides for a "flying" state with the undercarriage retracted.
The components from the second kit could be useful here: I prepared the landing gear section from the fuselage and modified it so that it protruded slightly from under the fuselage for landing, as in the real thing. I solved the question of how I could keep this condition reversible so that the "Orlyonok" could fly again by using a technique that I had never used in modelling before: magnets!
A total of eight small button-shaped magnets were attached to the fuselage and the undercarriage module. In this way, the two elements can be connected stably on the one hand, but can also be separated from each other again with little force and a little dexterity. A reassuringly quiet "click" now confirms each time the undercarriage and fuselage are sufficiently close enough to each other that the whole thing will hold. For me, this is a new technique that I will be happy to use again!
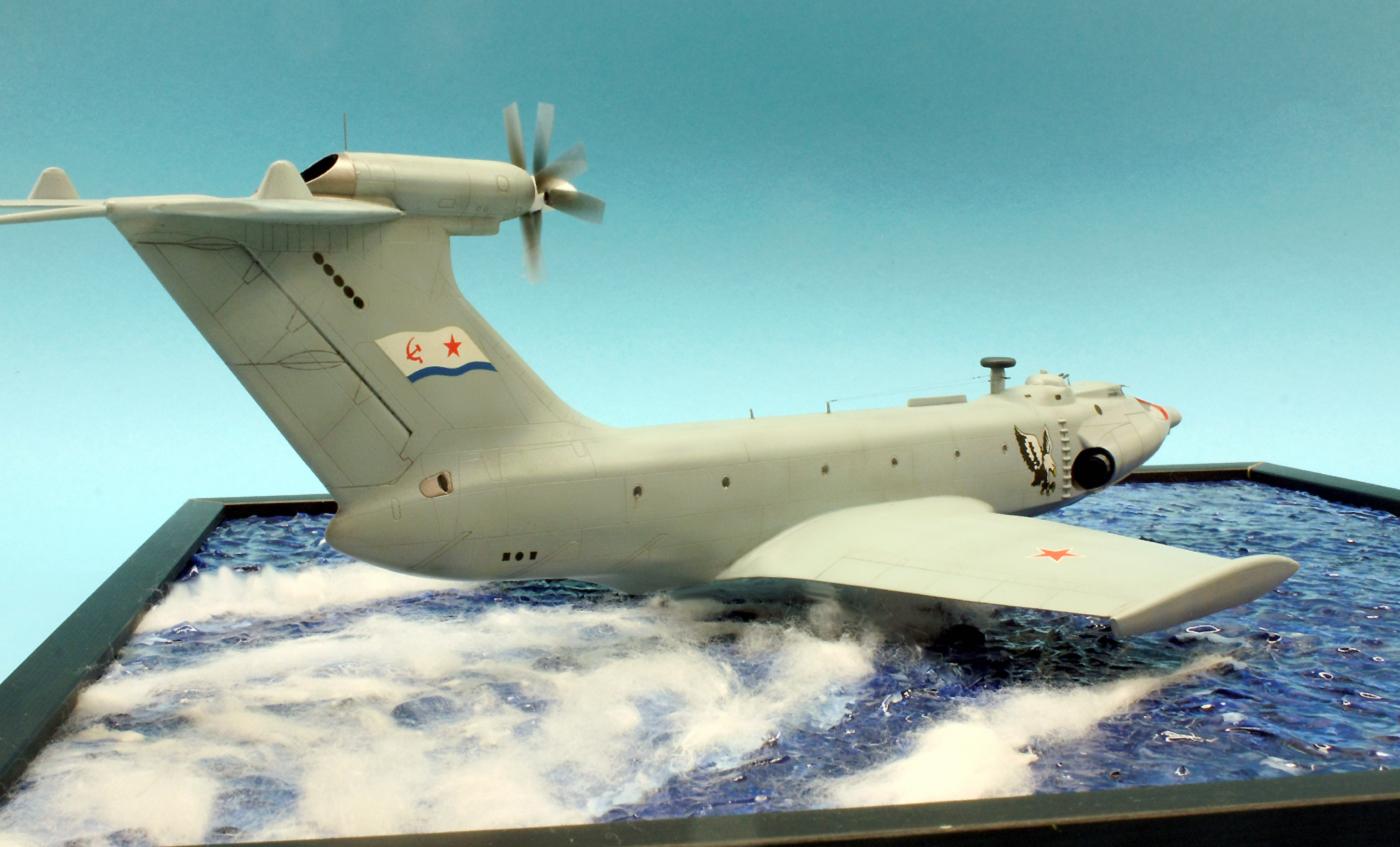
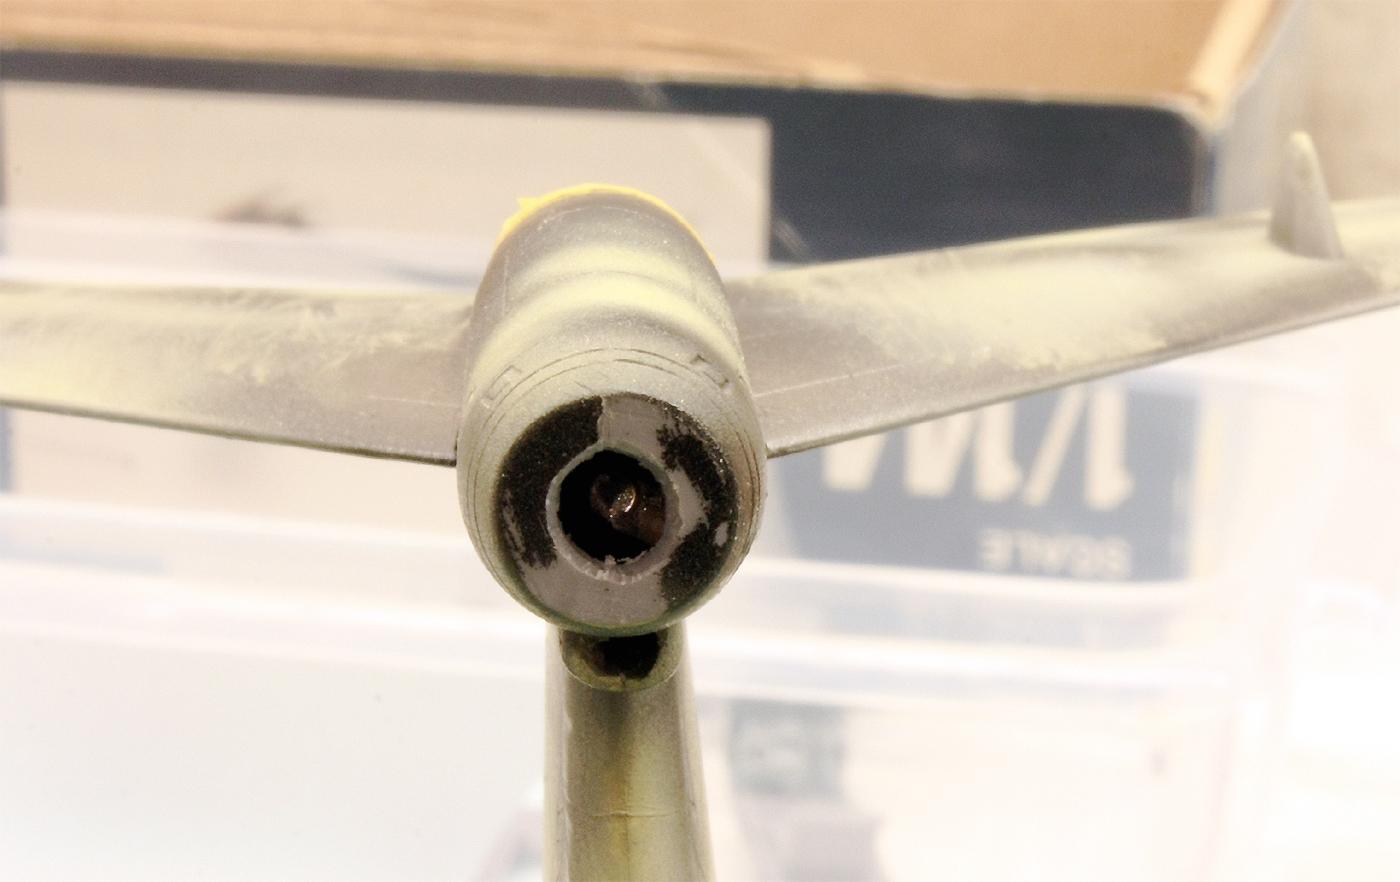
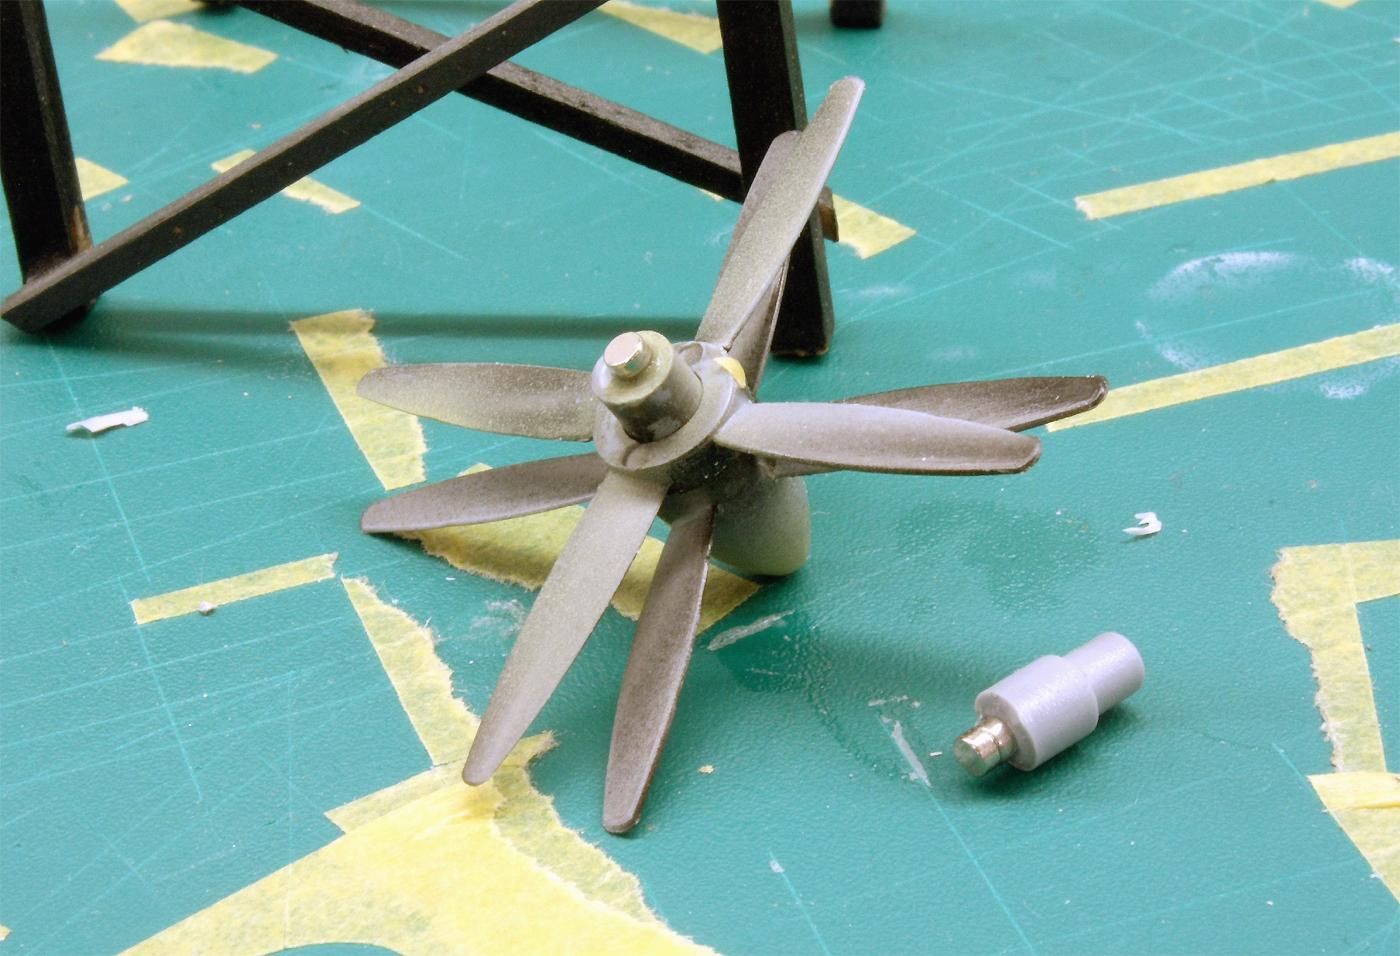
There was also an opportunity to do this immediately afterwards when it came to keeping the two propeller variants "stationary" and "rotating" - interchangeable. The magnets were placed on the backs of the two propeller shafts and in the cavity inside the turbine behind the propeller. To do this, the magnet was glued to the tip of a toothpick, which I then pushed into the centre of the inside of the turbine by drilling a hole in the outer wall and then aligning it at my leisure. The part of the toothpick that protruded outwards was then sawn off and the hole/glued area was made to disappear using filler and sanding.
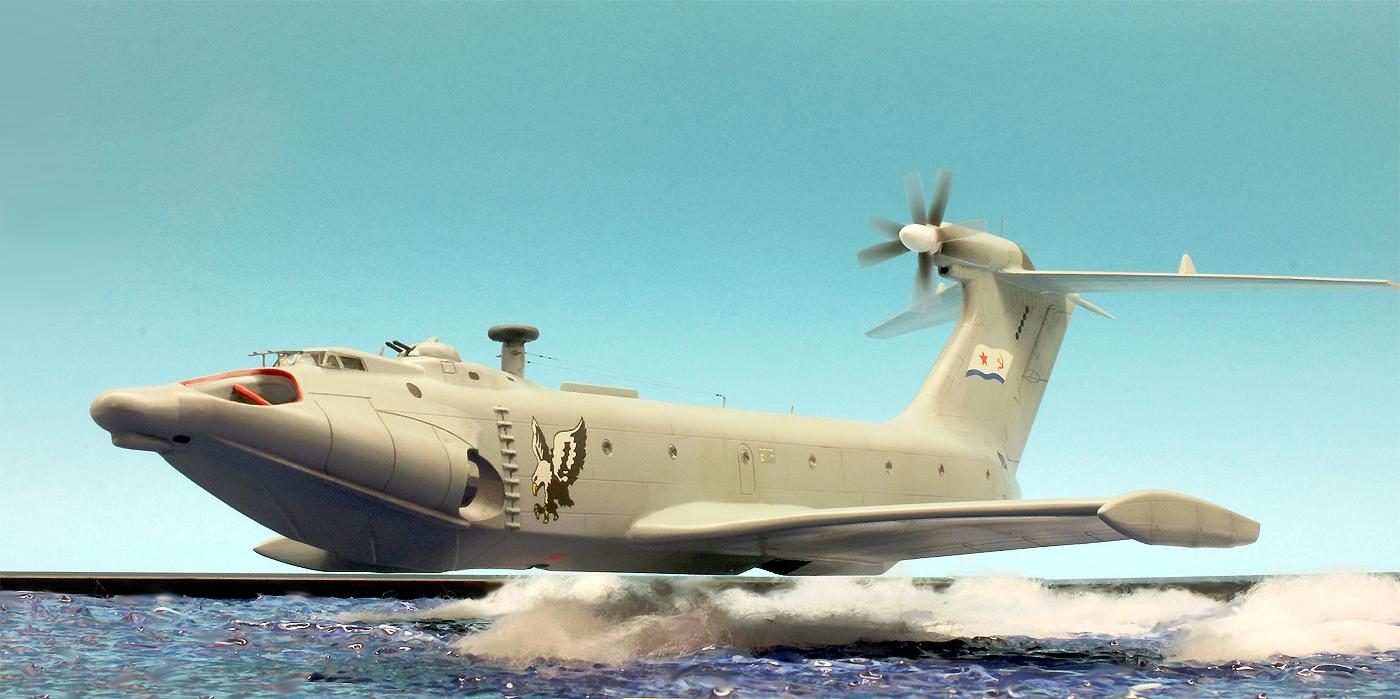
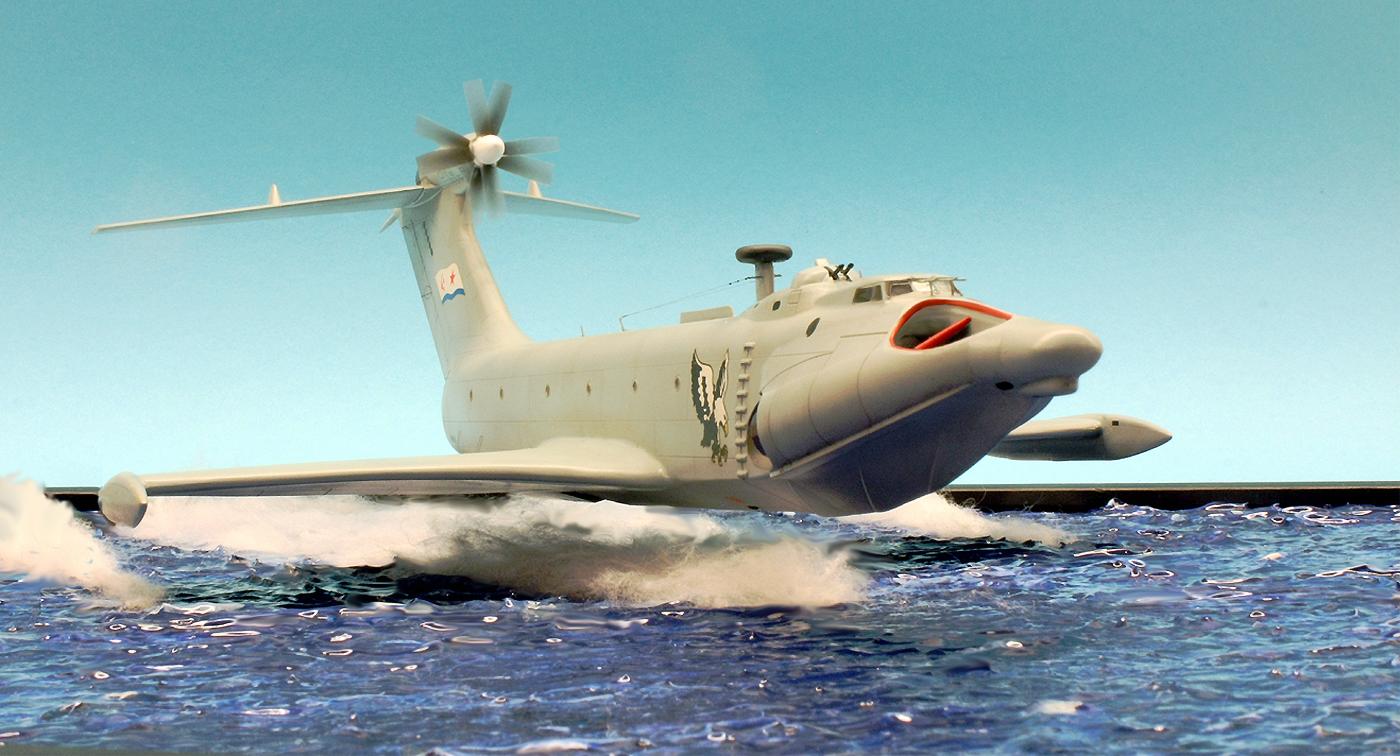
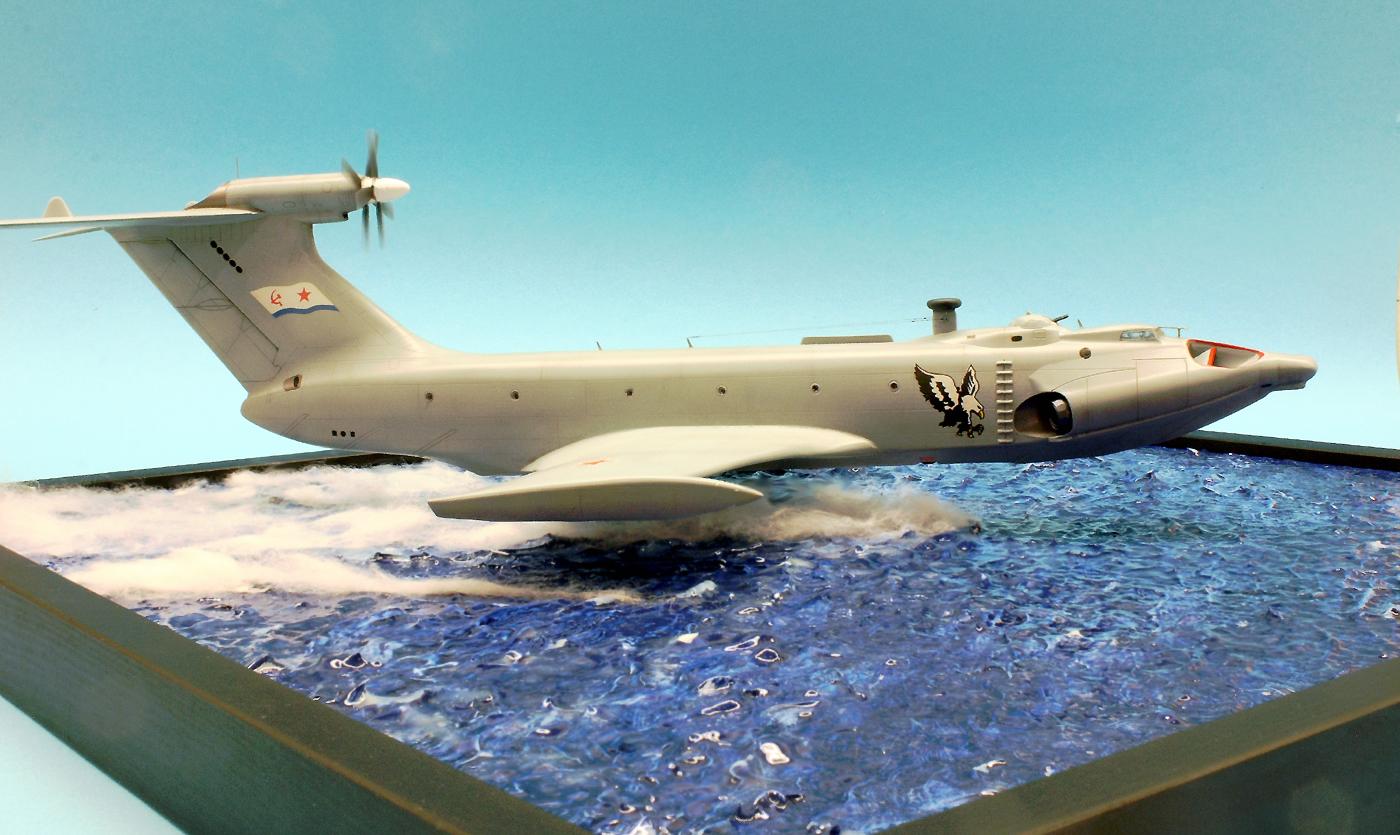
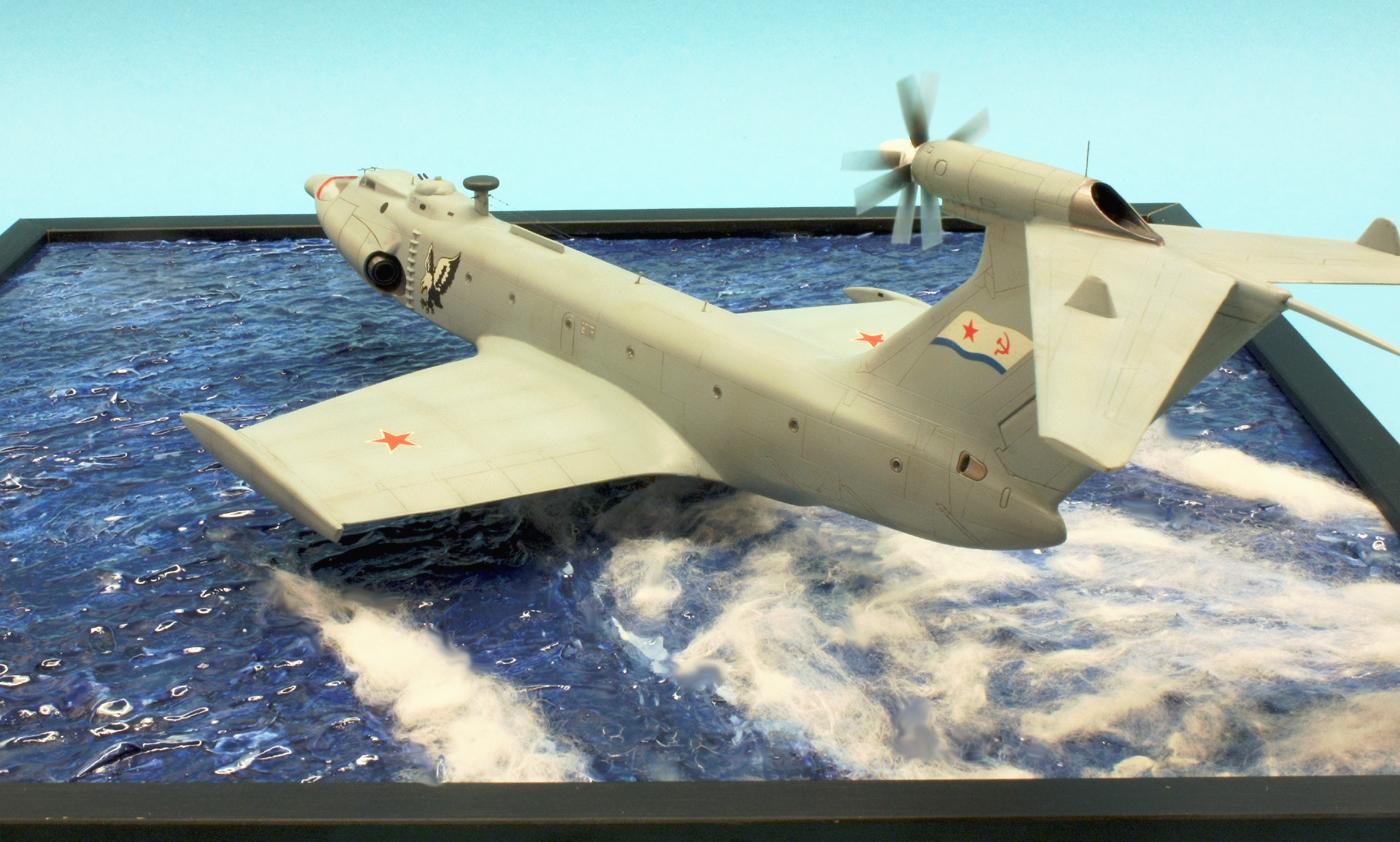
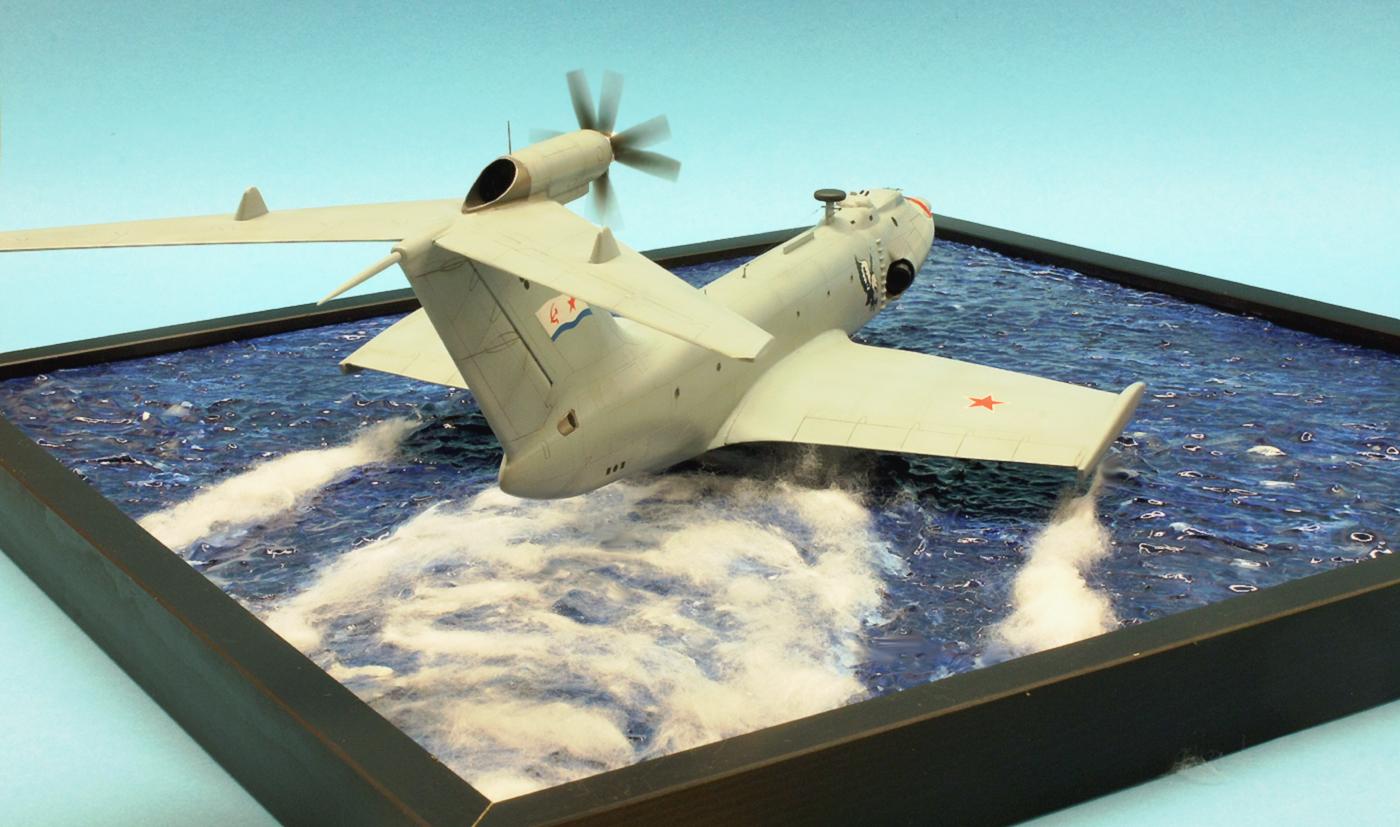
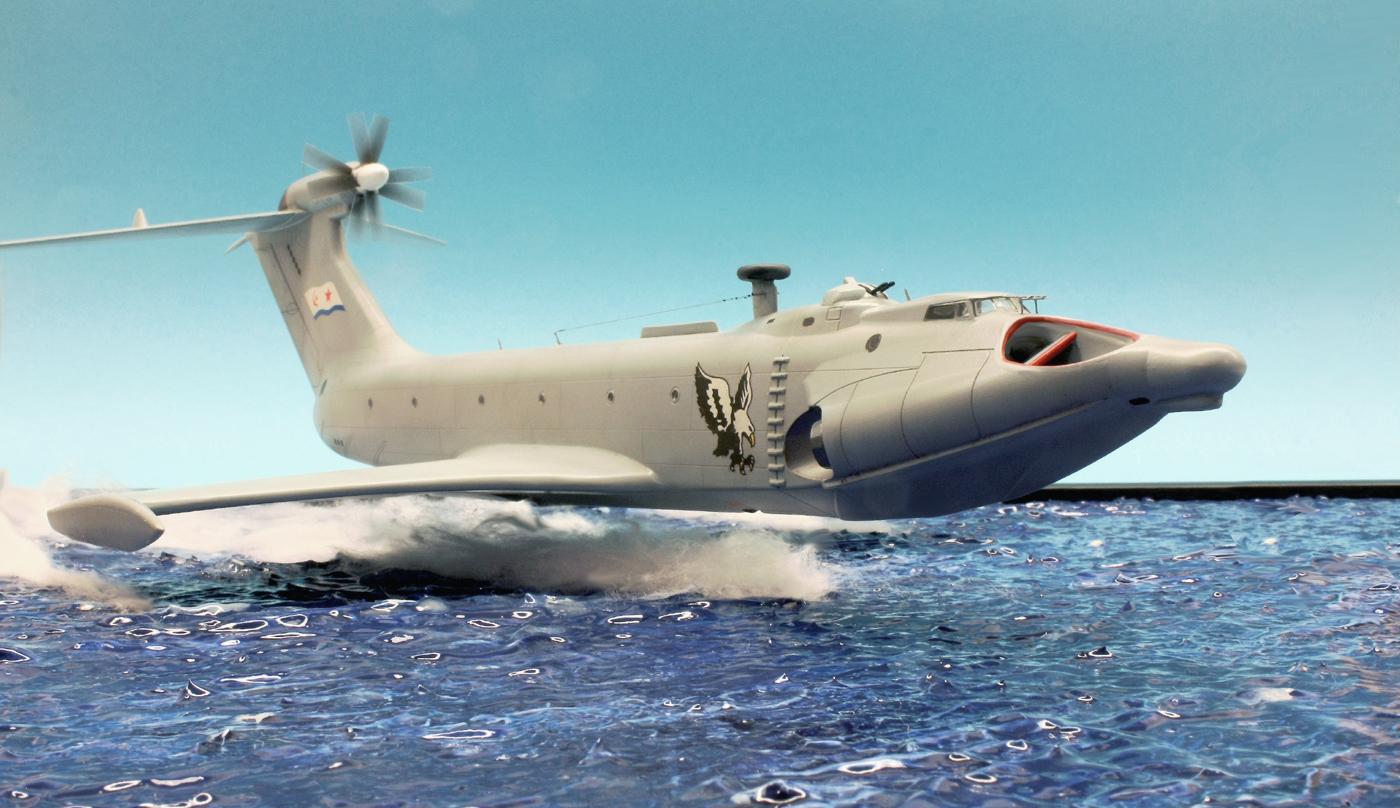
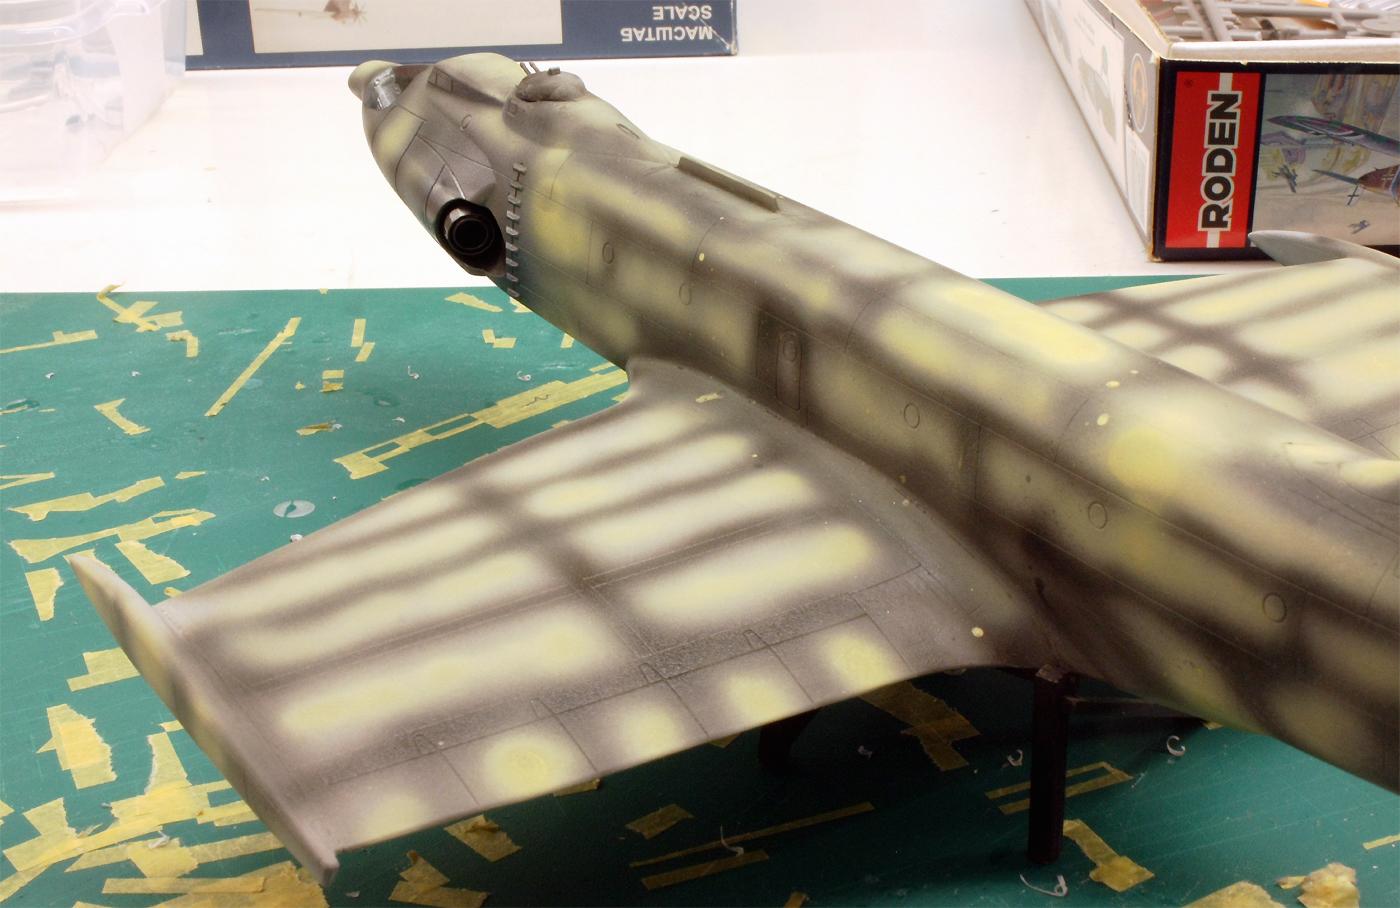
I tried to depict the rotating propeller blades in a way that has been tried and tested several times now: I carefully sprayed light and dark gradients onto thin transparent film using dark paint, then cut the film into a suitable shape and mounted it on the components of the counter-rotating propeller spinner. Against the right background, the illusion of rotating props with blurred edges can look surprisingly convincing.
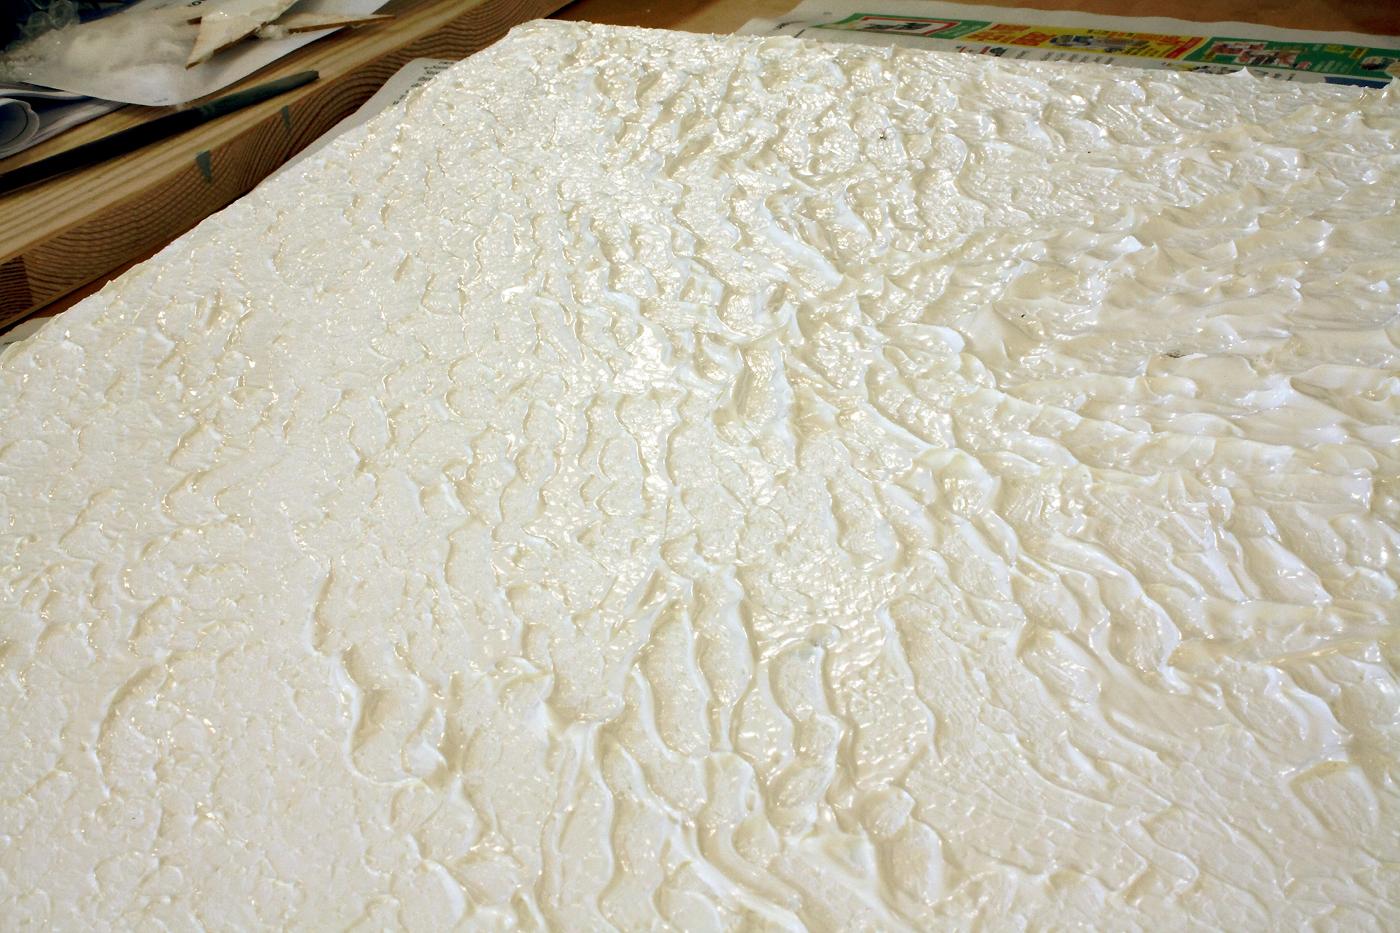
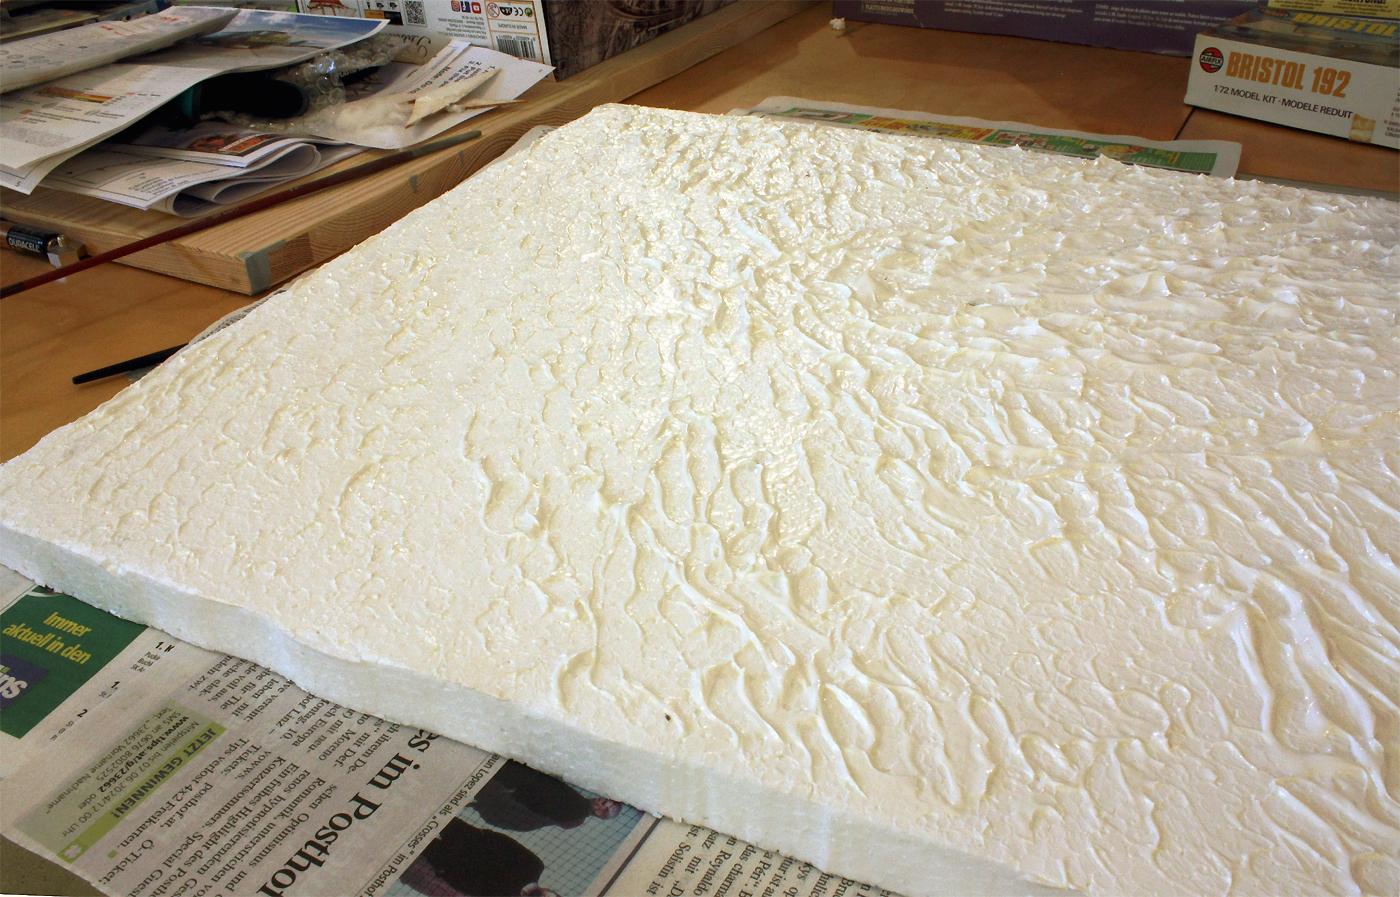
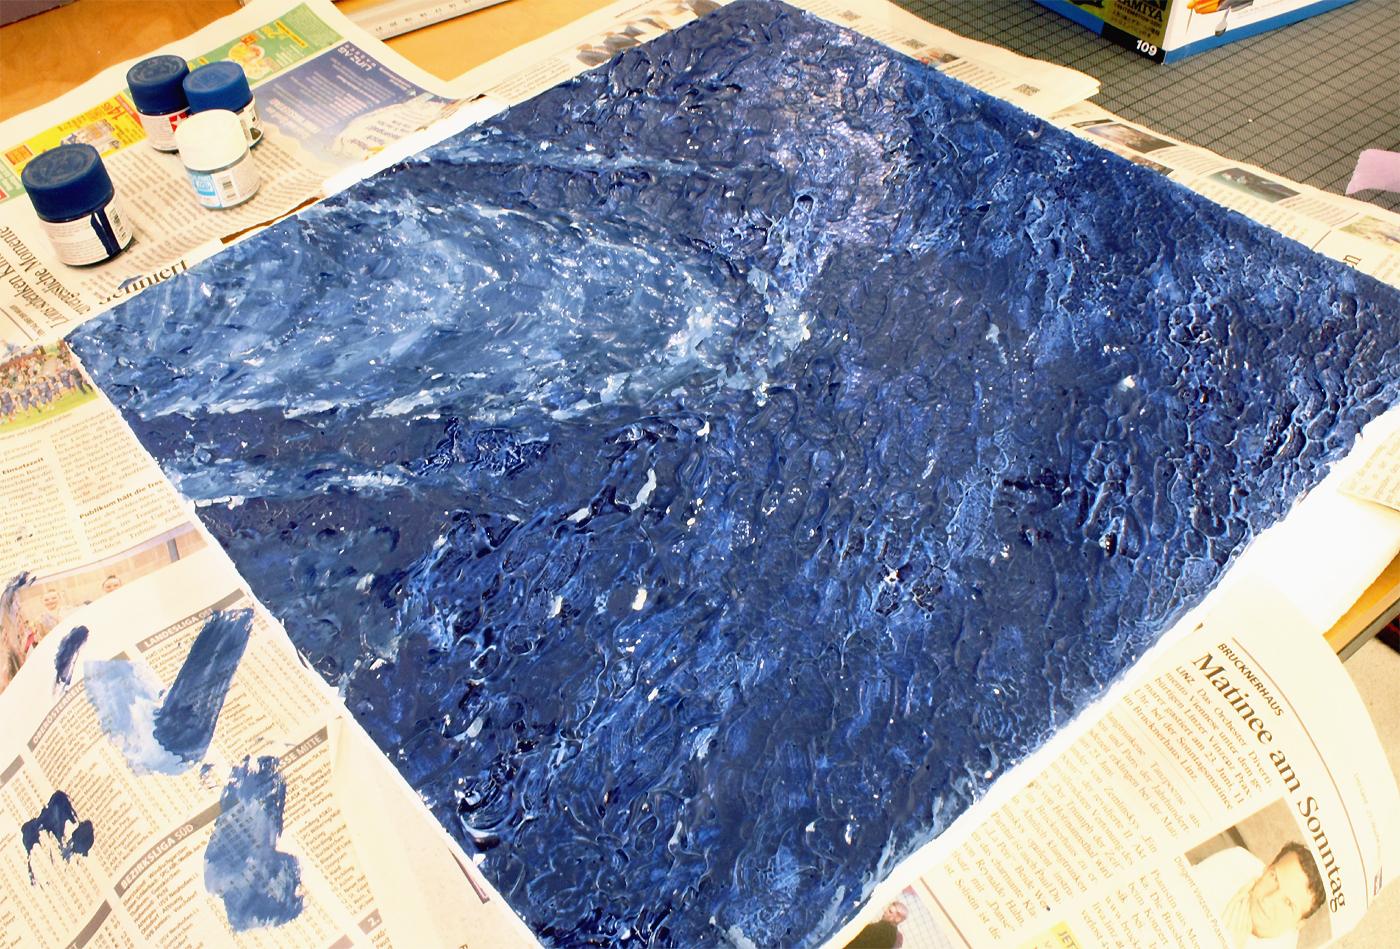
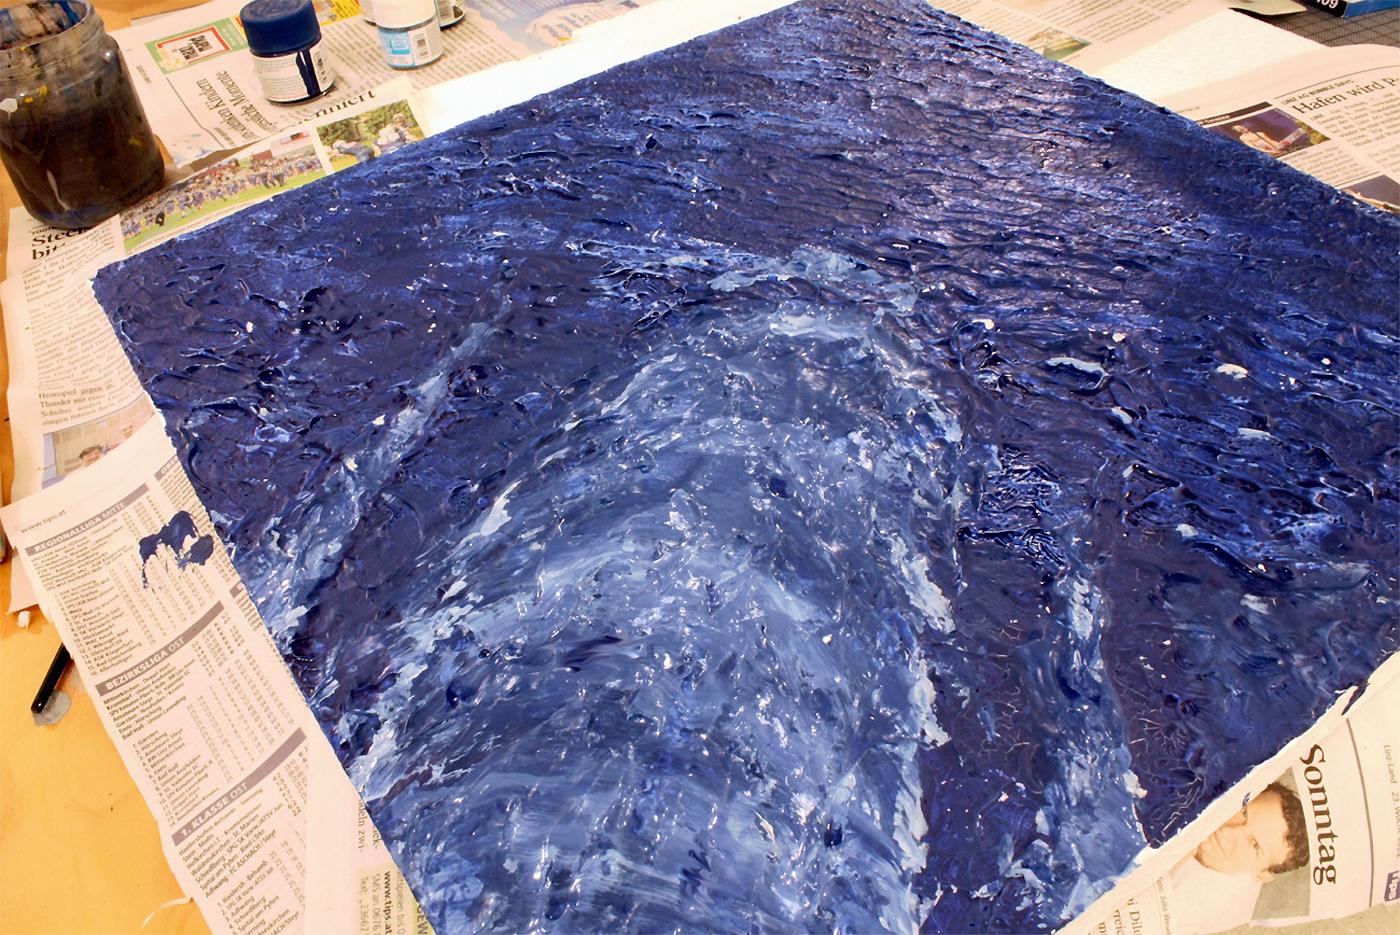
The water base
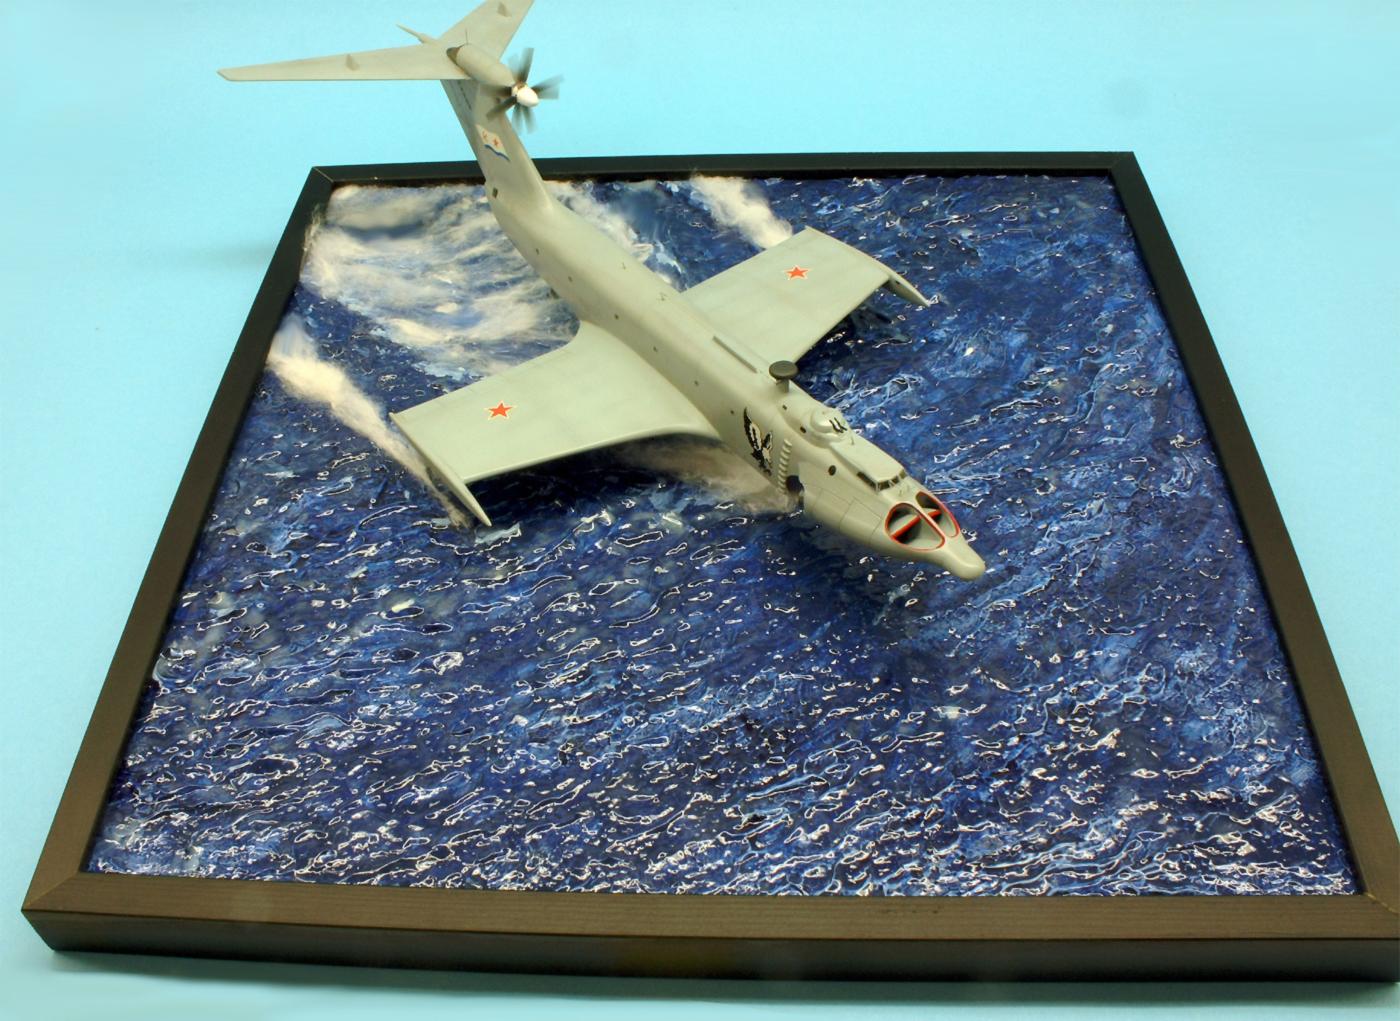
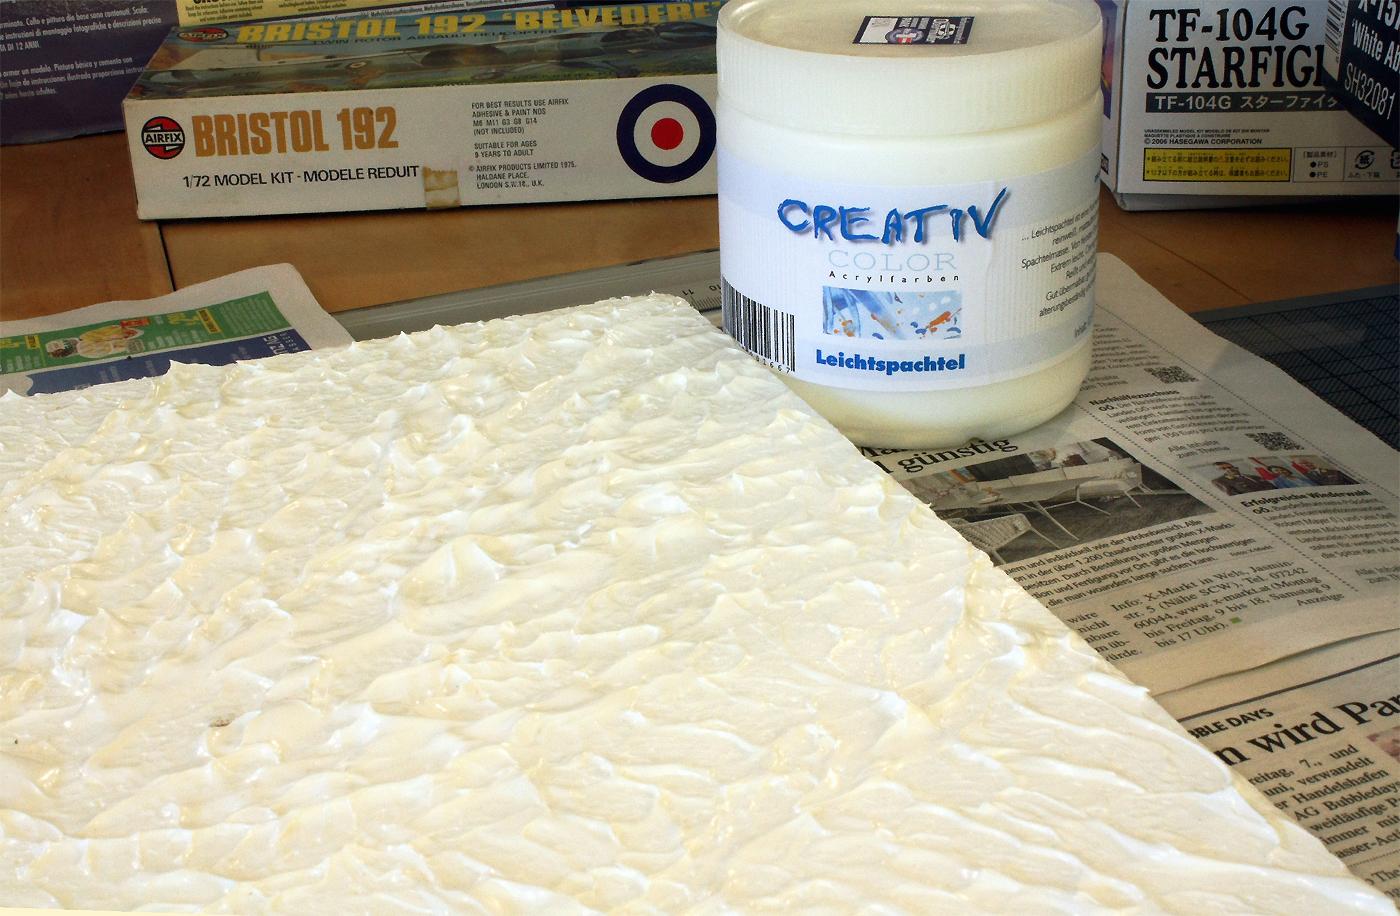
I decided on the following approach for the realisation of the water surface: the wave structure was brushed onto a foam board with a light filler or shaped in the soft material with fingertips and fine spatulas. After curing, I was able to use brushes and acrylic paint to create the colourful design. After a one-day drying time, the excellent transparent water gel from Vallejo was applied to the surfaces and cured clear and transparent after about two days. By the way: when modelling the spray on ekranoplanes, it is important to ensure that the water under the hull does not look churned up and swirling like the take-off of a flying boat, but rather smooth and flat! The spray itself consists of commercially available cotton wool that has been tightly twisted or softly pulled apart and stapled to the transparent water surface.
To sum up, I can say that I learnt a lot from this small-scale and fairly simple kit project: on the one hand, the insights into the technology of ground effect vehicles opened up new perspectives, and on the other, I was able to try out new modelling techniques such as the use of magnets for detachable connections. All in all, it was an entertaining and informative modelling project!


Nice job, Roland
Thank you Gary
We don’t see these built often. Well done, Roland.
Thank you indeed!
The Caspian Sea Monster...so ugly it is beautiful.
Thank you Michiel! Well, this monster has a big brother from the same clan... did I say big? Even bigger and definitely a monster: the true ‘Caspian Sea Monster!’ Takom be thanked...:)
A really cool diorama supporting this beautiful build, Roland @rosachsenhofer
Besides the challenge of building this, storing the finished project is an ever bigger challenge.
Very appreciated, thank you!
Excellent job, Roland! Fantastic looks!
Thank you Spiros, my friend!
Great work, nicely done sea scape.
Thank you Robert!
Please, make a tutorial of how you managed to get those props look to be spinning! It is a very convincing effect.