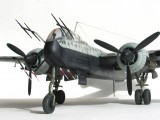
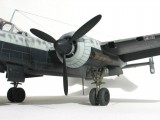
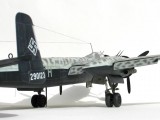
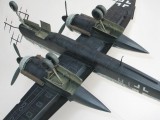
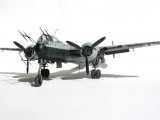
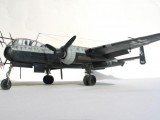
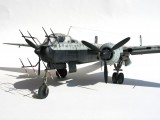
1/48 Tamiya Heinkel HE-219
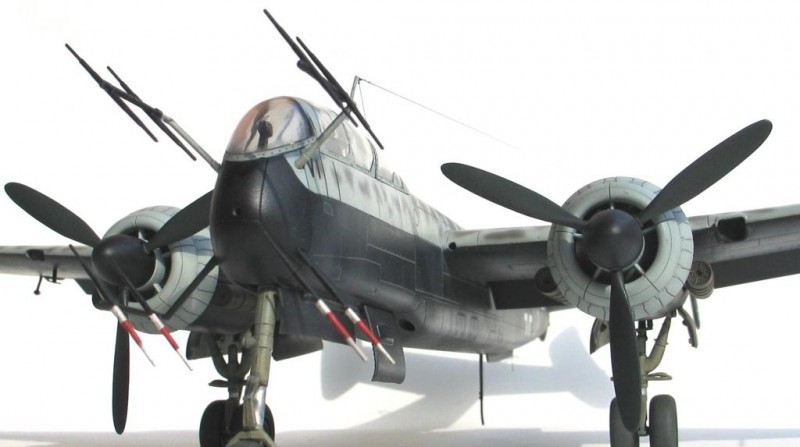
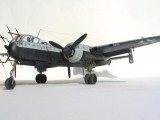
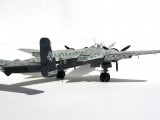
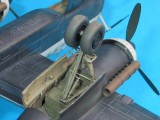
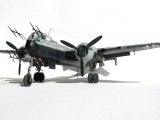
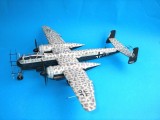
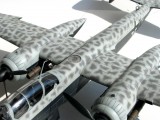
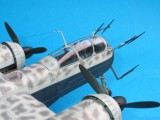
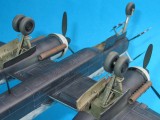
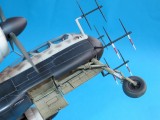
This is not a recently finished model but one of my favourites. This was built with the markings of 1/ NJG1 ( May 1945)
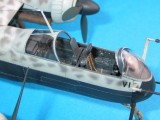
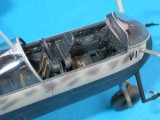
Photo edge instrument panel and the seat belts are from Eduard.
Painting was done with Gunze Sangyo and Tamiya acrylics.
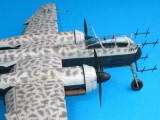
Firstly I painted lower surfaces to black.
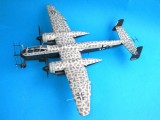
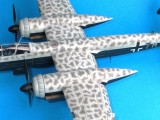
Second step is painting upper surfaces to RLM 76.
And finally RLM 75 mottles are applied by free hand airbrushing
Happy Modelling
Tolga... Nice Owl. That's a lot of freehand work an it looks great. I have this kit as well and your work is inspiring me to give it a shot.
Every time I look at some (ok...most) of the contributor's builds here, I find myself sliding further and further down the evolutionary scale of modeling. And this is yet another example of which I speak. Exemplary work there, Tolga. Your talents result in outstanding replications. Love your stuff!
I would hope what you see is what I see: inspirational modeling. So much of what I am seeing is getting me to consider different techniques, try new things, set a different standard for myself. A model like this inspires one to reconsider what is possible.
Nice looking model! Great paint job too! Thanks for inspiring me.
Gary
Beautiful paint and cockpit detail. That is a great kit to build, lots of fun and excellent fit right from the box. I appreciate how you made the black bottom color not seem so stark and monochromatic. It really adds interest and to the model and the paint. Good job!
Thanks for the comments
I tried to make faded the bottom color by lightening the panels.And later washing by artist oil paint.
Another brilliant piece of work.
Truly another brilliant piece of work and a worthy "10."
One thing, passed on merely for information and not for critical comment: the way the "cloudiness" was created on these airplanes was that the upper surfaces were painted overall RLM 75, and then the "squiggle" of the "wave mirror" pattern was applied over that with RLM 76. There is no "system" to it, in fact when I did it I imagined the airplane being painted by four different guys with spray guns, each starting at a different place - left wing, right wing, tail, etc. and working till all was done. That way I didn't have to drive myself nuts getting it "uniform" and the result was what I saw in photos. This technique was explained back in 1998 when this kit first came out with a masterful post at the old Rec.Models.Scale newsgroup, by one of the best painters around, Pete Chambers, who was also one of the first to figure out in the early 1970s that all Luftwaffe airplanes were not painted in "two greens and a blue" which EVERYONE knew was "right" back then.
Thanks for the comment and information Tom.
The restoration picture in the following link may be an example to the pattern that you mentioned
http://www.asisbiz.com/il2/He-219/Heinkel-He-219/pages/Heinkel-He%20219-A-2-fuselage-preserved-at-the-Steven-F-Udvar-Hazy-Center-02.html
And this following picture is a real one but the upper surfaces are not so clear to see the mottles.
http://www.asisbiz.com/il2/He-219/Heinkel-He-219/pages/Heinkel-He-219A-NJG-WNr-290112-Hildesheim-01.html
I ve painted this UHU several years ago regarding Tamiya instruction reference and finished models of that time period. Even today In most books and references the same mottle pattern that I applied still exist. Maybe it s time to built another one using the pattern you mentioned
Thanks again
.
Yeah, its precision modeling time. Looks more like a surgeon was practicing on this Uhu He-219. It's a lovely build and of interests... several of the larger scaled kits are now going through the meat grinder when it comes to Rivet counting and shape issues whether there real or not a well built model with the " flaws" can still be a knock out. Tamiya's sample has been touched by the experten's opinion of engine nacelle problems but, from what I'm seeing this kit is still a jewel.