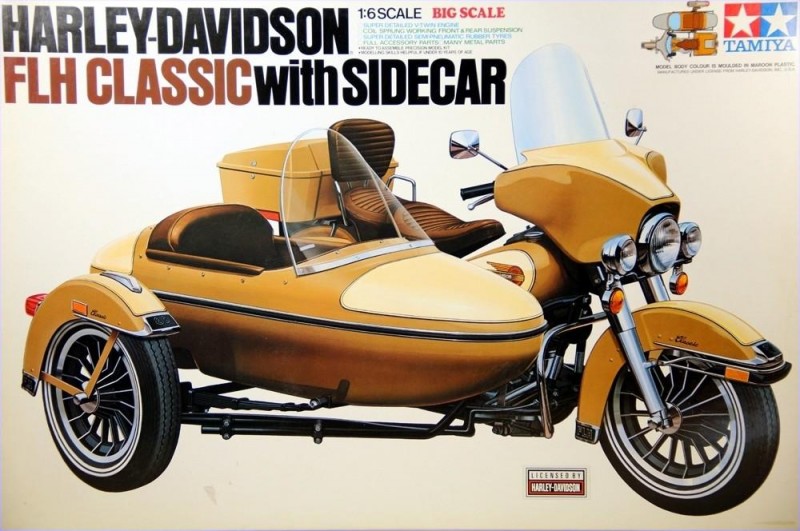
TAMIYA 1/6 Scale Harley FLH Classic with Sidecar
Well, it seems as though this is the "holy grail" of the big scale bikes. I finally managed to get one a while back at an incredibly good price.
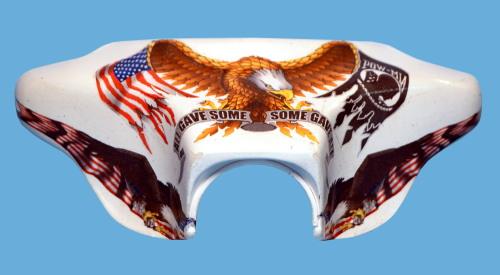
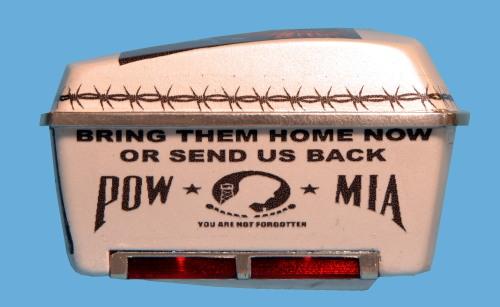
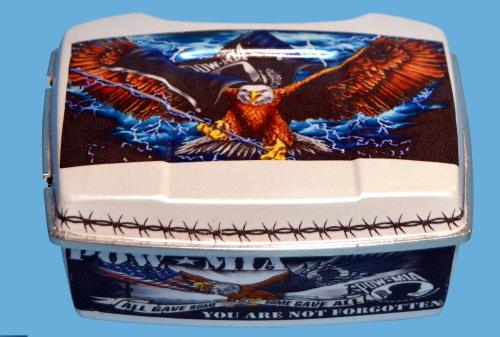
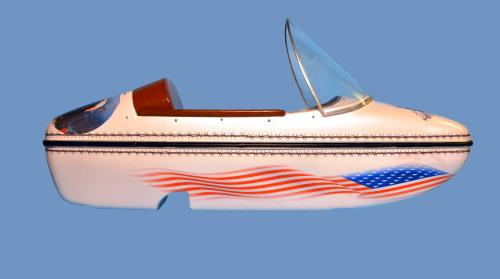
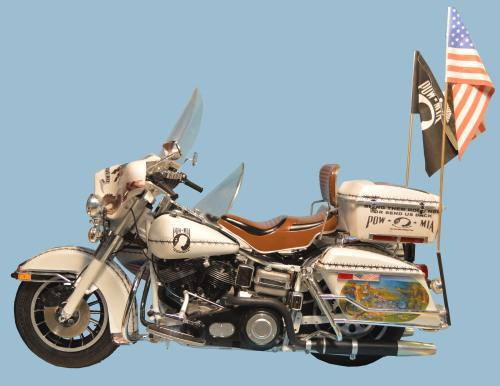
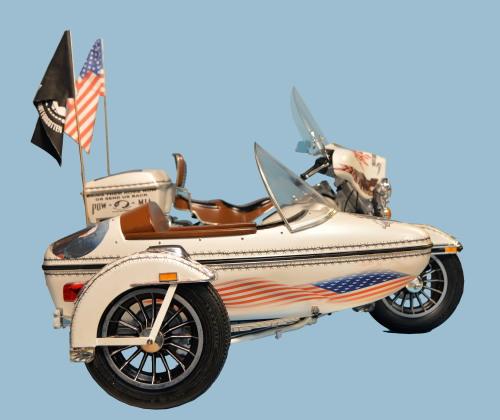
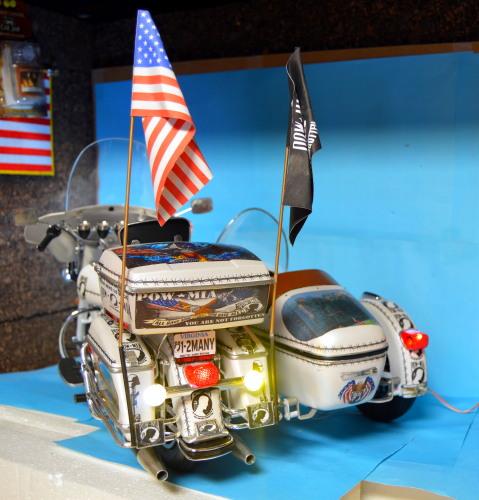
Although the original plan for a fully wrapped U.S.A. flag bike had to be scrapped I went in the direction of another POW bike. Only this time I did a few things different. As you'll see in the photos below.
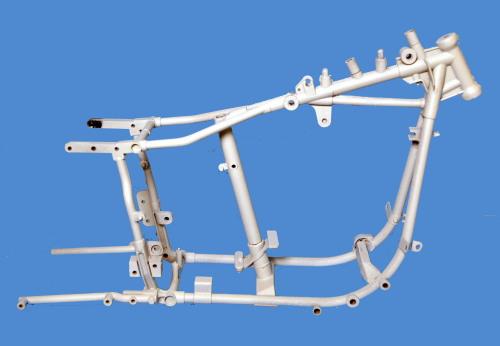
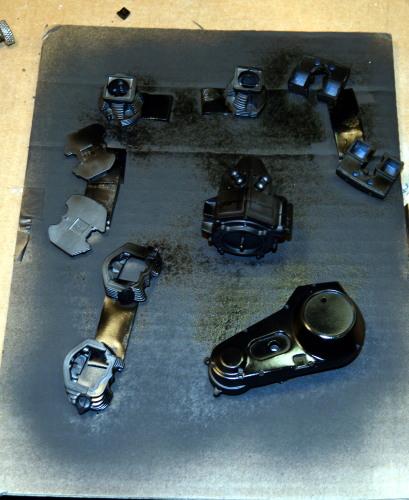
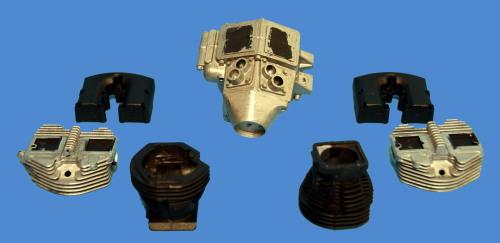
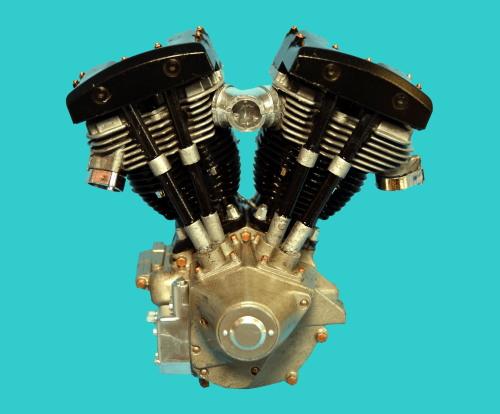
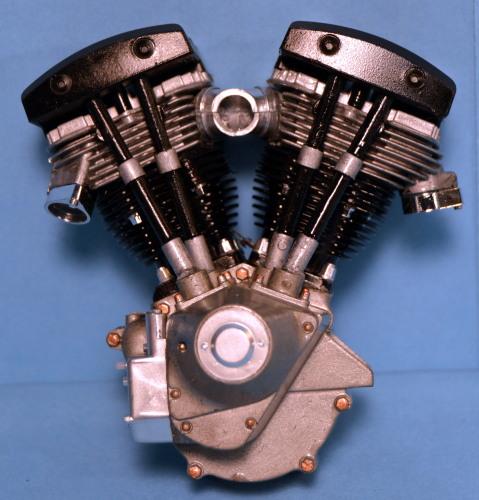
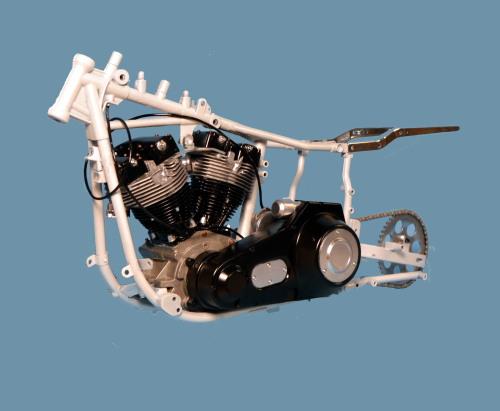
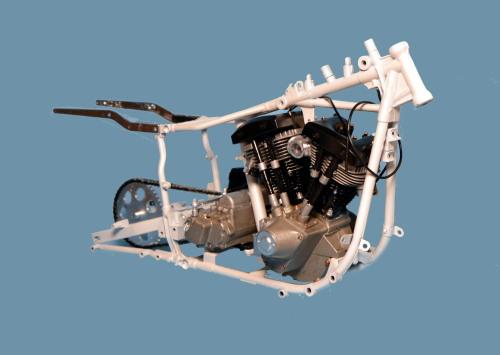
Framework and engine assembled without many issues whatsoever. As with almost all of the Tamiya kits I have built. A few very minor issues with the engine placement into the frame but that's pretty much standard as it is a tight fit.
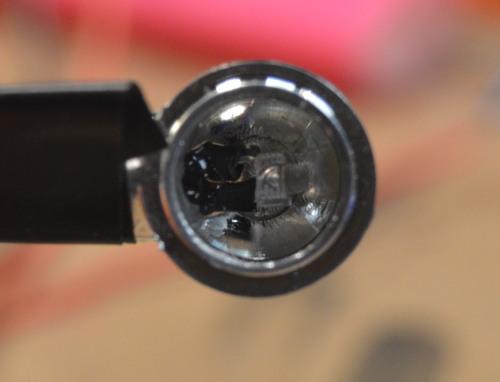
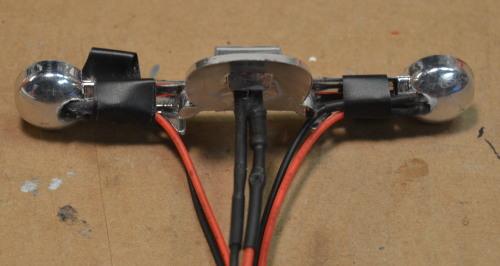
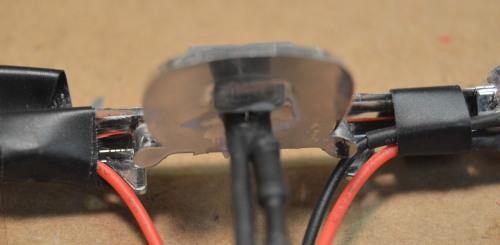
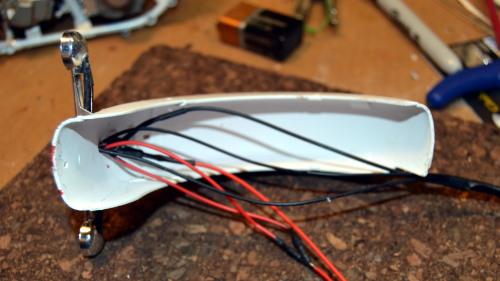
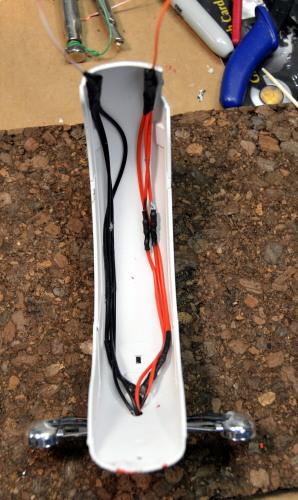
Wiring for the 1.8mm LED lights is always a challenge. I seem to figure out a different way to do this each and every time I add them.
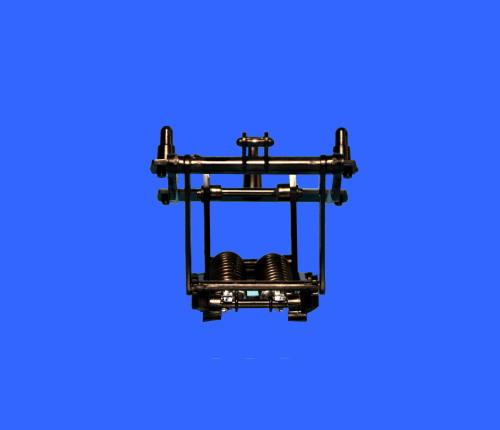
This is the highly detailed seat springs. Too bad these get covered when the seat is installed.
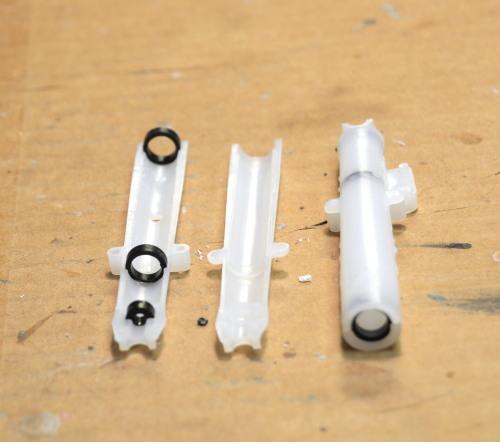
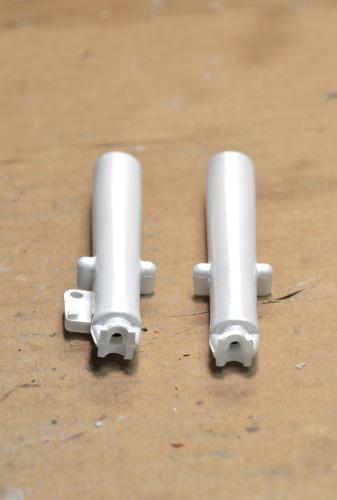
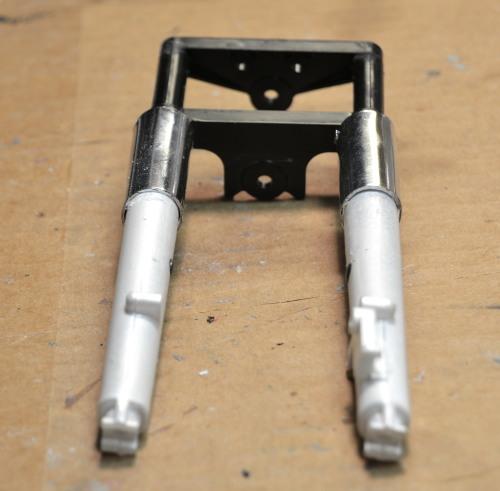
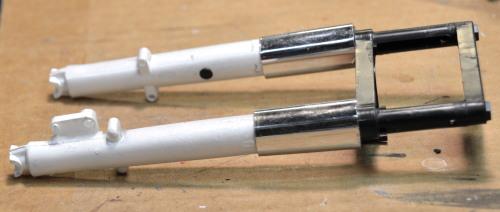
Next up were the front forks. Once again another fine Tamiya job it the fitting of all the parts. Absolutely no issues whatsoever in the assembly of these.
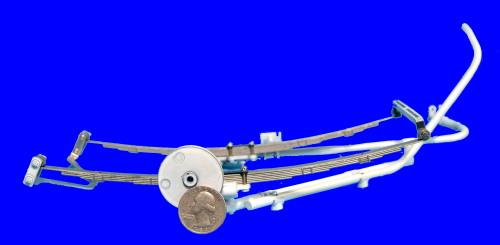
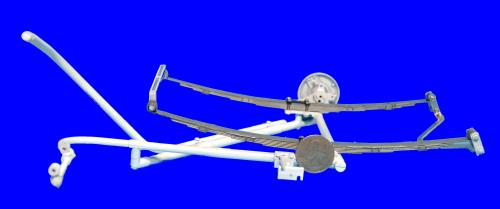
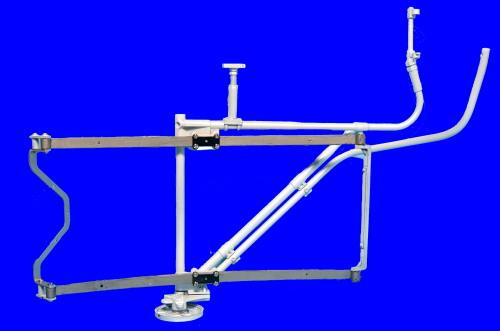
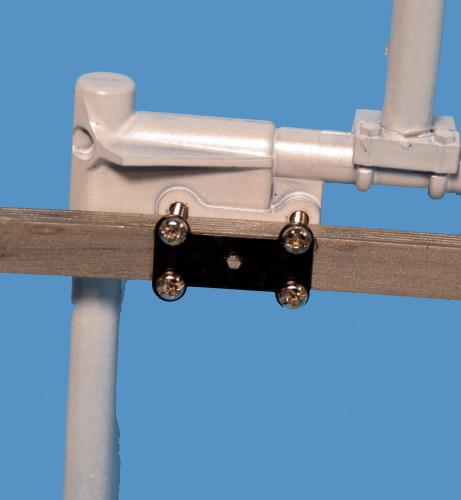
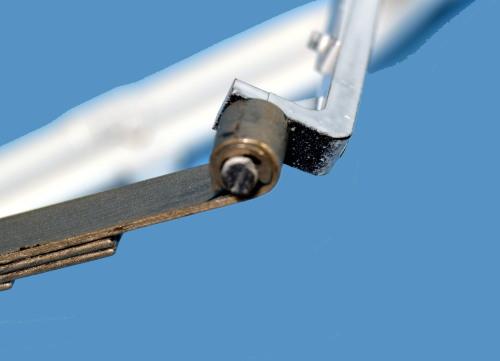
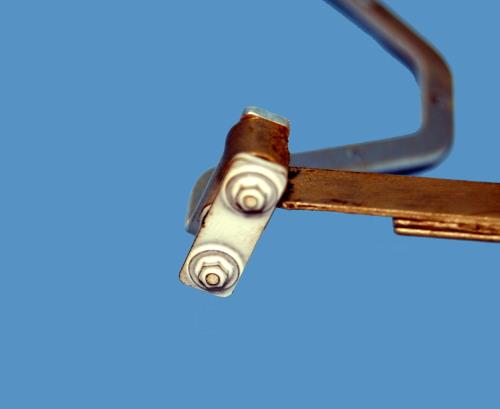
The sidecar framework was a bit of a challenge. One reason was because I had never attempted one of these as well as the fact that, because the parts are so large, it took quite a bit of time to get the small screws lined up properly. Fitting and placement worked out great. However, if you are building one, make sure you give yourself plenty of time for these steps. You'll not want to stop in the middle of putting this together.
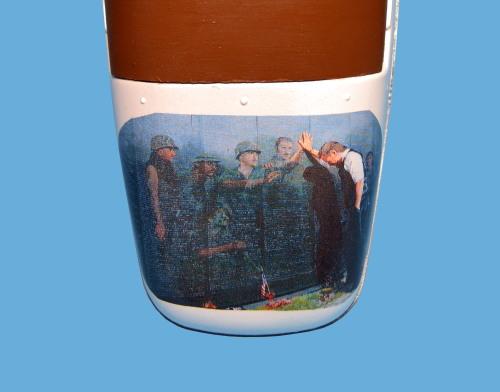
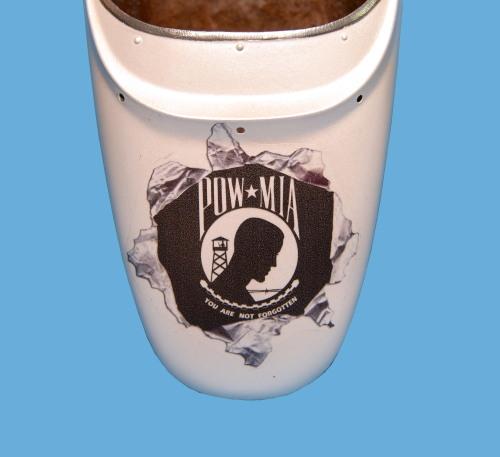
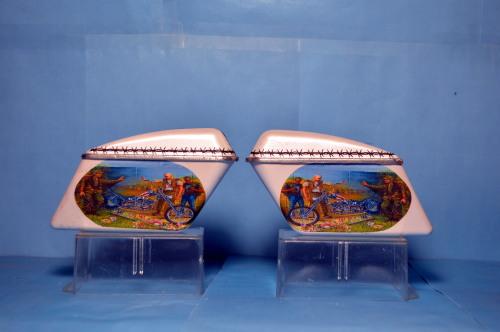
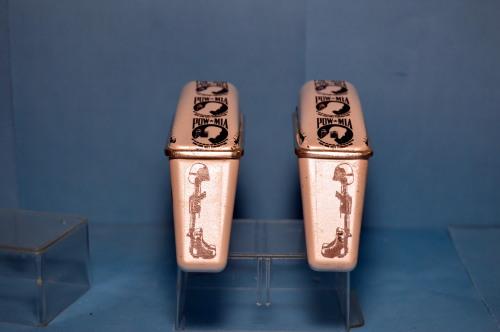
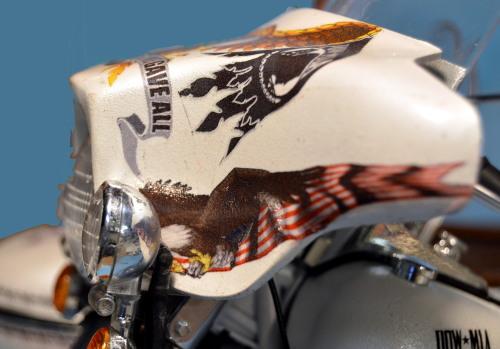
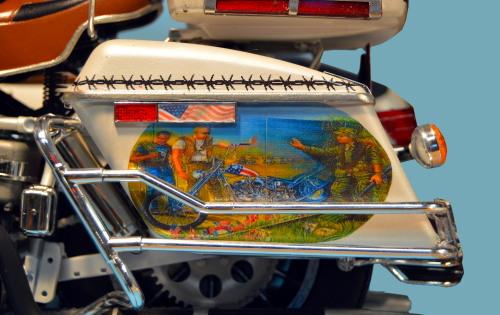
Next up are some of the mural decals that I made myself for this build. These always take quite a bit of time to make, apply and seal onto the model. This was a first for the mural aspect for me. But I hope that I'll be able to apply the same technique to other models down the road.
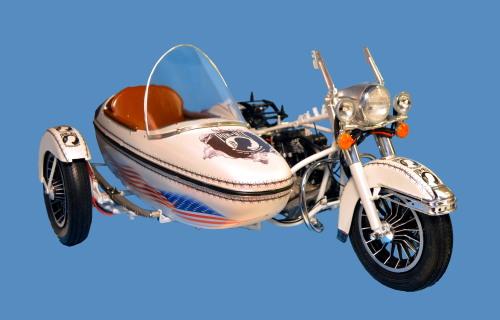
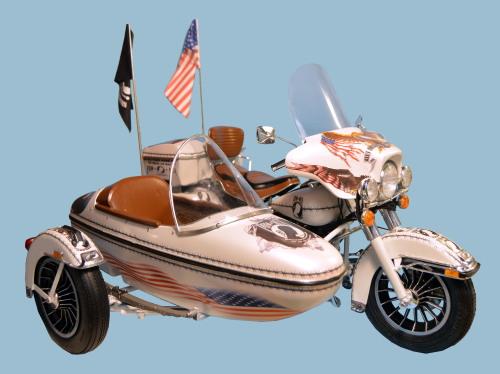
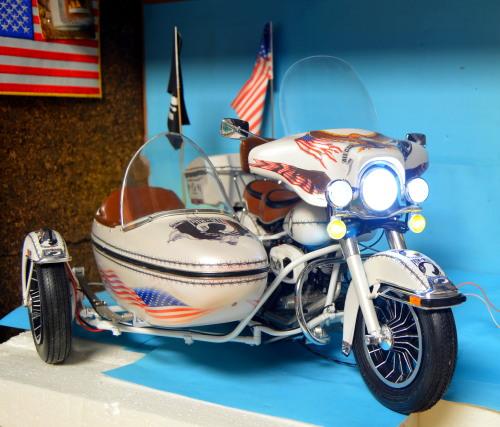
These re the completion photos. Showing various close-ups of some of the decals, murals and the flags. Again, the flags are home made and were added after full completion.
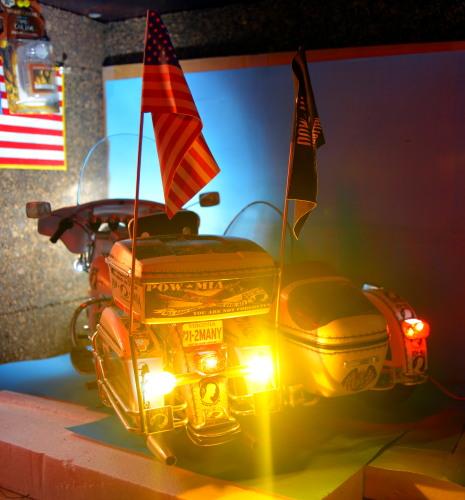
The final photos you see here are with the lights on. Two were taken with the room lights on and the other two were taken in complete darkness.
Now, it's on to the next project...
Hope that you have enjoyed this post.
If you have ANY questions or comments please feel free to leave them in the comments. I welcome ALL comments. criticisms and suggestions.













V cool subject.
Yes it is!
That looks like a daunting paint scheme to attempt to replicate. However, after seeing all of your previous builds, I'm quite sure it'll be another stunner.
Daunting, yes. I am already at work looking for just the right flags to use.
Ditto, Can't wait to see end product knowing how well your previous work has been.
I am really looking forward to this one. I have been searching for the sidecar rig for quite a while now. At a decent price I mean.
Oh boy Oh boy Oh boy
Really looking forward to this one, I'm sure it'll be a masterpiece like your others
I can only hope so. It's getting rather hard to "one up" myself.
Awesome! Good luck!
Really enjoyed looking at this build. The decals are awesome, and very tasteful. I'm sure that you're aware now, that LED's have come a long way, and the associated cabling that comes with them? They give off an excellent light, just be careful with some of the flashing ones. They have a habit of making everything else flash too.