A Work in Progress: Hobby Boss USS Arizona in 1/350, part 2
This article is part of a series:
In this installment we will take a look at fixing the casemate deck, painting the hull, and finally adding detail to the main deck. If you are interested in how we got here, you can find part 1 here: http://imodeler.com/2016/12/a-work-in-progress-hobby-boss-uss-arizona-in-1350-part-1/
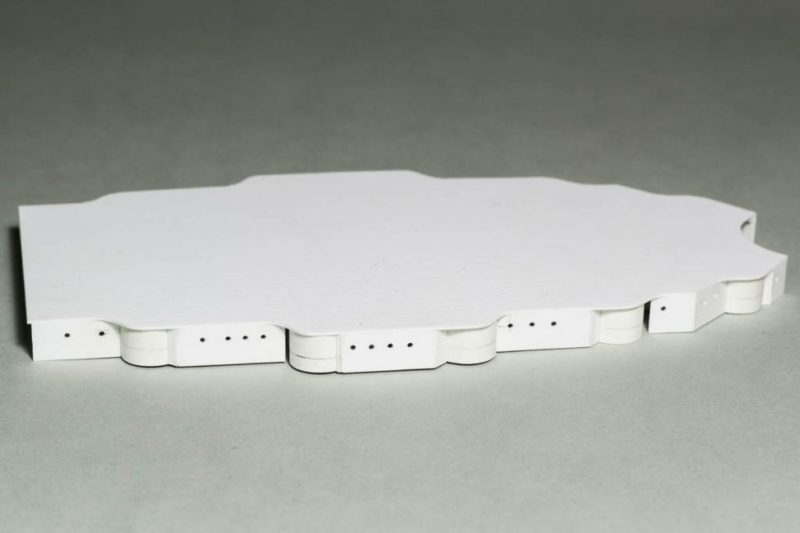
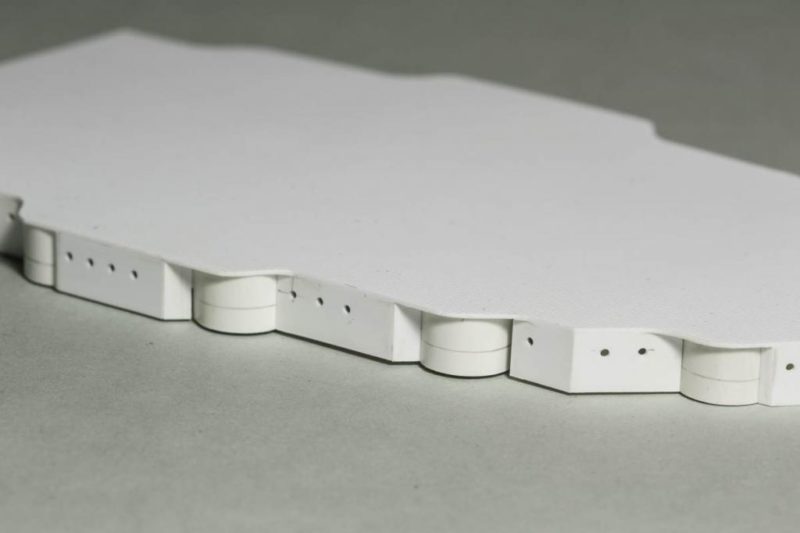
The casemate deck
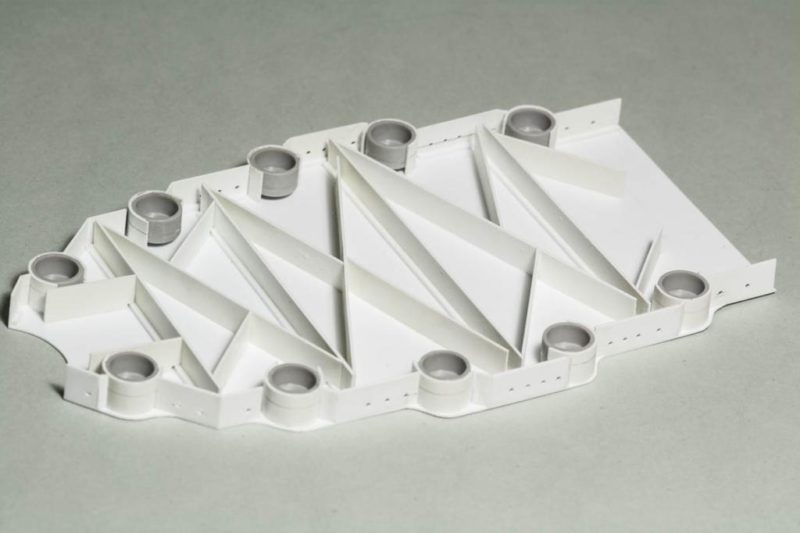
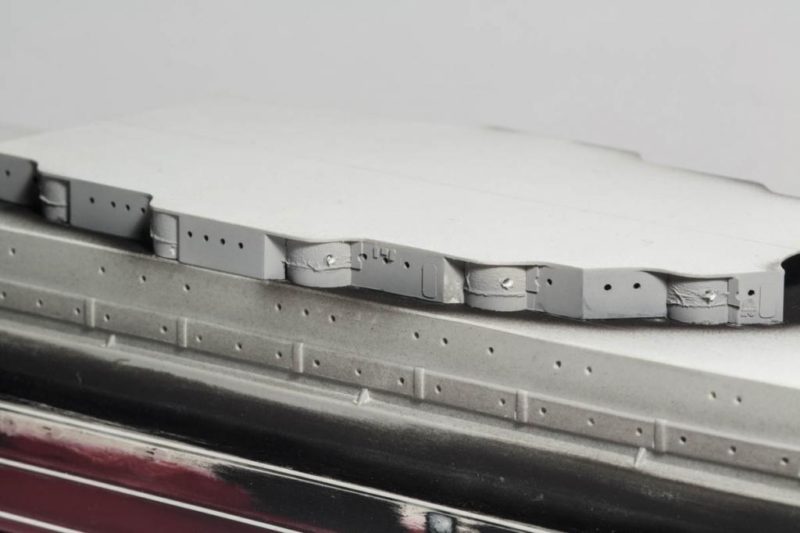
After taking a close look at the ship’s plans, I decided to build the casemate deck from scratch. Eduard provides new side parts for this deck, but as they are designed to fit the kit parts they are not tall enough.
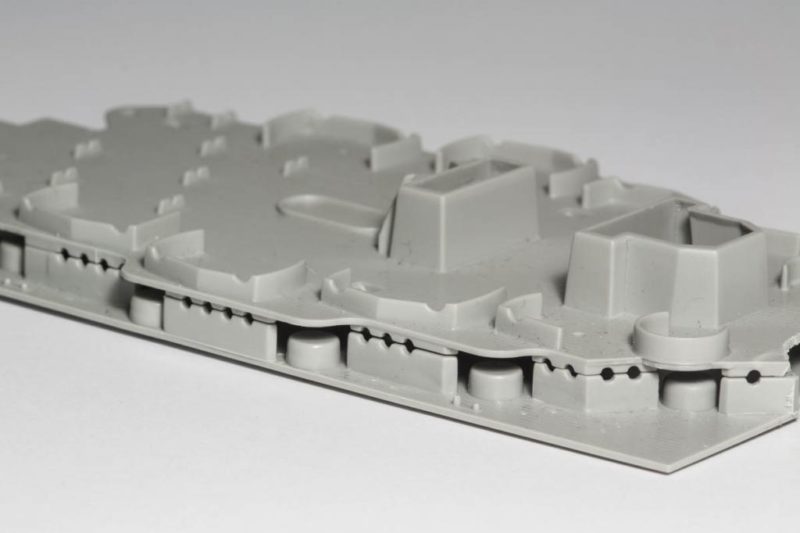
Grandmother always told me "you should never look into the kitchen of even the fanciest restaurant". Well, in my case you should not look at what is hidden on the underside of the deck...
After everything had dried, I started detailing the bulkheads, using PE from Eduard and Alliance Modelworks.
The holes I drilled for the 5" barrels looked a bit ugly at this stage, but they were fixed when the barrels were added. The canvas covers for the gun ports are made from tissue paper soaked in diluted white glue.
I am very happy with the result, as I feel it is a major improvement over the kit parts.
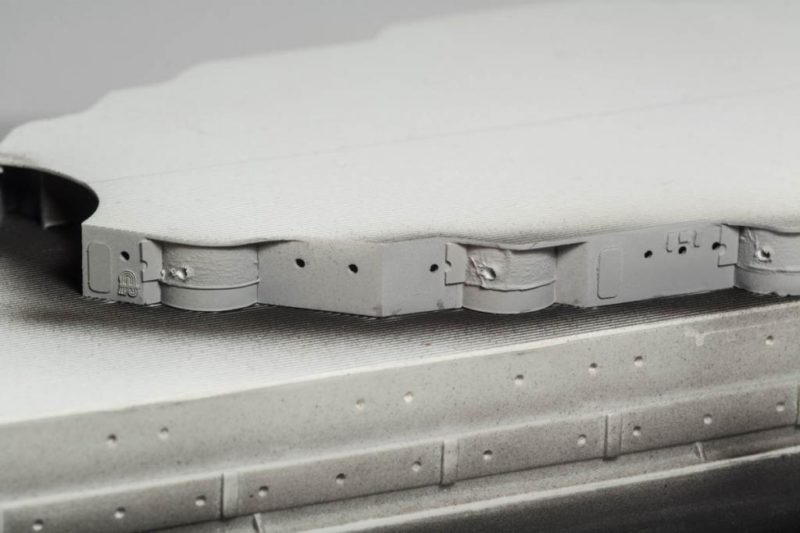
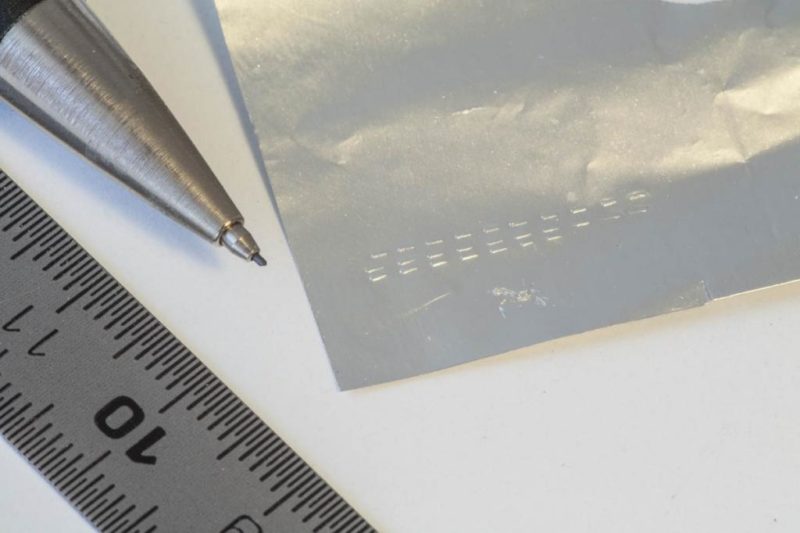
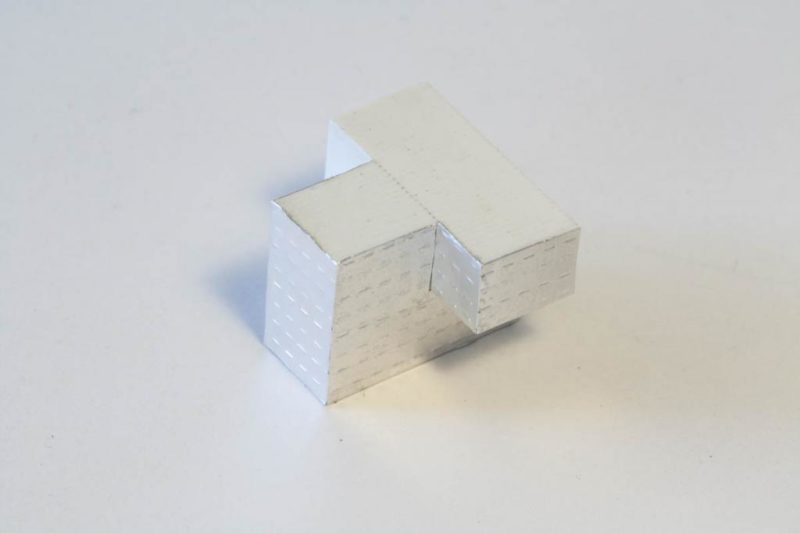
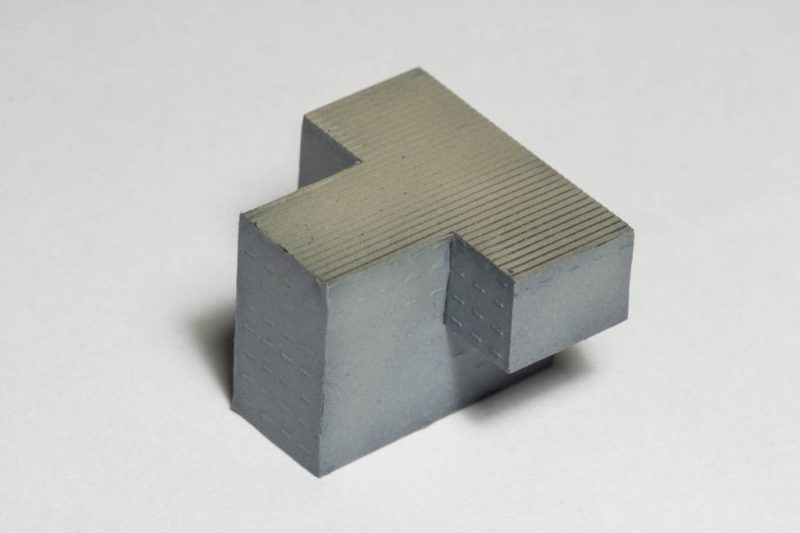
The compartment behind the casemate deck was used for storing groceries, therefore it needed good ventilation. Pictures of the area show the side walls covered in ventilation slits. As I could not find any material to replicate that structure, I tried using household aluminium foil, in which I embossed the slits with a mechanical pencil. The slits are 1mm in length with a 1mm spacing, so it was another mind numbing task...
But it went better than expected, the thin sheets were attached with white glue.
Painted with Life Color Sand and Vallejo Light Blue Grey over a black base...
...close enough for government work.
The hull in color. Finally.
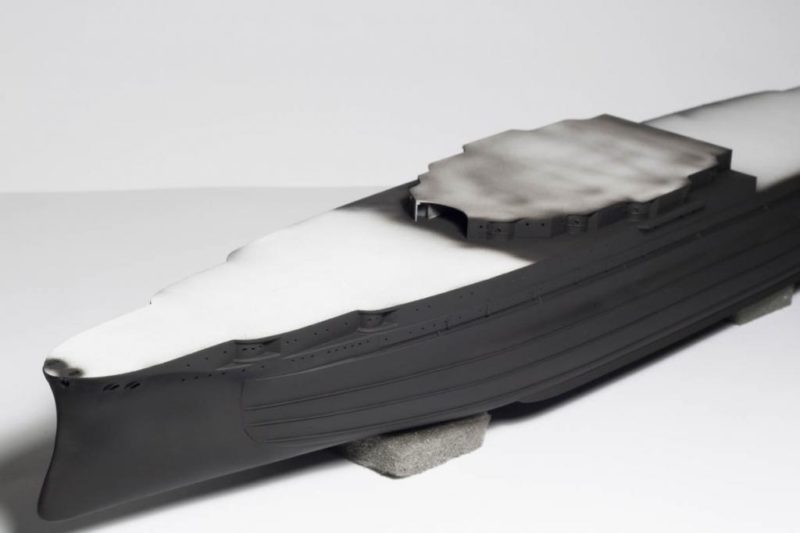
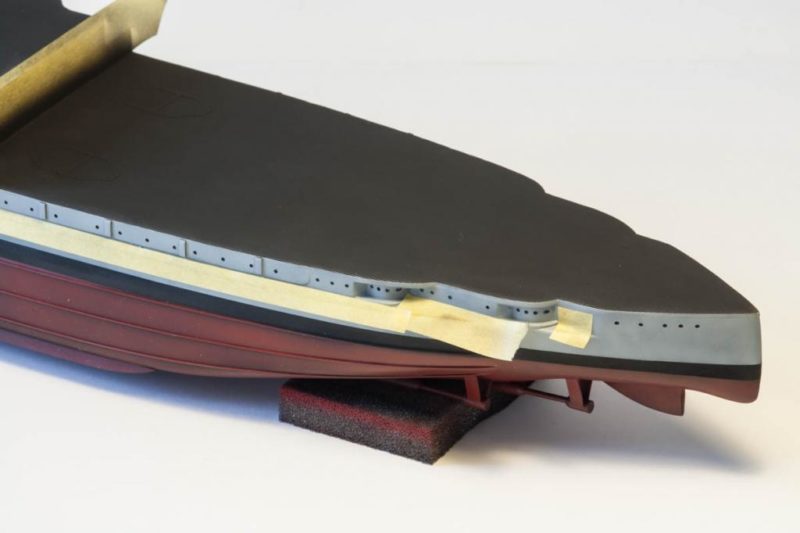
After almost nine months I was finally able to put some color on the hull. The hull sides and bottom were primed with Tamiya Flat Black, thinned with Mr. Color Levelling Thinner.
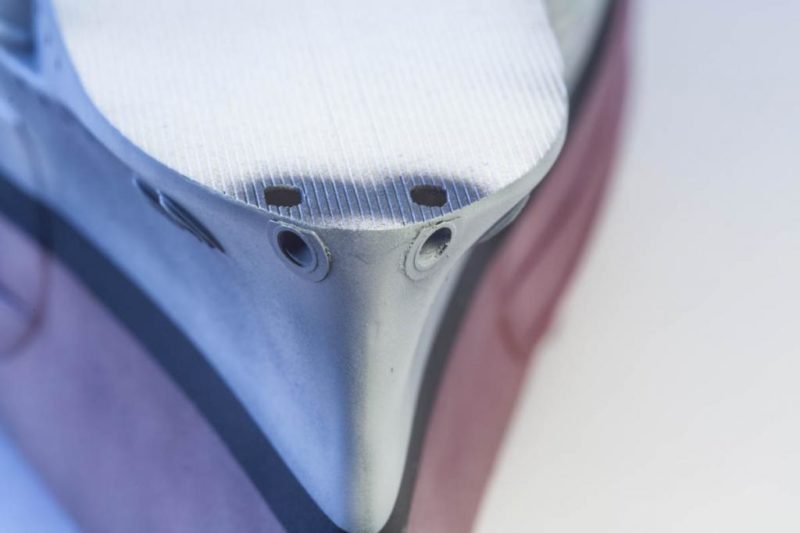
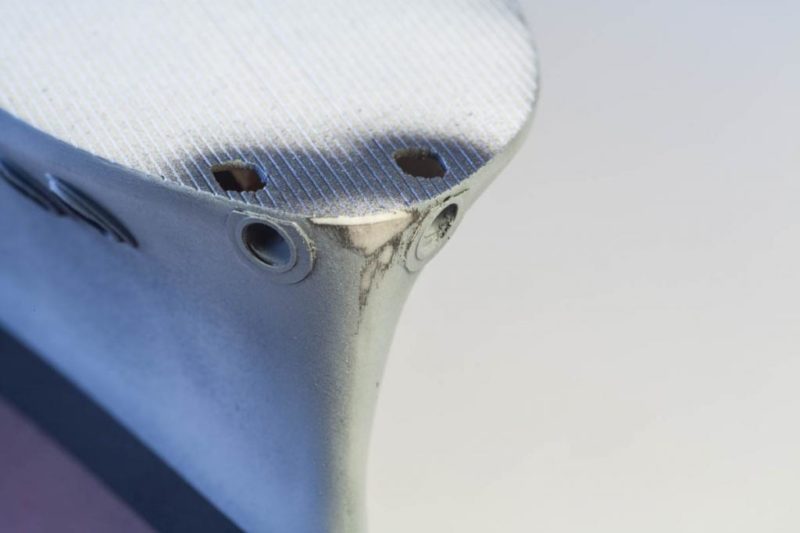
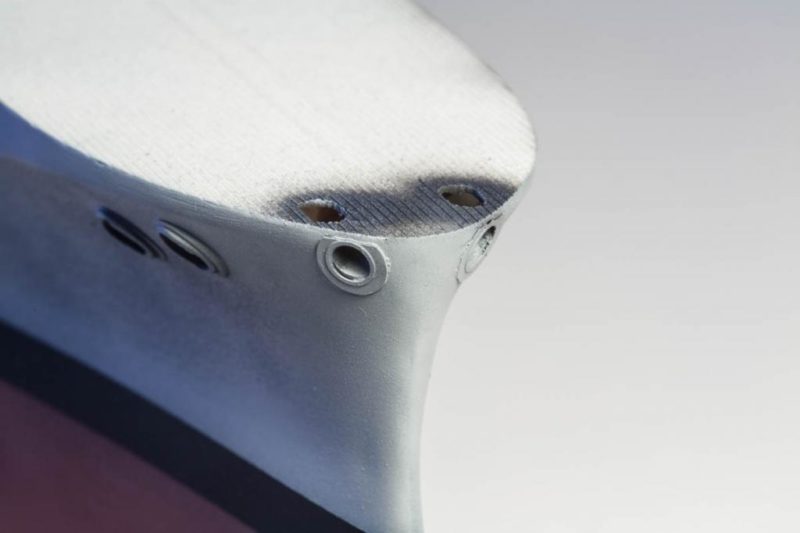
After masking off the boot stripe with Tamiya tape cut to 4.5mm width, I sprayed the anti-fouling with a 4:1 mix of Tamiya Gloss Red and Flat Brown. The hull sides were painted with Vallejo Pale Blue Grey. After everything had dried, I noticed a spot I had overlooked when sanding the hull - directly on the tip of the bow, so rather visible.
Using a flexible sanding stick, the area was sanded...
... and primed and painted again. Quick job, worth the effort.
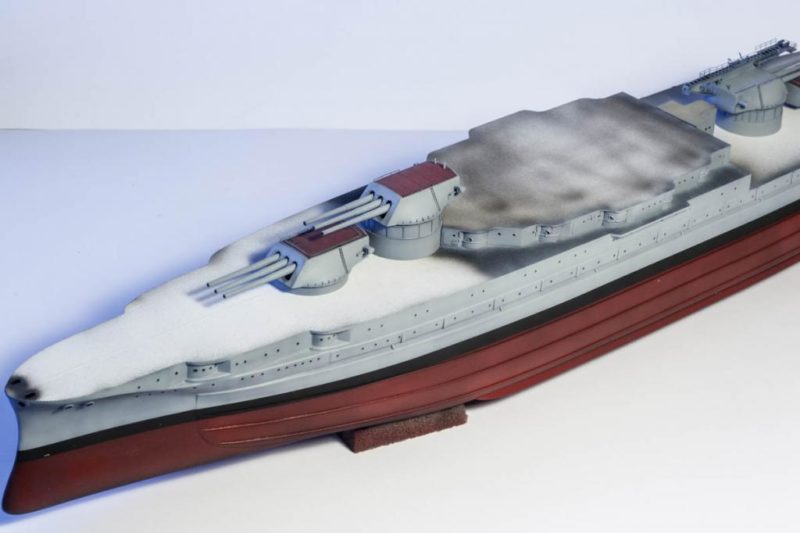
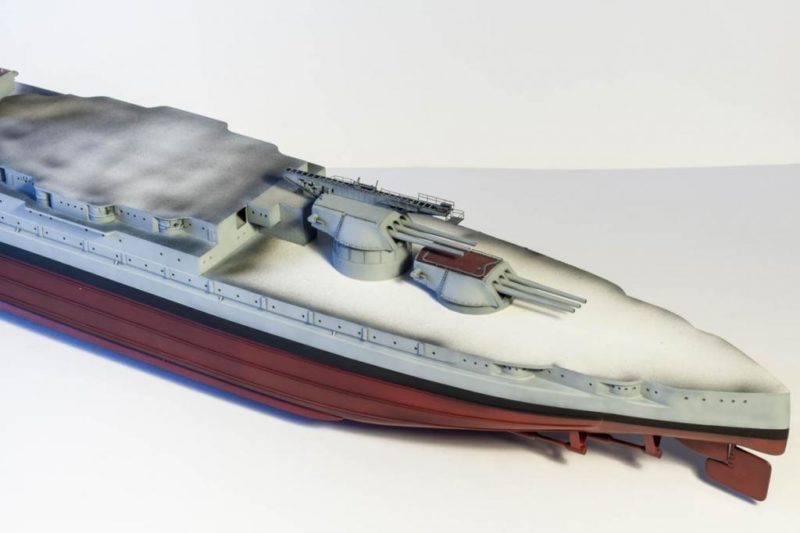
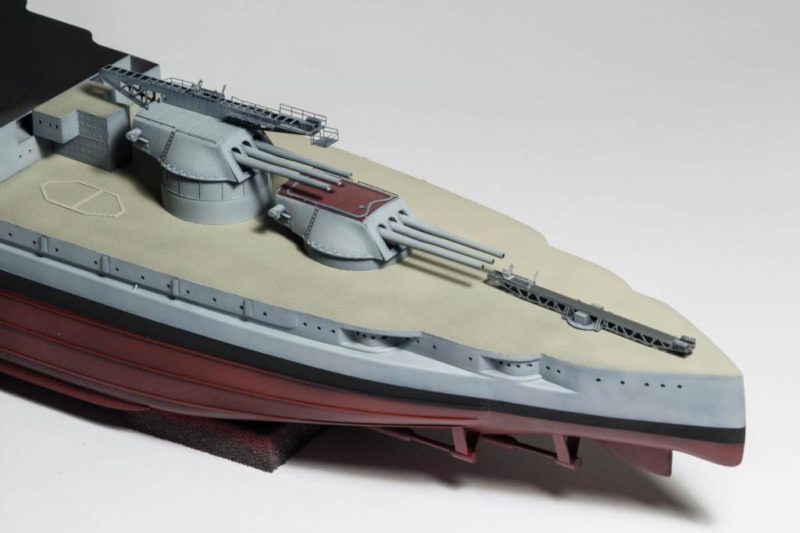
Here she is now, with turrets loosely placed to see what the whole lot looks like.
I decided to paint the wooden decks before doing anything else - the parts I needed to scratch build, like the boat cranes etc., would only be in the way, some tricky masking would be required, so these assemblies would have to wait.
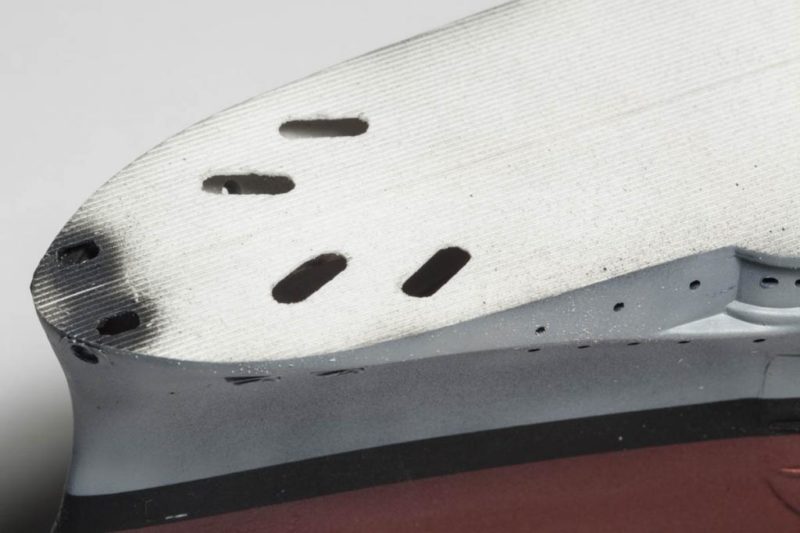
However, the hawse holes needed to be drilled out first. I drew the outlines on the deck using the ship’s plans as templates, then attacked the surface with drill bits in increasing sizes, a scalpel and round files.
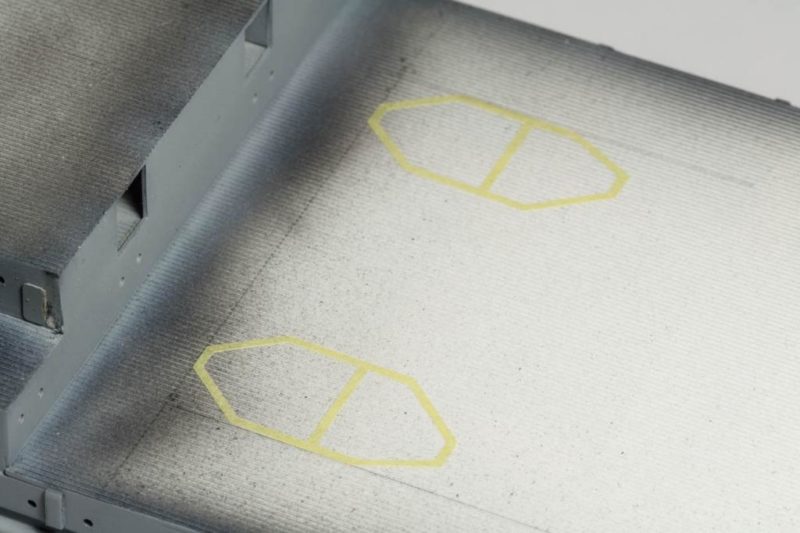
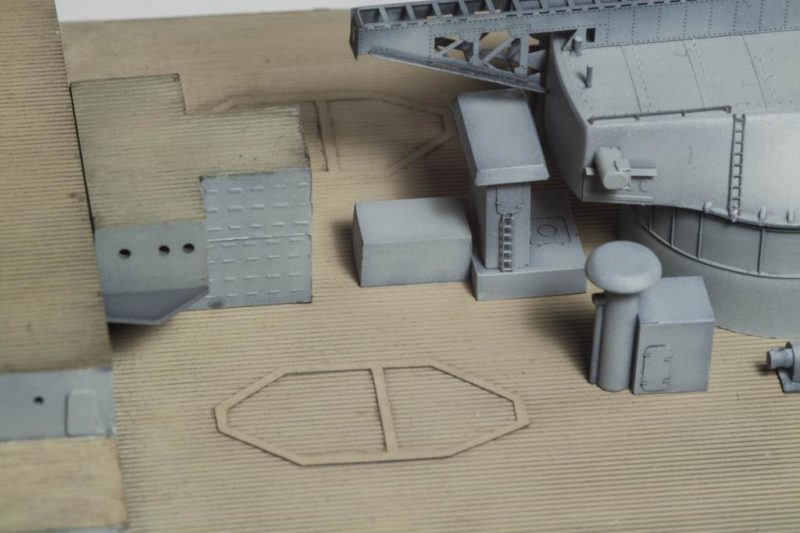
On the fan deck are located two hexagonal shapes. I believe they are the remnants of some sort of access plates. Initially, these were steel plates bolted to the deck, by 1941, however, there were just wood planked outlines left. As scribing them into the surface wouldn't give a clean result, I decided to cut them from masking tape, again drawing them based on plans and cutting them on my cutting machine.
By now we can all sing along, I guess. Base coat of Tamiya XF-1...
... followed by Life Color, in this case FS30277 Sand. Turrets and stern catapult placed for funsies.
Adding detail to the hull
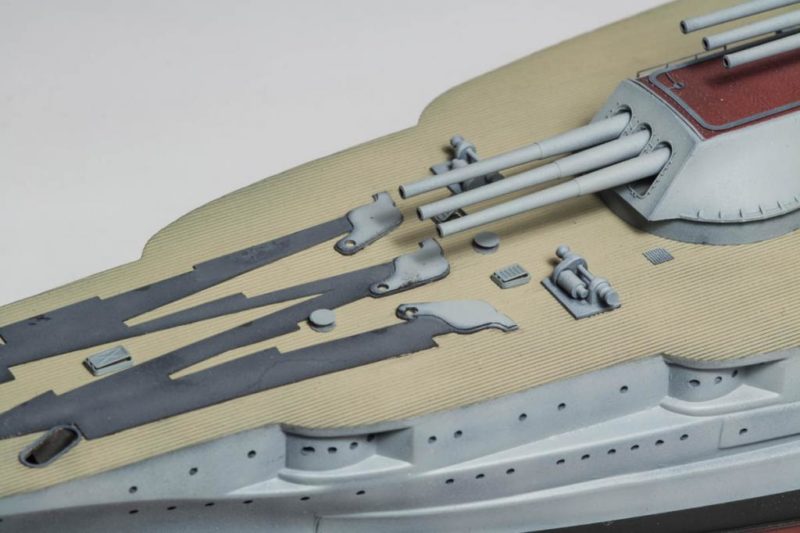
After completing painting the main deck I started adding all the bits and pieces that would have to find their place somewhere. Although I had already built and painted some of the stuff, there was still a lot to do. I like to alternate between building and painting in order to keep it fun and relaxing - maybe not the most efficient way of doing things, but with a monster project like this one I'm afraid I would run out of steam otherwise.
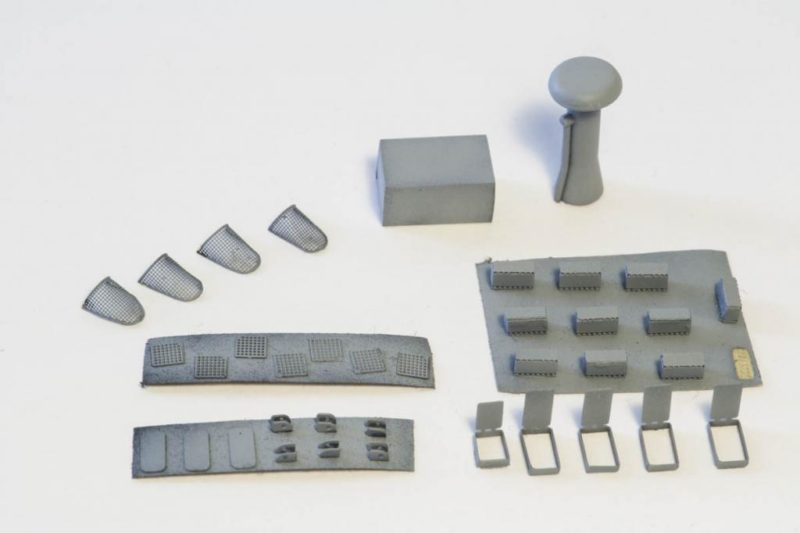
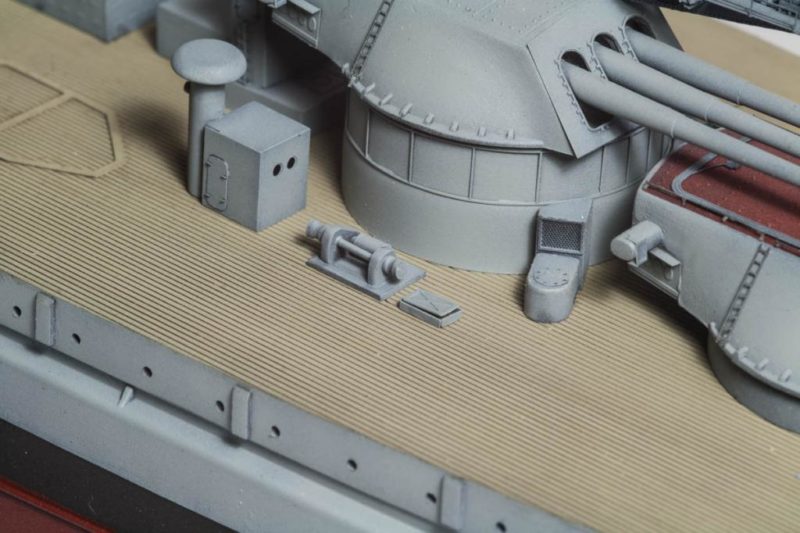
Here are some of the passage ways, ammo lockers, the movie chair locker I had to scratch built, and some other pieces, already painted.
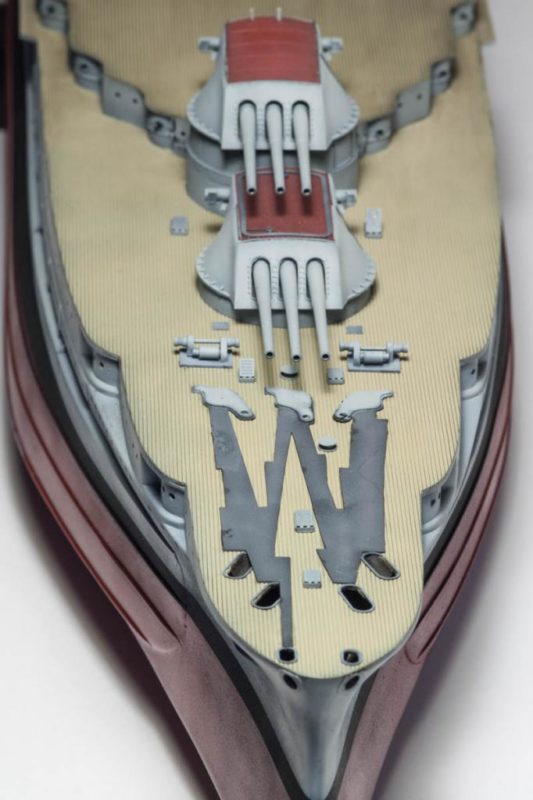
The foredeck received the anchor plate, two of the gypsy winches and assorted hatches.
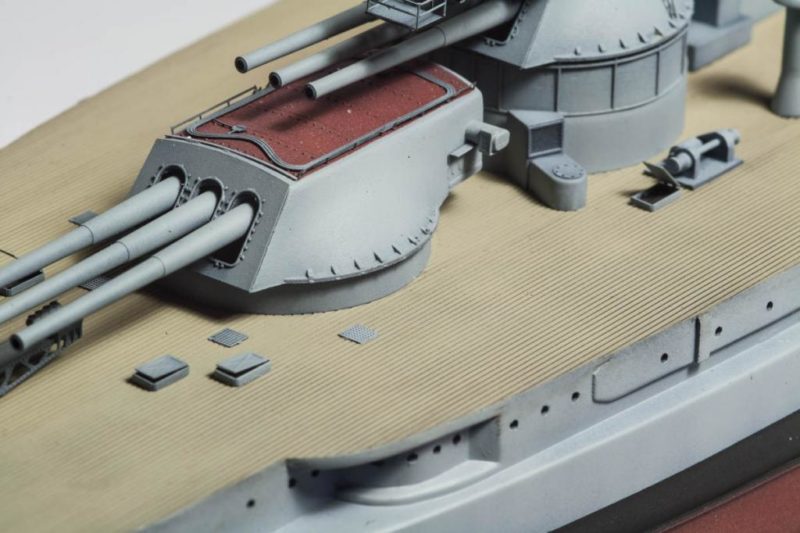
Same on the aft deck, the whole area starts to look suitably busy.
The area in front of number 3 turret with the large vent and the chair locker. Not much space left here.
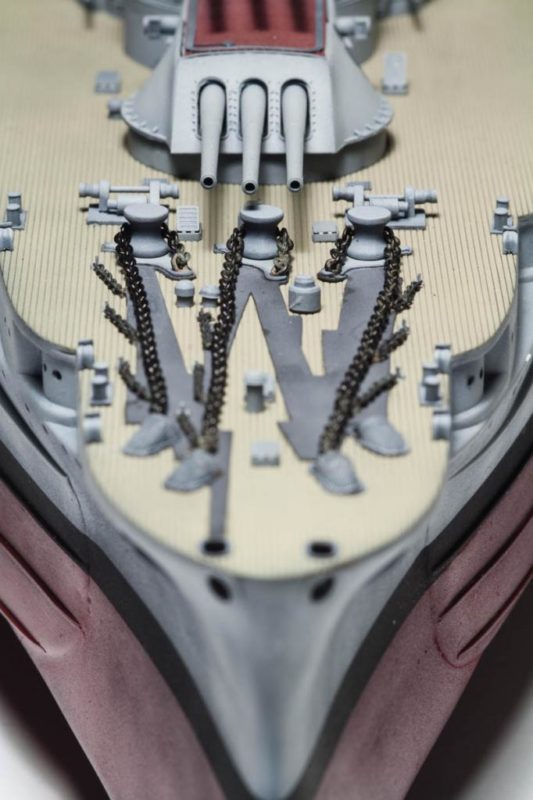
And finally a general view of the bow section at this stage, with the capstans, chains, and the covers for the hawse holes still missing.
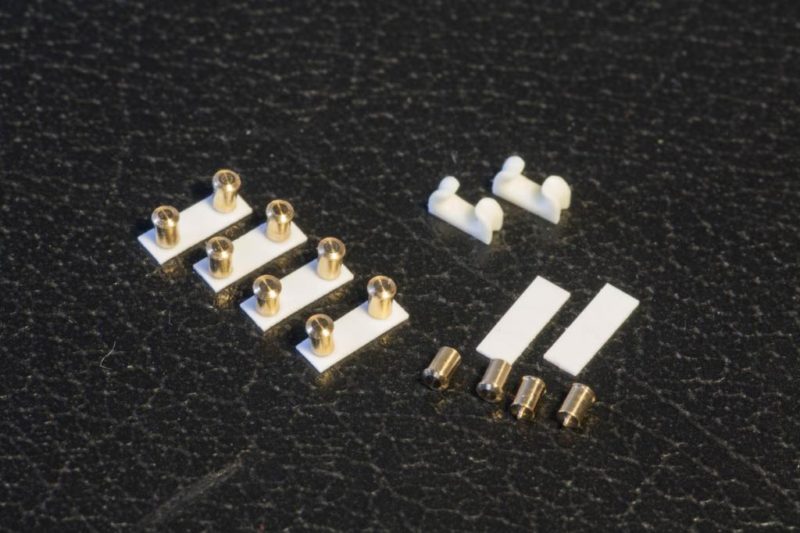
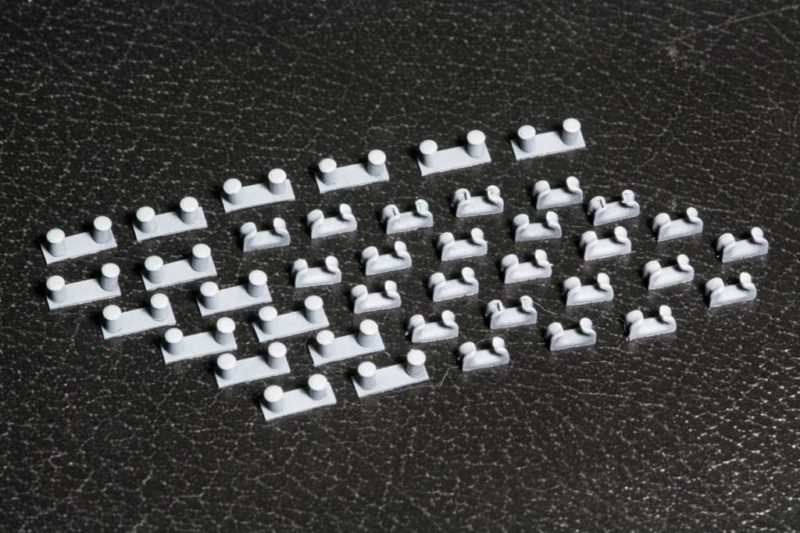
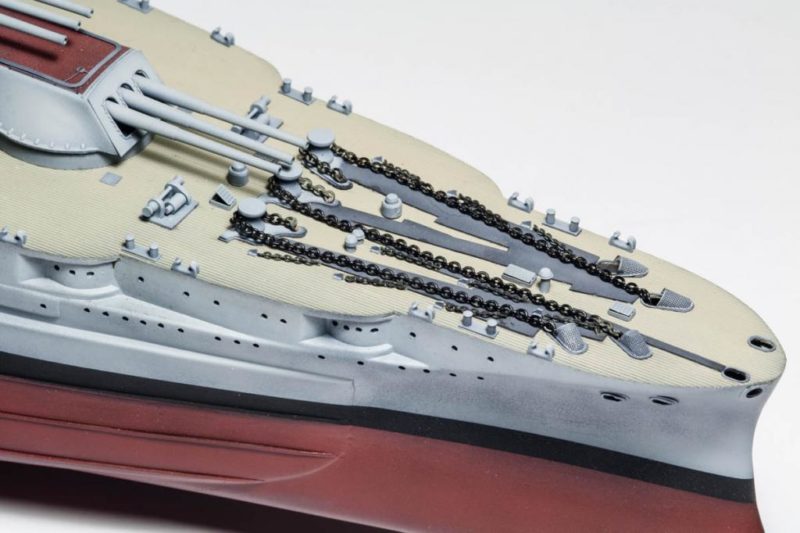
Next up was the process of adding a bunch of bollards and cleats. The bollards are from turned brass parts from Orange Hobby, mounted on strips of 0.2mm styrene sheet. The cleats are resin castings from L’Arsenal.
After adding chains from LZ Models, the bow section was finally done.
The next installment will take a look at the structures on the casemate deck and the flag bridge.
Coming on nicely.
This is modelling to my taste!
I especially like the scratch built casemate deck.
Keep it up!
Museum quality craftsmanship, sir...I'm in awe of your talent(s).
Incredible, i understand your project as a scratch build basing on some parts of the kit.
How many nights must I sleep till part 3 comes?
Wow ! This is simply amazing work ! Looking forward to part 3 ...
Thanks guys, I really appreciate the feedback! Bernd, I guess you are right - just the other day I noticed that so far I have used around 20 parts of the original kit... Halvar, I'm afraid it is going to be a couple of nights 🙂 Right now I am building the whole bridge structure and the boat cranes, while trying to get the Airfix P-40B finished for a build review. And then there's that Spruance DD staring at me from the shelf, demanding progress...
Is there a part 3 to this build? Very much interested…