Final step. Install the bomb bay doors, windows and landing gear. I will display this with the bomb bay doors open.
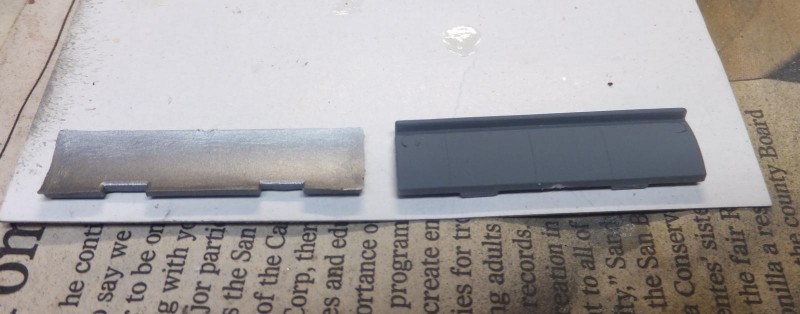
The rear bomb bay doors are of 2 pieces, LH and RH side, interior in aluminum.
-
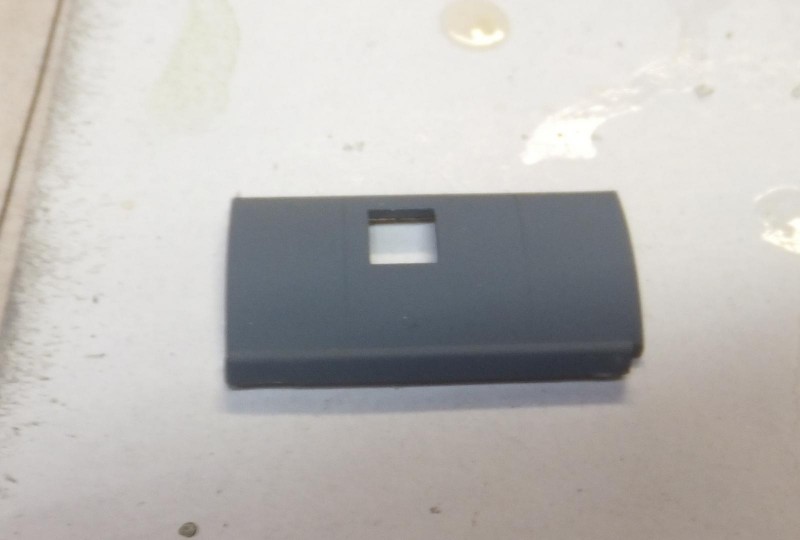
1. Did not use the kit provided windows
The kit provided windows were really thick and not the greatest when test fitting. In face I ended removing those I installed on the fuselage as well. I attached each bomb bay door, Fit here good positive attachment with little fuss.
-
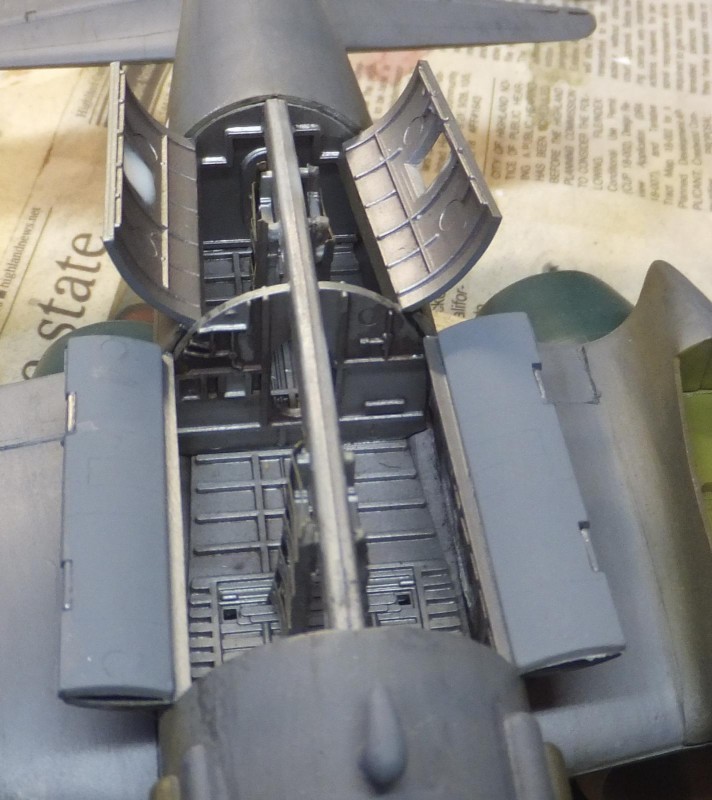
1. wash to highlight details in the bomb bay
-
1. Airfix really provided decent details for this scale
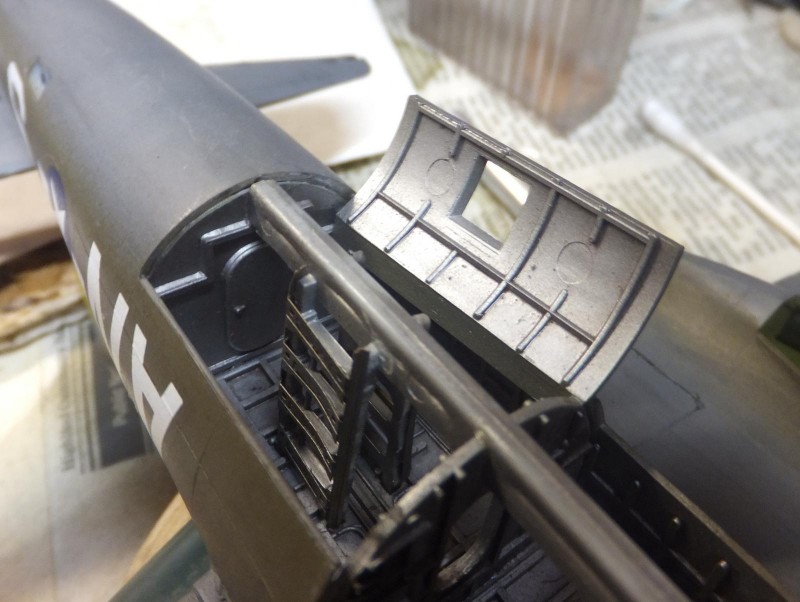
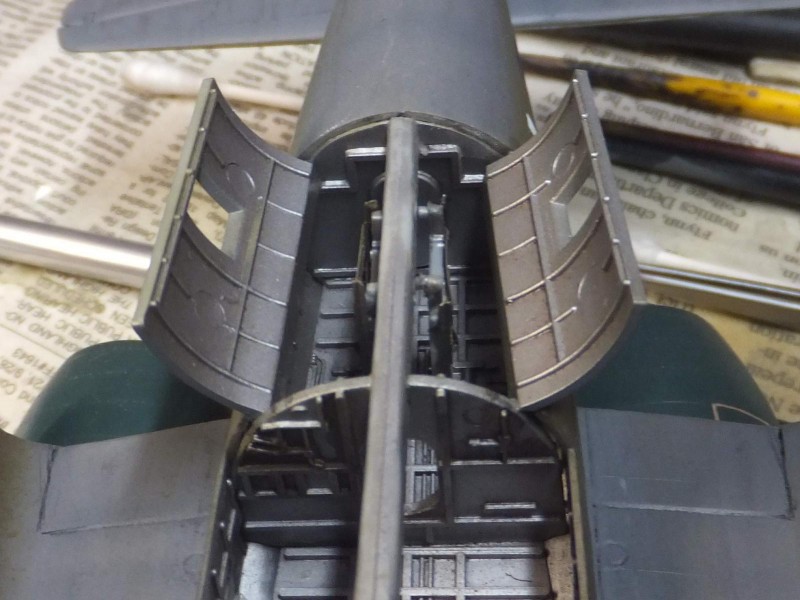
Next up the main bomb bay doors were assembled and attached to their location on the fuselage.
The Marauder has a unique folding type door as it opens to drop it's payload.
-
1. Unique folding bomb bay doors
-
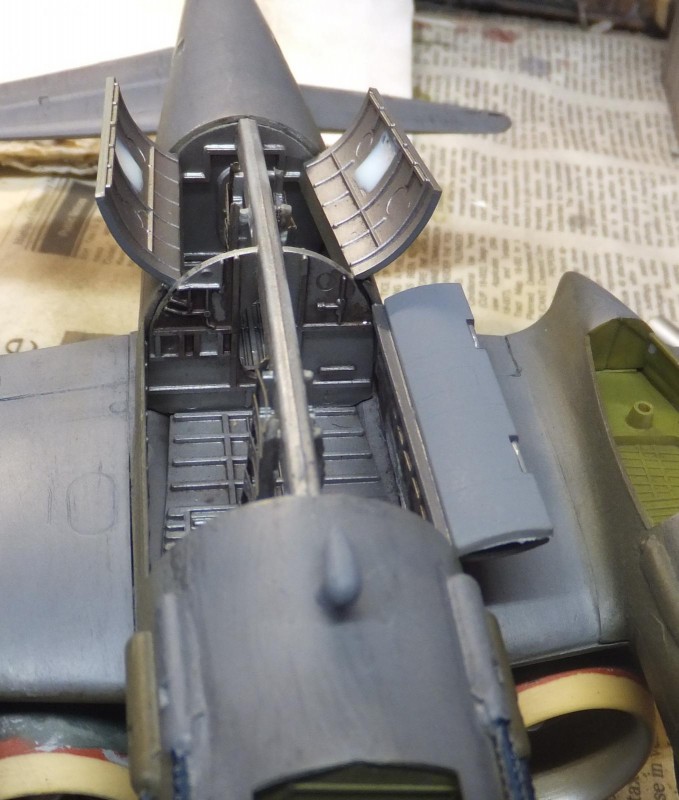
1. Portside bay door installed
-
1. Very clear window once the cement sets
At this time I attached the football antenna located between the nose wheel bay and bomb bay.
At this time I applied Testors clear parts cement for the windows. This stuff works very well. A stronger version of white glue what it actually is. Dries very clear. Also great to attach PE bits in areas where the PE is not under any kind of stress. I used for the windows on bay doors, rear windows around the tail and behind the cockpit.
-
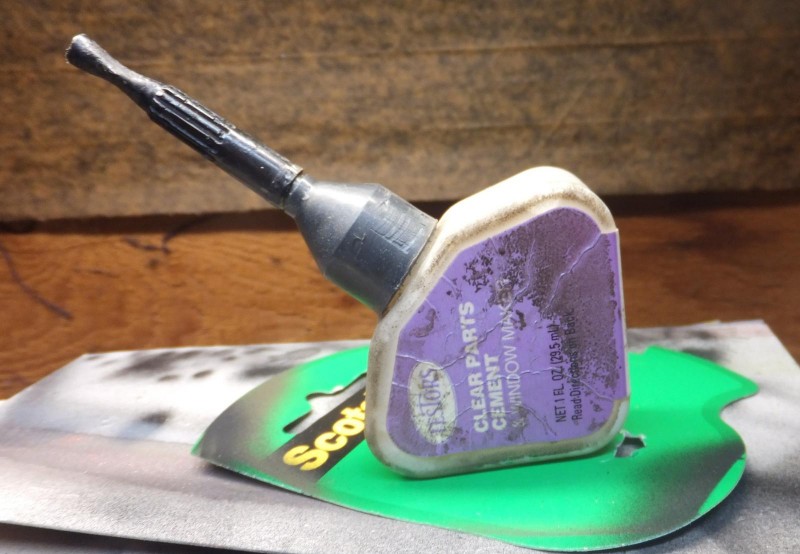
1. Testors clear parts cement, This bottle has lasted 15 years. I also use it to attach PE interior parts on low stress areas.
-

1. Testors Clear cement for attaching clear parts, also works very well to make windows.
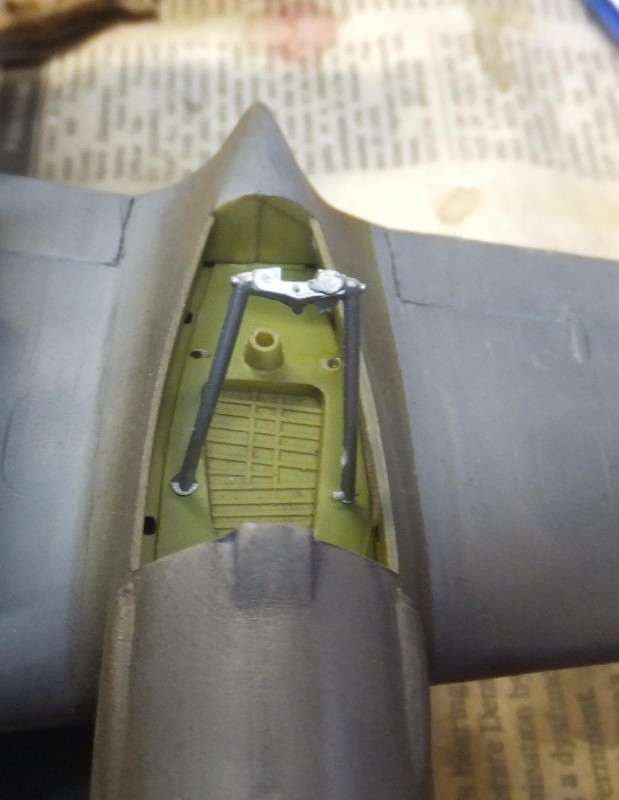
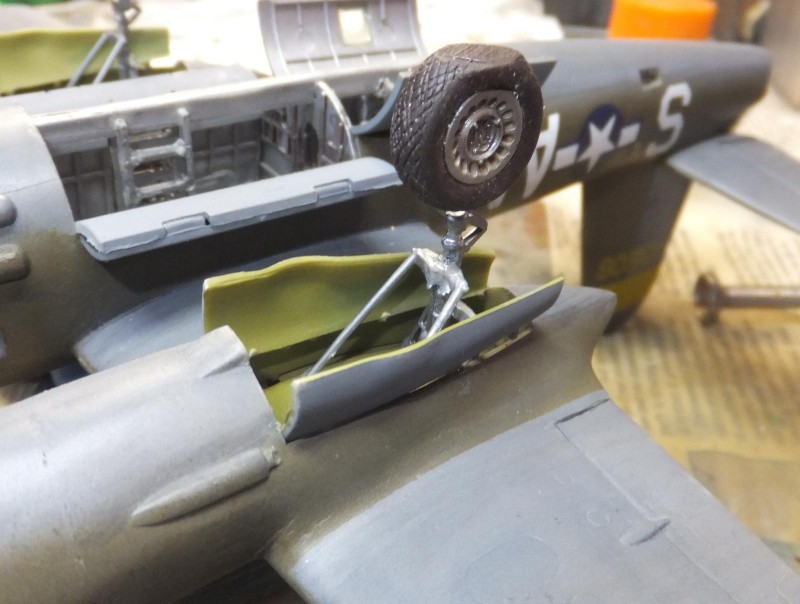
Next the landing gear starting at the nose. Attached the nose gear strut and one of the doors.
-

1. Portside nose gear door attached
Working on the main gear assy. Involved several parts that make up the main landing gear assy. I used True Details resin wheels for this build. Using a pin vise to drill out the holes in the hub so they slip into the axle stubs on the struts.
-
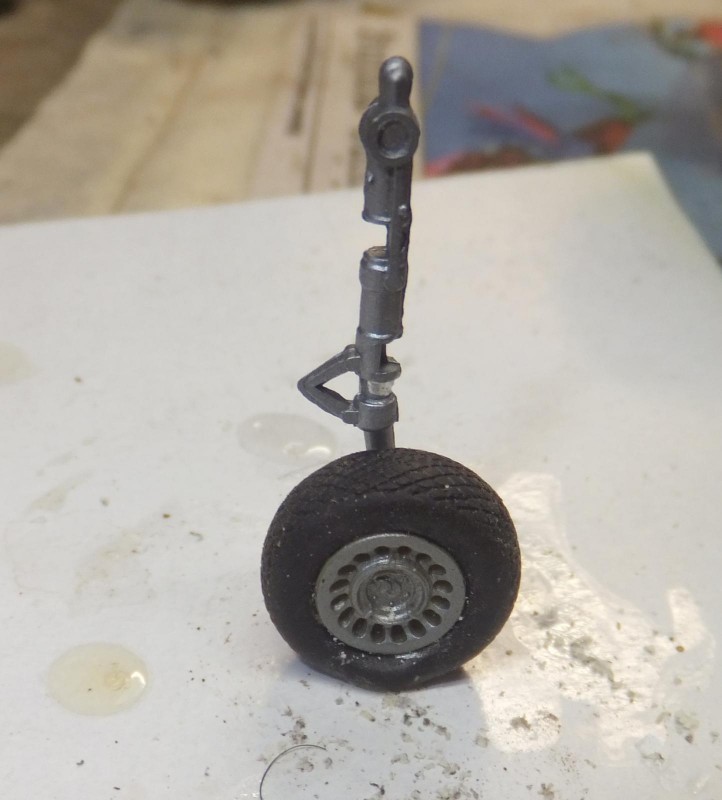
1. True details resin wheel assy
-
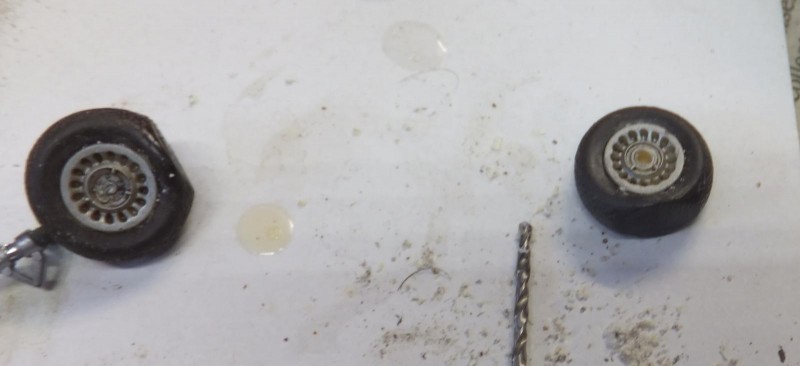
1. pin vise drill to open the wheel axle hub
2. hole opened to allow the wheel to be attached to the strut stub axle
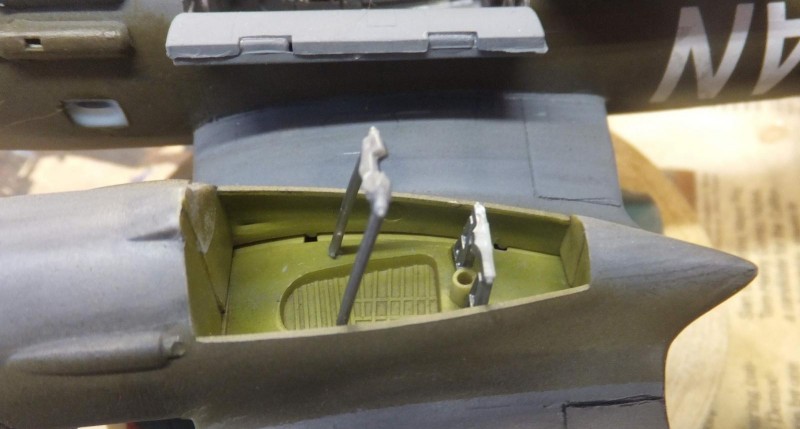
Next to assemble each gear struts before installing them into the main gear bays. After some test fitting for proper angle and to make sure they will fit without failure down the road. And Airfix did good here in providing a very positive attachment points to allow a solid fit of the struts. No wobble.
-
1. test fitting of the main gear retractor assy
-
1. Rear retractor inserted just see how the main strut would fit into the attachment point within the gear bay
2. interior green
-
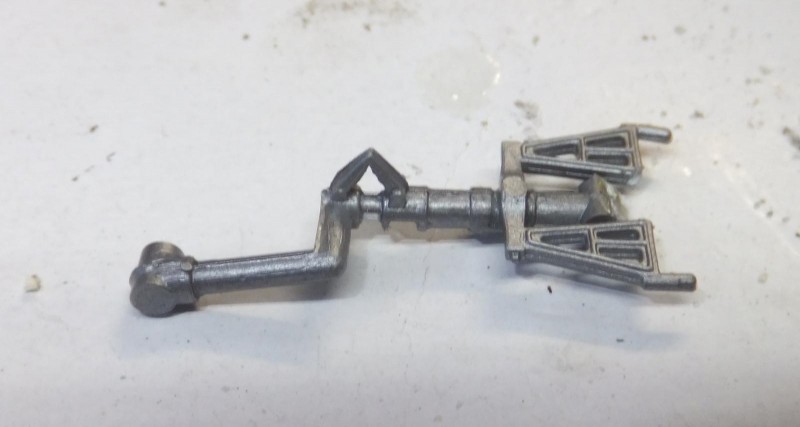
1. Main strut w/rear rear retractor attached
-

1. LH main gear assy installed.
Now to attach the main gear doors. Twin engine gear bay doors tend to be finicky. But these fit very well also. Not bad for a kit of 1970's vintage.
-
1. RH side completed with doors attached
Next the landing lights are attached to the leading edge of the wings, sorry for the blurry images, but couldn't quite get a sharp image of the area for some reason. But here these lenses I had to wrestle with a bit to get them to fit properly. I used a chrome marking pen for the inside of the lenses before attaching them to the wings.
Next the tail gunners window is installed, and the one common factor, the window is not a perfect fit either. Small gap which is fixable under the tail. The camera picks these little details easily, from afar you can't really see it.
The props are slipped into the engines.
And finally the ID lamps are painted under the RH wing, Tamiya Clear Red, Green and Amber
Just need to attach the dorsal turret and she is finished.