Please remain seated until the plane has come to a complete halt
Not the nacelles this time, but some more tuning and scrapbuilding some seats
The windscreen gets some more attention, and the interior is in the works. I really feel a need to make some more of these and start up yet another production-line here at HalfWorks, but that have to wait till some more 109’s reaches the exit-door.
Now, the up right supports will as Stephen said need to be thinned. I have started with the windscreen part, and will address the door later on.
-
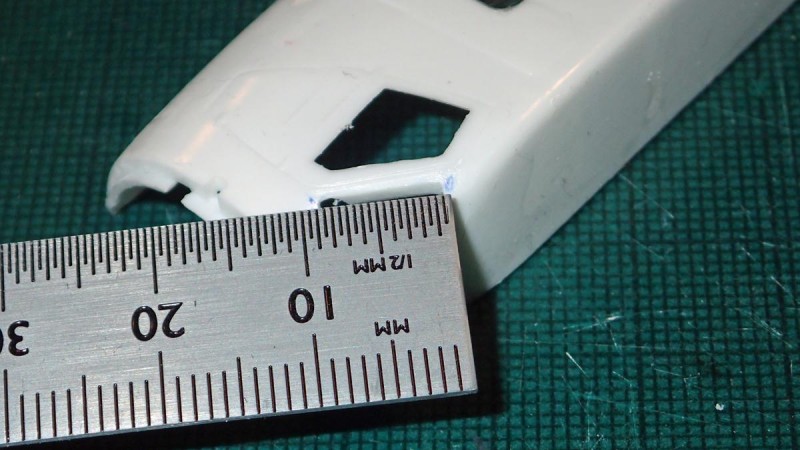
1. Think the door will at least have to be as thin as the post - and that may be thinned a bit more.
It is all done by eye, but check with the ruler.
-
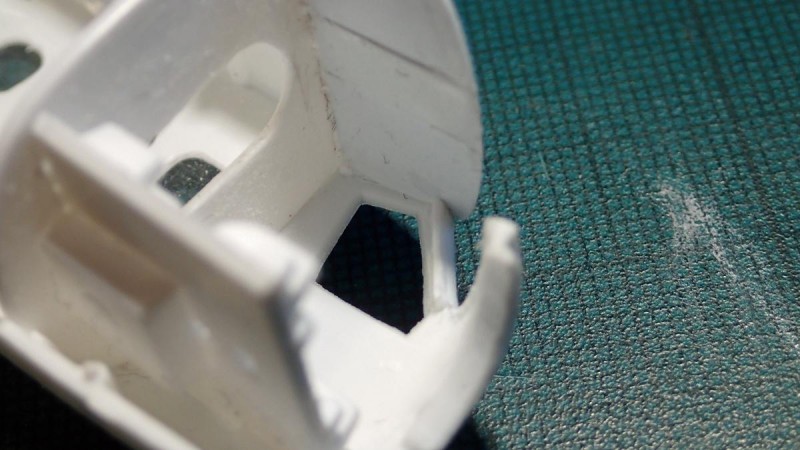
1. Thinned to the frame for the old windscreen - more thinning will be needed here I think
2. The plug for the upper part of the window section has been made into a new loft - will get throttles and more bits later on
-
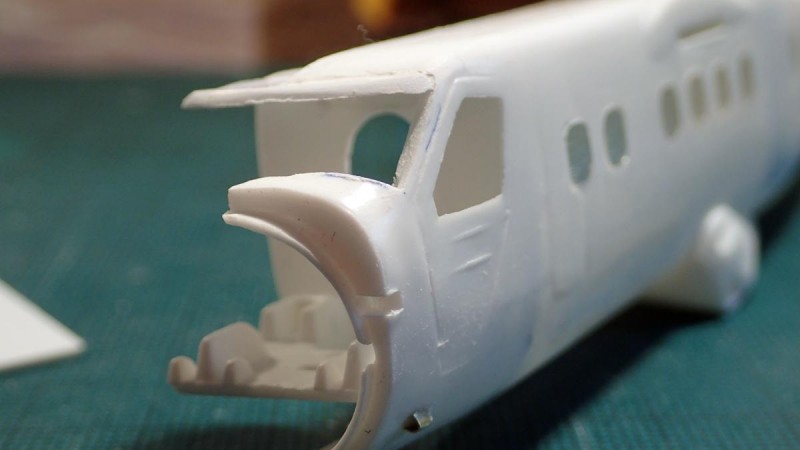
1. more filler please (will be done when fuselage is assembled
2. Airscoop from brass tube that has been cut open
I think it will need to be a bit thinner. The door can easily be thinned and then the window will be cut, leaving the fixed triangle (maybe – may be replaced), as the larger part is with parallel edges, it can easily be replicated in clear sheet – maybe even leaving it a bit open (slides down into the door)
There has been some progress in the cabin, with the airstairdoor made from plastic sheet – just a rough shape as it is closed.
-
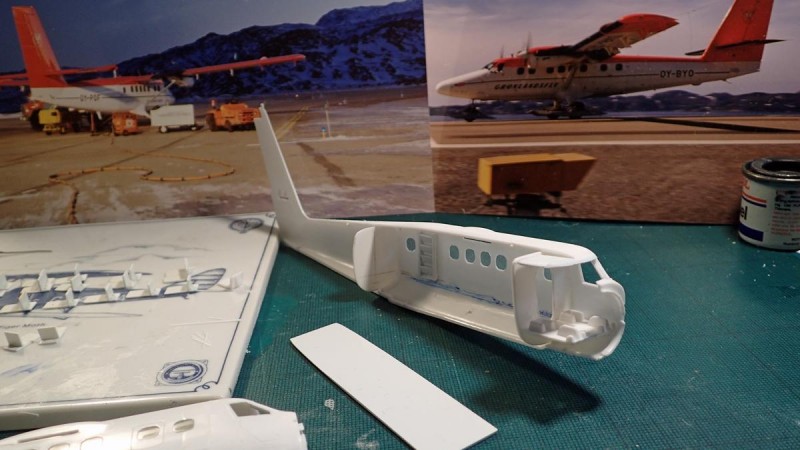
1. airstair
2. OY-BYO has double doors here, but I am building OY-POF that had an airstair at the time when I flew in it a long time ago
I think it will be visible with the smoothened glass – perhaps even through the windscreen as the door has been opened!
Seats are in progress, and just for the fun of it I have prepared them for framing, not just mounted on blocks as in the CAF version built.
-

1. to be trimmed for legs
2. Has been trimmed and front leg and supports made from stretched sprue
3. Sprue from the kit - the "trees" are square, and stretches so. Perfect to resemble the square alu legs and supports!
-
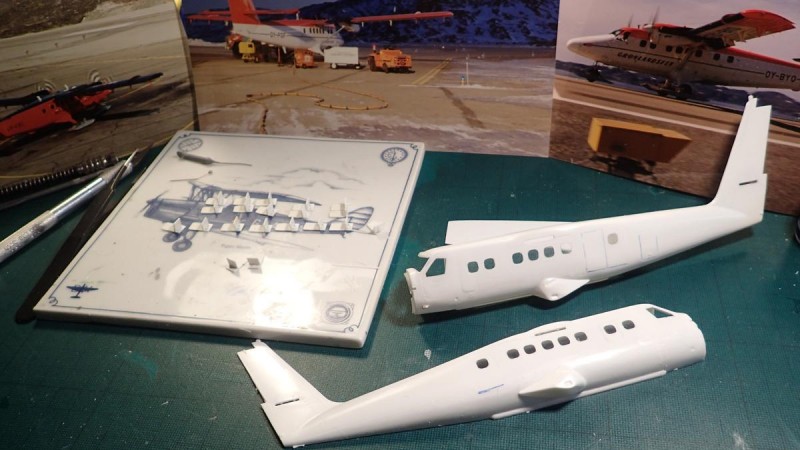
1. really like how the windows has turned out after all the work!
I do know all the work may be hidden, but I wanted to challenge my learningcurve, and if the work pays off, I plan on a future build with open doors.
And now, as the coffee has run through, I will do some armchairaviation before going back to the bench.
With the degree of attention (or lack thereof) I have it is difficult to tell what’s next – you simply have to stay tuned to find out! – feel free to comment