Well, I didn't intend to do a WIP thread, as this was originally intended as just a "cleaned up" OOB build, using an aftermarket set of decals to spruce up an old Frog kit. I didn't plan on what happened, or I would have done more research on the front end, and planned a more organized approach to the project! The more I got into it, the more I decided to take on as I dug further into the aircraft, and what others had done to improve their builds...
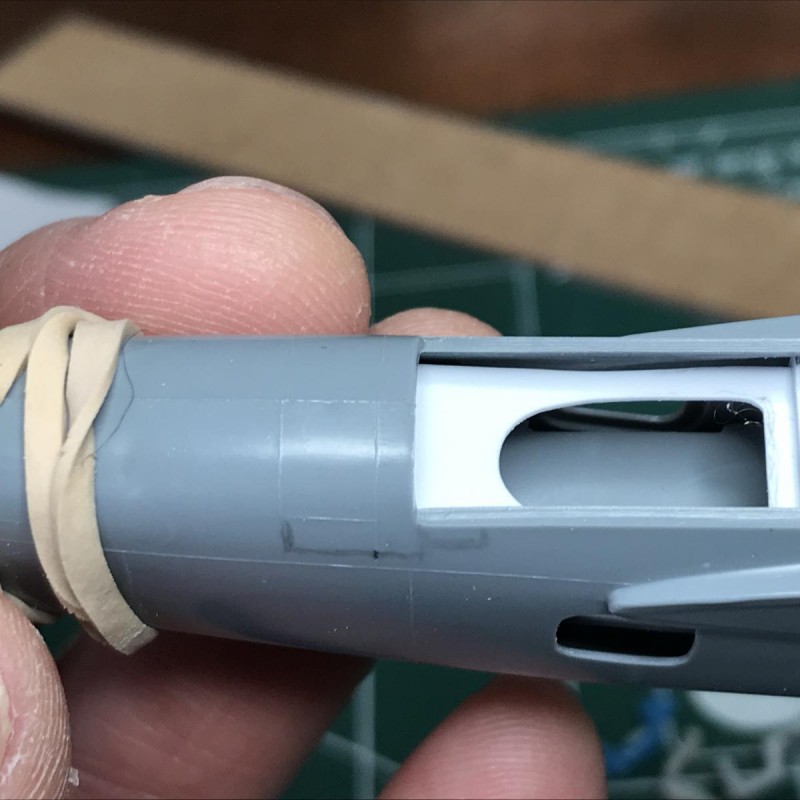
I started by just drilling out the exhausts and chin intakes, and then saw the gaping maw that was the main intake, and realized I'd have to at least solve for that! I found some copper mesh online, and fabricated the "Y" splitter from styrene - painted the mesh black and highlighted with silver pencil to make it stand out a tad.
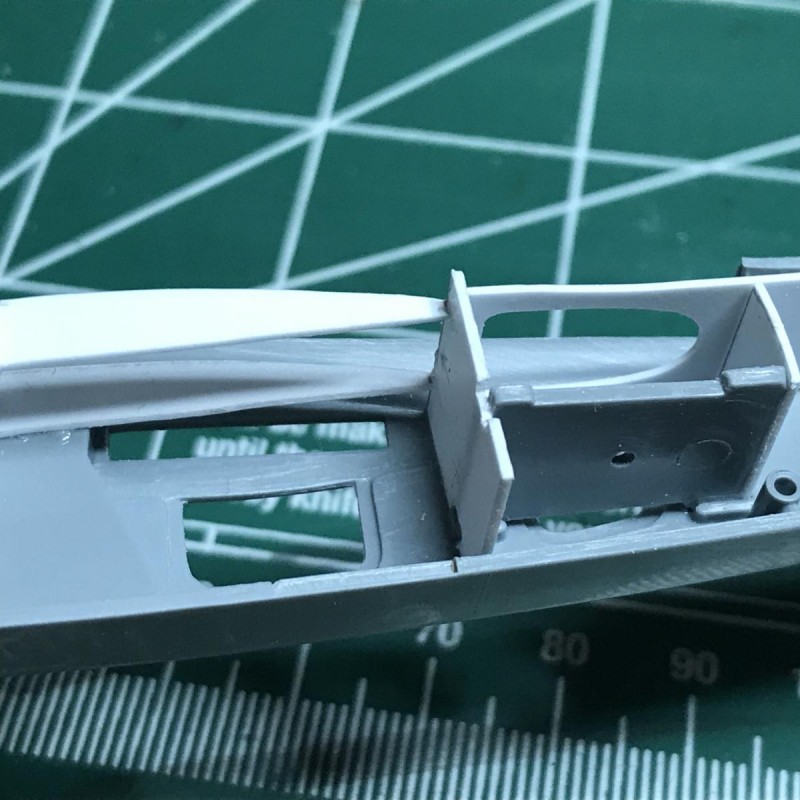
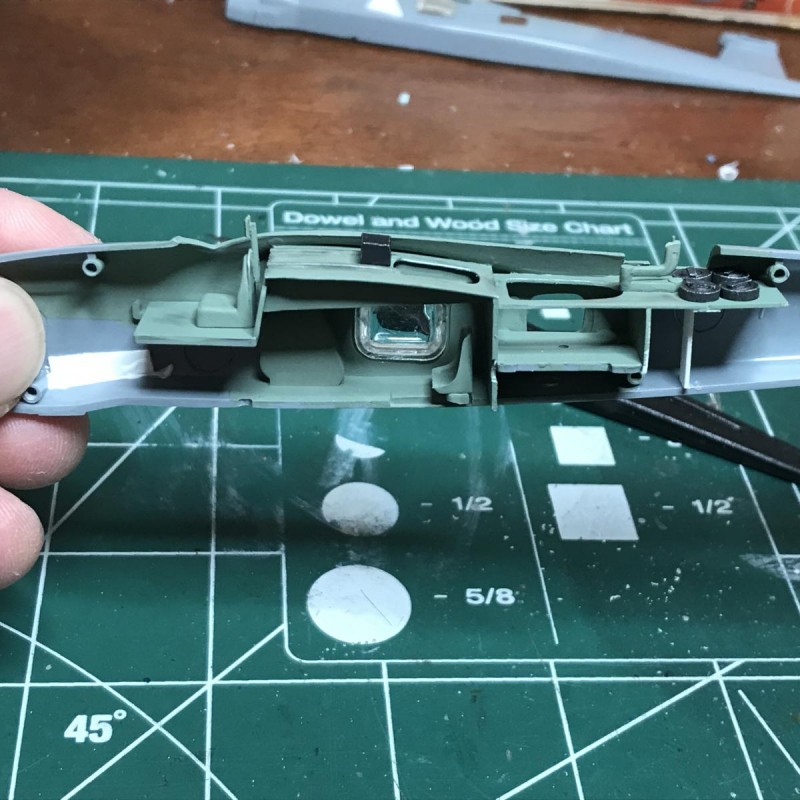
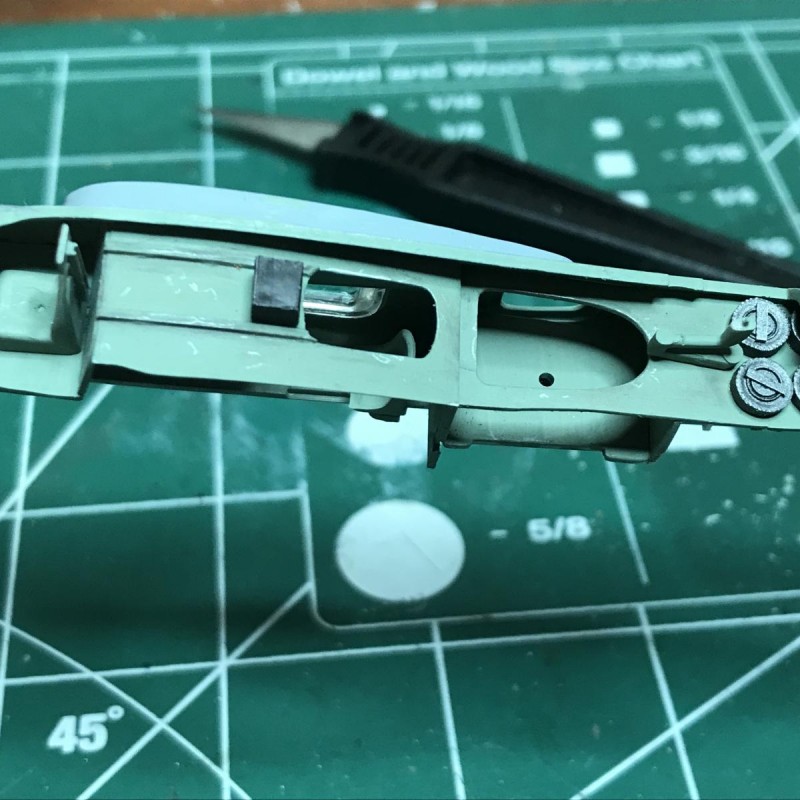
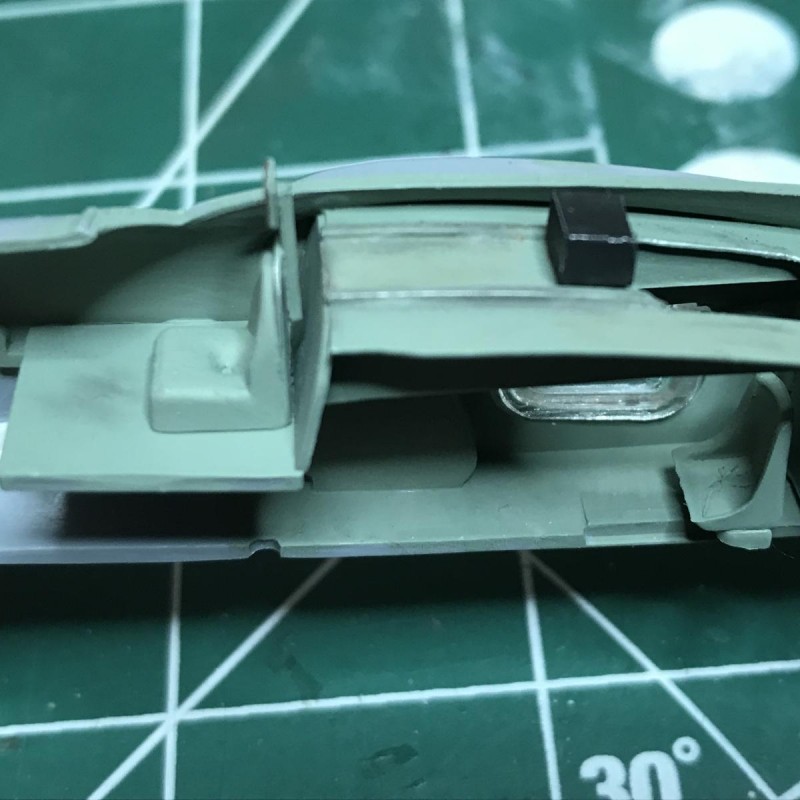
I had only intended to add a few cockpit details, as the canopy was in really sorry shape and hard to see through. But (seems like there's always a "but..."), I found a set of canopy masks, and figured I could sand/polish up the canopy to be more transparent, so decided I better add some detail. Only then did I realize how much was missing! The kit only had a section of floor for the pilot and gunner, and a seat for each - that was it! No IP, no bulkheads, no navigator compartment (or navigator), no gun! So - out comes the styrene.
-
-
-

-
-
-
-
-
-
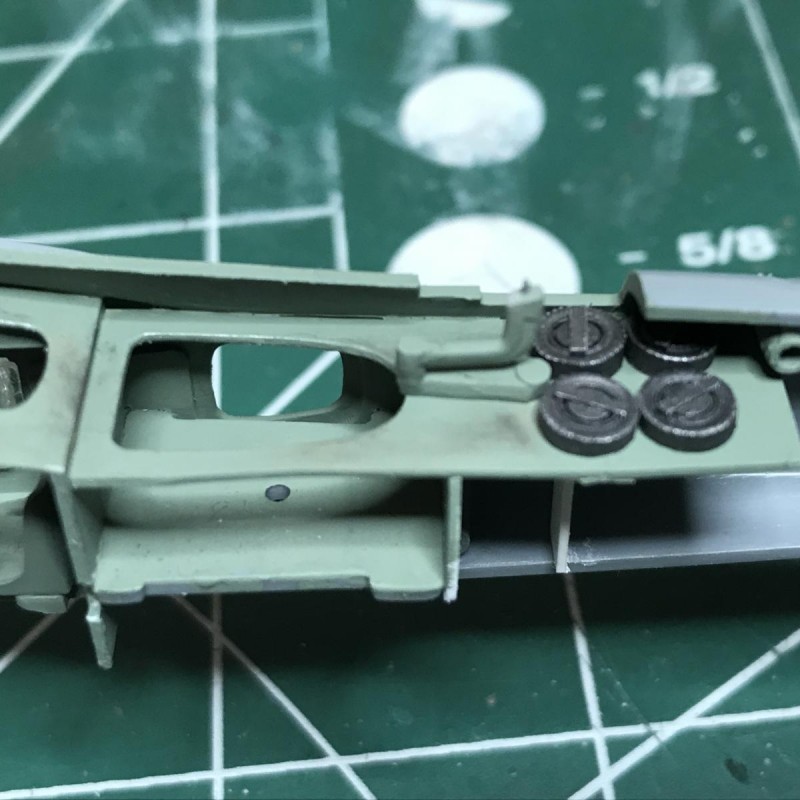
Next, I had to manufacture a Vickers gun. I found a "2-barrel" piece in my spares box, and then using styrene and a set of engine trolley wheels from an F-14 kit sanded down to size, I created the gun and spare magazines you saw above on the rear deck. They are a tad over scale, but at looks better than nothing! The swiveling gun mount was made by snipping some spare landing gear legs (since all my builds are wheels-up, I got lots of those in the spares box!), put together with a piece of wire.
As usual, the landing gear doors didn't fit and cover the openings in the closed position, so I had to do the usual job of using styrene:
-
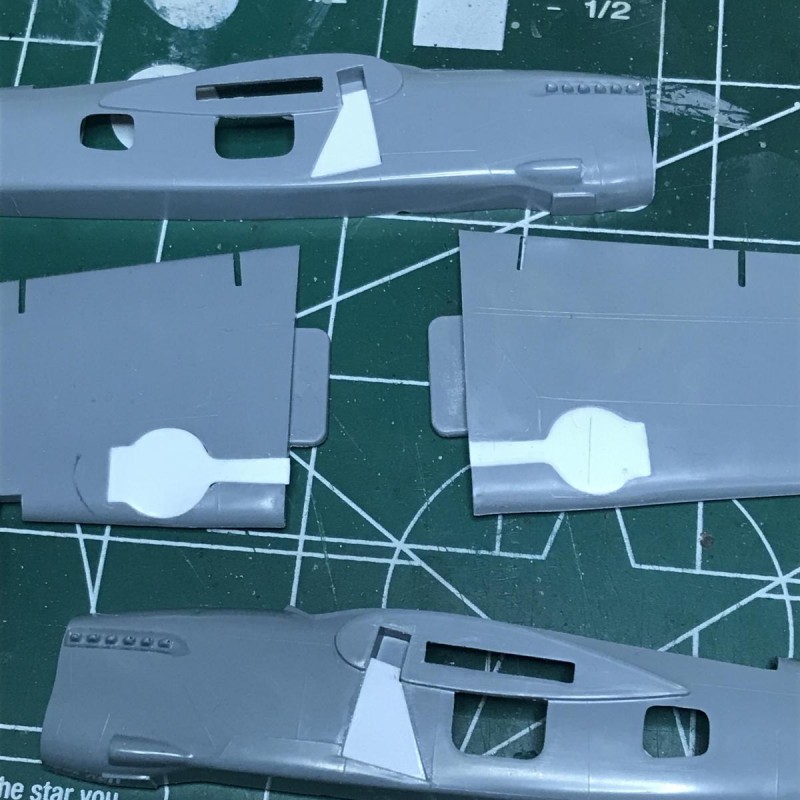
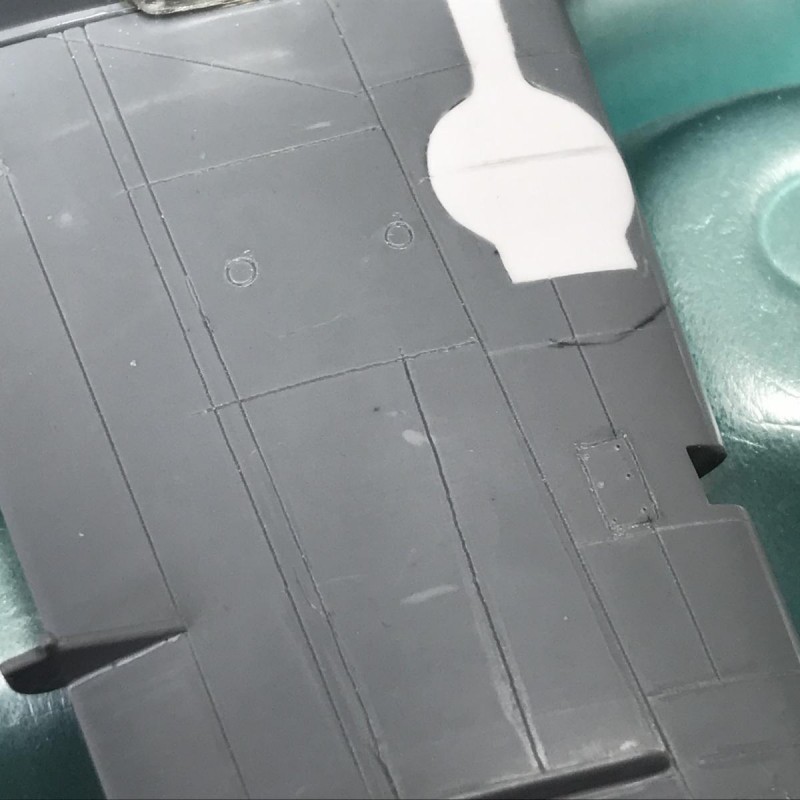
It was at this point that I got a wild hair... the kit had raised panel line detail that I just didn't like, so decided to sand it all off and re-scribe. I'd never done this before, but had a Tamiya scriber and another tool I'd used to clean up panel lines that had been damaged by sanding seams, so thought I didn't have much to lose on this old kit. I found some blueprints, printed them off to scale, and used tracing paper on the wings to transfer to the plastic. Incidentally, I couldn't figure out what the U-shaped raised lines were supposed to depict on the underside of each wing, but research indicated they were deck handling rails that hinged up into recesses, and were lowered to help maneuver the aircraft on deck and fold the wings. I etched these recesses out with scriber and knife, and then used stretched sprue to create the rails. I will say that I learned a few things about scribing as I went, and started on the undersides of the wings on purpose! The wing tops and fuselage look much better as my technique improved.
-
-
-
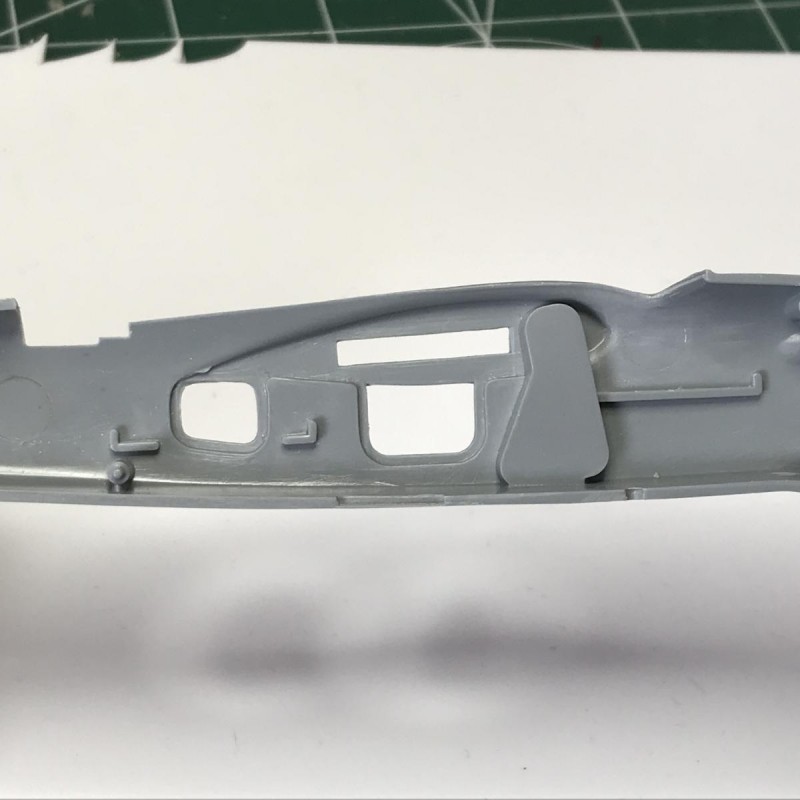
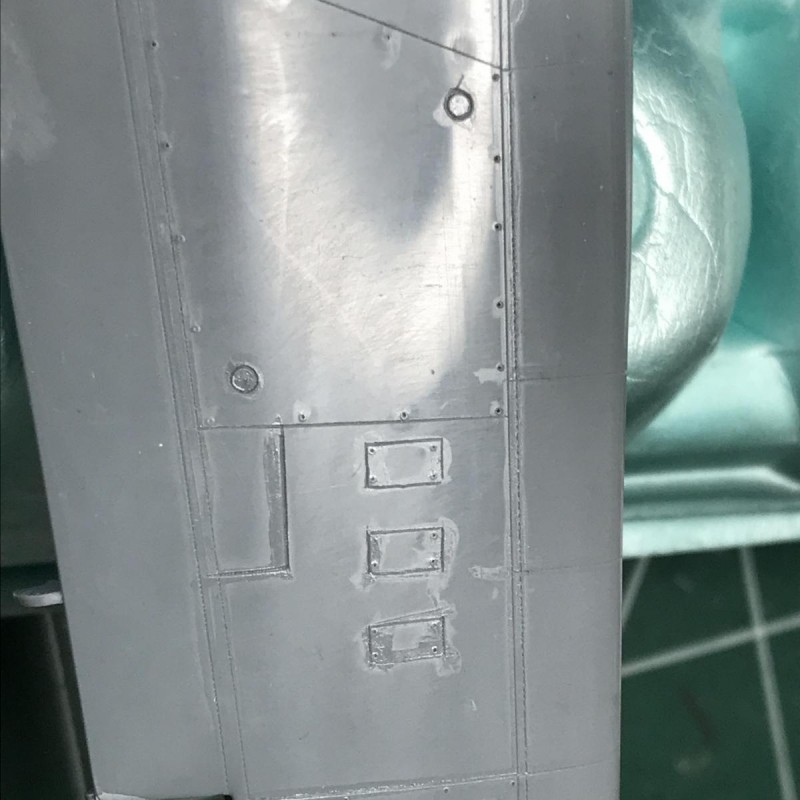
Along the way, I also discovered lots of other nice details...There are these observation windows on both sides of the cockpit that I drilled out and shaped, and these blanking plates that need to be added where the Mk.I exhausts used to extend down the fuselage (this is a Mk. II)
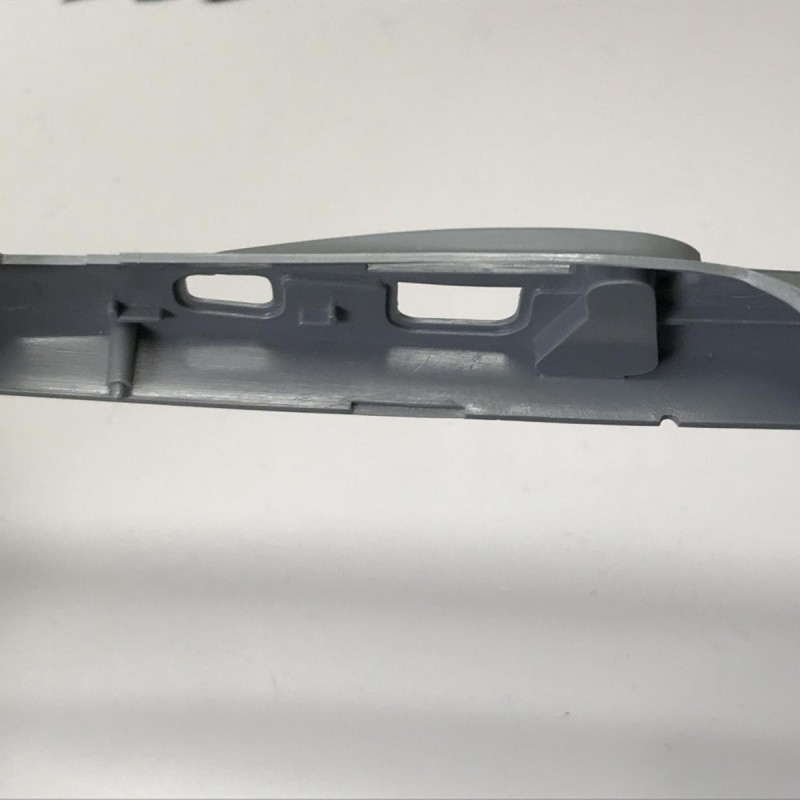
Then there was this opening beneath the fuselage - still haven't discovered an explanation of why it's there - but it was on most of the reference photos I found
There was also the radiator doors that I decided to sand off and pose open, as many of the in-flight photos showed it this way
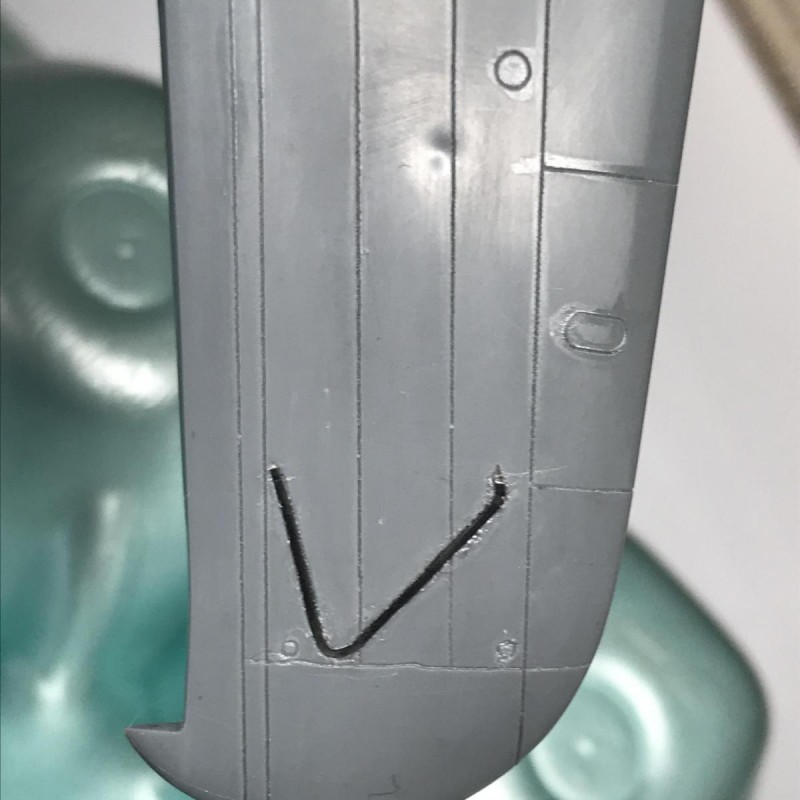
Interestingly, the kit didn't even come with a tail hook! Out came the scriber and knife to create the recess, and some styrene strip for the hook and rod for the V-style frame.
I also created the catapult spools from styrene rod and wire, and replaced the stabilizer supports with styrene rod
Next came the torpedo crutches. The kit just had a hole in which to insert a pin sticking off the top of the torpedo. Wasn't going to cut it! Filled the whole and created the crutches (front and rear) using small bits from the spares box for structure and then backed with styrene
I had noticed in several reference photos that the aircraft often carried bomb racks, even when just toting a fish, so decided to manufacture those out of styrene strip and PE sway braces I had in my spares box. I just though these would add more visual interest.
Last but not least (for now): the kit had separate control surfaces, and I decided to mount them deflected. I should have manufactured hinges (had I studied reference photos more clearly earlier in the game), but I didn't. Once I glued them on, the gaps looked very unrealistic. So, I inserted styrene wedges where the hinges would go, and cut them off and sanded. At least it looks a bit more realistic.
You can see some of the red dots of auto filler I used to fill sink holes. All but some of the fiddly bits are on now, so I'm about ready to start painting. Incidentally, by accident I found a Falcon vac-formed canopy set that contained a Barracuda canopy, so I'm not sure which canopy will end up on the model! I had already cut the gunner's hatch free of the rear of the kit canopy and sanded the whole thing down. I think I may try the vac-formed version first, and if I make a mess of it, revert to the kit part!