Huge mistake!
Well – if you do not think, you may get in trouble!
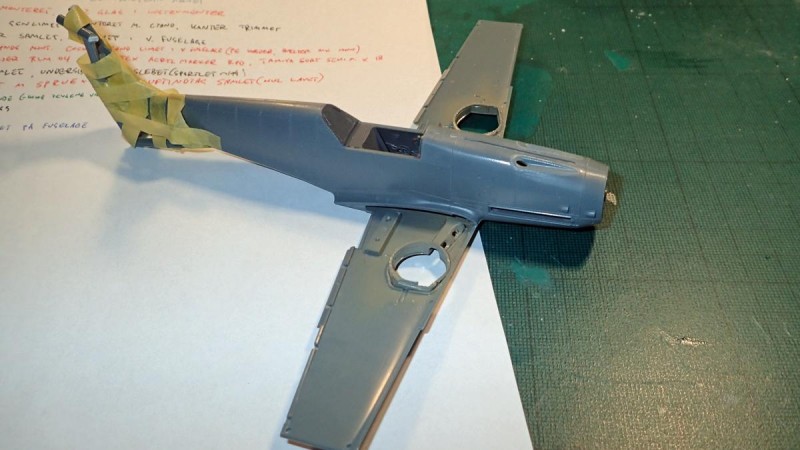
Having assembled a few of these, one should think that the sequence is well rehearsed. But no, I decided to glue the lower wing in place first as I have had a few of the upper skins creating a gap during assembly, and I thought that I could avoid that by installing the lower, then fit the upper before glueing that in. .
-
1. Do not do this at home!
-
1. Glued in place - note the lack of space for the upper wing that includes the undercarriage fitting
When it was dry, I realized that it is near impossible to slide the upper wing in place. There simply is not room for the holes for the undercarriage!
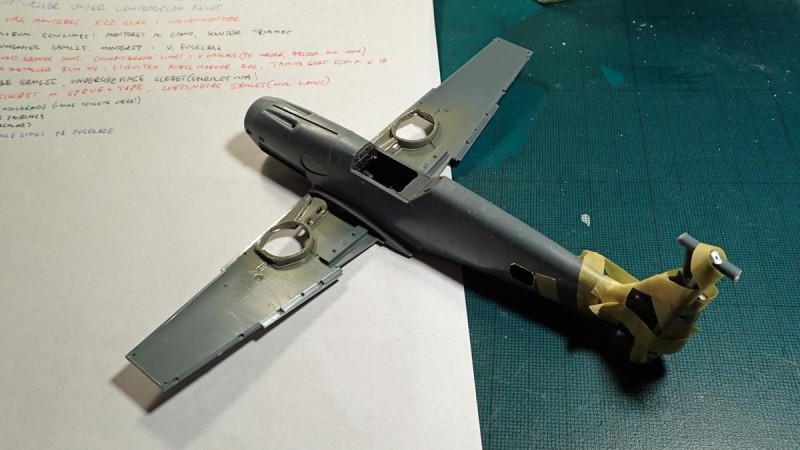
Lots of fiddeling later I got them in (and just to brag, the wingroot fit like a glove).
-
1. A lot of sweat later - no gap though!
-
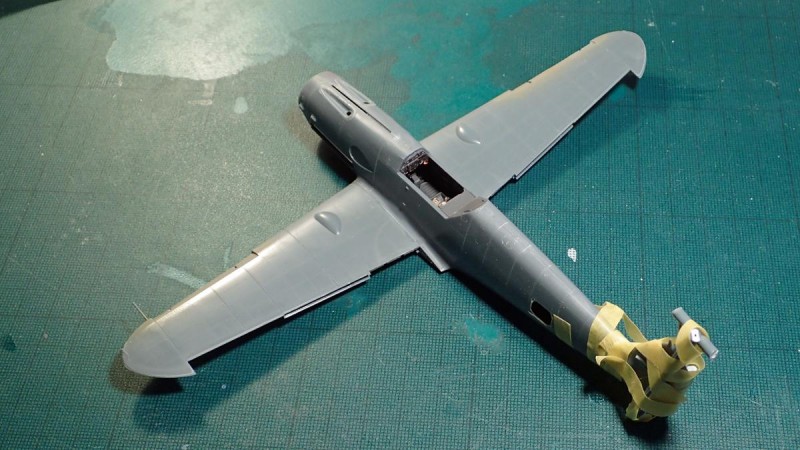
1. Notice the edges does not quite meet at the front - BIG mistake to install lower wing first!
However the leading edge is another matter! So lesson learned; DO NOT do this again.
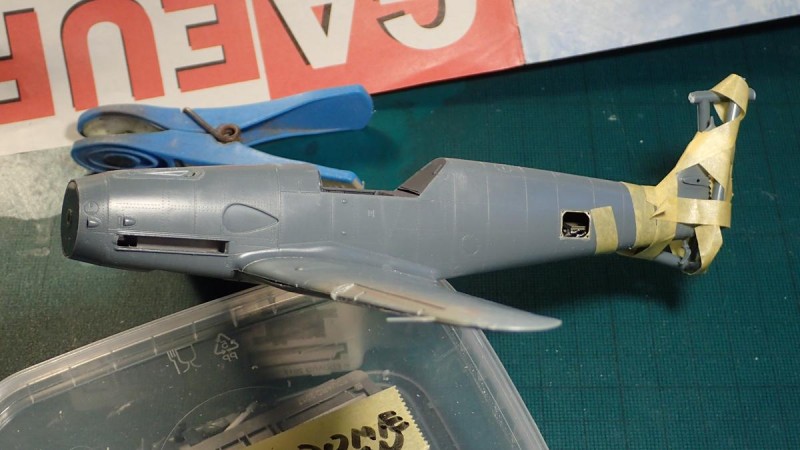
And so, the kit got back in the box to dry properly before pressing on with more fun on this one.
Next up I think some details will be added – it is after all started as a highdetail build with some AM items