I am finishing up my Swoose B-17G Build https://imodeler.com/groups/work-in-progress-aircraft/forum/topic/b-17-the-swoose-1944-model-monogram-1-48-b-17g-build-1/ and before doing the weathering I decided to start on my next project.
This is the Monogram/Revell Bf-110G2 ZG1 kit, with resin nose and guns. I have built the G4 version of this kit and overall it is a really decent kits. I know about the issues with the nacelle size and some fit issues, especially with the wing bottom, but still in the end, it won't be mistaken for anything but a Bf-110.
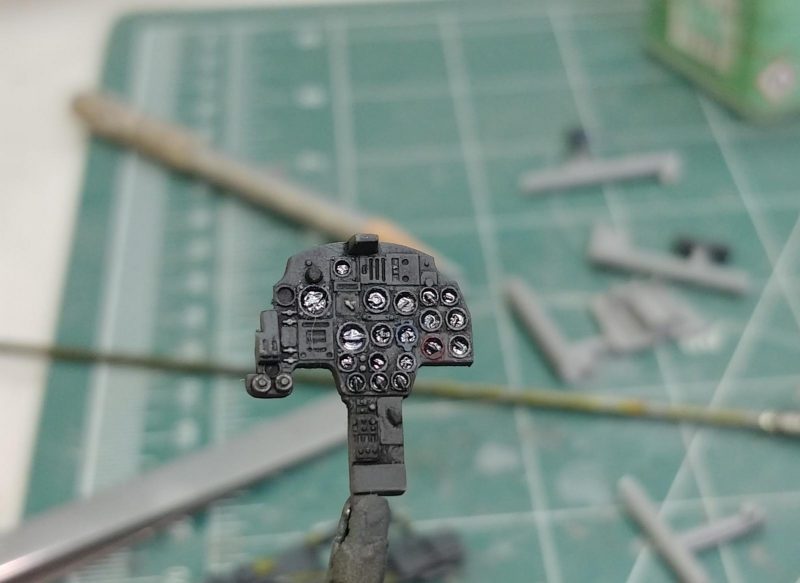
I started with the cockpit and I can tell you the molded in details are pretty damn impressive for a kit that was initially released in 1994. Except for seat belts the cockpit is straight out of the box, as will the rest of the build. This also explains the great deal of progress made in a relatively short period of time for me.
-
1. Will remove lint before cockpit install
-
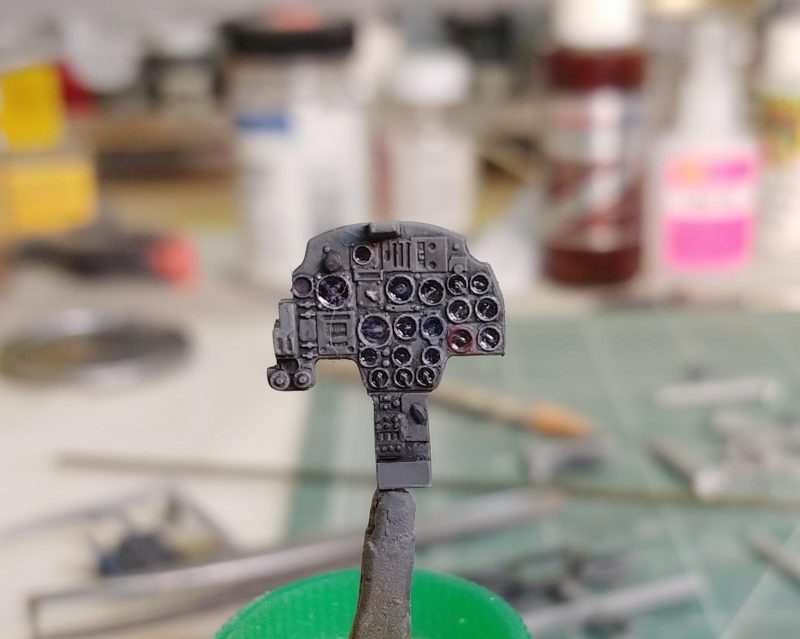
1. Dials "painted" with artist ultra fine black artist pen, and artists colored pencils
The wing join on this kit is a bit unusual in that it is asymmetrical and if you build the two wing have separately and join them to the fuselage it is extremely difficult to get a clean join. I chose to glue the two bottoms together so that my wing join will be more conventional.
-
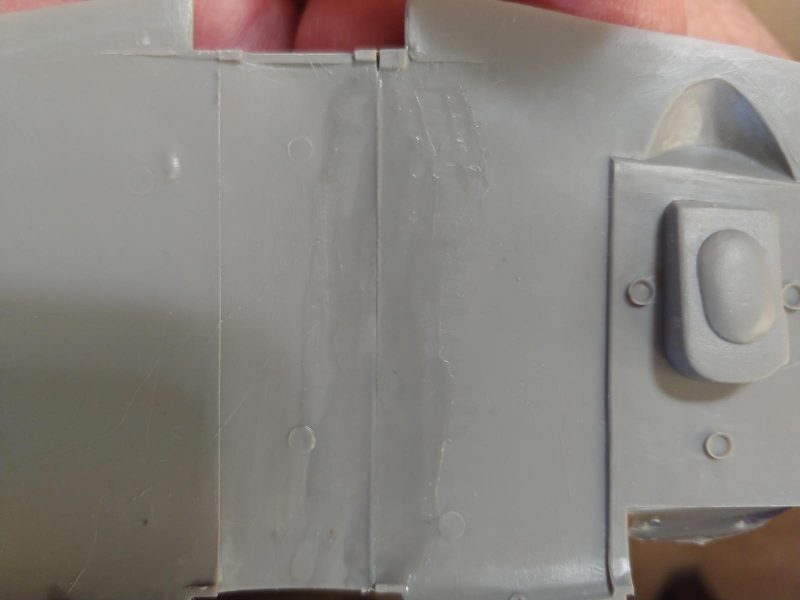
1. seam is here, covered with a little liquid styrene
-
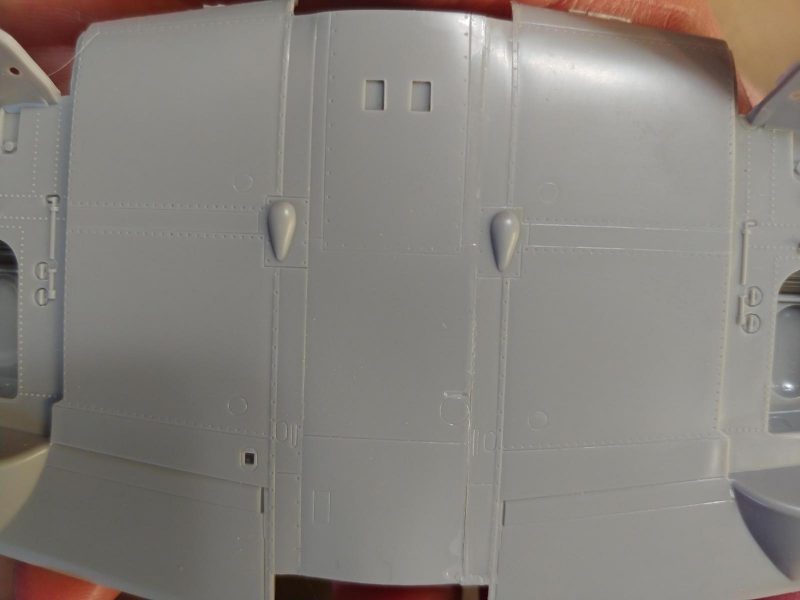
1. Reverse side without any cleanup done.