This session we will first apply the Future clear glossy coat. Will let it sit for a few hours before starting the decal process.
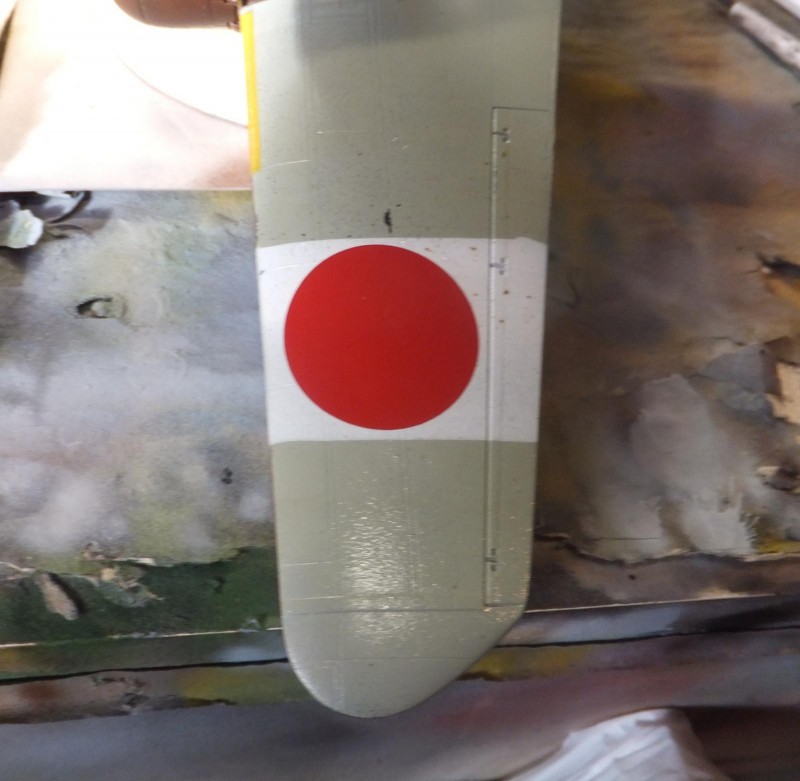
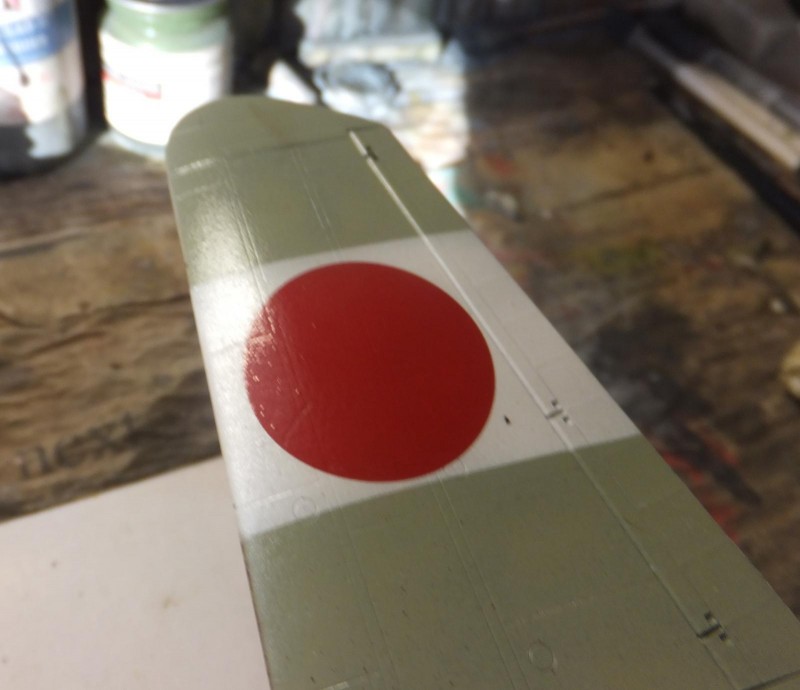
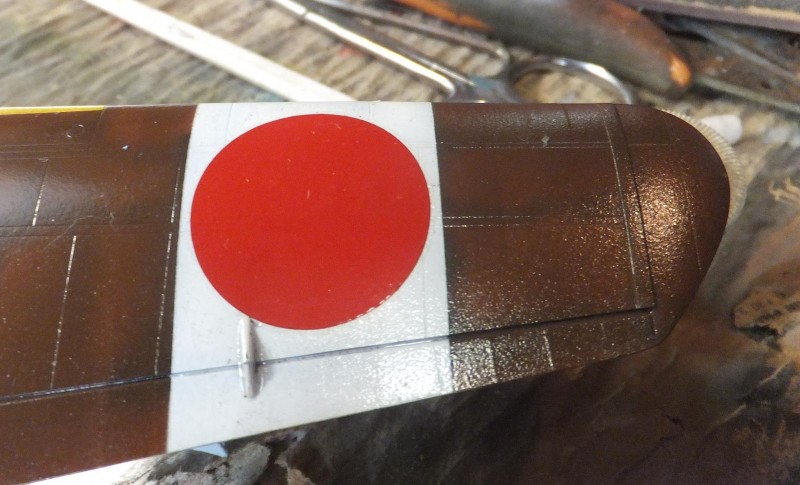
Once the clear coat has harden. I start at the bottom and work my way up. And I typically start with the national markings. The Techmod decals are very good and nice and thin. Just take care that you have plenty of moisture on the area you apply the decal. They are quite sticky and tend to stay in place if your not careful. So carefully apply the decal and adjust the placement before it sets in place. What is typical of most Japanese war planes there won't be that many decals to apply. Not much in stencils, just some serials and unit markings for the most part. As I apply the Hinomarus on the lower wings, I realize that the white background should be a bit wider. It wouldn't take much really to mask off and add more white along each side. But I'm going to let it go.
-

-

-

Once the roundels are applied, next is to add the unit markings on the tail. I picked this scheme for a bit more color. And it's overall Brown finish will be a bit different than what I have on display already, Japanese aircraft can be rather bland, so I try to find a scheme that is a bit different. The kit decal options are not bad really, however the Techmod decal set offers a few different options and a couple of paint options as well. The decals went down ok on the tail, even though the red angle decal did tear and I was able to save it.
The whole session took only a couple of hours. Now to let them set overnight. Then apply a dirty wash under the air frame, some other weathering before apply the dull coat.
.
More to follow as I apply the Flat coat and add the final bits.