Thanks George and Spiros, the right amount of detail and parts count to build a great replica of the subject. A great base to enhance with AM parts if you wish or just convert it to a different variant.
With the wing installed, time to work on the horizontal tail.
These are molded in a neutral position so some modification will be needed if you want to pose them drooped down. Detail is excellent.
Each stab once assembled slip neatly into the slot in the tail. Nice firm fit, insuring perfect alignment and level.
Tamiya does give you several options to display the dive brakes open, and drop the flaps. I will leave the brakes close but will drop the flaps on this build. Give it a bit of character.
The flaps are in 2 pieces for a total of 4 to build a pair. Then 2 actuators are also supplied to display in the full down position.
Each are assembled before the arms are attached.
First I place the flap into the wing for a test fit, then attach each arm to set the correct angle.
The fit is good but careful in handling as this is all whats holding the flap in place. So careful handling through the end of the build process will need to be taken.
Next the rear steps will be installed at this point. Most of the time I usually save this step towards the final detail bits added after painting and decals. Usually the point when installing the landing gear step. But these are sturdy and will just go ahead and put them on.
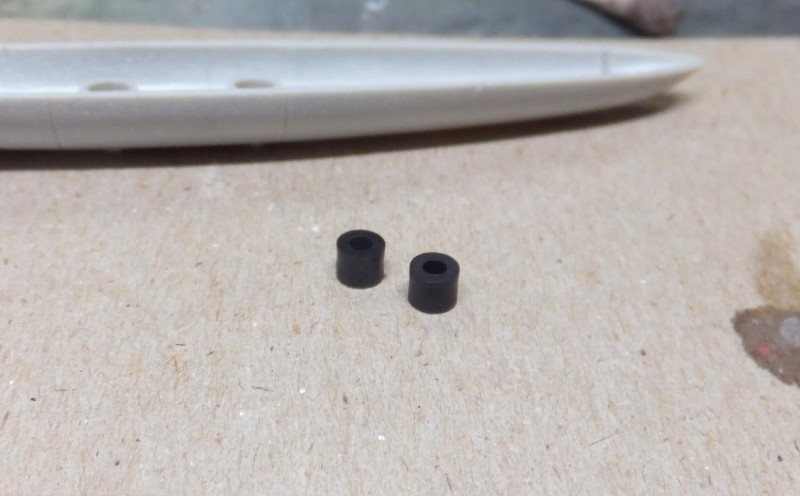
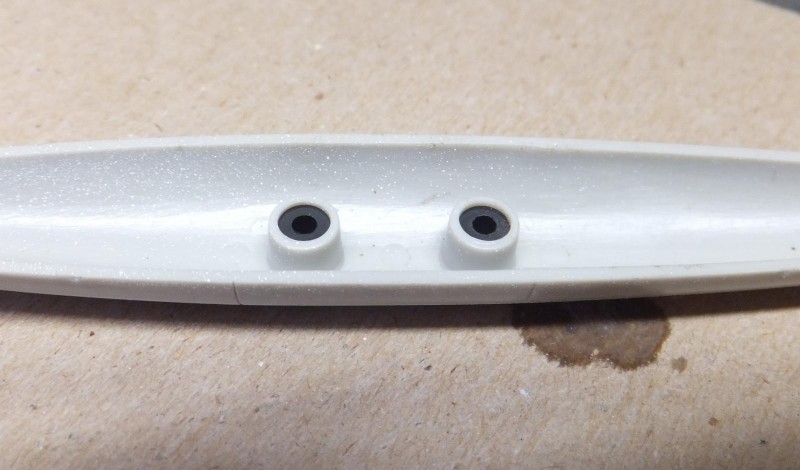
While killing time I decided to build the center drop tank. Now this is the first time that Tamiya used a unique and great idea to give you the option to insert the polycaps into not only the drop tanks but also the 1000ilbs as well so you can just push them in and pull them off.
-

1. Poyly cap inserts into center droptank
-

1. Also available for the wing mounted tanks and the 1000ib bombs