Academy 1/35 M2 Bradley Infantry Fighting Vehicle
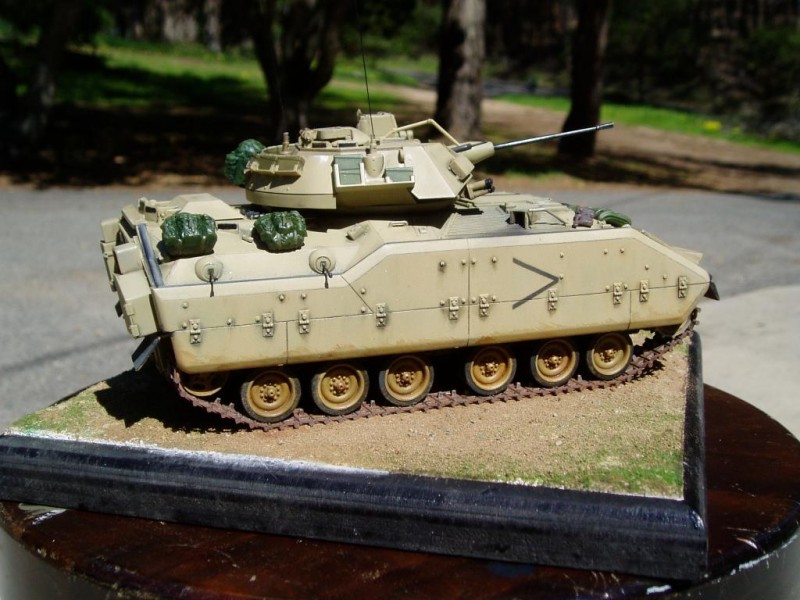
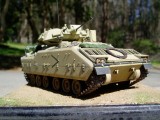
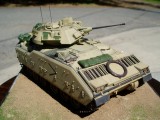
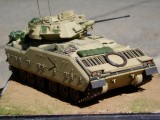
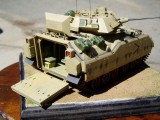
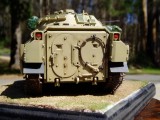
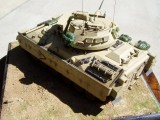
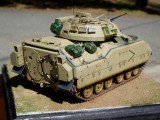
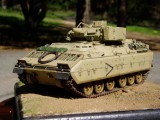
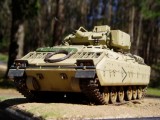
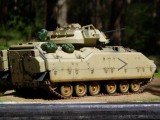
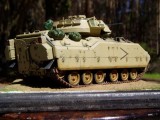
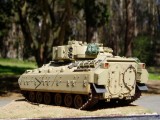
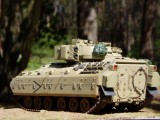
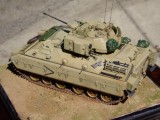
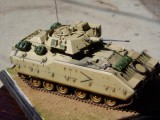
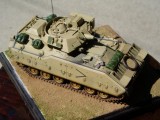
Hello everybody! Here is my Academy 1/35 scale M2 Bradley. I picked this kit up while stationed in Korea back in 1995/96. It only took me until a month ago to finish!
I pretty much built it out of the box, aside form adding some rucksacks and concertina wire from an accessory kit.
My original plan was to build a 2nd Armored Cavalry Bradley from the battle of 73 Eastings ( I was a member of 2 ACR from 96-99) but as it turned out, 2 ACR Bradleys at 73 Eastings were not M2s but M3 Cav Scout Bradleys, and I did not have the resources available to me to make the conversion. Instead, I opted to make Bradley IFV as found in the game Battlefield 3, since I have played that game a lot.
This is my 2nd armored model, as I usually build aviation assets. Armor is fun and I also think more forgiving than aircraft since I can always cover my mistakes with mud, dirt or a spare rucksack, but I do enjoy building aircraft a whole lot.
Anyways, here it is, and all critiques are most welcome.
Cheers!
-Ramon

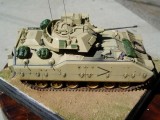
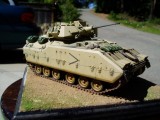
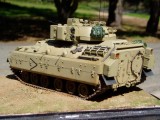
Nice touch on the shading, Ramon. You're a natural.
Thanks Rob!
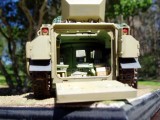
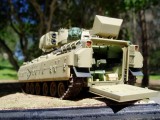
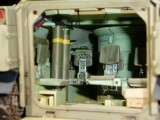
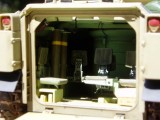
Nice Ramon, I like the clean look . Did it come with the interior detail?
I built the Tamiya version a few years back and it was bare inside.
Well done Ramon.
Thanks Simon! The academy kit did come with interior parts for the hull, but not with any turret interior or engine compartment stuff. I hear that Meng just released an updated Bradley with complete interior, including the parts that Academy left out. If I ever build another Bradley, it might be that one...
Nice one Ramon, good light weathering of a well maintained track.
One thing,the ruck sacks etc tired down on the outside of the vehicle should have a dead flat finish not glossy.
I have a soft spot for this kit because the markings on the vehicle on the box art are for my track, although it would have been 12 years earlier in 1978, and it was an M113 not a Bradly. My first assignment was as 3rd Platoon Leader
A Company, 1st Battalion 7th Infantry in Aschaffenberg, Germany.
Cottenbaler's by Gawd"
Thanks for the comments Rick! You are right, the gear hanging on the vehicle is way too shiny, and I will one day hit it with some clear flat to take care of that. It is the result of the water colors I used for the wash treatment. By the time I got to the rucksacks, I just lost patience and discipline, and just wanted to call it finished. I think after I regain some zen points, I will fix it right up, and maybe even make some bumper numbers for it. 🙂 Oh and by the way, thank you for your service Sir!
Hi Ramon, I know what you mean about reaching the "enough already" point in a build lol.
Overall good looking build. I like the way you finished the interior.
Thanks Al!
Good-lookin' build, Ramon...the weathering and detail really stand out. I like it.
Thanks Craig!
Ramon, the ones that take the longest come out the best! Nice build. Your model looks like the Bradleys I used to see all the time back home at Ft. Bliss.
Thanks Jaime!
Excellent job both outside and inside !
Thanks George!
Well done, without "over done". Good work, Ramon.
Thanks Joe!
Very nice finish on this, Ramon, and I like the outside photographs, too.
Thanks George! I am hoping to get a proper camera one day and have more control over the lighting of the images, but for now, a simple point and shoot in my front yard on a sunny day does the trick! 🙂
Ramon you really nailed it . And the ruck sacks on the out side look dead on for the nylon one that where being issued when the Bradley was first put into service .
Thanks Gary!
Looks great! Nicely presented on the base too.
Thank you Gregor!
Looks cool mate. Very realistic.
Thanks dude, cheers!
Ramon,
I really like the subtlety of the overall vehicle. Targets are usually seen as being filthy which makes it easier on the modeler to cover up "boo boo's" with dirt. Yours has a neat touch yo it and I concur with all of the above compliments. Great job.
Thanks Frank!