Review: Kinetic (Italeri) 1/48 E-2C Hawkeye – Deep Kit Review
As I promised, here I bring my review of Hawkeye kit. Enjoy your build!
This is going to be a kit review only, so if you would like to know history or anything else of this aircraft, you should look somewhere else.
At first, I should say that the kit is the best one in this scale on the market, no matter how many issues it has got. I studied many photos, sources and also other builds to see what you can get in case you are just following the manual. In this review I would like to share with you all my discoveries and experience that I made.
First look
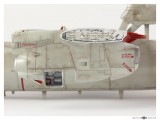
Unlike other reviews I don't think that surface parts are moulded perfectly and with smooth surface - I had to polish all big parts - wings, fuselage, rotodome and others to get nice clean and smooth surface.
Almost all panel lines and rivets are too wide – there is not much you can do it, but of course if you want them thin, go on to fill them and make new ones. Clear parts are good except of bulked windows where I found thin lines - most probably bad molded plastic. And I noticed the same issue in other builds too. It can be sanded and polished away, but I would prefer to get perfect clear parts. New kits packed by Italeri or 2000 versions might be good.
Shapes and assembling
Overall shapes are good and well represent the real aircraft, but there are some issues requiring to be fixed:
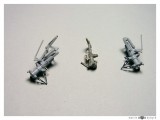
- One major issue is front undercarriage leg. You should rework it because no replacement is on the market - picture included.
- I noticed clear cockpit part is a bit higher than the fuselage behind it - but this might have happened due to sanding the fuselage before I put the cockpit on.
- Before I put engines on the wing, I had to sand the connection a lot, because between the top of engines and the top of wing surface there was a step around 0,6 mm high.
- Be also prepared to sand and fill quite a lot where the wing is touched to the fuselage.
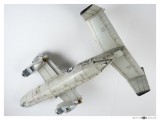
The same you should fix under the fuselage where is the middle part of fuselage inserted - the final connection should be perfect - invisible. - Front leading edges connection of rudders requires also your attention - they should be connected to the elevator smoothly and the connection should start a bit under the leading edge of the elevator.
Balancing the model
In case you don't want to fold the wings, you would be fine with 50 gr recommended by manufacturer, otherwise you should insert double of this weight.
Other minor issues
Here is a list of changes and tips, what you should do. Some of these things are not mentioned in the manual or there are just wrong.
- Add circle access door + tail skid air bottle filler access door on the right side of the fuselage (under the tail).
- Add arg. hook dashpot air filler access door on the left side of the fuselage.
- Add some wires into the entrance.
- Add extrusions located in front of elevator section on the horizontal stabilizer (bottom side) to attach fixed HF anntena (wire).
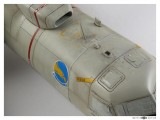
- Correct the lines on the top fuselage electronic cooler.
- Add rivets at leading edge of the wings.
- Sand off positive lines on propeller blades. Paint blades using masks or decals. Remember that the black colour shoud be matt not glossy.
- Replace static electricity dischargers on wings and tail.
- Use the cap on rotodome regarding to the plane you are building.
- On the left side of the fuselage just behind the cockitp there is antenna (or cooler, sensor ? ), but it's use depends on the machine you are building.
- Line created by connection clear part of the cockpit to the fuselage is correct. Do not make it straight.
- Refer to sources and correct access panel doors placing on the top of the wing.
- Add indicators of folded wings on the top of engines.
- If using photoetched details on flaps, sand enough material from the flaps side, otherwise the flap will collide with fuselage.
- To get more accurate look you can re-work inner side of wing flap to show the structure.
- Top cockpit windows and bulked windows on sides should be toned in golden-purple shade. (In reality the window is covered by gold to reduce electromagnetic emits.
- I would not recommend Eduard's photoetched parts used to hold undercarriage covers. By my opinion these in the kit are more accurate and some of Eduard's ones have wrong length.
Decals
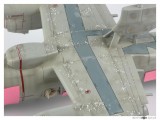
- Walkways have wrong color - the real one is more neutral, decals are too much in blue tone. You can make your own or overspray a little the decals with more accurate shade to supress it.
- Refer to photos the tail hook and tail skid warning arrow positions. Manual might be wrong.
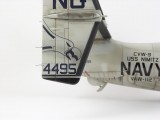
- Kinetic first series decals have wrong size of fuselage decals with NAVY, ship and unit name. They are too big. Later decals series made for Italeri reboxed kits look fine.
- You might to decide to not use the „plus“ on the nose. This means GROUP II upgrade - different engines and therefore aircraft with different landing characteristic. Plus mark is used to recognize the aircraft by LSO. In case you are building aircraft in GROUP 0 or GROUP 1 configuration, you should not use it.
Conclusion
Despite of this quite long list of issues the kit is very good and the results are impressive, no matter how skilled builder you are. Indeed you should have some skill before you decide to build Hawkeye. Keeping these things on mind you can get unusual and attractive model with much less pain than me. After all I am decided to build one more in version 2000, definitely.
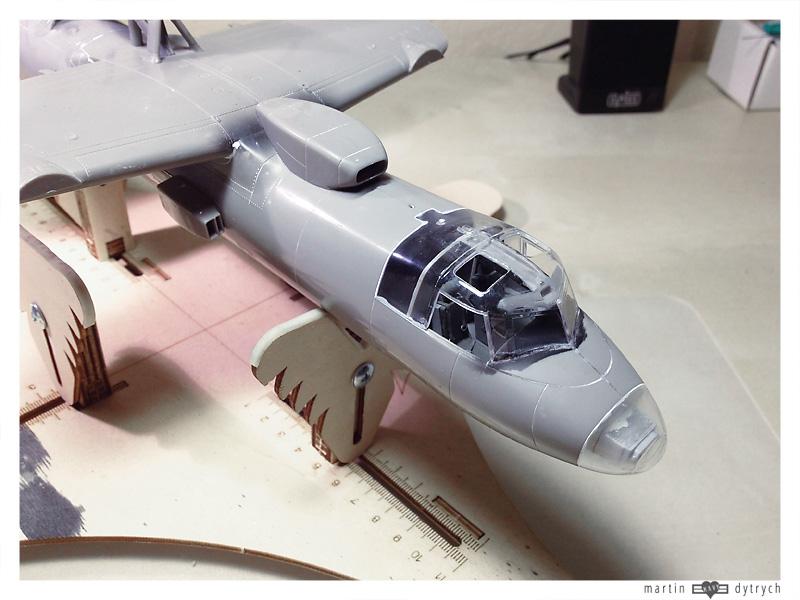
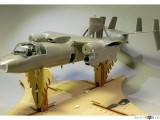
A very in-depth report, Martin...we appreciate the time it took to compile. Tell me - what is that work stand designed for (or did you make it)..?
Hi Craig,
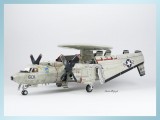
many people ask me about this stand. I found it very useful, but this is not my invention. It is made and sold in Czech, but I am pretty sure you can order it from abroad too.
I use the stand designed for 1:48 scale, but it can be used also for 1:72 scale - it is very flexible.
Manufacturer is JH Models. Just type "JH Models stand" in Google. You will get many links.
Thanks for a very informative review. For the sake of clarity, I have highlighted the subtitles and slightly adjusted the title. Thanks for sharing 🙂
Thank you very much! 🙂
Great Build Martin, the end result looks like all that work was worth it.
Very Well Done.
As I said before, you did a bang up job on an aircraft that at one time I spent more time with than my family! I think I need to start watching for a sale on one of these! Thanks for the review
Well done review, the details in what to look out for is an excellent way to help those who will someday build this kit. And I am one of them. This for me would be a long term project to when the time comes to start building this unique aircraft. Thanks for the effort Martin, and a nice model as well.
Chuck
Great looking build Martin.
Rob.
Thanks for all ! i save this report for building mine in few months..