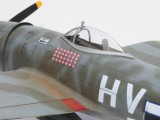
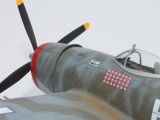
Gabreski’s Thunderbolt. HobbyBoss 1/48
Hello
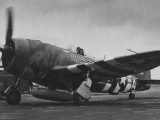
This is the Hobbyboss's P47D in the Easy Assembly range. I was so curious to see what it could be done with 30 pieces of plastic. Finally, it look fine (to my humble opinion) and allow to spent more time with painting, chipping (surely what I love in modeling 
Decals are quite poor in quality and as you will see I had setbacks with swatiskas.
To my mind, this Gabreski's Thunderbolt pattern is one of the most becoming for the Thunderbolt (And probably too because I have some difficulties with Natural Metal Finish lol). That being said, the CBI chosen by Gregor for his model is fine too. Perharps for the next one
As usual, criticisms are welcome...
Have a nice day
Emmanuel
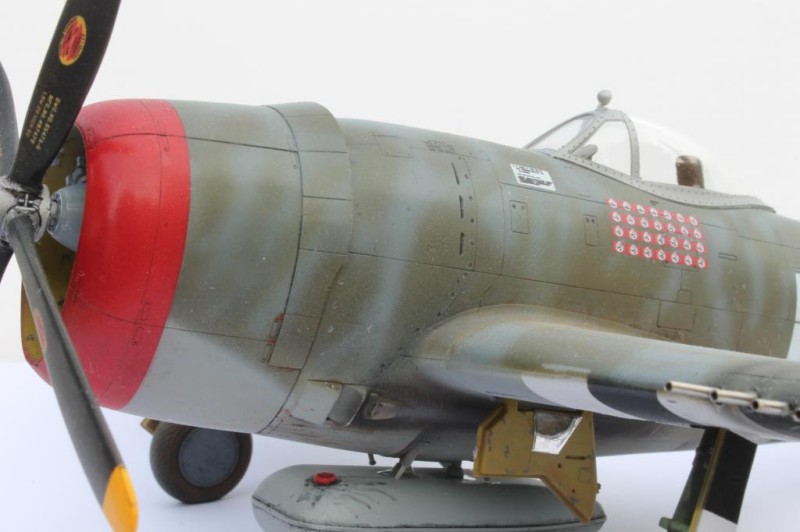
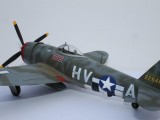
Looks great Emmanuel. I had problems fitting the wing guns but yours look like they went in perfectly. Did you change the propellor? The one in my kit was the pointy cuffed version. Fantasic rendition of Gabreski's camo. Really nice job - well done
Hi Gregor
I changed the guns for syringes, and try to keep the guns parallels to the ground as the real was...
The propeller is a resin Hamilton Hydromatic. It was this type on the Gabreski's P47.
Thank you for your comments, but yours is very nice. I love the weathering on it
Cheers Emmanuel, thats my first shot at using weathering powders so i'm glad it looked good to you. The HB kit looks great when its dressed up right - like yours, well done.
I very much like Hobby Boss for their "30 pieces of plastic" approach. Want myself to try their P-38
The next great one ! Well done, this is the second HB P-47 which looks
very good, may i should try this series out.
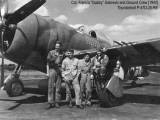
Your paint job is outstanding. Did you have pictures from the real one?
Hi Bernd
I posted 2 pics of the real one.
Regards
Very nice pics, got a decal sheet from Techmod for this aircraft

this will help and the advice for the right prop as well.
Nice Emmanuel. Done a great job with 30 pieces of plastic.
I am building the Academy version of it as a group build (still) and it was a pig.
thank you for posting.
Well done! Camouflage on this particular Jug is spot on.
What's to criticize. It looks great. Might need to try one of this line.
Very nice job Emmanuel. I particularly like the overspray effect around the serial number on the tail. Was that from the decal or did you add that in yourself - it's a great little detail that I completely missed on my build in the same markings. My son is currently working on this same kit in the same markings, but (still) has yet to finish it. You did a very nice job and made a 'simple' kit look sophisticated! Great work.
Hello Paul
I did a lot of research on this aircraft because it's seems that it has benne repainted several times in a short period of 2 months (Probably for the stripes...)
I did the overspray myself and the serial number because the hobbyboss decal was wrong (too short)
I saw your job on the tamiya kit. It's just amazing, you know. I love the colour rendering. Nice job !
really nice work, Emmanuel! I would never have guessed that it was a beginner kit, your results are very high quality indeed!
A nice build and equally nice pics, sir...nuthin' wrong with THAT! "30 pieces of plastic", huh..? Coincidentally, MY kits usually come in "50 shades of gray"
really nice paint schem ! great job emmanuel
Emmanuel that is the best "capture" of the gauze like grey on Gabby's T-bolt I have ever seen. Outstanding Sir, simply outstanding.
It looks like you got this one 'spot on', Emmanuel, great photographs, too.
It's a brave man who subjects a 1/48 scale model to macro lens. Thanks for the 'tour' - a nicely detailed model.
Emmanuel,
Exceptionally done.
Oh that is very well done. I also love this camo pattern on this 47.
California Steve