HE-115, 1/48, done. more done, really done
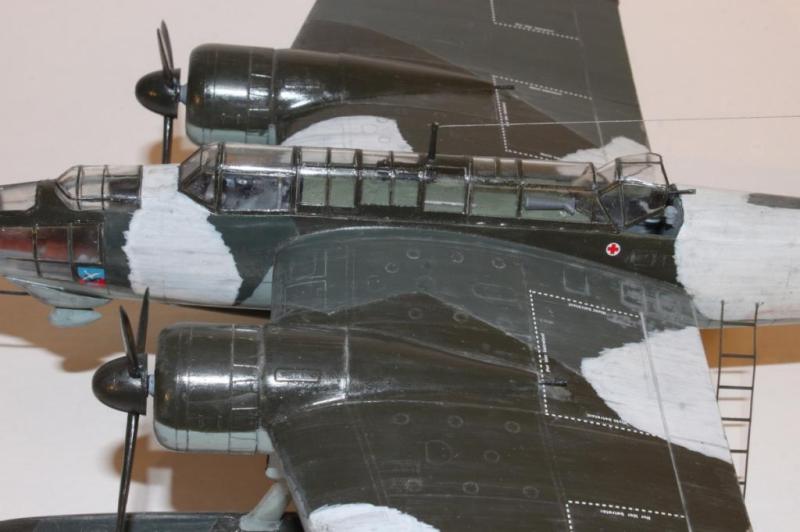
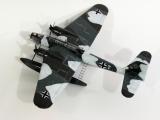
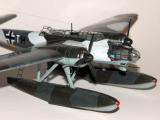
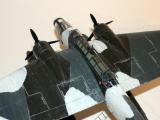
Well I did some weathering, trying not to over do it and added the exhaust pipes which I had forgotten, and antenna wire, in the process broke the nose gun in two, which I didn't even notice until I looked at these photos...that is typical for this mode, every advance has it's cost...oh well, it is still an improvement I think.
Weather did not allow me to overspray with Dullcoat, nor was I inclined to mask off (and probably mess up) those many glass pieces, so it is still rather shiny, but more grungy too.
I even found a place on the shelf, now full of the 4 twin engine models I have built since April.
Here are some pics, dome with a bit more care than the earlier ones I did, including an experimental shot I have been wanting to try with a fish-eye lens attachment I have laying around.
Enjoy, thanks for looking and sharing your work!
Now, I will regroup and get ready to get down and dirty, with a much slower, squarer, model tank -
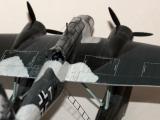
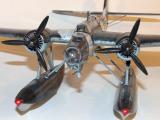

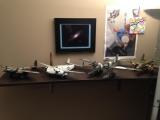
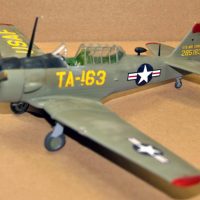
I just ordered that kit so was happy to see your build up on here! Looks like it put up a bit of a fight, but you clearly won out. Nice job on the winter camo, and on adding the weathering! I like the look. And that shot with the other twins on the shelf really gives a good idea of the size of this beast! Nice work - thanks very much for posting.
forgot to ask - what paints did you use for the splinter camo?
The darker green is Model Master "Schwarzgrun RLM 70" mixed with 1 part flat black to 5 parts green. The lighter green is Model Master "Green Drab FS34086"
Both colors, and the white too, were thinned 50/50 and brushed on, there is a lot of painting to this...
The paints come in 1/2 oz. bottles, when you go to get them, I recommend you get a 10 gallon bucket of patience if your store sells it.
Thanks for the reply Ralph - I had not realized you hand-painted that - all the more impressive! thanks for the info, and once again very well done!
Looks great. Well done. Love it sitting with the other kits. The Ventura looks awesome,mini red to do my He115 and Ventura now. Thank you. 🙂
Possibly the gun got pulled into the cockpit when not in use. Sounds good anyway.
Nice work with the weathering.
Ralph, every iteration is better than the last. The way I would mask the clear parts with card stock that I held in one hand and sprayed with the other, you can make tents so all sides are covered.
Re the broken gun, if the receiver group is still attached you can add a spare barrel an should be it.
This plane's like the girl in the film Carrie; it just won't stay down!
Nice to see it finally on display (and relax...).
Nice, again ! Great collection and great photowork as well
I particularly like the way you got the 'temporary overpaint" look to the white.
For those of you now motivated to build your He-115 kit, you might want to reference my review at Modeling Madness.
http://modelingmadness.com/review/axis/cleaver/g/tc115.htm
Yes, thanks Tom.
There is one on Brit Modeler read before starting too.
Some issues I ran into are described in my work in progress thread here under groups: http://imodeler.com/groups/work-in-progress-aircraft/forum/topic/high-tediosity-factor-on-my-new-model/
Hope I got that link pasted in right...
Good finish to this kit, Ralph, now you can relax and concentrate on something a little different.