MPM’s Heinkel 177 in 1:48
To clear my head between ambitious ship builds, I sometimes build aircraft in 1:48.
I've always had a fad for the He 177, so when I found the kit, I bought it immediately.
The quality of the kit leaves a lot to be wished for, which didn't bother me too much at first, since I just wanted to build something different for a change anyway.
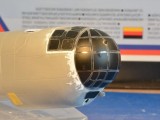
The kit had been spiced up with resin and PE parts for the cockpit. Since I didn't think that much of that detail would be seen behind the frames of the canopy, I didn't bother to fit all the PE parts.
The styrene parts are sometimes quite crude. For example in the case of the engine exhausts, where it was easier just to replace them with styrene tubing, that to try to shape up the original parts.
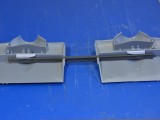
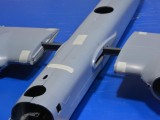
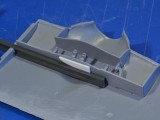
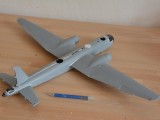
The main weakness of the kit is perhaps the joint between the wings and the fuselage. I stiffened it up with a styrene beam that I bought in London 1979 when I was a teenager. It was about time it came to use.
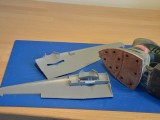
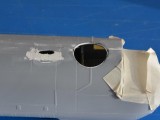
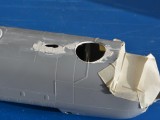
The trailing edges of the wings were way too thick, so I decided to sand them down.
Having made little progress with an ordinary file, I got fed up and went at it with my sanding machine. That's the first time I've used it on a kit.
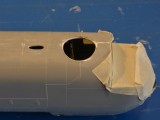
Quite a lot of filling and sanding was needed to conceal joints, and after that, quite a few panel lines needed to be rescribed. I hadn't done much of that before, but after a while I got the hang of it.
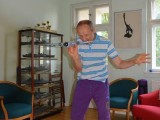
When the basic assembly was done, she looked so brutally kool, that I had to fly her around in my apartment for a while. Boys will play……
Since some ten years back I've painted all my models with Vallejo colours. As I've developed my airbrushing technique, I've become more and more frustrated with the way they dry on the tip of the needle, making intricate freehand airbrushing very difficult. It was time to try something new.
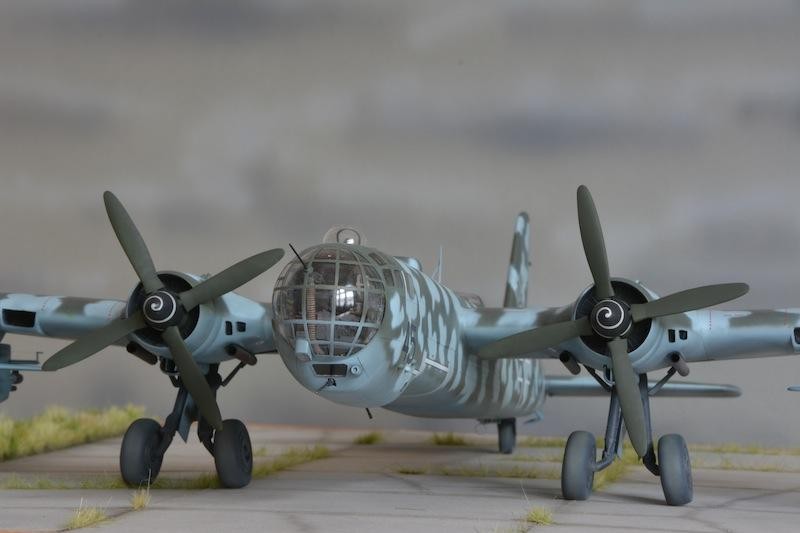
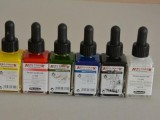
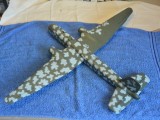
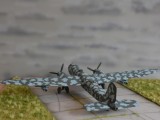
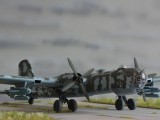
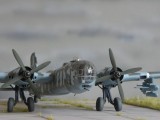
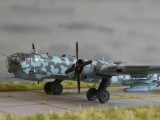
I bought some cans of Aero Color, paints designed for airbrush artists and then mixed my own RLM colours to the best of my abilities. It turned out that Aero Color works really well on plastic models and I'm pretty sure that I couldn't have airbrushed this camouflage pattern freehanded if I had used Vallejos paints.
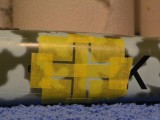
The decals were pretty fragile, so after having torn some of them, I ended up masking and airbrushing the "Balkenkreuze", which wasn't too hard.
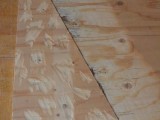
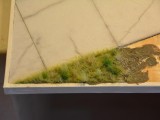
To make the base plate come alive, I decided to make the most of the small differences of level, that are to be found even on a flat airfield. Some cutting with a small circular saw and some work with a jack plane took care of the curvature of the runway. A little chiseling on both sides of the runway made sure the grass fields by the sides weren't completely flat either.
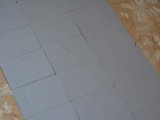
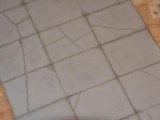
I made the concrete plates from grey cardboard, into which I scribed some cracks using the tip of my hobby knife. Then I emphasised the crack and the joints with a little medium grey applied with the airbrush.
The grass is model railroaders grass "planted" in "earth" made from white glue, mixed with some wall putty and then pigmented with brown Vallejo paint.
After the grass was planted, I played around some more with grey on the concrete surfaces and also sprayed some clear gloss along the sides to make it look a bit wet.
The inspiration for the base plate came from this classic picture.
In hindsight I could have weathered the aircraft quite a bit more, and also applied more clear gloss to make the runway look more wet. Maybe I'll go back and do that some day. I also have a Kübelwagen and some figures waiting to be built, painted and added.
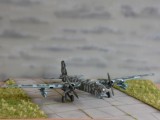
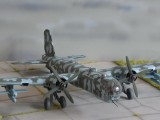
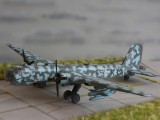
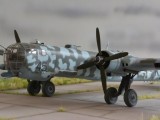

WOW! This is absolutely beautiful Ulf. It must be big in 1/48. You did a stellar job on this one!
Magnificent Ulf.
Superb build and finish of an rarely modeled plane.
Great base too.
Looked like you had fun too...
Despite all the "trials and tribulations" described, you (again) produced an outstanding build, Ulf. Love that display case with the ships...stunning. I'm afraid the same can't be said for the 'outfit', though. 🙂
Nicely rendered, Ulf. I built the Tamiya version in this scale, which was a beautiful kit.
Zoukei Mura released a state of the art (and expensive) version recently coincidental to a new Revell release. You look like you really had your work cut out for you on this MPM offering.
I like the pilot version of you flying the plane around the room. No doubt getting rid of some crazy energy before returning to the serious business of ship modelling...
Just realised I was thinking about the He219. Need to get my glasses on!
a hearty ...well done
Superb Ulf, I have never seen this built before in this scale, in fact can't recall ever seeing one in any scale for that matter. So much for a break you built this with great effort and achievement. Well done. And ah, I have flown a few in my room also sounds and all. Thanks for sharing.
Chuck
Very nice work. I had this kit some ten years ago. To me, it was the perfect example of the MPM design philosophy of having three designers who never speak to each other or compare effort with each other, create the kit. Mine eventually went from stalled-out on the Shelf of Doom to boxed-up doorstop to part of the weekly trash dump. Kudos to you for persistence, this ugly-as-sin airplane looks very good as your model.
Tom, classic comment on the MPM design philosophy!
Like the old comment about a camel being a horse designed by a commitee.
Wow...you are a brave,brave man.
beautiful 177!
Impressive, just goes to show they are buildable but require a lot of fortitude to complete.
Your airbrush technique is top notch. The model itself is incredible.
As usual your write up is as good as your model, excellent. I've been known to ride some motorbikes around my room...
Like it a lot. I've got the Revell 1/72, which won't take up quite so much self space!
I did the same kit and scheme. Great job. Beautiful.
Super model & very nice photo show!
Ulf, Really an Excellent looking Greif and diorama- it truly displays your patience and modeling skills. I built and posted the 1:72nd Revell kit a while back and that is a pretty good sized model-your 1:48 scale 177 must be a monster! My only question for you is if you got a proper engine sound going while flying your model through your apartment!? Great stuff all around
Man, you should have heard my engine sounds!
WROOOOOOMÖÖÖÖÖÖÖÖÖÖHHHRRRN!
Eh, by the way, I took a look at your Greif earlier. Nice build and paintjob.
And yes, my Greif is pretty big. Wingspan of 64,5 cm.
By golly, your photo captures the essence of modeling! Varoooom! (if the props turn in the breeze, so much the better)
This is only the 2nd of these I've seen completed.
Beautiful piece of work.
With all the problems you had with it, maybe they should have called it a "Grief"! Seriously though, this is a fine looking model of an airplane I never heard of. I'm going to have to read up on the 177! I like how clean the lines are and stuff like the landing gear arrangement. It also looks almost as big as a B-17 judging by the size of it in the photo of you playing (erhem, I mean "studying the alignment and fit of all the parts") with it! 🙂 The camo job is top notch and the base is pretty neat in it execution as well. I can just hear the missus though, "Ulf, have you seen my blue bath towel?" "No dear, I haven't."
Thanks Josh.
(erhem, I mean “studying the alignment and fit of all the parts”)
“Ulf, have you seen my blue bath towel?” “No dear, I haven’t.”
LOL!
You laugh because you know EXACTLY of what I speak! We're probably all guilty of reverting to childhood airplane noises and "borrowing" the bath towels at times!
Giving the little boy inside me free reins isn't something I'm guilty of. It's something I'm proud of.
It's part of being a whole human being, just like trying to add some humour to modelling. It's very important that our hobby doesn't get too serious.
Thanks for your jokes:-)
"No dear, I've no idea where your towel is." WWRRRRROOOOOAAAAAAÖÖÖÖÖÖÖÄÄÄÄÄÄHHHHRGRGRGRGRGRGRGRGFRMMMMM!
Yeah. I still build airplanes with Legos as well. They also fly when no one is watching!
I have also been flying my new Concorde around the house. 😀
Well done. Thanks for the heads up on construction as well as airbrushing the final finish. I think I might wait a bit to start mine, get a few more modern kits under my belt and completed. This kit appears to be a challenge. I too am a Grief fan and can't wait to fly mine around the living room!
The first thing I noticed in the "Headline" photo is the dirty pattern on the landing gear tires (which look to me like rubber). Great job, the paint scheme knocks this "out of the park" (Home Run!)
Your Heinkel looks great Ulf ! Its a rare sight to see this kit finished.
BTW made these days some high speed low passes with my new and half way finished F-14 over the bench, deafening !
That is great - really love the airbrush work on the camo, and the base is cool as well. thanks very much for posting - I really am interested in this a/c and have the kit, but have rarely seen one finished. Excellent work!
Ulf,
Gorgeous build. Look great.
No wonder you flew it around the room to let some steam off. It must have been a tiresome challenge. You did ok to pull through on that one.Great work.
Ulf. Stunning build. Ive got one in my stash if i can do half as good i will be pleased. Thanks for posting your work. Great stuff indeed.