SA-6 Gainful
Hi again, this is probably going to be my last article for a while as I have three different holidays planned between now and July. It's also the clearest my work bench has looked for months!
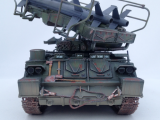
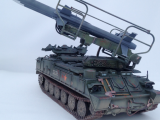
This kit is in 1/35 scale from Trumpeter. The title name SA-6 is how Nato and the US referred to it during the cold war. The Russians call it the 2K12 Kub (cube). Development started in 1959, but it didn't actually enter service until 1967 due to extensive design problems. Since then there have been four different variations of it which have been used in conflicts all over the Middle East and Africa.
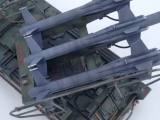
The launcher uses different variants of the 3M9 missile which has a length of almost six metres ( 5800 mm to be exact ). They can reach speeds of mach 2.8 and can have a maximum altitude of 46000 ft.
It wasn't till I was half way through the build that a realised that this was the launcher responsible for downing the recent Malaysia airways flight over Ukraine. Probably not the best of timing for the article due to the civilian nature of the accident, but it is a sobering reminder of the actual original intention of these military subjects that we model.
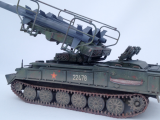
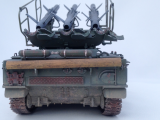
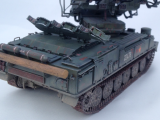
The kit itself was very good. I have heard mixed reviews about Trumpeter kits and this one was my first. There was a couple of bits which needed a little bit of alteration to fit correctly, but apart from that it was spot on. The kit included a little bit of photo etch, some tubing and metal coils for detail, and also a metal tow cable. I built it out of the box apart from the tracks. I used Fruil model metal tracks instead of the static plastic ones offered in the kit. They were actually more expensive than the kit itself but give a nice weighted feel to the model and a realistic sag.
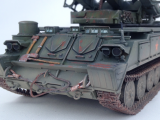
Firstly I gave the model a primer coat then followed that with a rusty brown coat. I varnished over that then gave it a coat of hairspray for the chipping. I wanted to give the launcher a well used look but with new missiles to depict combat usage.
I mixed different shades of Tamiya greens together on the hull. I recently read a article saying that the Russian army probably have more shades of green than they do tanks, so I randomly selected the colours. The tracks were weathered with some Mig pigments and a rust wash. Finally I gave the model a light dusting of diluted Tamiya buff and flicked some pigments from a brush at the rear and underneath the hull.
In conclusion this was a thoroughly enjoyable build but I would definitely recommend getting some after-market tracks. Everything else out the box was of a high level of detail and I would definitely recommend the kit. Thanks for looking.
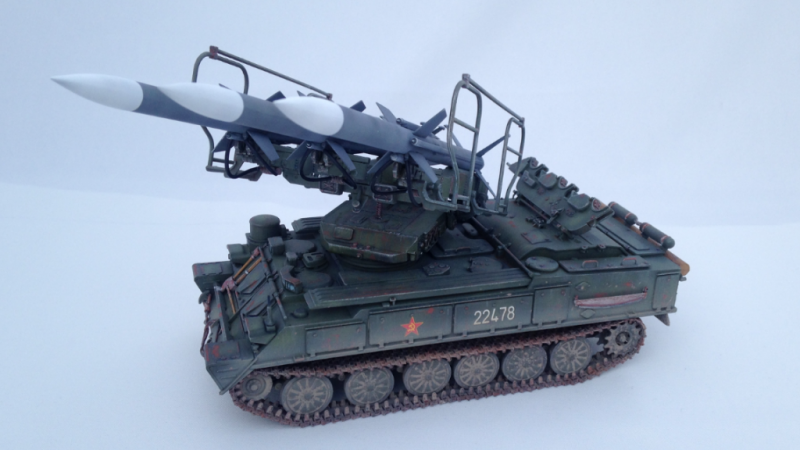
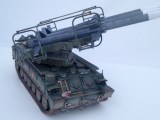
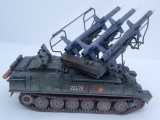
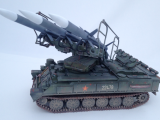

Wow, what a great looking model. I hope you'll consider a terrain base to really 'pop' this build.
Really like this.
Cheers Rob, thanks.
I don't have any experience as of yet modelling bases. Never say never though.
I've got a BMPT in the stash. When that is done I'll make use of the garden and do an outdoor photo shoot, I'll include this in the background.
Lovely looking kit Richard.
Well finished too.
I like the chipping effect, the tools on the front show that well.
Well done mate.
Cheers mate! Thanks very much.
Beautifully finished and photographed, Richard...nice work!
Cheers Craig, very much appreciated!
Nice looking Wild Weasel target. 🙂
I really like the weathering.
Thanks Tom, much appreciated.
Great model ! I've build one and I love it !
nice paint !
congratulations...
Cheers mate, I think we have similar tastes in models!
Great finish work.
Cheers Bryan, thanks very much.
I don't build armor, but I enjoy seeing the great finish work some of you armor builders can get on your projects. I love the finish, shading, weathering, etc.
Job well done!
Thanks Greg, it's my second attempt at armor so it's all a bit of a learning curve. I'm starting to think that less is probably more when it comes to weathering.
An unusual subject in armor, very well done. As a suggestion...for a display base, use pink insulation foam and planks of thin oak (to use a frame to dress the edges up) are a inexpensive manner of building a base for your models. I'd keep away from using a wood base, they can warp with time. The ground cover adheares well to the foam by using a water based adhesive like Elmer's yellow carpenters glue. A sheet of insulation foam will last a long time, it's easy to cut and light weight.
Thanks Mike, cheers. I need to have a go at a base at some point, cheers for the tips.
Again an incredible build, Richard. The decent weathering brings the details to "pop" out.
Thanks again mate! I am really enjoying building armor!
Its fun and somewhat refreshing from aircraft modelling.
Its a challenge too but different.
Great and inspiring job! I usually visit imodeler in the evenings to see what's new and enjoying builds like yours makes my day! Awesome and thanks for sharing. Do you consider placing it on some terrain, sort of diorama?
Thanks mate, cheers! A few people have asked that question now! Next armor build I do, I'll do a diorama outside in the garden using a natural base.
I've never made a base before but it is something I will have to try in the future.
Great to hear that, looking forward to your next builds.
Cheers mate, nothing will be completed for a while, lots of work and lots of holidays coming up.
I have a Meng BMPT on the bench right now though, then another tank, two bikes, a helicopter, a bomber and a car in the stash, and in no specific order. Can't promise a date for any of them just yet!
i love it rick
Thanks very much Bob, much appreciated!