1/72 Hasegawa 1969 Soccer War Corsairs
The impetus for this project was 4 corsairs residing in my stash - 2 Hasegawa's (used here), a Testor kit, and a newer Tamiya. I wanted to keep the Tamiya for a French version that I had purchased decals for, so settled on the 2 Hasegawa's for this build.
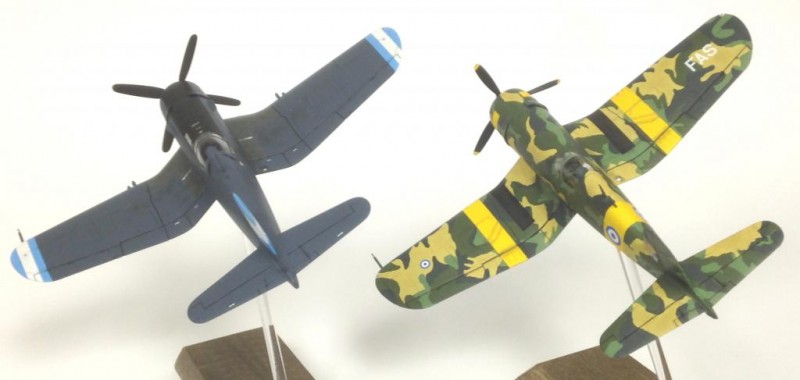
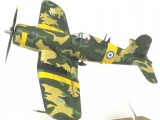
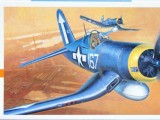
I had seen a picture of two Soccer War adversary Corsairs. The 1969 Soccer war was a 100 hour border war between Honduras and El Salvador, and was the only time Corsairs fought against each other, and was also the last time a Corsair downed a combatant. (Look it up for more details - that's all I'll mentioned about the history here). When I saw the pics, I knew I would eventually model the subjects - I loved the color schemes, and the fact that they were adversaries in the conflict.
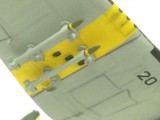
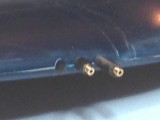
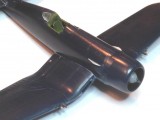
I should have done a tad more research before I committed these particular kits to the project! The Minicraft/Hasegawa kit was a birdcage version, and both were F4U-1's. El Salvador flew FG1-D's (Goodyear's version of the F4U-4) and Honduras flew the F4U-5N. My cursory review of what I would need to change for the FG1 seemed simple - mostly the ariels, including the football ariel underneath, which I formed with a small bomb from the spares box and some sheet styrene. I also drilled out the exhaust ports, and added a half-load of rockets from the spares box. I scratch built the attachment plates and remaining rocket pylons from styrene.
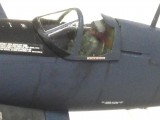
I added a few details to the cockpits of both, but in hindsight, you can't really see them, so I shouldn't have bothered. As usual, I had to add pilots, and in this case needed non-WWII-looking fellas.
The -5 was going to involve more work. To handle the canopy, I glued in the cutout glass panels and puttied them in, then secured a vac-formed canopy from a cockpit conversion set made for an Academy Corsair. Ariels also needed to be addressed. Next came the guns. 5's had 20mm cannons - two to a wing. I filled in the extra port in each wing, then used some spare landing gear struts as the base for the cannons (good thing I build mine all wheels up, but keep all spare parts!). I secured some brass Hispano Suiza cannon barrels, cut off the tips I needed, drilled into the cannon bases and glued in the tips.
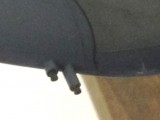
Most arduous were the exhausts and flame dampers. I filled in the existing -1 exhausts, filed out the fillet area where the exhausts eject under the flame dampers, then used styrene pieces drilled out for the exhausts. I found a couple of pieces in my spares box that were almost the size needed for the flame dampers, filed them to shape and attached.
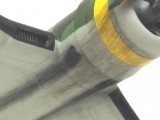
As I was working on all of this, I realized I had completely missed the fact that the -5 had a completely different cowling, with grills in the front! Dooh! By the time I realized my mistake, I had already attached the entire engine and cowling assembly to the fuselage. I fretted with how to remedy, and just decided to leave it as is - I'll consider it a "representation" of a -5 rather than having to find a -5 cowling and new engine, saw the whole front end off the existing model and reattach. Oh well...lesson learned! I was so eager to get started with the project I didn't do due diligence!
I also added a resin prop, and because the -5 had full retracting rear undercarriage (and as far as I could find, the Honduran versions had no tail hook), did some filling and putty work in that area also.
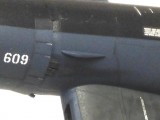
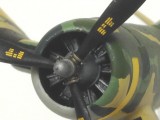
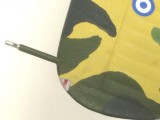
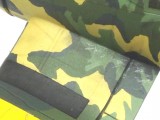
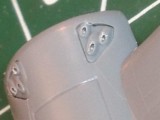
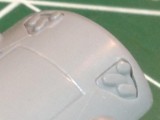
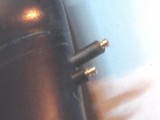
One touch I decided on for both Corsairs was to add lenses to the position lights. I had recently seen another modeler cut the corners off and use clear sprue that had been drilled out from the back and filled with the appropriate color to represent the red/green bulbs under clear lenses that were fitted to Corsairs. This was my first attempt, and I was pleased with the outcome. I included some before/after pics. To do this, I took a section of clear sprue, filed/sanded out a right angle on it, drilled into one of the flat sides 4 holes, filled them with red and green metallic paint, cut the sections out and glued to the respective wing tips, then filed and sanded down to shape.
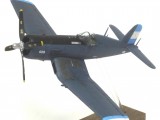
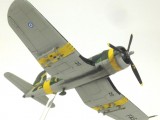
For the Honduran Corsair, I used Model Master enamels. The base color was lightened Dark Sea Blue, and Euro Grey for the wing walk areas. This was my first use of a new rigging thread. Uschi 1/72 scale elastic thread is incredible! http://www.uschivdr.com/products-in-detail/rigging/
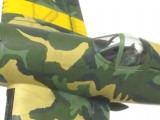
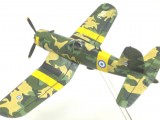
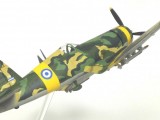
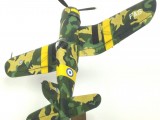
For the El Salvador Corsair, the topside was all Model Color acrylics, custom mixed to get the shades I wanted, and the underside was Model Master flat gull grey.
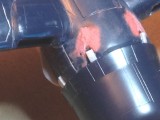
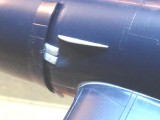
Weathering consisted of various colors of panel wash, colored pastel dust, Tensocrom Oil for the oil smudge/runs under the cowling, Tamiya weathering sets, and some grey and silver prismacolor pencil for the chips and scuffs.
All in all, I'm pleased with the result, despite the -5 cowling mistake. Some colorful Corsairs to add to my collection. I plan on doing one more Corsair in El Salvador colors (a gull grey version with some colorful light blue livery) since I still have all the stencils and other decals I'll need from the Aztec decal set I used here, and the Tamiya Corsair as a French bird (already snagged that set of decals).
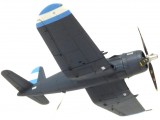
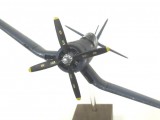
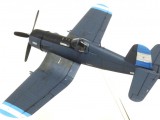
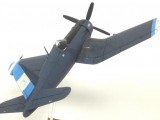
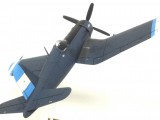
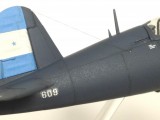
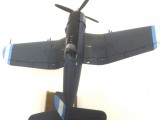
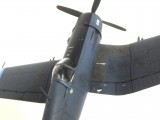
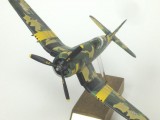
I like your display stands (remember when pretty much ALL airplane models came WITH stands?) - where do you get your wooden bases, clear rod(s) and plaques?
I cut, stain and drill the bases. The Acrylic rod I secure locally from a plastics supplier. The plates are K&M brass strips cut to size, and I use a labeler with black-on-clear tape to create the name labels and plates.
Hey Greg, Ya, a few mistakes on the cowl (gives the rivet counters something to squawk about ). But your paint schemes look great. You also gave me some ideas for possibly doing a C version, a version with two cannons in WWII. You seem to have that stand thing down pretty good. They always look nice, and are a great way to display one flying.
The Soccer war was something that could only have happened in soccer mad Latin America. The camouflaged Corsair is an eye catcher. Well done Greg!
Thanks - gave me a little more confidence that I might pull off a splinter scheme on a Viggen, since it's all by hand. Would involve masking instead of freehand, but I got good results with multi-layers of the Vallejo self-leveling paint.
I love projects like this! Great work Greg!
thanks! I'm always looking for unusual schemes, particularly if I have more than one of a subject.
The FAS Corsair is in one of my favorite schemes, nice job!
Greg, you pulled it off very well. Only the raging nitpicker is gonna find fault. The idea cancels out any problems, in my opinion. Where did you get them miniscule roundels?
One of the combatants reputedly impressed a civilian P-51 that was painted orange overall, and put the explosion in a paint factory scheme on it. I wonder about the undersides color, but the weathering has possibilities.
The FG-1 was Goodyears version of the F4U-1D.
The only way to get a -5 or -5N is by crosskitting. Someone had a -7 which has its own faults, but I dunno about availability.
All the decals were from this Aztec decals Soccer Wars set: http://www.victorymodels.com/products/aztec-decals-1-72-f-4u-corsair-100-hours-war-soccer-war-az72043?variant=8746326915
I like these a lot. This camouflage looks like quite a meticulous paint job, was it brush-painted or masked? A wonderful pair.
Glad you liked them. Brush painted as usual, except I did use rattle can white for the Honduran, and yellow for the ID bands on the Salvadoran.
Hello Greg...What an interesting contrast between the paint schemes of those two Corsairs. Very nicely done and a fine display of those Soccer War combatants. One of the Honduran F4U-5N's that participated in that brief skirmish shot down an opposing FG-1D and afterwards, had a white corsair-shaped victory mark painted on the fuselage of his bird. I very much like your presentation.
That particular Honduran gentleman shot down 2 Mustangs and 1 Corsair. The decals included the 3 kill markings, but since those weren't applied until after the war, I left them off.
Great camo on the El Salvador Corsair I also like the way you have them on poles.
Thanks. I mount all of my builds on stands, which I make myself, including a brass name plate of each subject.
This is a project that typifies modelling enthusiasts in their element: an interesting subject, a back story, and unusual liveries. Thanks for posting.
This is all completely new to me, Greg, and what a fantastic posting, fascinating story, great modelling, and excellent photography, thanks very much for sharing.
Nice Corsairs!
Very nice work especially the tan/green one stands out, lovely builds !
For rigging i have Uschis stuff now here as well, good to hear (read) its working !
It works great - but it is so thin that I have to be more careful handling it - I can barely see it! Old eyes I guess!
Very nice job. I love Corsair and these liveries!