Hasegawa 1:48 F6F-5 Hellcat
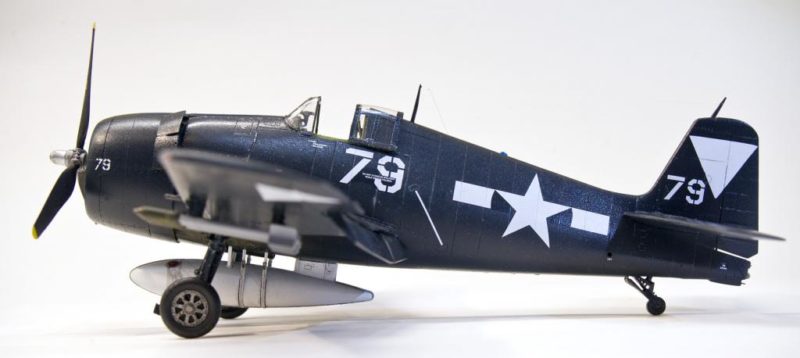
Here's my latest build, hot off the bench - Hasegawa's 1:48 F6F-5, the "10,000th Hellcat" boxing.
The Hasegawa kit can be made into a fine model straight from the box, but I made a few additions and corrections. Good points are excellent parts fit, accurate outline and shapes, finely recessed panel lines, early HVAR's, and a drop tank. Drawbacks are a canopy that cannot be posed open, average cockpit detail, very basic wheel well detail and off-color decals. Anyone who has built a Hasegawa kit will be familiar with their baffling inability to print the color white on their decal sheets. On an all-blue airplane, the yellow-tinted markings will stand our starkly, so aftermarket decals are a must.
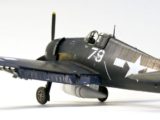
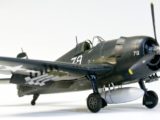
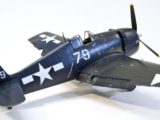
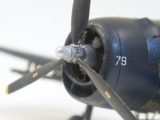
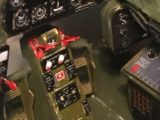
Here are some of the corrections and additions I made during construction: I used a True Details cockpit, but soon regretted that decision. The parts fit poorly and threw off the fit of the fuselage, necessitating extra filling and sanding. I used two different Eduard photo-etched sets to add details, including a new instrument panel, rudder pedals, ignition wiring harness, landing gear and gear well details. Once assembled, the cockpit was painted Tamiya acrylic NATO Green. The “grin” of the Hasegawa chin scoop on the cowling is a little off, so I replaced it with a new cowl from Quickboost. Most people will be fine with the kit part, but the resin replacement also features opened cowl flaps, which gives a more animated look to the finished kit. I also added a small section of micro screen to the inside of the chin scoop. I cut away the flaps and replaced them in the lowered position with a CMK resin set. If you do this, you'll need to scratch-build a well for the flaps, too. The kit machine gun barrels feature holes for cooling vents. They look good, but are incorrect. Gun barrels of F6F's were in solid metal sleeves. I should have replaced them with styrene rod, but I got lazy and left them alone. For the wingtip navigation lights, I cut away the plastic, and replicated bulbs with small sections of thin styrene rod, painted red and green. I used Micro Krystal Kleer to make lenses for the lights. I made a towing bracket under the tail hook with a small section of wire bent to shape. To display the canopy open, I used a Squadron vac-formed canopy to replace the too-thick kit part, but used the kit windscreen.
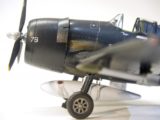
I painted the simple overall sea blue camouflage (FS #15042) with a Model Master spray can. Warming the can in a sink of warm water helped the paint to spray more evenly. Overall gloss sea blue aircraft can be rather drab, but there are ways to add color to this scheme. It was very common to see overall sea blue Hellcats sporting white drop tanks, holdovers from the previously used tri-color camouflage scheme, so that's how I painted mine. Also, photos indicate that -5 Hellcats could have either sea blue, aluminum or sometimes white wheels. I painted my wheels Model Master Metalizer Steel, to replicate a weathered and oxidized aluminum look. The rockets were painted Tamiya Medium Grey, with Olive Drab warheads and Steel fuses. I finished the rockets with stencils from an old Pro Modeler decal sheet for US bombs and rockets. Finally, I used strands of my wife's hair to rig the antenna wire.
To recreate the exhaust stains on the fuselage, I used Tamiya Weathering Master sets. These are primarily used to weather tanks and armor models, but work well for aircraft exhaust stains. They are powders in different colors, and applied with a small make-up brush applicator. For the exhaust stains, I used soot, light sand, and rust. I'm not skilled enough with an airbrush to recreate these stains, but the weathering powders look good enough to me. The aircraft I was modeling was new and well-maintained, so I kept additional weathering to a minimum, with just minor paint chipping here and there.
The aforementioned kit decals were not pure white, so I made my own geometric wing and tail carrier ID markings from a solid white decal sheet. The numbers, stencils and stars and bars came from various Super Scale sheets. The markings are for an F6F-5 from VBF-87, deployed aboard USS Ticonderoga from May through September of 1945. The squadron entered the war late, but did see combat while making strikes on the Japanese mainland during the final weeks of the war.
Gotta love those Hellcats...nice job Drew.
Thanks, Jack!
It turned out great, Drew...you did a bang-up job with those little 'corrections', too. As for exhaust staining and the like, I've used weathering powders for quite some time (rather than that fiddly airbrush) - as you said, they'll work fine in the right hands.
Thanks you, Craig - think i'll stick with using the weathering powders instead of trying to airbrush them.
Just the right amount of extra detailing and weathering has made this a Hellcat that really stands out.
Thanks - I appreciate your comments, George!
Having built this kit , I have to concur with you on the issue's, but as you've proved here, your determination has paid off into a fine looking model. Well done Drew. A very convincing, good looking Hellcat !
Thanks very much for the comments, Terry! I only have four more Hellcats in the stash!
Nice Hellcat. Good work with the decals.
Thanks, Rob! I have another Hasegawa Hellcat in the stash, and the decals in that kit are even more yellow that they were in this kit.
Good looking cat Drew.
Thanks you, Tom!
Well done Drew!
Thanks, Frank!
Very nice Drew, always good to see a well done Hellcat.
Thanks very much, Jim. I've been buying your books for years, and I'm flattered to hear from you. I think my next build just might be another Tamiya -1A Corsair, in the markings of VMF-217.
Great job. nice tip about warming the spray can.
Thanks, Robert!
Great-looking Hellcat! Fine job of detailing and finishing it off. Very nice detail work in the cockpit - paid off nicely!
Thank you, Greg!
Well done, beautiful and well detailed Hellcat
Thanks, Bernd!
Great job with your Hellcat ! The rockets and the cockpit photos show some amazing detail. ?
Thanks, Louis!
One thing. When you are doing this kind of scheme,.you want the paint absolutely smooth. You should thin it 60-40 (60 - thinner) and mist it on till you get the opacity you want,. Your paint wan't thinned more than 20%, which is why it shows up "pebbly" in the photos. Hopefully you can use this on the next monochromatic finish - there's nothing to distract the eye from the final finish when it's one color.
The cockpit is small enough that the kit cockpit works. What's needed is a Squadron/Falcon vac canopy. And the resin cowling is a must, otherwise the airplane is "chinless."
Thanks for the tip, Tom. I was curious why the finish looks so pebbly in the pics - but it doesn't look like that when you look at it in person. Apparently the lighting picked up the imperfections in the finish you can't readily see.
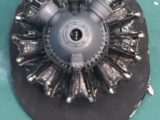
Cool 'Cat. Helluva closeup on the cockpit shot. Nice powerplant too.
I'd have to agree with TC's pebbly comments. Making a/c is one of the hardest modeling projects with so many steps that can go wrong. Drew, I like the cockpit and the rockets. The engine came out superb. I too have done the dark blue finish and found myself with a pebbly surface...I sanded down the paint and polished and polished my Academy Hellcat to no avail. With a purple cloud and some choice words it sits on the shelf of doom. One of my hero's on the board is Roger Fabrocini and his multi-color Hellcat is one of my reference materials on how to do a 1/48 Hellcat.
Drew the kits still has a lot of offer and I will use your article for referencing too. Thanking your for posting your article.
Thanks, Stephen - I appreciate your comments. And thanks for sharing that link. Roger's Hellcat is simply superb, and his tips will be helpfull on future builds.