An-32 Amodel 1/72

Colleagues, Hello!
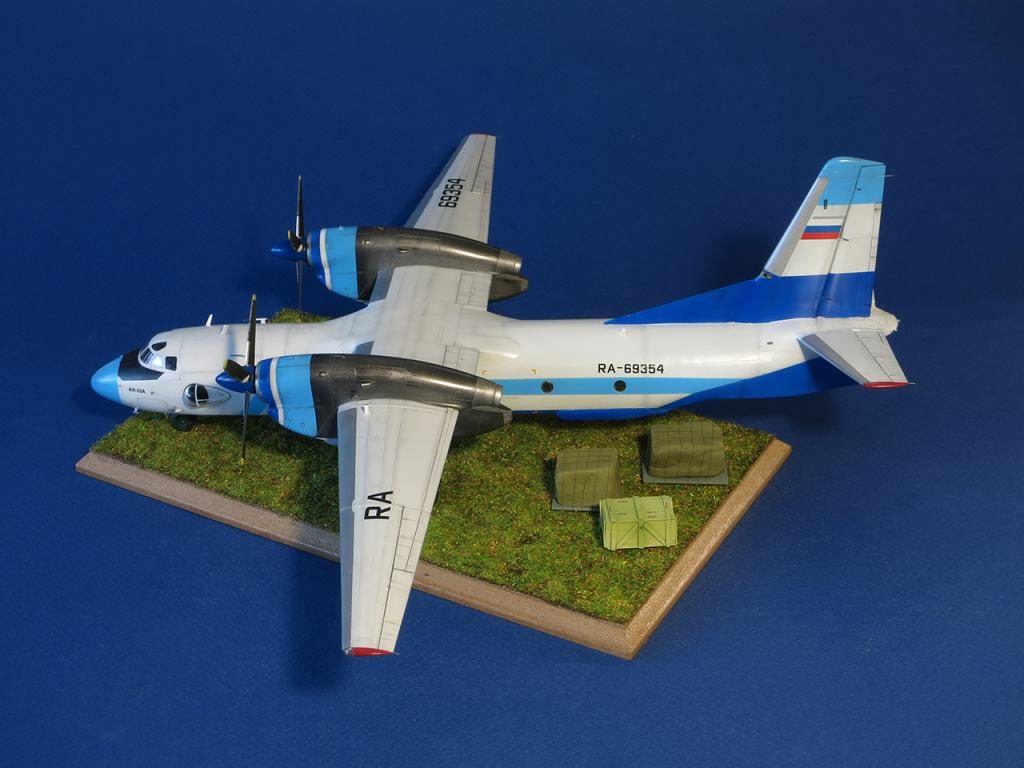
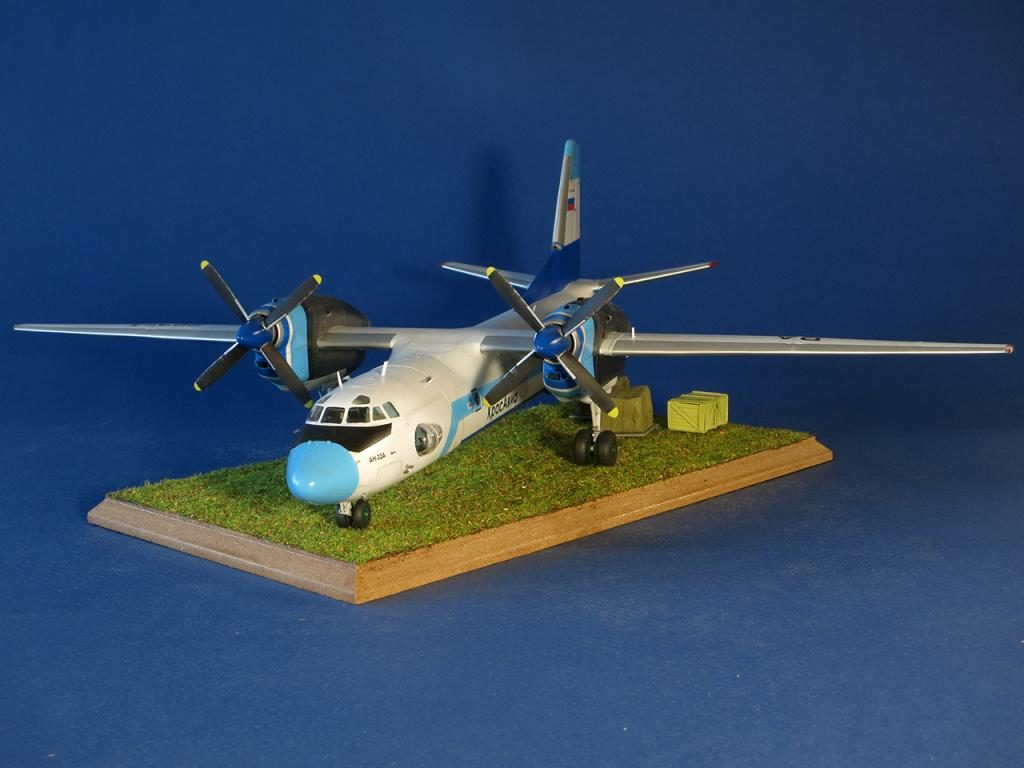
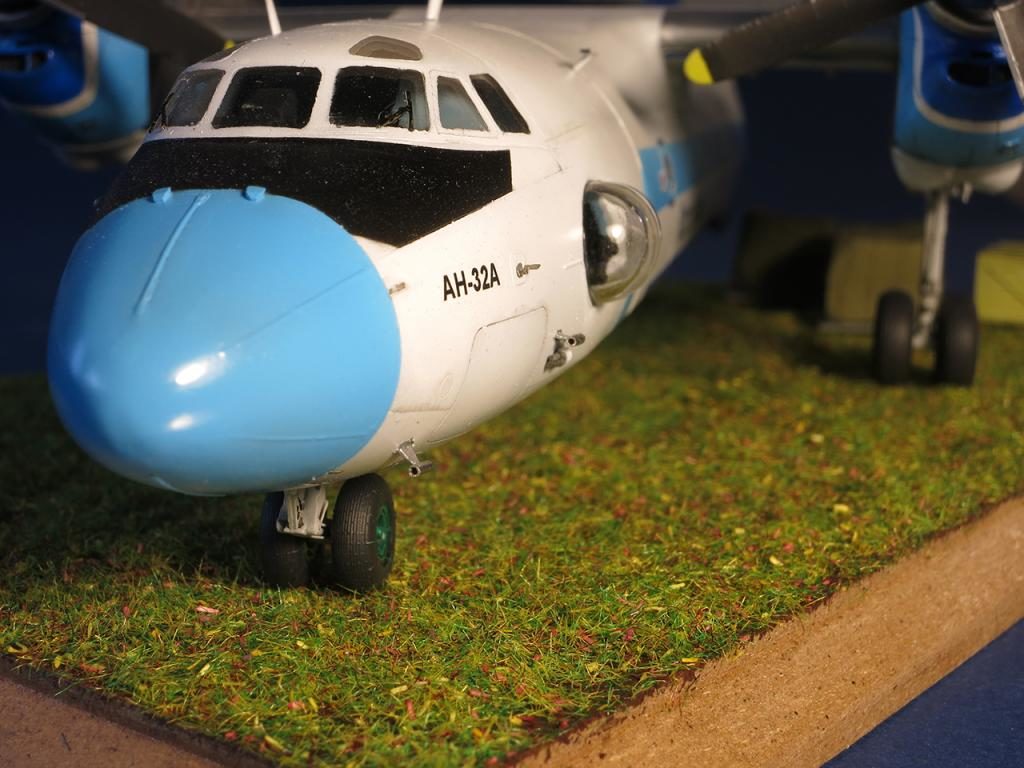
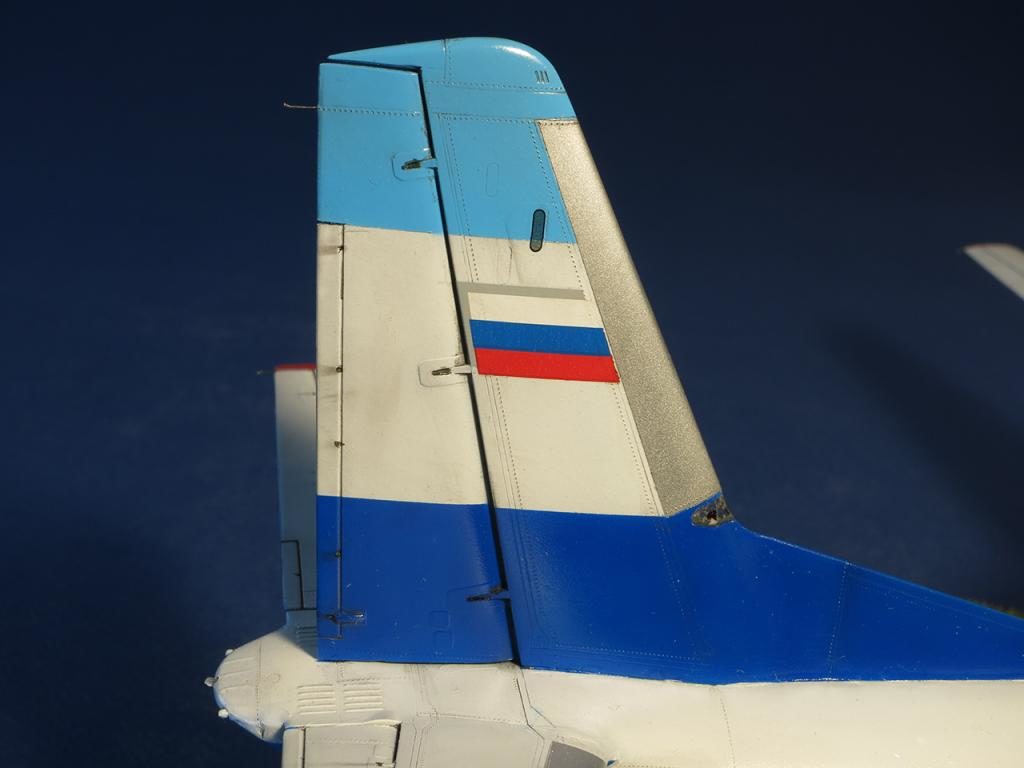
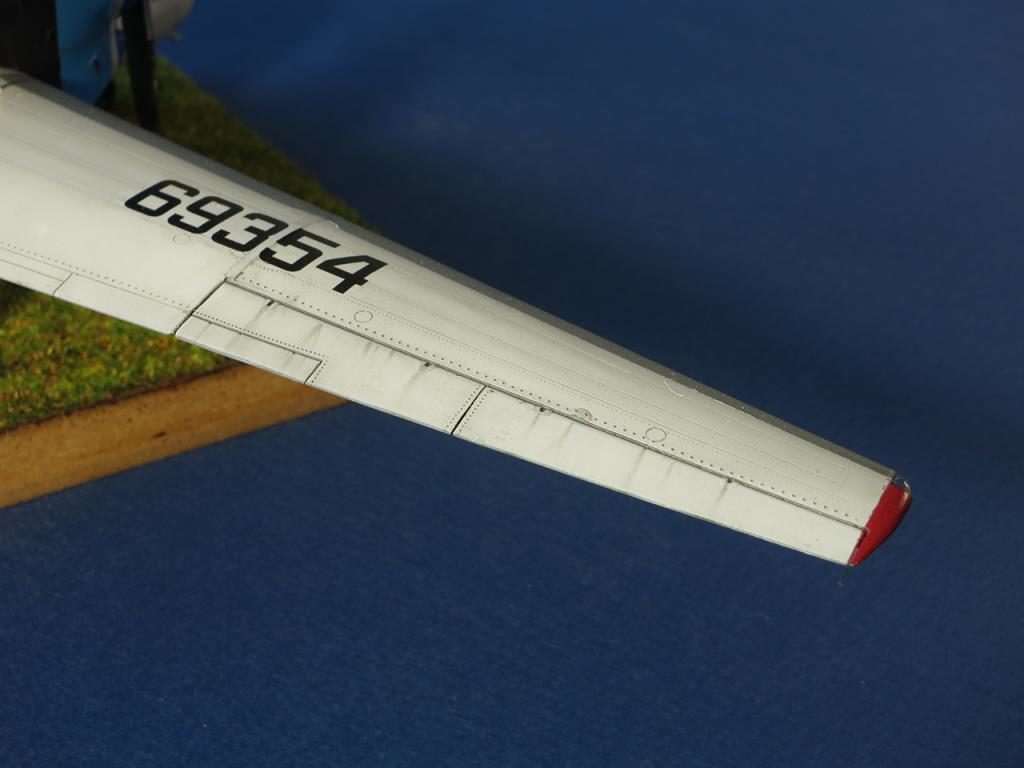
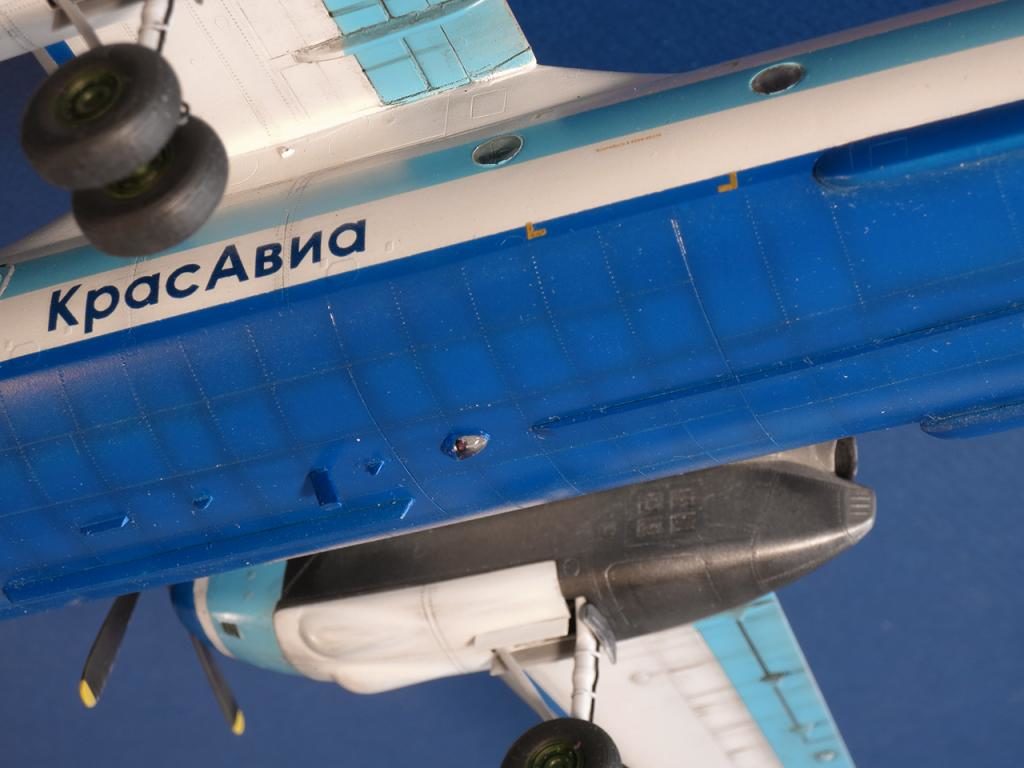
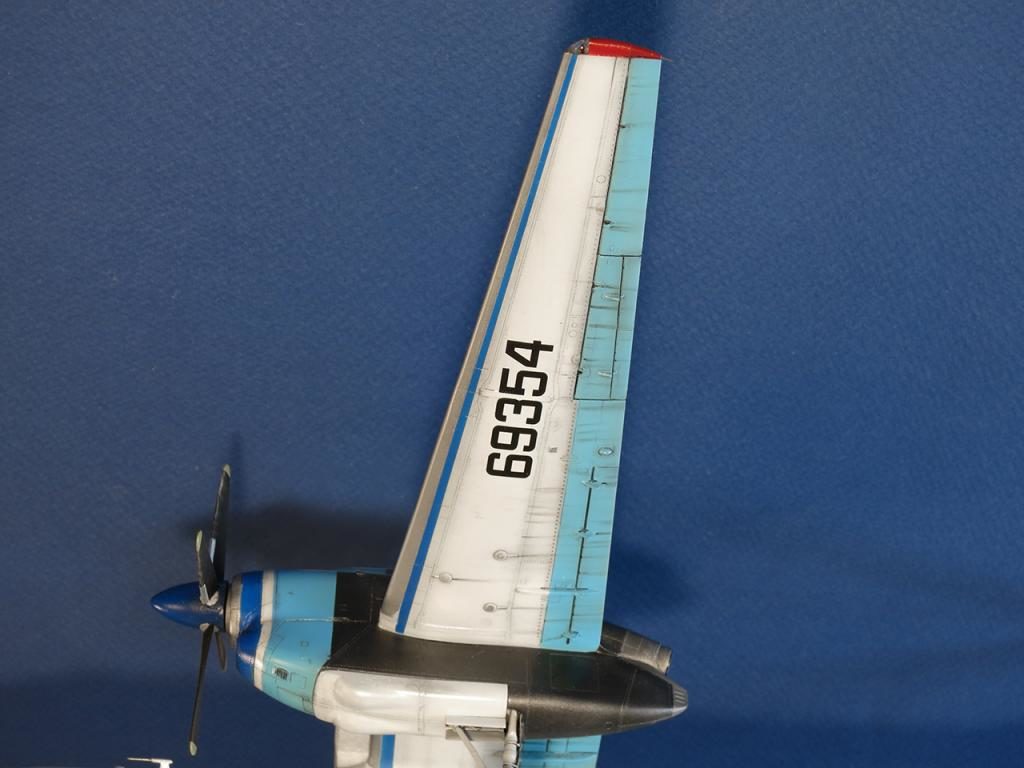
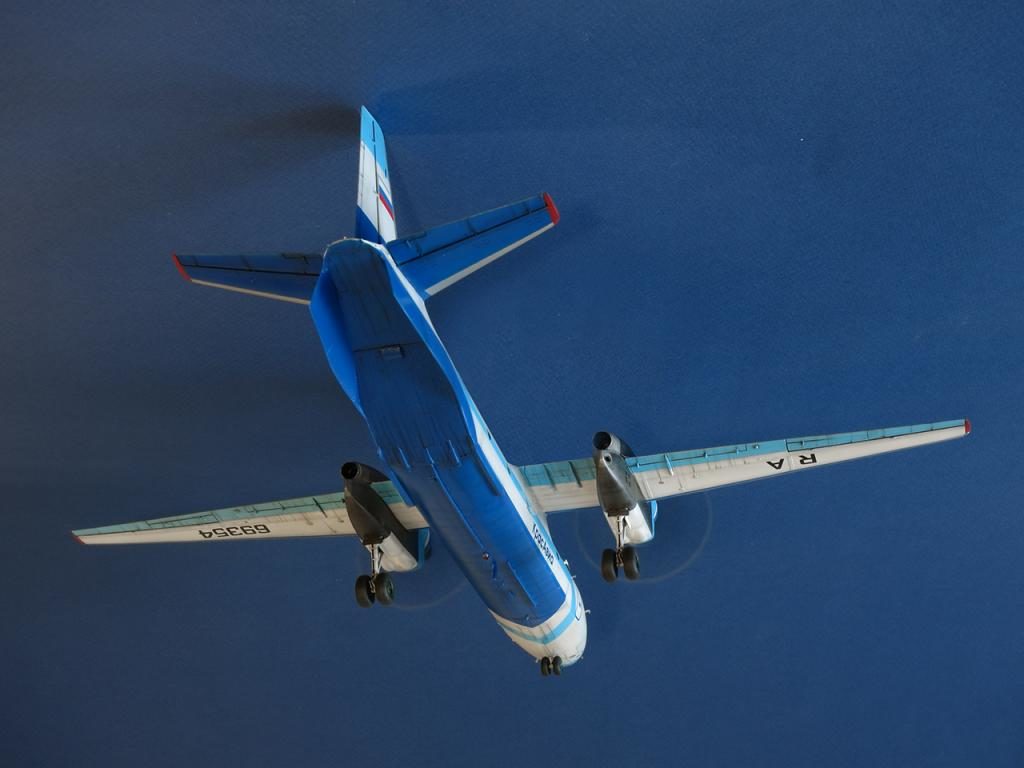
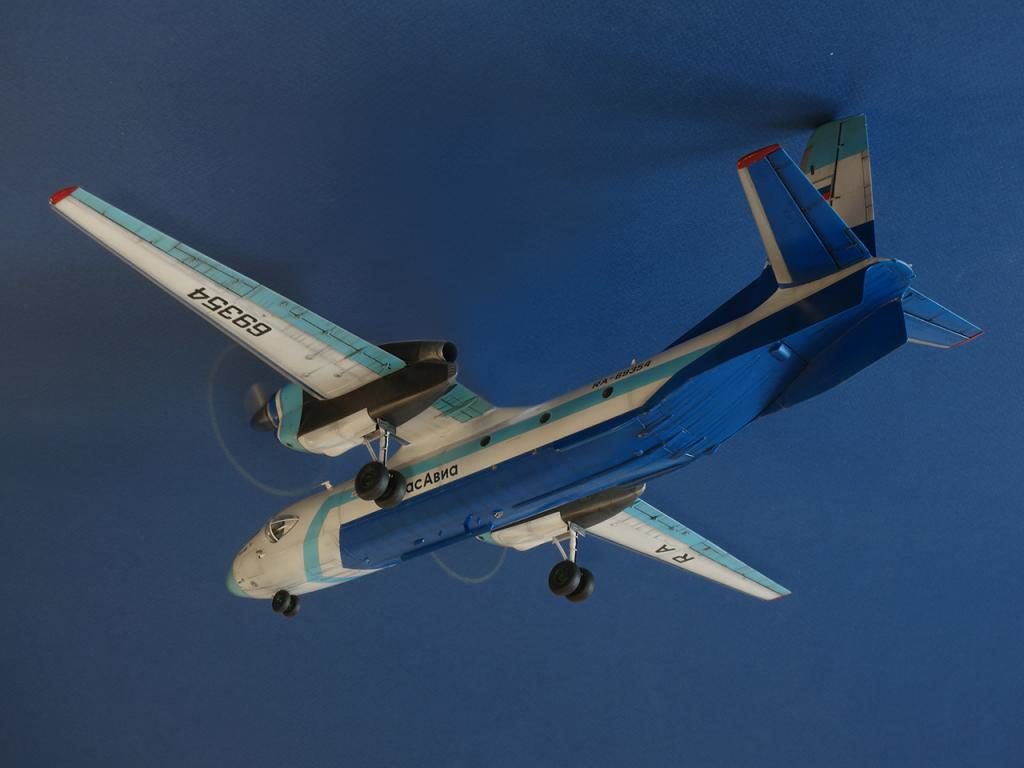
And I give to your attention another your model. here's my An-32 from Amodel in cilvilian livery, looking good. Picked it up in parallel with the recently shown Su-11. The prototype aircraft was the RA-96354 flying with Krasnoyarsk airlines. One of the strengths of the An-32 is its capability to operate from the grass airfields for cargo.
How it turned out in terms of the resemblance to the original, you be the judge.
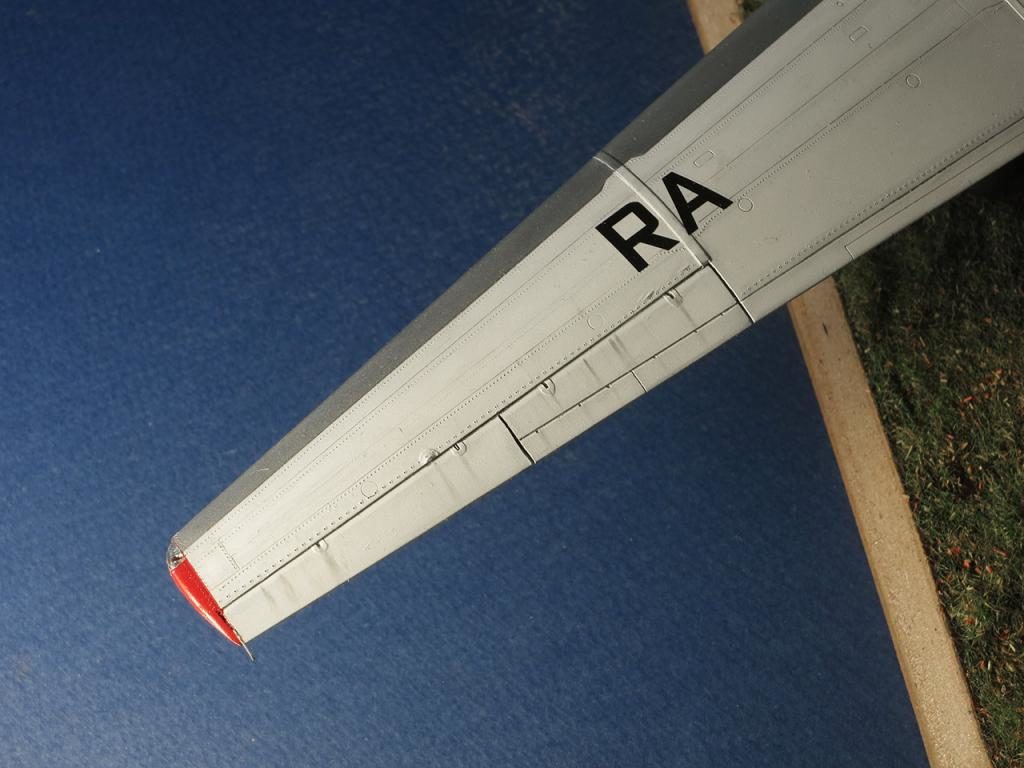
The kit was typical for Amodel with regard to the quality of the casting. One added feature of the model is that I decided to roll on the rivet lines where they were appropriate in my opinion. I liked the experience of rivets on my Su-11 so I decided to continue it.
The other changes were as follows:
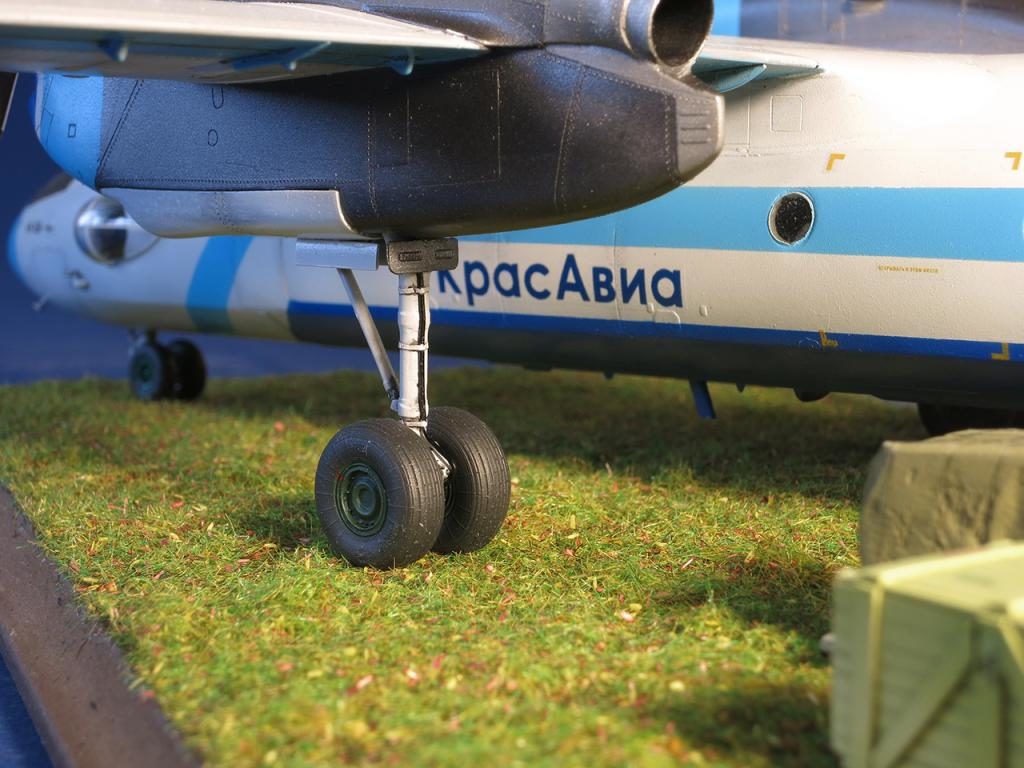
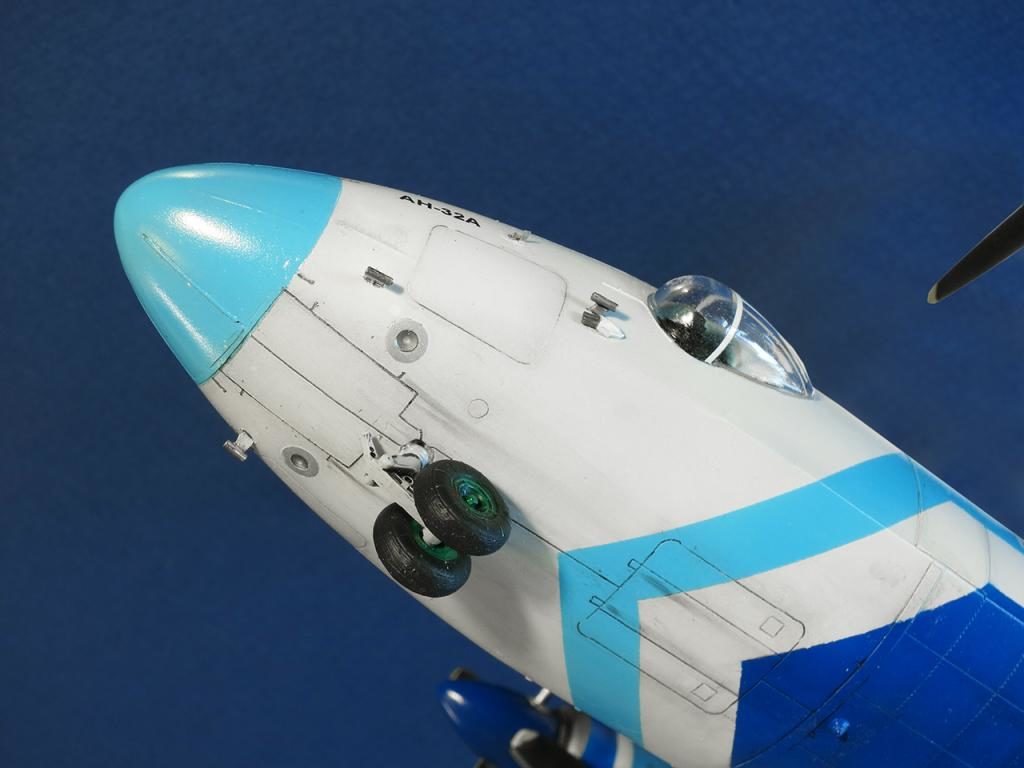
- The wheels are from Equipage.
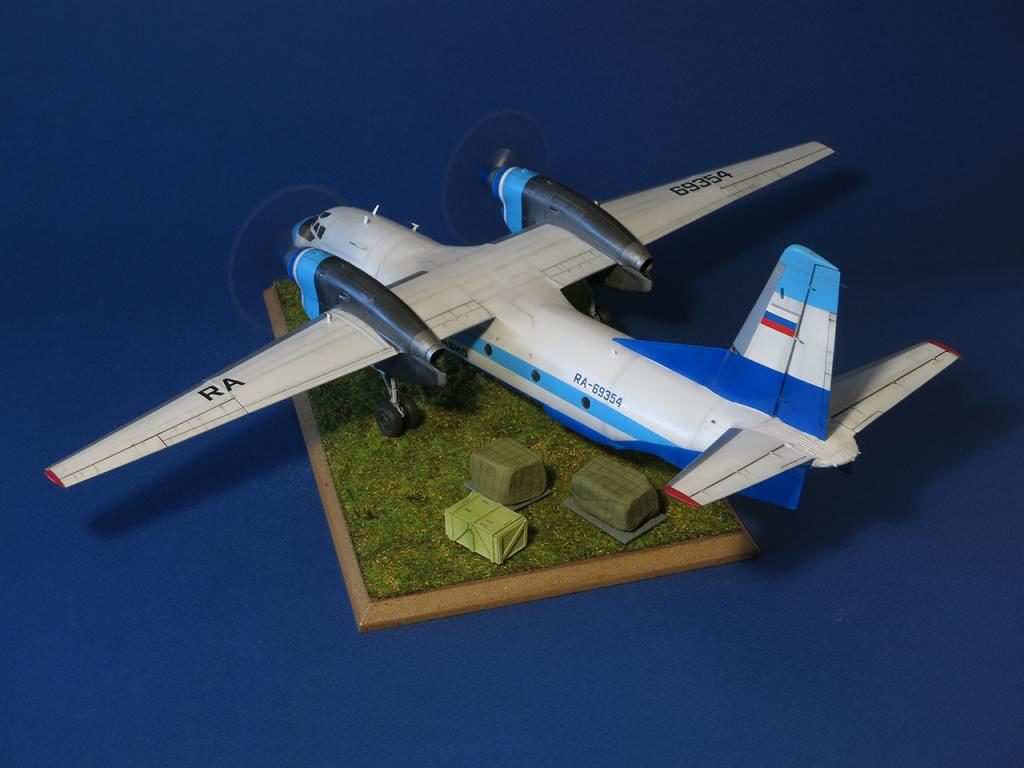
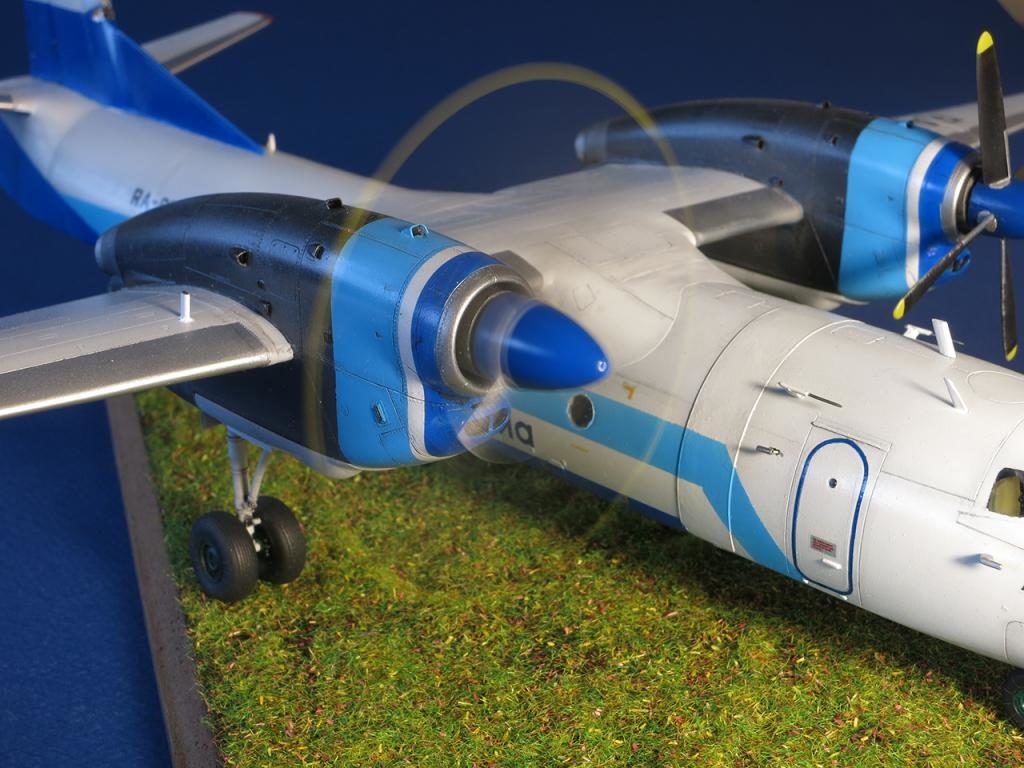
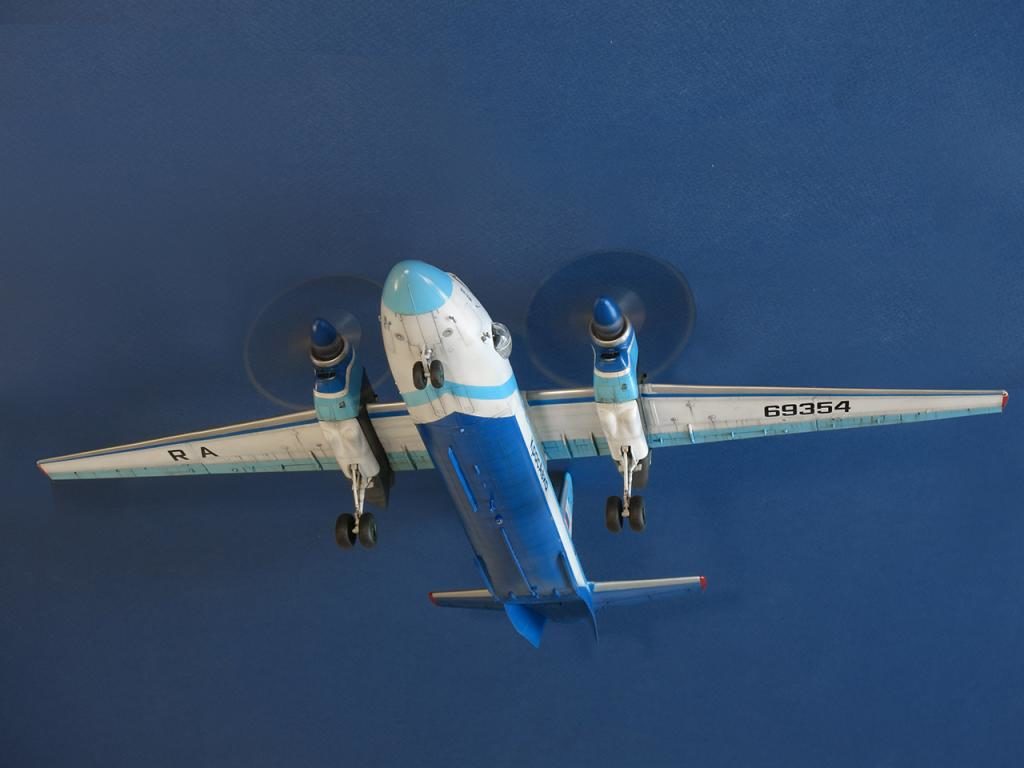
- The propellers were mounted on a pair of brass bushings/axle diameter 1 mm. This allows them to rotate even from a gentle blow.
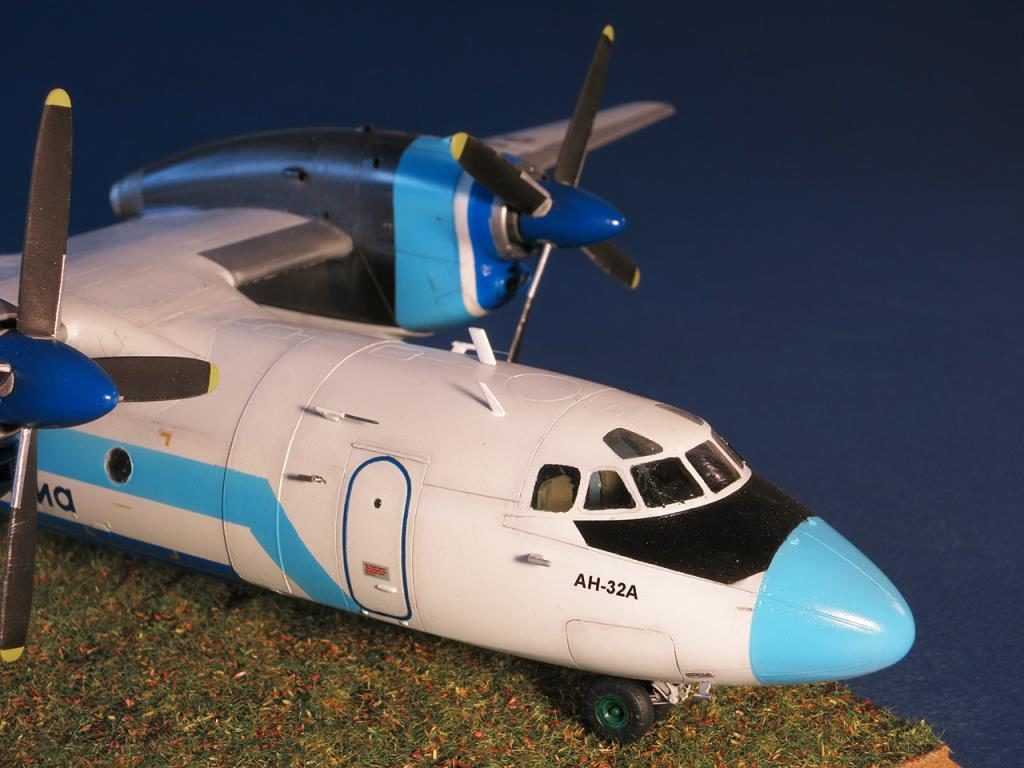
- Replaced almost all the sensors and antennae with syringe needle tubes.
- Installed the wipers from pieces of photoetched ladders for ships.
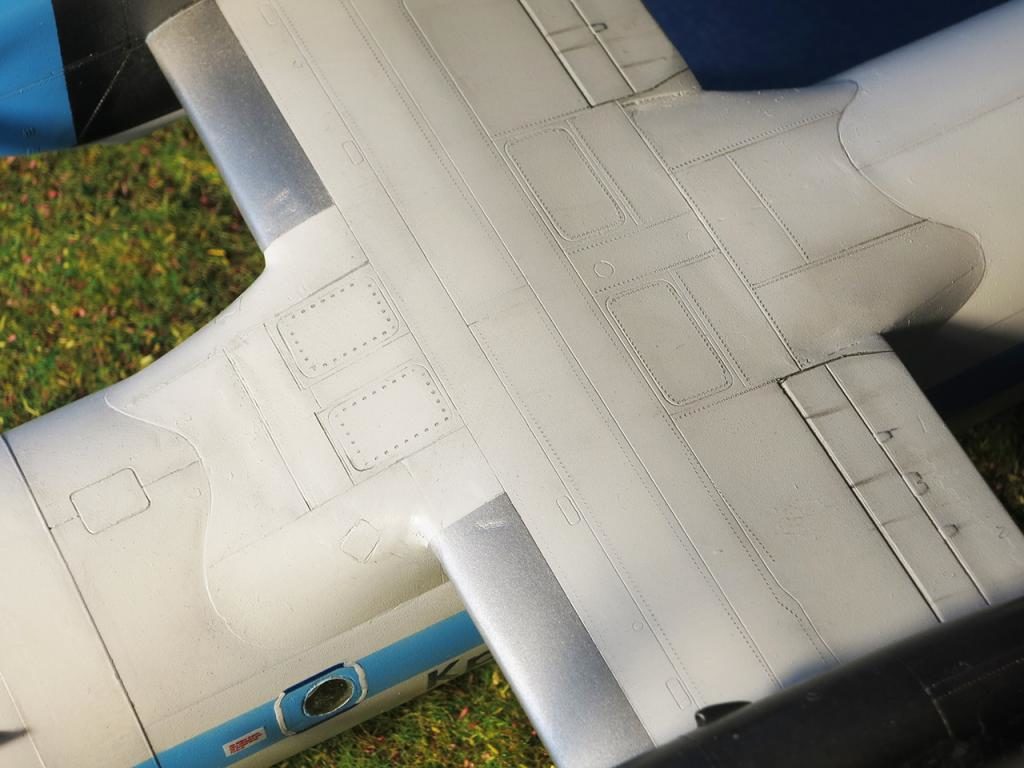
- Reinforcement plates on the wing the fuselage were made from self-adhesive foil.
- Clear position lights were made from plastic coming from colored toothbrush handles.
- As mentioned above - add-on riveting.
- Hydraulic piping was added on landing gear legs.
- Landing lights in the bow were hollowed out, painted chrome and filled with a transparent epoxy.
- BANO - epoxy with color "bulbs".
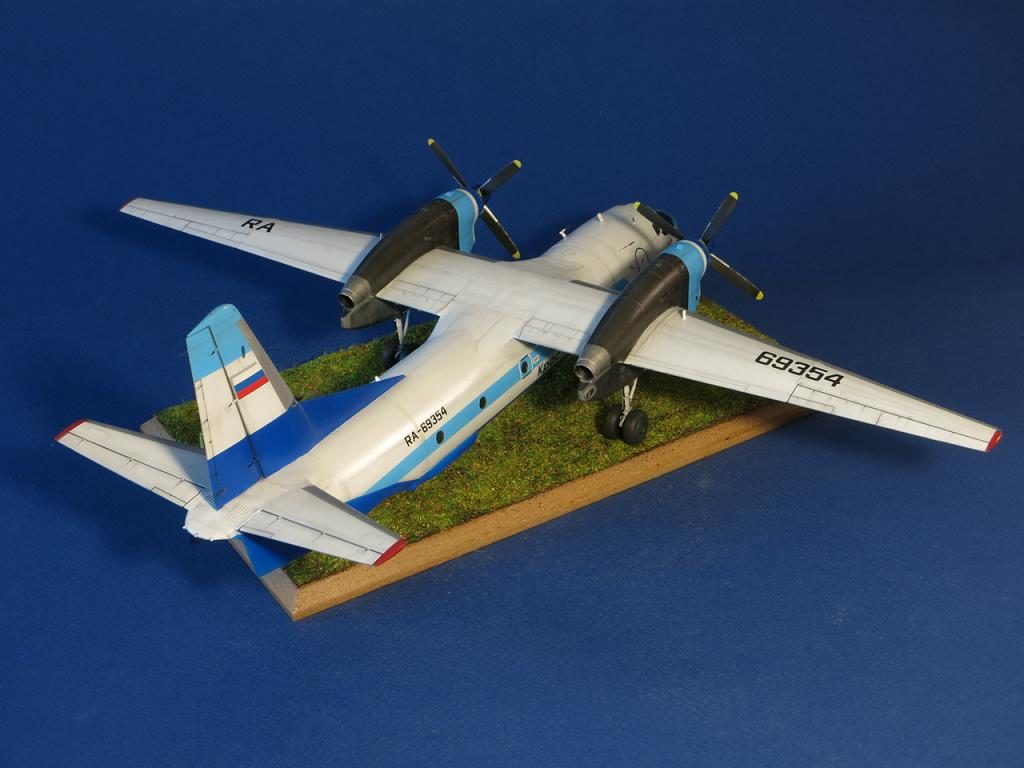
- The intakes on the engines were cut out, machined and glued back.
- All decals were homemade.
Painting:
I primed and painted the model using KUDO paints. Before painting made the gray preshading. The fuselage stripes were masked an painted. The engines were masked using Tamiya's white elastic tape. The selection of washing as per my usual habit, a gray slush of feri+gouache+water. The finishing varnish comes also from KUDO.
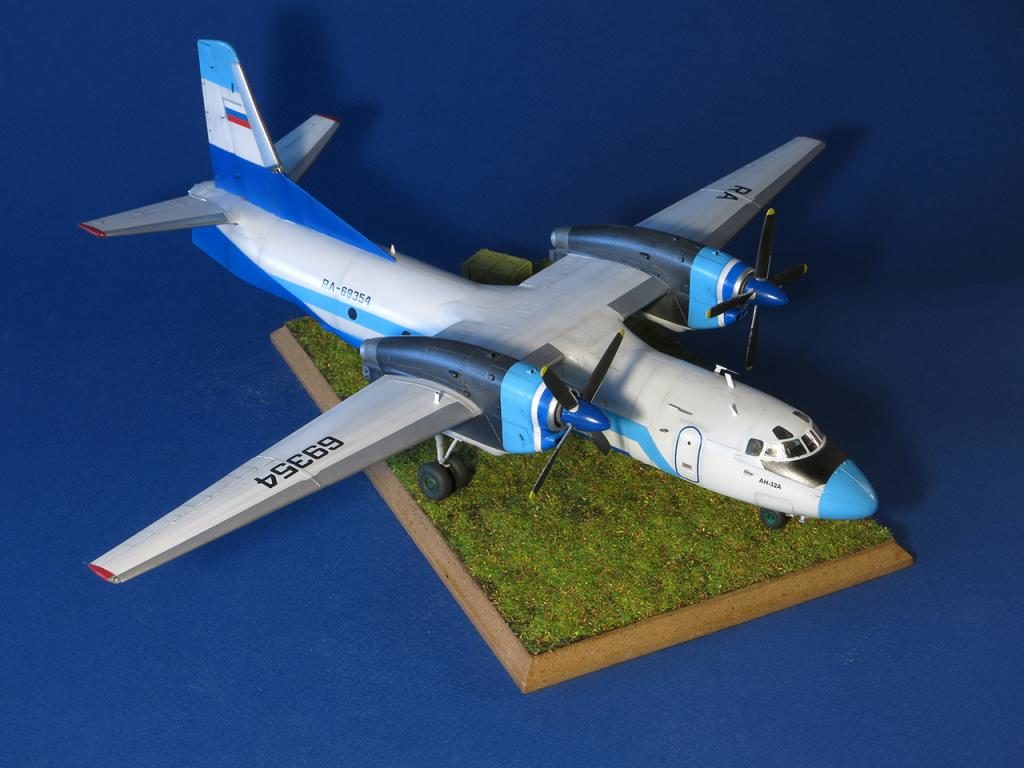
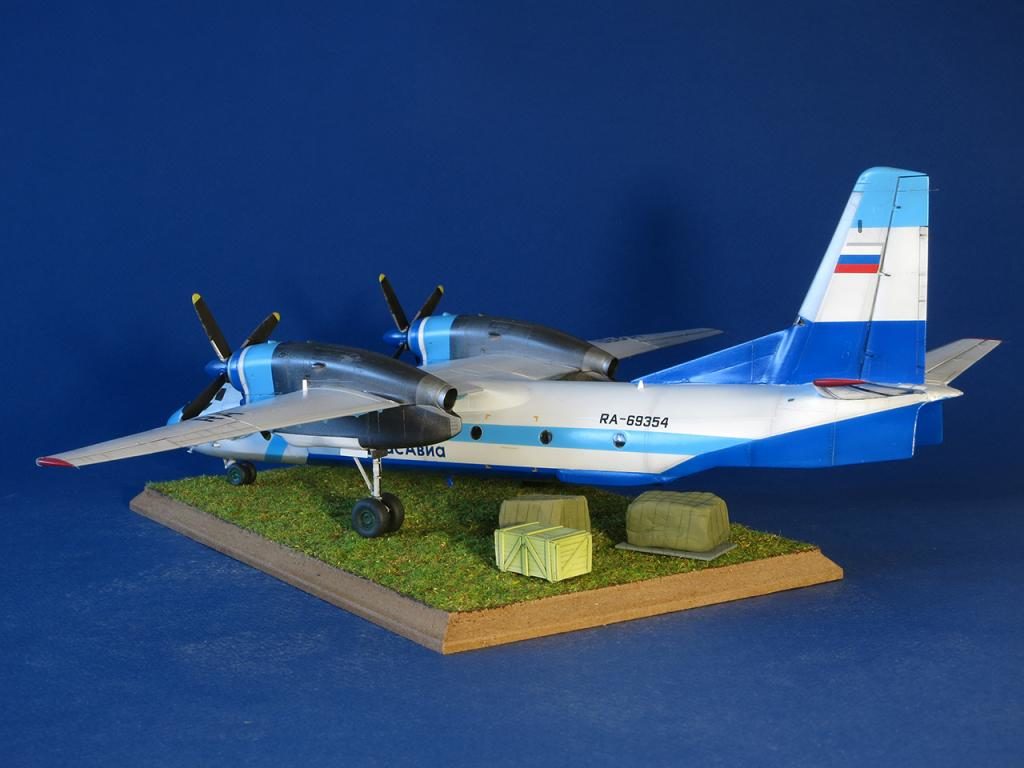
Stand:
The base was made from laminated particle board. The top is painted brown, then PVA used to attach grass from a set of NOCH "Blumenwiesen-Gras". It looks like a synthetic marijuana in the bag :). To polee-less sticking out I "lifted" grated myself a cap from a can of spray paint.. So the result is better entrenched blew this "lawn" of hairspray.
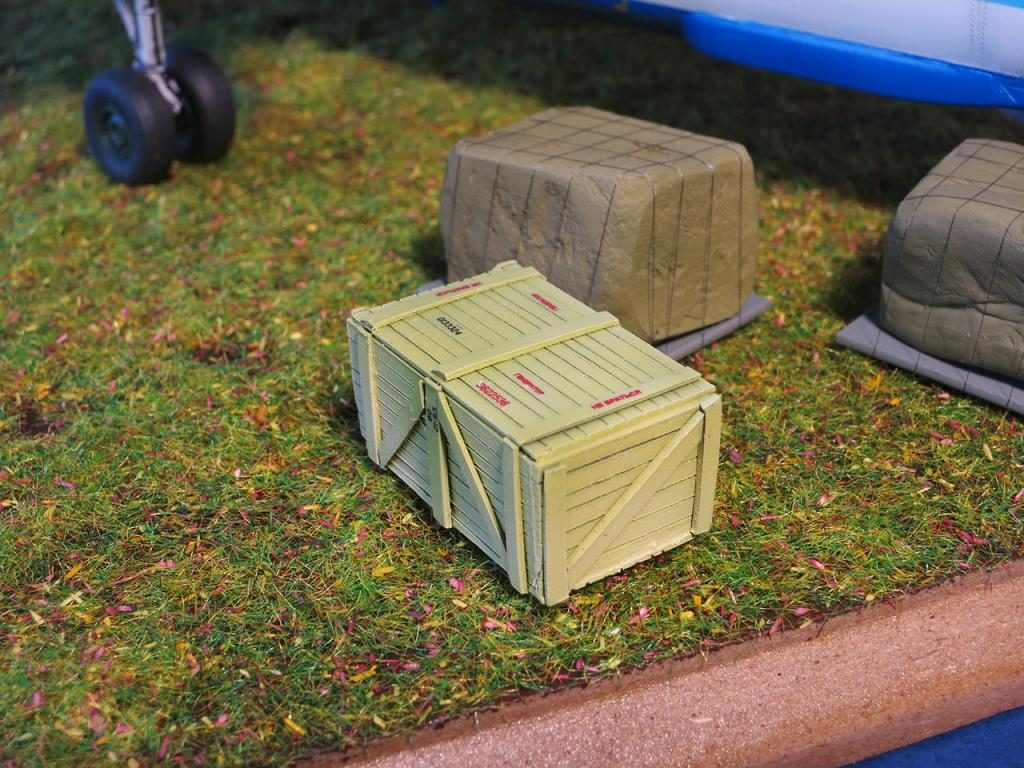
Goods are fully improvised. Two identical - it is something under a tarpaulin on a pallet, tied up by a rope. This is the "something" - colored hepoxilin, rope, thread school bow.
Wooden box - glued instant noodles box, pasted the same "boards" and painted. The inscription on it - the remains of the decals.
During a photo shoot on the screws directed a cold jet of the Hairdryer.
Well, sort of everything I knew said ))). Please visit ).


Fine work, looking really good!
Another beauty Dmitry! Really like all of the touches you added, and the weathering looks spot-on. Plus, an usual subject. Great work.
A very lovely build Dmitry.
Great detail, and a well painted and weathered finish.
Well done! I like the subtle weathering. Models of civilian aircraft tend to look like toys or display models in travel agencies. Your weathering makes the model come alive, without being overdone.
Friends, thank you for your attention to the model.
I can only concur with all that's been said. Only thing I'd like to know is the wingspan in inches (it may help in the future to add a "common object" in one of your photos for reference for those of us unfamiliar with this airplane). By the way, what method was used to get those great looking belly shots? Outstanding work on this, Dmitry...well done indeed.
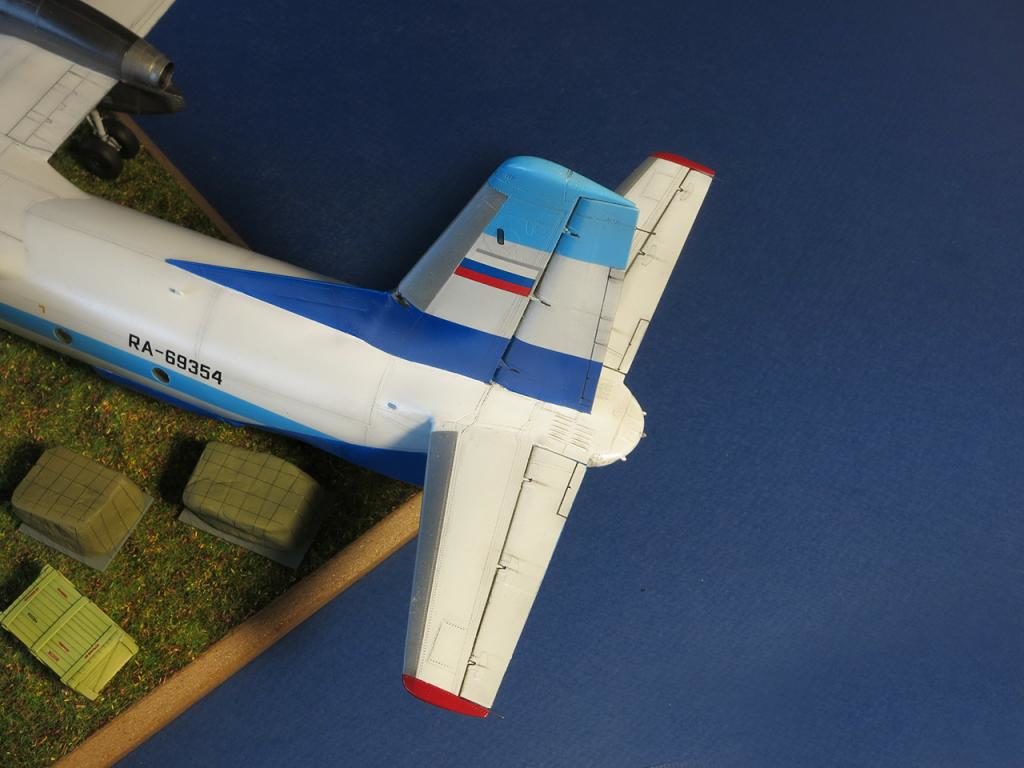
Craig, thank you for the comment. The wingspan on the real plane 341,6 inches. In terms of scale, this will be 4.7 inches. The length of the plane 729 inches, and in 1/72 scale it will be 10.1 inches. A photo where the plane is shown from the bottom I did: took pictures of inverted model, and then the editor turned the photo 180 degrees.
Extremely nice work for such a small model. I noticed the shadow(s) of the inverted model, but then wondered how you got the props turning with no apparent support other than the tail. Some folks have taken the underneath photos using a piece of glass. Thanks.
Craig, I just put the model up chassis so that it rested on the tail and a small cube of soft rubber, which is placed near the cockpit. The angle of the camera picked up so that the cube is not visible behind fuselage. He hid ))
Hi Dmitry, I read the notes above regarding Craig's query about the size of the model, something seem incorrect regarding the wingspan, surely the measurement is bigger than the length of the fuselage. I checked on Wikipedia, it says the wingspan is 95 feet 9 1/2 inches, which, in 1/72 scale would be nearly 16 inches, this looks to be more like your model!
Gentlemen, I apologize for the fact that unwittingly misled you. I mistakenly stated the size of my other models of Su-11. I hasten to correct. An-32 wing span is 15.9 inches, with a length of 12.9 inches.
Dimtry,this is a smart,tight build. Everything is crisp and in place with a really good touch in the use of accenting the engraved panel lines with oil paints thinned,pastels,gauche or maybe a acrylic paint? I always like to see Soviet designed a/c on this site. It adds a little more info the history of aviation.
Two thumbs up on this strong build.
Stephen, thanks for your emotional review! Very nice))) I don't really understand your question about the paint. I'm sorry, but could you repeat it differently? ))
Drinking coffee and writing positive comments ain't emotional. Writing about the good points of a build are much better than reading one or two word comments,Good build, excellent, I like this,tasty, and nice. That doesn't cut it for me. I prefer to look at peoples work for more than 30seconds and reinforce the good points of what makes a good model.
Dmitry, what paints or materials did you use to fill the engraved panel lines in the ailerons,hatches and doors of your model? What technique did you use?
Stephen, to highlight panel lines, I applied a mixture: liquid detergent for washing dishes Fairy (5 piece) + black gouache (1 part) + water (10 parts). This liquid I missed the fact that the joints and once dry wiped with dry cotton wool.
Thank you Dmitry. You've taught a old dog a new trick. Do you gloss coat your models for decaling and then use a dull coat for sealing?
Keeping with the "teach a man how to fish" theme...
)))) After these steps, I cover model semi-Matt varnish, so the tinting is not washed off.
Hi Dmitry, I like everything about your posting, the informative history, your construction notes, and, of course, the beautiful model which is very nicely presented on its base. I can only add that your English is very much better than my Russian!
George, thank you )))
A superbly constructed and finished model. Your notes on what extra steps you took probably only tell half the story. What is so self evident is that you really are a highly skilled modeller.
Excellent build and presentation. And its a rare sight !
Another sparking build, Dmitry.
Friends, thank you all for such attention to the model!
This is fine work, Dimitry! Outstanding model and your description with build techniques. It is VERY interesting to see the Soviet models of aircraft. It is something that is somewhat new to us here in the US and is very pleasing. Thank you for sharing.
Thank you, Jeffry! A love of aviation brings together people of different countries!
That's an amazing bit of work there mate! Immaculate weathering and finish. I like the spinning propellers, great use of the hairdryer, I never thought of that!
Really well done!
P.k