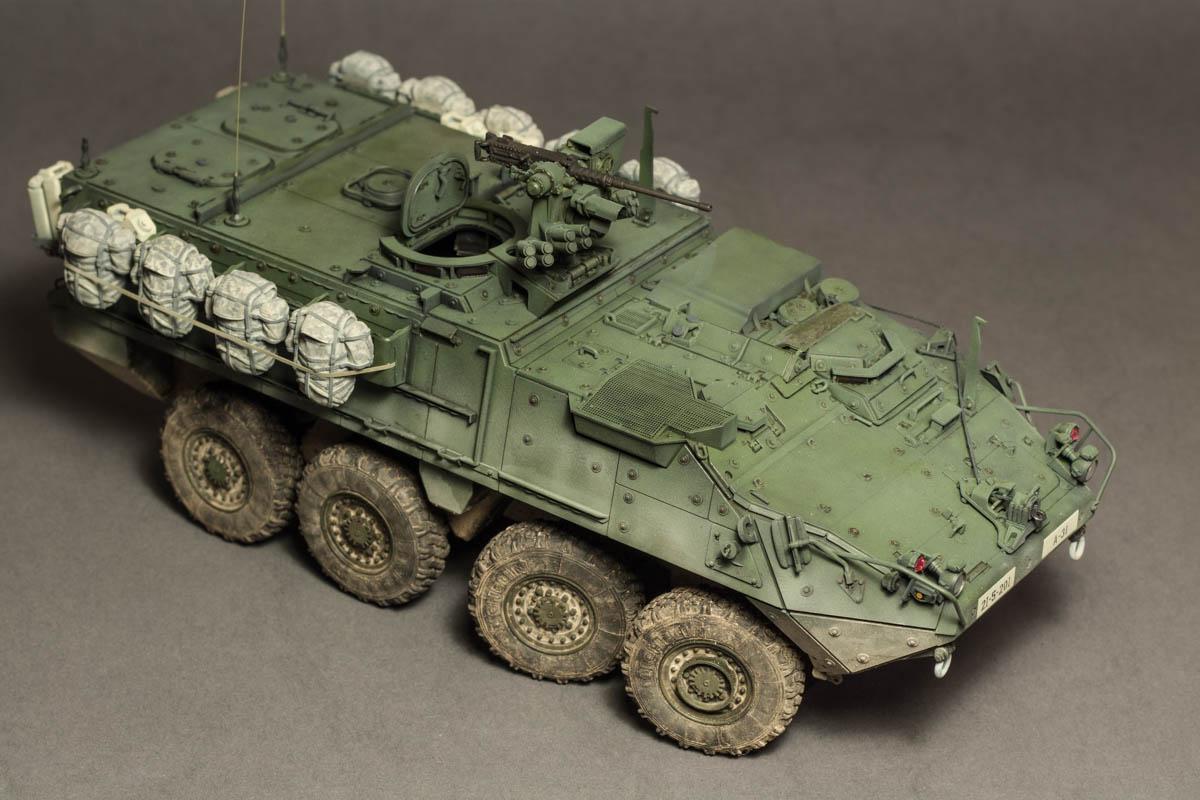
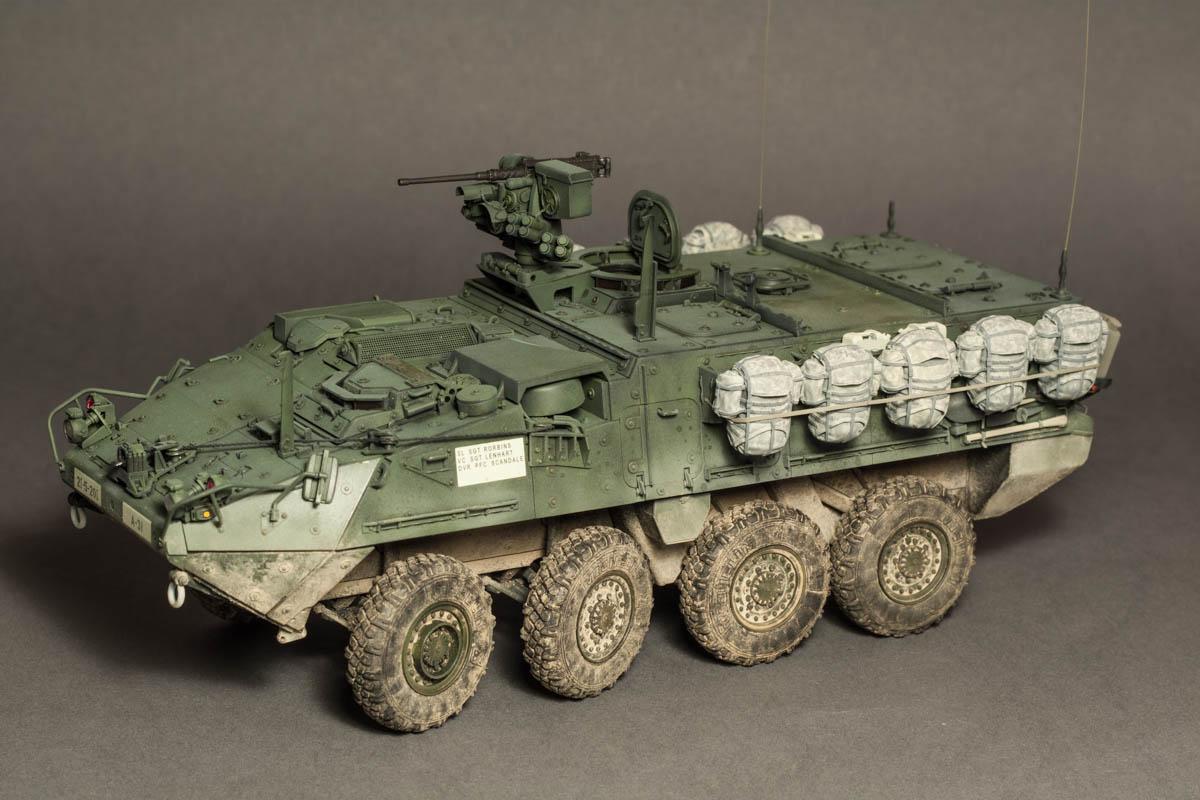
AFV Club 1/35 M1126 Stryker
One of my stranger habits is to bring back a kit from every city trip I undertake. I usually do some looking around on the web to see if there is a proper hobby shop in the city I am about to visit, trying to sneak a visit into the trip's schedule. To me, bringing home a kit from a foreign place is a nice additional memory – a fridge magnet of sorts, but more personal.
So when our honeymoon trip took us to Amsterdam, I knew I would spend an afternoon on the tram going out to the western part of the city and a place called Muco Modelbouw. A surprisingly well sorted store for its size, I could have easily taken a couple of items from there, but in the end had to settle for one kit that would fit into my luggage. So the Stryker it was.
Out of the Box, with a Twist.
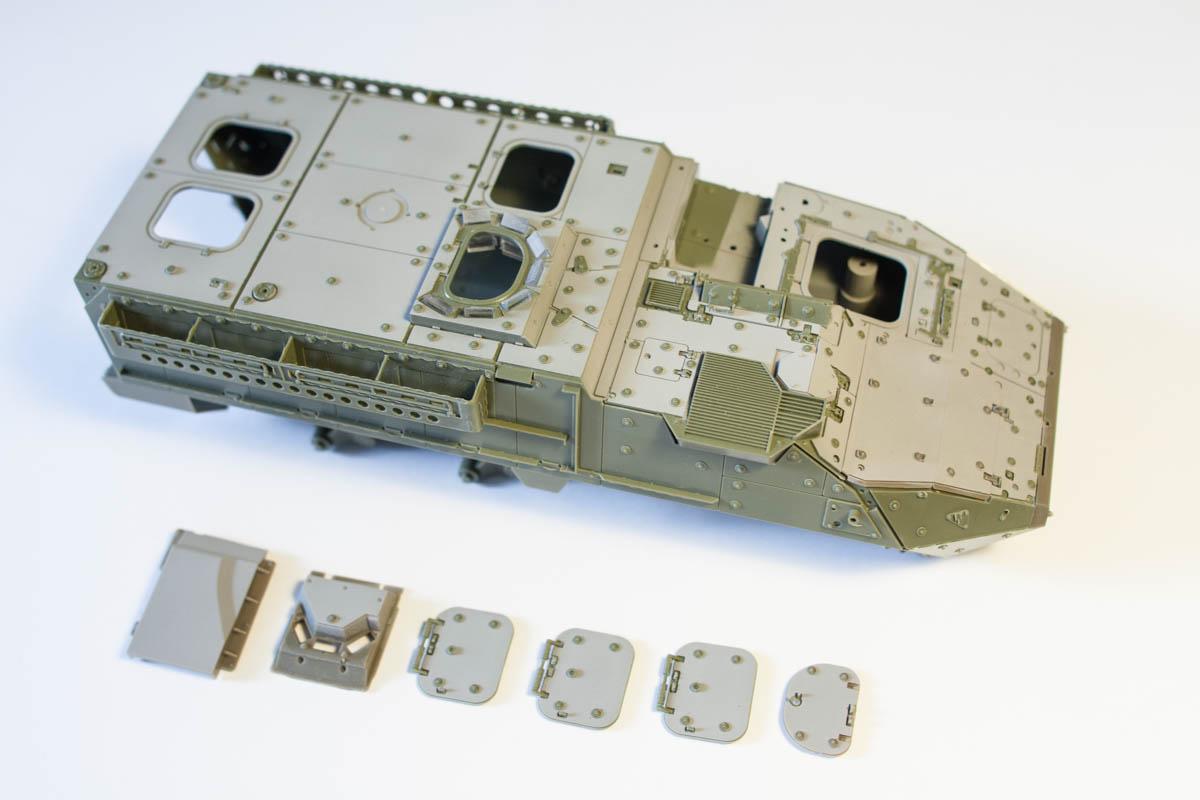
After we got home I immediately started building. Some quick research told me that there wasn't need for major modifications, as the kit is a very good one straight from the box. The only thing AFV Club missed is the anti-slip texture on most of the upper hull, so that needed to be added. As this texture is quite smooth and uniform, the easiest way to reproduce it is to use paint.
In order to do that, you have, for a moment, to forget everything you know about airbrushing. Thinning your paint? Nope. Moderate air pressure? Nah. Instead, you use some old acrylic paint that is already on the thick side, crank up your air pressure, and increase the distance between airbrush and model. That way the paint will basically dry as soon as it hits the surface (or even before that), giving you a nice rough surface. It is not important which color you use, I took an old jar of Tamiya XF-19 Grey I had at hand.
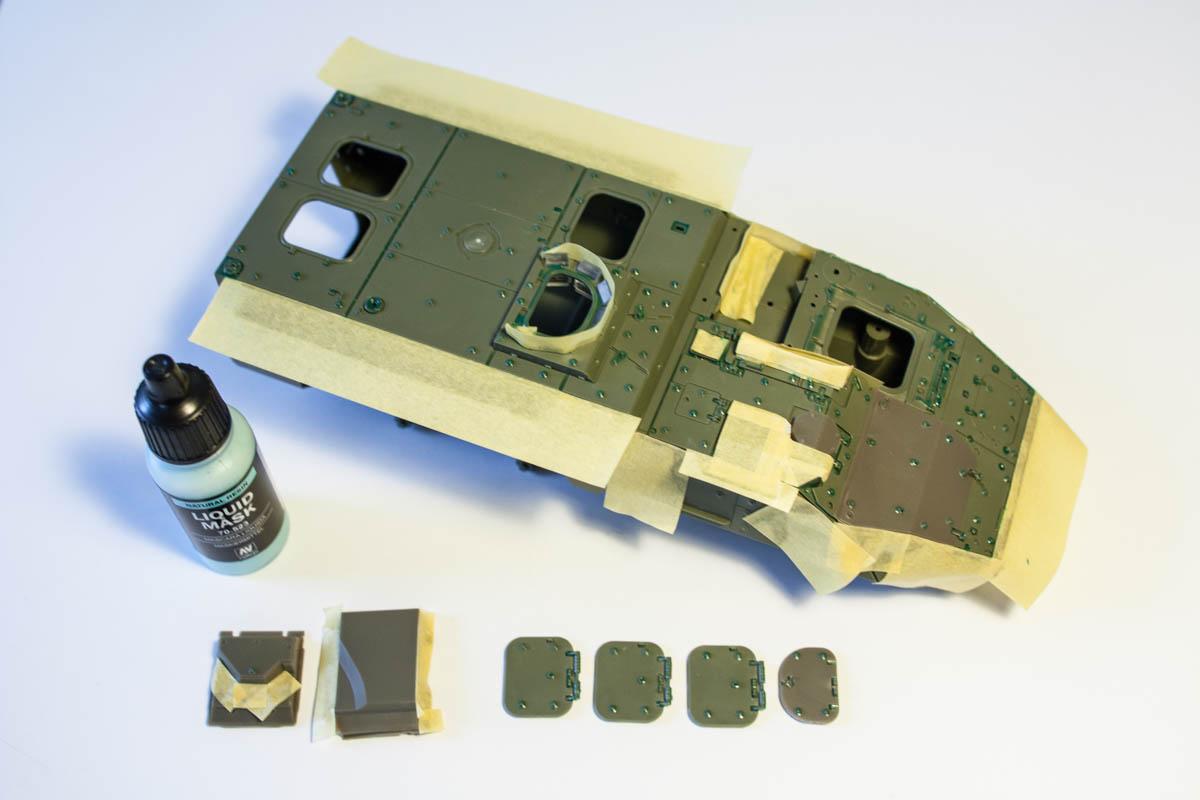
Of course you will have to mask off all areas which should not receive this texture. With the Stryker this meant applying a drop of Vallejo Masking Fluid to every single bolt, a task so boring it gets out-bored only by removing the fluid afterwards.

Building the kit itself posed no problems, fit is excellent, but as with many of the newer AFV Club kits you have to deal with lots of small and delicate parts. But I guess that's the price we pay for nice detail. I made some minor modifications to the two front axles to give the vehicle a more dynamic appearance. If you want to do that, be careful to align the axles properly and have all four wheels pointing in the same direction.

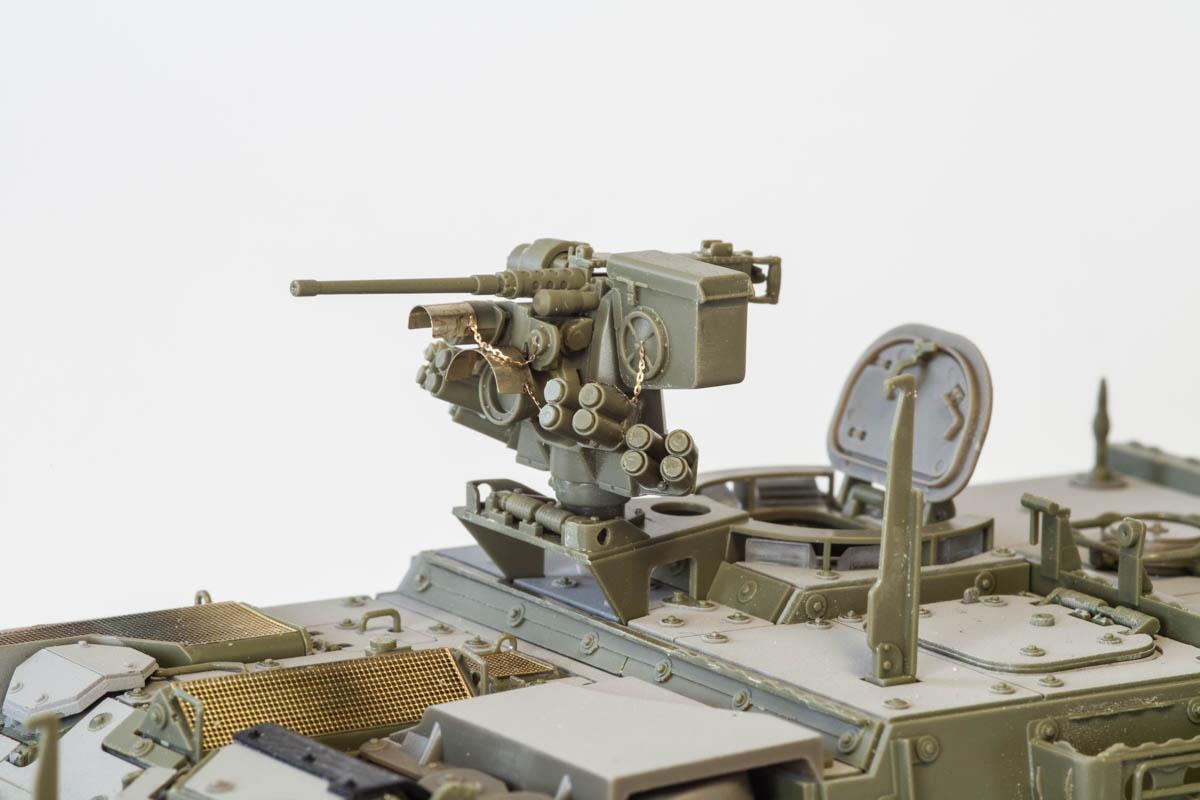
The kit comes with a small PE fret which includes nice additional detail for the CIWS and some grates.

Painting. And then some more Painting.
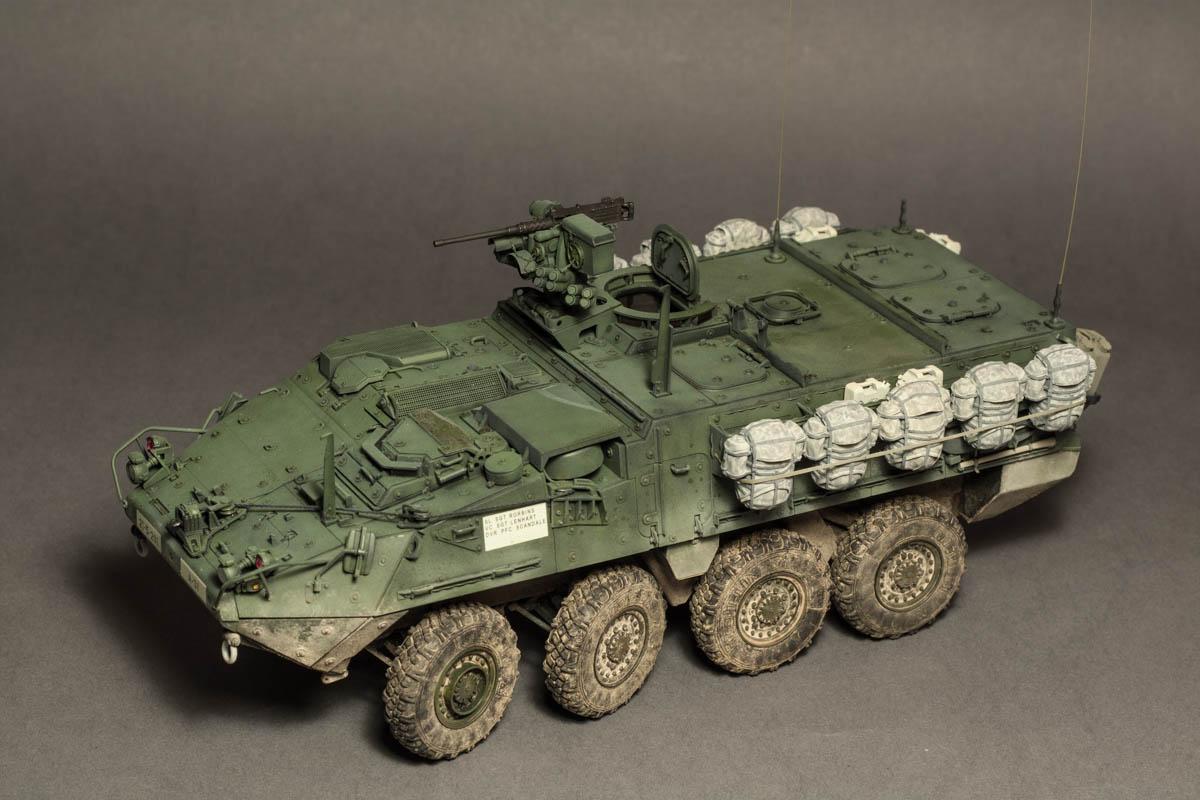
Painting was an easy task, with the whole vehicle being green overall. I started with my usual black base of Tamiya XF-1, followed by a coat of Tamiya XF-67 Nato Green. Following reference shots, details where picked out in various colours.
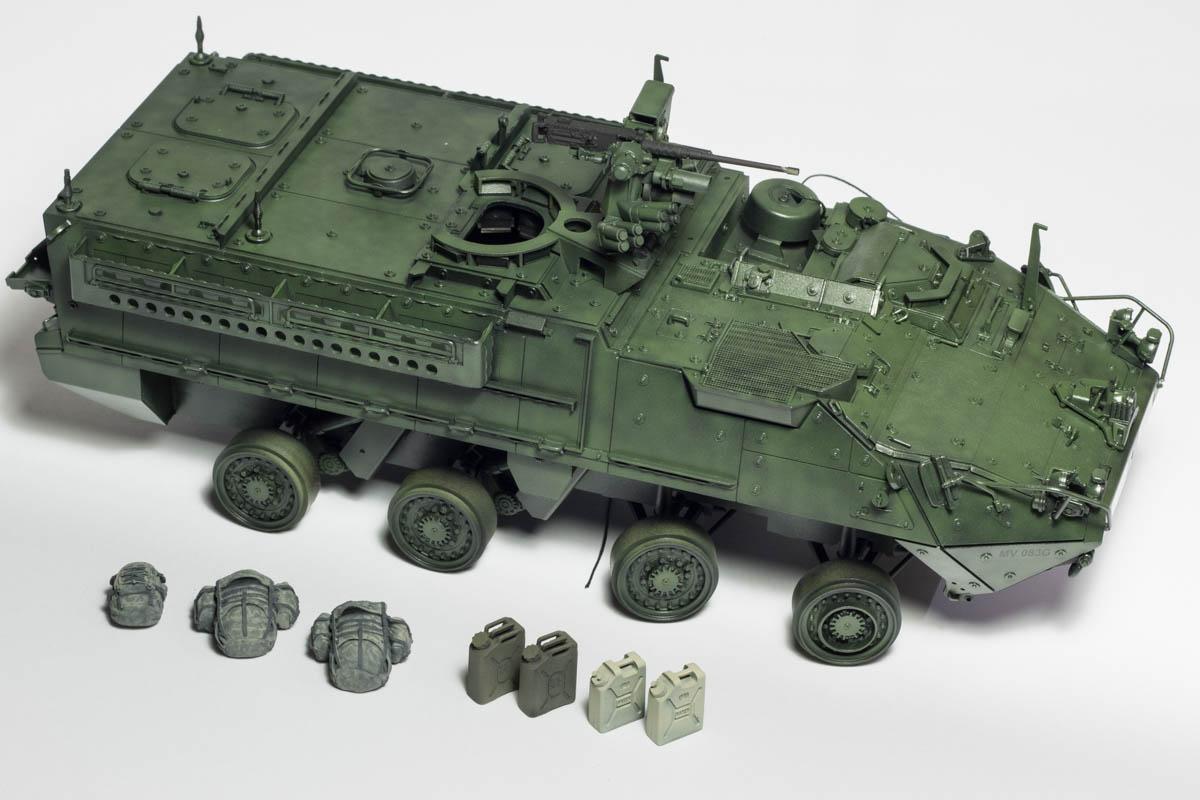
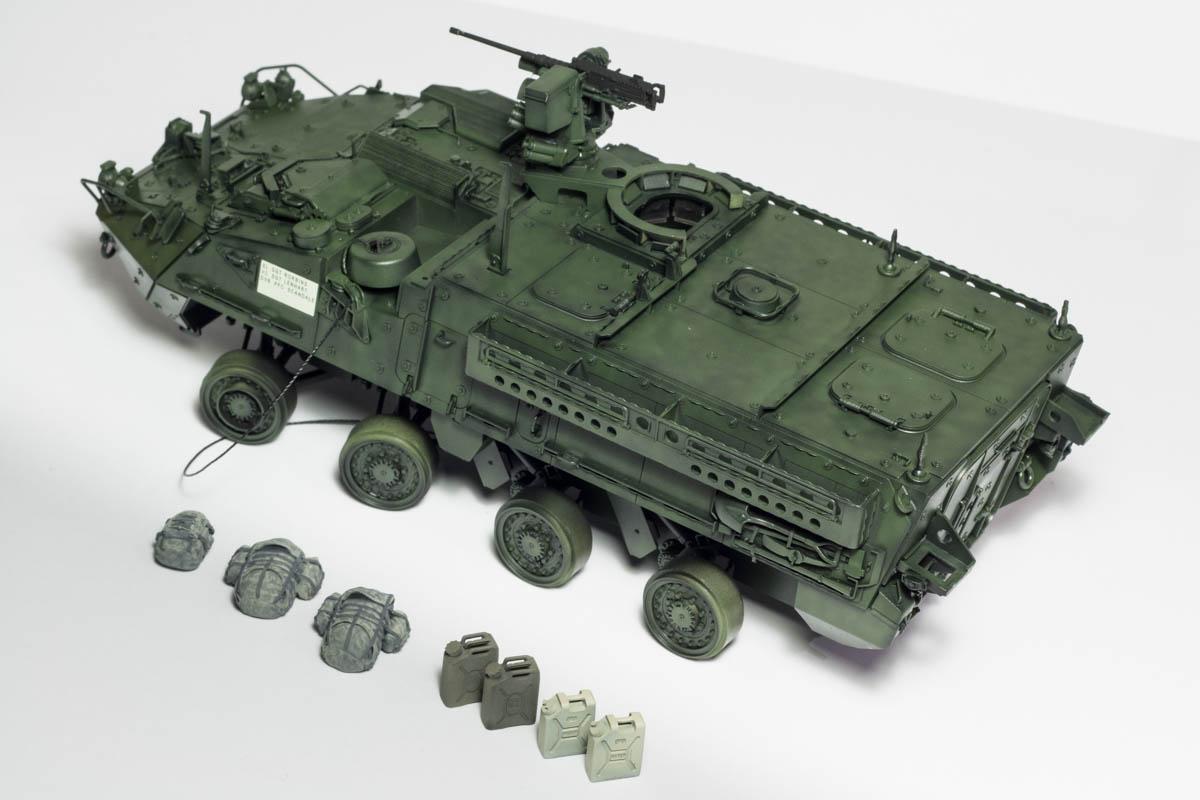
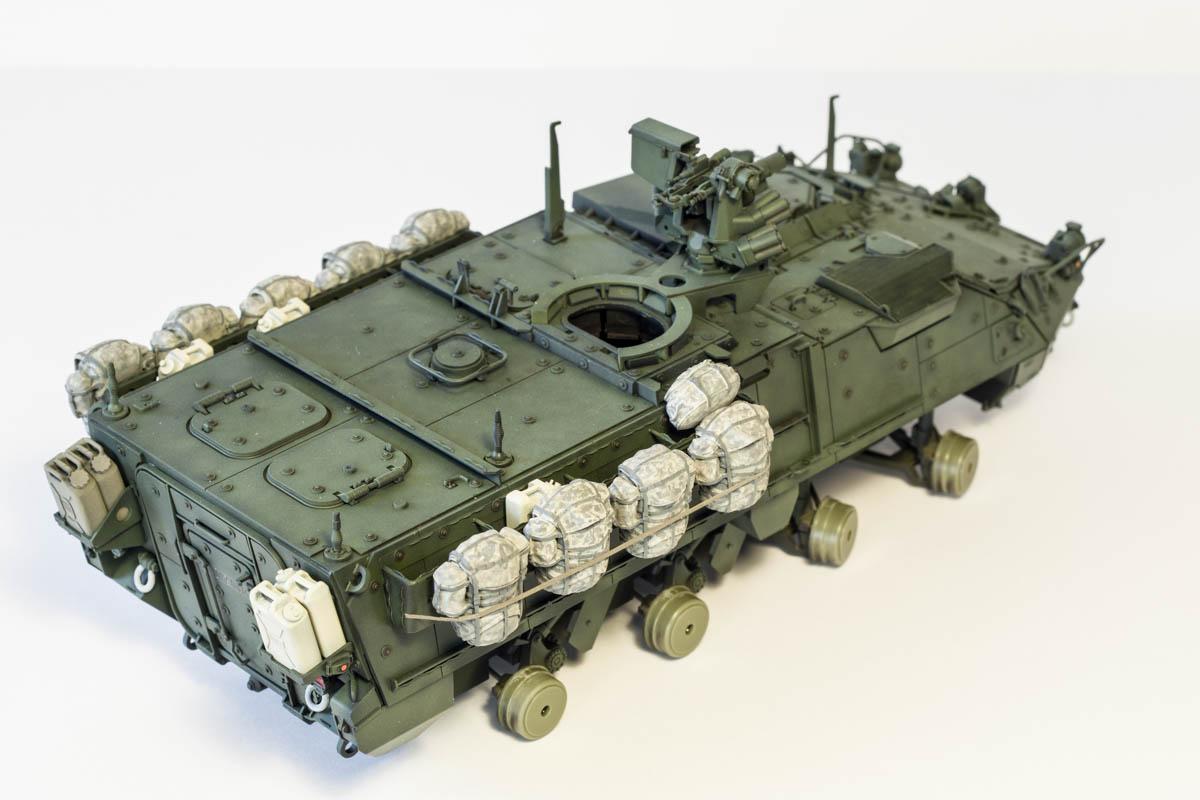
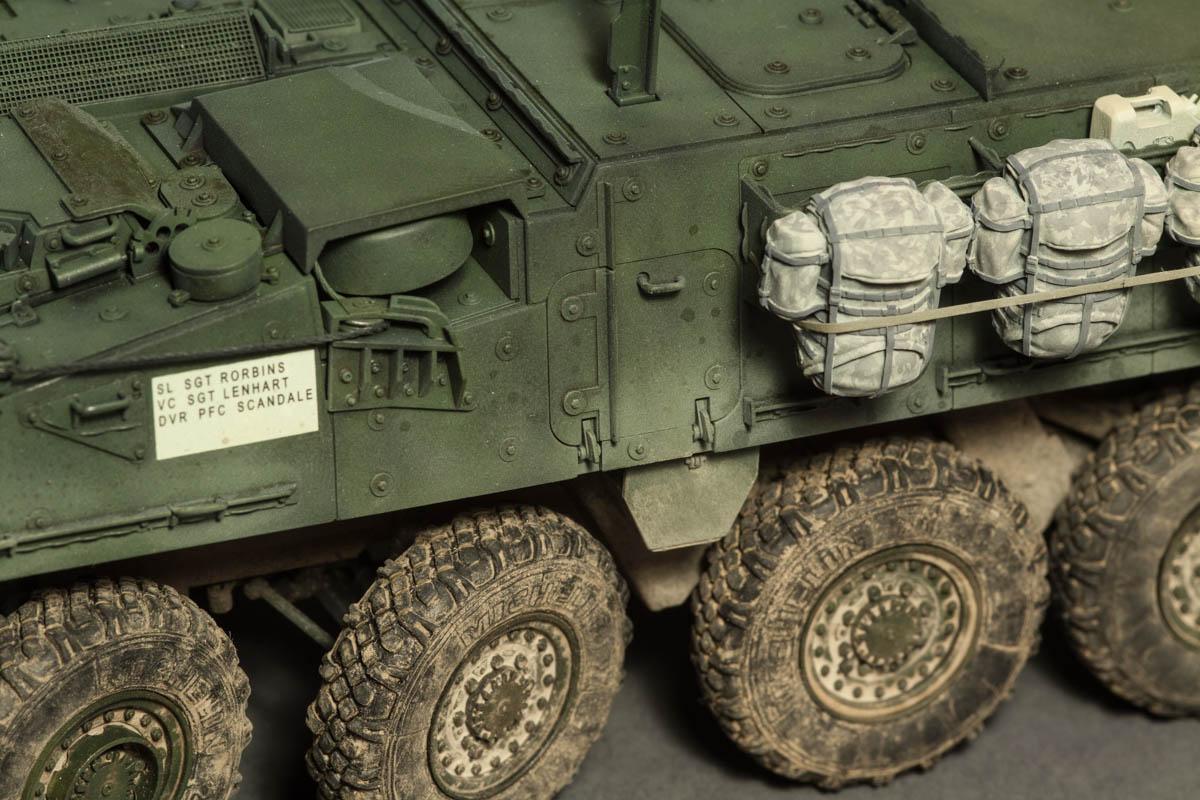
As I wanted to depict a vehicle on manoeuvres somewhere in Germany, I had to add some stowage. Legend Productions offers a nice set of resin modern US backpacks which only need to be painted. Yeah, only.
Painting the ACU (Army Combat Uniform) pattern of that period is a bit tricky. The colors used are officially called Urban Gray 501, Desert Sand 500, and Foliage Green 502. I am not aware of any company producing these colors right now, so I had to go with what looked right. Using different greys and a sand tone from the Lifecolor range, I spent some happy hours painting the pattern with a fine brush.

A Bit Of Dirt Never Does Hurt.
Weathering the Stryker, I followed a fairly simple standard procedure. First, the vehicle received a pin wash with black and brown Mig Panel Liners, followed by an application of Mig Pigments in various earth tones. To fix the pigments in place, I used Mig's Pigment Fixer.
Overall, I spent something like two weeks on this build, probably half of that time masking bolts and painting rucksacks. Quite meditative.

Great looking model, and nice work on it!
Excellent work, sir...very nice job indeed.
Looks fantastic! (and who doesn't love a bit of "meditation" from time to time?!).
Congrats with the Honeymoon tank! Very nice work indeed.
Congratulations on excellent armoured vehicle building and marriage. Long may they both be very happy and highly compatible!
😀 Thanks guys!
A very convincing finish and extra detailing have resulted in an excellent model, congratulations on your marriage!
Looks like one mean machine! Great job.
really stunning ! great job ! 🙂
Mate, I always do that! Every city I go to has to have the google search for the model shop!
Fantastic build as well. You have got the weathering spot on.
Brillant modeling as always.