Sopwith Camel F.1 – Finals
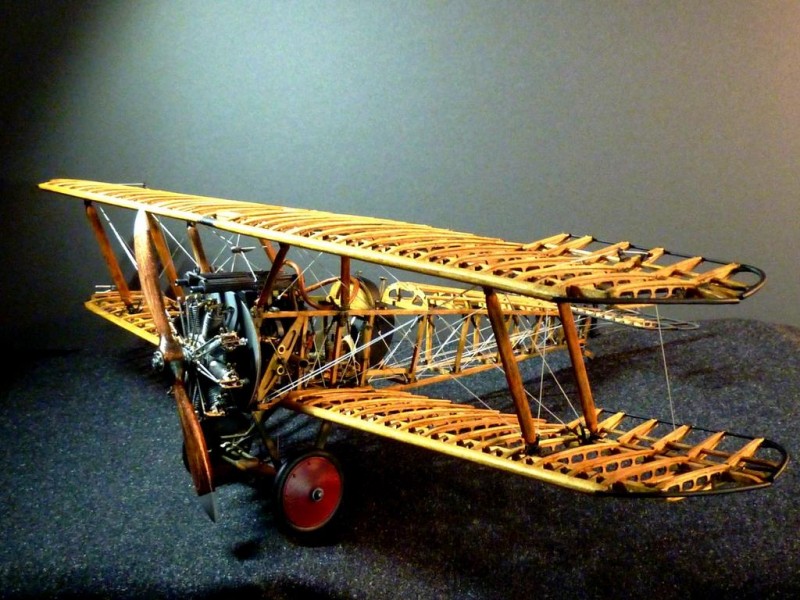
The snub-nosed, pugnacious look of this aircraft is instantly recognisable as a Sopwith Camel.
I've previously posted Headline articles relating to significant sections of this project, a 1/16 model from Model Airways, because of the detail and complexity of these areas. The project is now complete.
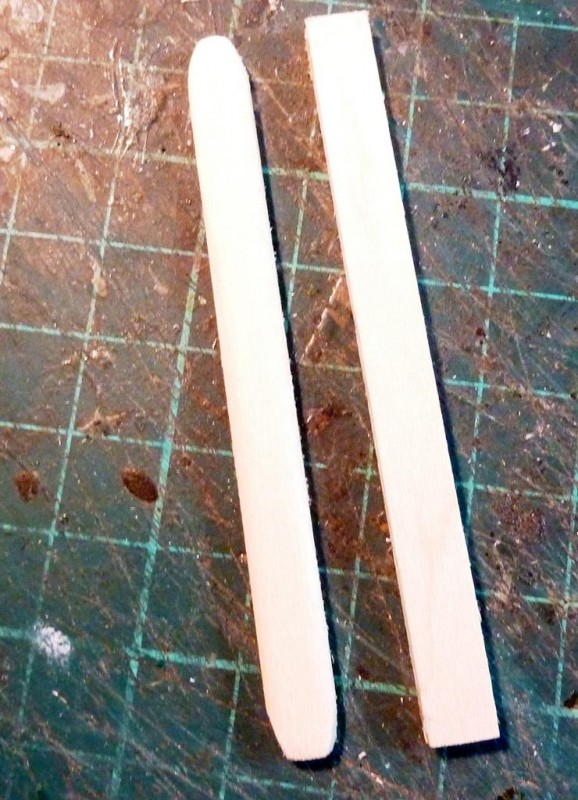
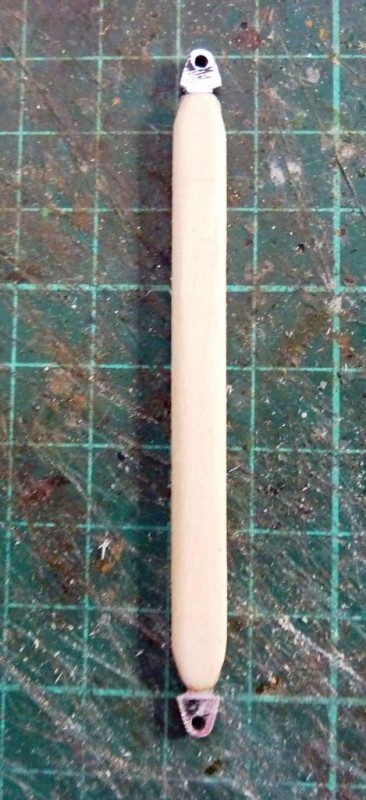
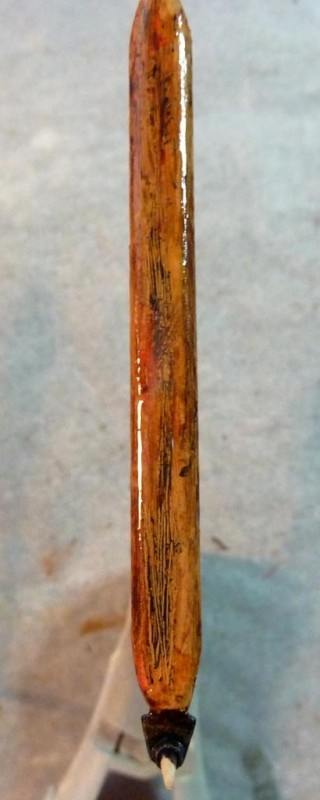
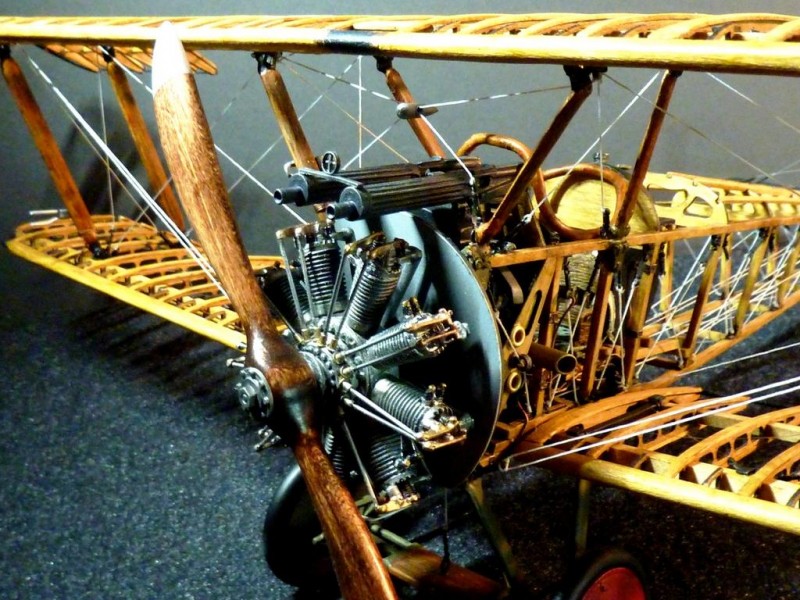
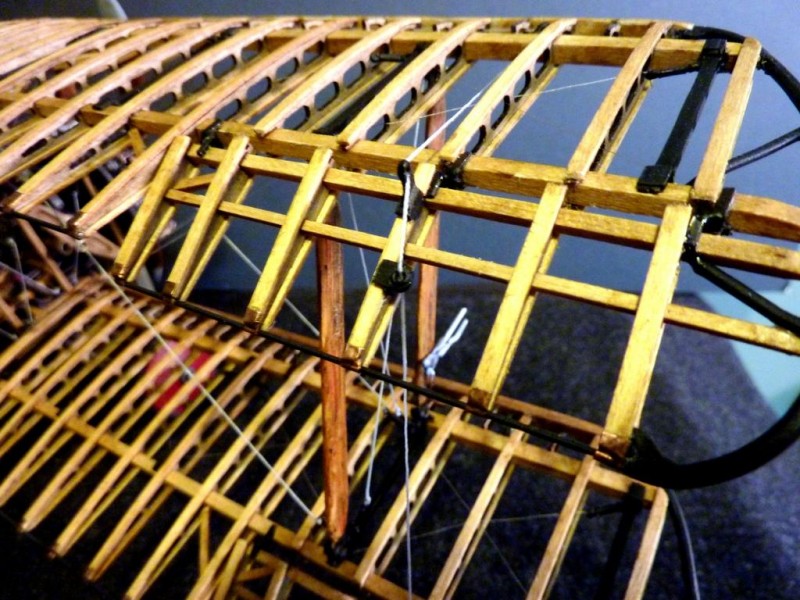
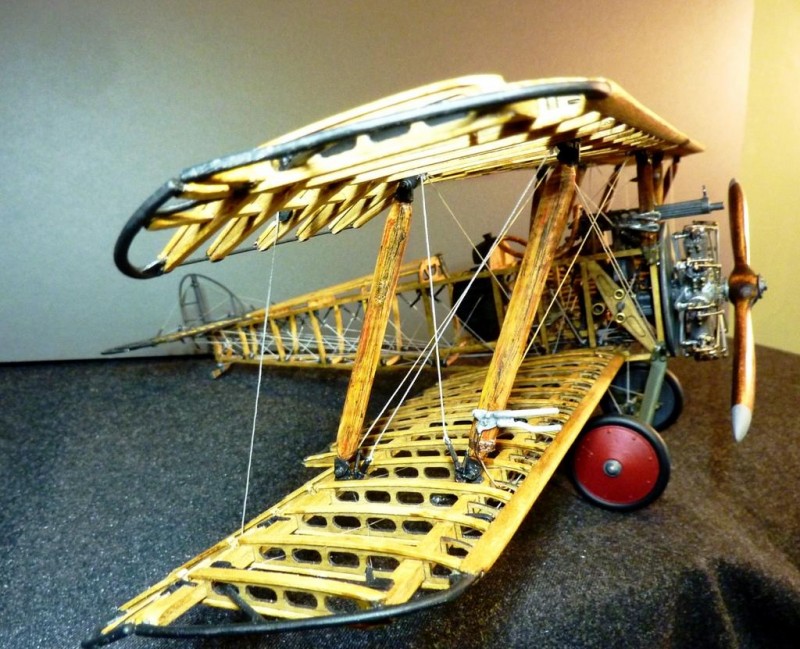
The cabane and interplane struts are a combination of metal and timber. It may seem odd treating the timber interplane struts with woodgrain effects, but they had to match the cabane struts in detail and tone. The rigging is set up at this stage as well, ready for tensioning once the top plane is in position.
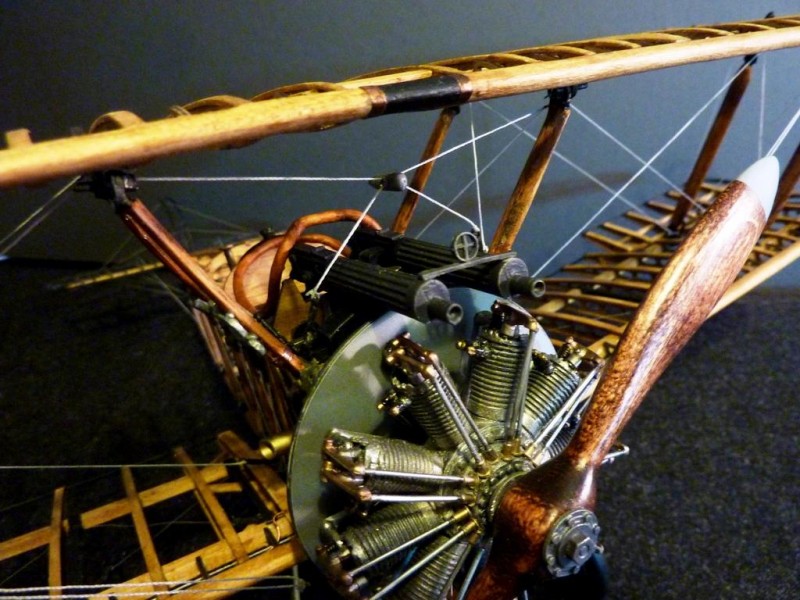
Here are photos of the completed model, in the round.
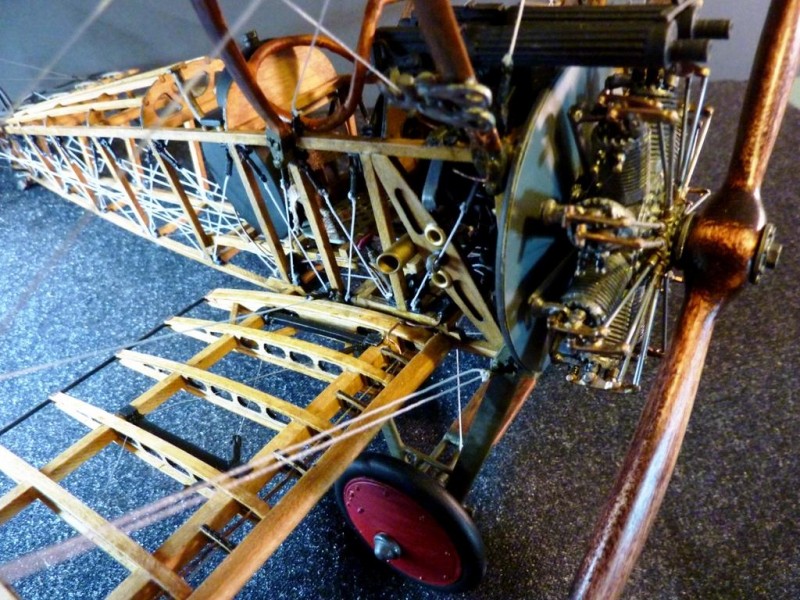
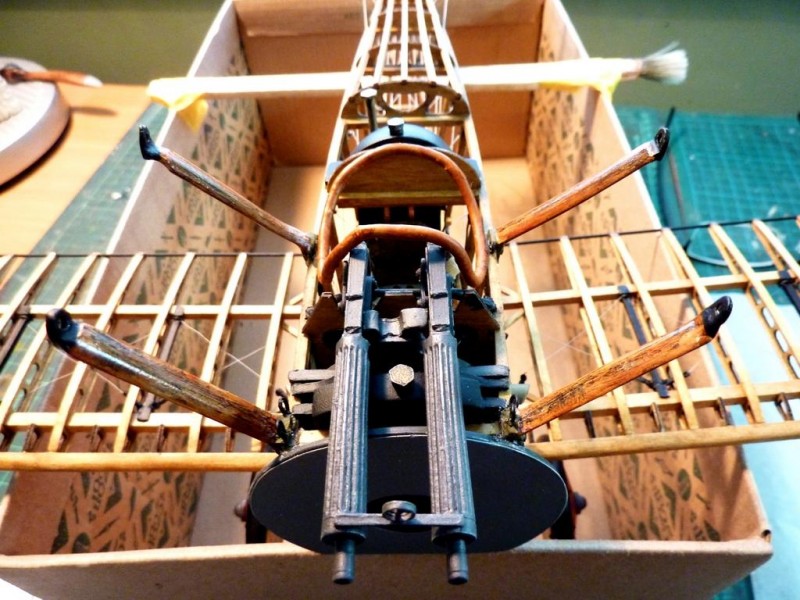
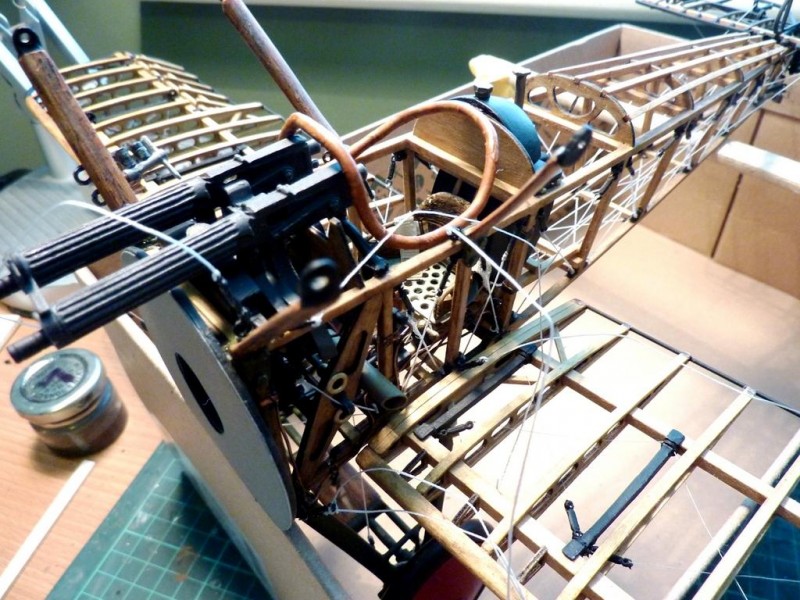
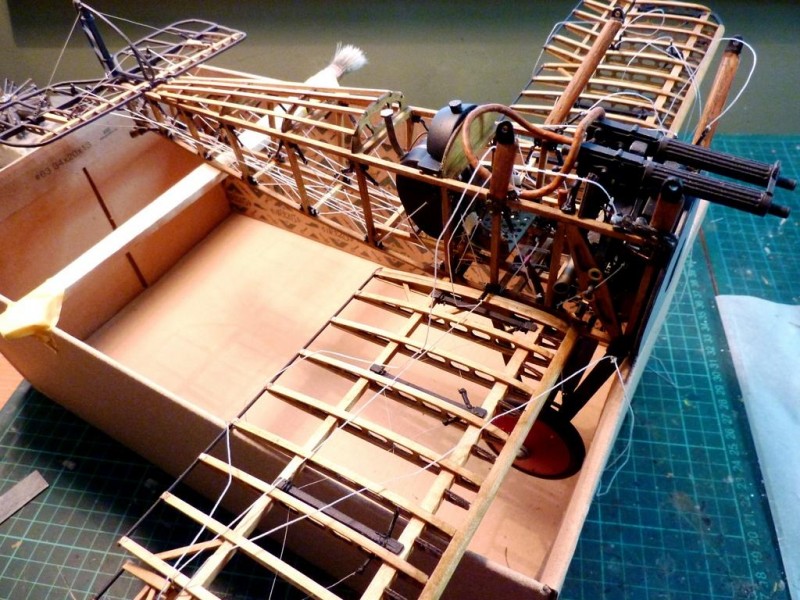

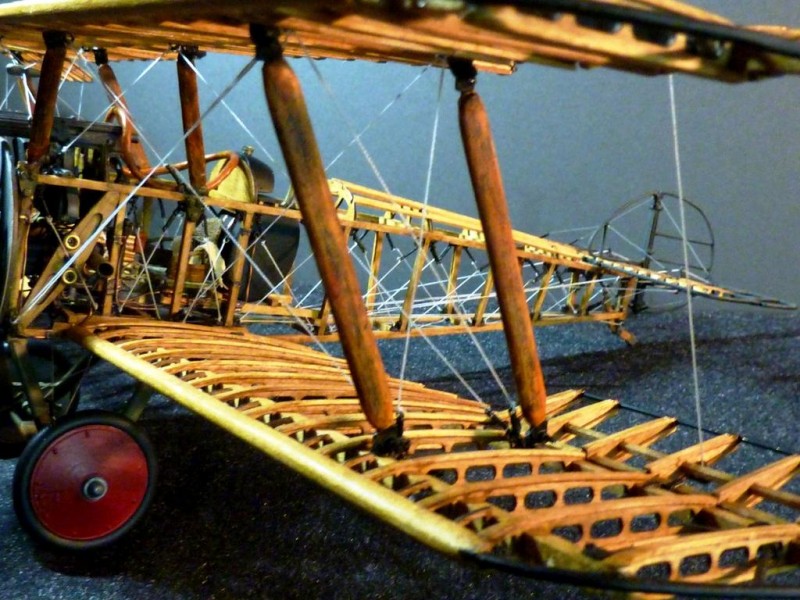
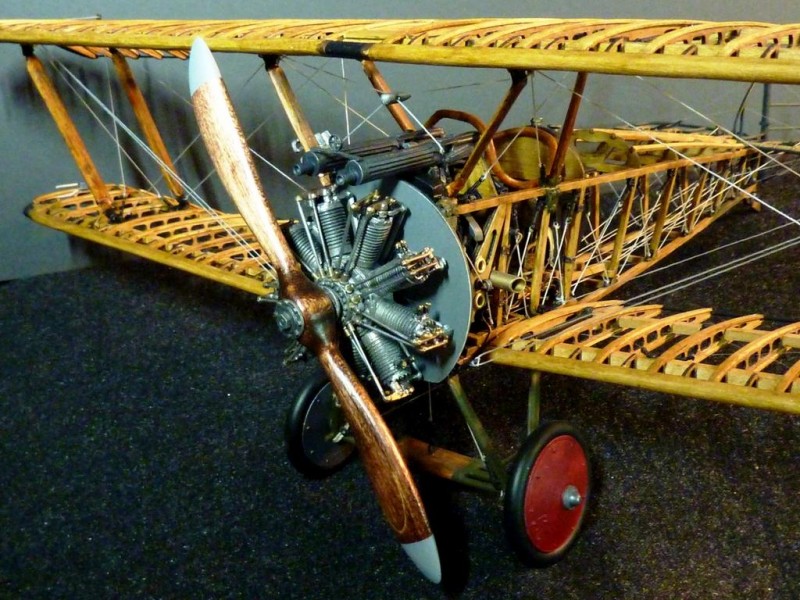
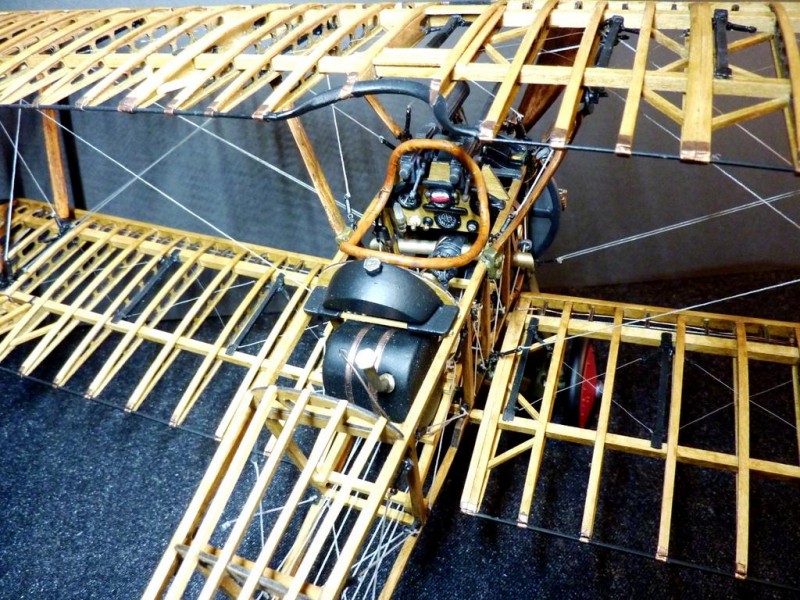
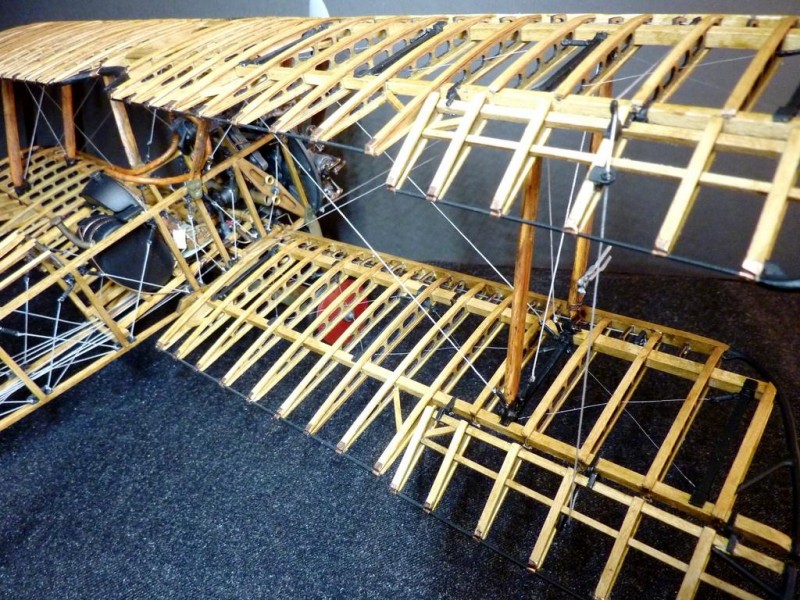
Awesome modelling their Rob. Congrats on a spectacular model.
Cheers Greg?
Rob, what a beautiful piece of work, museum stuff. Not only does it look like the real thing, it builds like one, too. About as involved as a fully rigged sailing ship. Nice work on them struts!
Thanks. Problem with the cabanes unfortunately. They're paired left and right according to length/angle but I had three of one type and one single by type (another kit error).
I had to cut the metal heads from one strut, reduce the length of the shaft and reassemble it at a different angle, but it was never quite right with the result that one side was pushed forward- I couldn't get it back square, so the top plane is about three degrees out of square. I hoped I could reduce this through tension on the rigging but when I saw a metal cabane starting to shear with the counter-tension, I let it go. Live and let live.
Words fail me...outstanding craftsmanship, sir.
Gorgeous! Museum quality, Rob. It's better than I have adjectives to describe it!
BRAVO!
Spectacular!
What a beauty, Rob! Looks a lot like one of my RC models before covering, but much nicer!
Wow!. this could be used as an instructional tool. Snoopy would love it.
Unreal.
WOW ! This is a museum quality masterpiece Rob. It really turned out very nice. Your skills continue to amaze me my friend. Thanks for sharing this with us.
Stunningly beautiful! So nice I had to comment again.
FANTASTIC Build, I love it...nice one Rob.
What a result.
Well done Rob.
Wow,beautifully done Rob.
Yep - just beautiful. Now to build something calming...! (at least - that would be MY thoughts...)
Damm, this is true model making... I wish
Nice work and beautifully finished as we have to come to expect from you, whatever next? How's your Victory holding up? I read somewhere that the real one in Portsmouth is in danger of collapsing...
Now in a case, safe and sound.
Another fantastic project Rob! The attention to detail is really impressive! It literally looks like it could start up and take off.
I know I’m a little late to the party. I am building my own at the moment and I was wondering if you remember how you got that polyurethane look on the wood structure. I’m kind of using yours as a reference for colors and positioning and it is a masterpiece!
Hi Tom,
Well, as you say a while back now.
Generally for all the wood I used artists oils, thinned with white spirit just to provide a base colour. After that it was more oils in streaks - not many as you only want to add grain tones. You can use an old stiff artist brush and a toothpick to get the grained effect. The final seal coat was I think Army Painter spray varnish applied in 2 or 3 light layers. The varnish comes in different finishes and really I only wanted something that would seal the oil work for handling and not be too harshly glossy. The surface areas are quite small as you know so are pretty forgiving re shine.
Good luck with your project.
Thank you very much for responding! This helps out a lot. I’m kind of stuck on the control rigging right now. So that will give me something to do while I clear my mind.
Hi Tom,
I think though can't quite recall that I may have run a WIP sequence on this, so if correct might be worth checking.
One thing I recall is that the control rigging started from the cockpit and moved from there out around the aircraft inner plane surfaces, so much like a threading process, so you in fact follow the actual push and shove of the rigging support as with the actual aircraft. Not an easy model!
I donated this model to a group in Norwich (UK) as a reference for a group who were creating a very large scale model for a museum, to be suspended from the ceiling. I think they actually donated my model as well, but I haven't been there to see it.
Beautiful work! I like the way you have detailed the wood. Looks realistic. I have this same model. Been looking at it on my shelf for a few years. Intimidating but I will get to it.