Let’s Talk About Weathering.
Last weekend I had the chance to take a closer look at the preparations for a military parade. My hometown is the location of world's oldest military academy, and every year in September a new batch of officers gets commissioned into the Austrian Armed Forces. The celebrations include fireworks, VIP's talking into microphones – and a parade by all the branches of the military.
An event like this is a good opportunity to take a closer look at what modern military vehicles look like when they are not in the field. But why would I want to do that, you might ask. These things have been cleaned and spit-polished, nothing to see here, move along. Well, no.
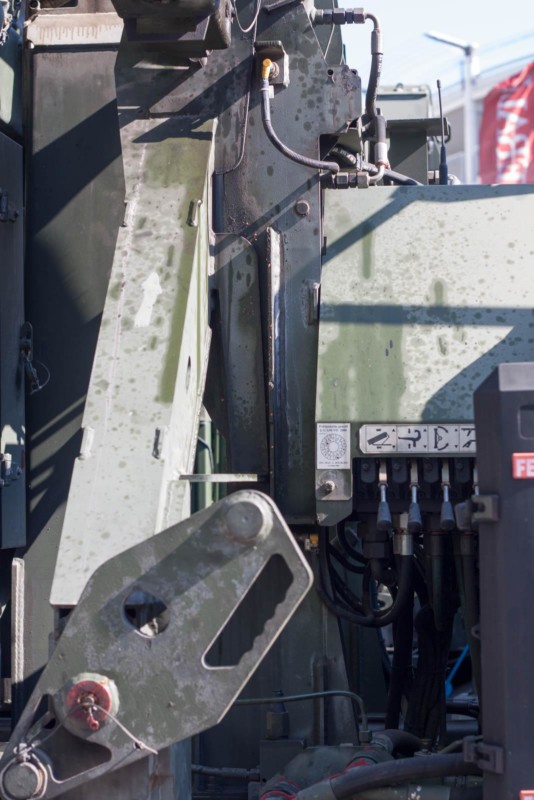
When talking about weathering tanks and vehicles, we might think of dusty hulls, streaks of filth, and mud splatters everywhere. While this can certainly be true for a vehicle in combat use (or prolonged manoeuvres, for that matter), these effects all tend to appear on top of the vehicle's surface. Which means they are not actually part of the surface and can be removed by pressure-washing or a recruit with a rag.
On the other hand, even well maintained vehicles will show signs of wear and age which are actually part of the surface – so even if you are a model maker who doesn't want to cover their models in mud, there are details you might want to incorporate to enhance their appearance.
Let's Start with Paint.
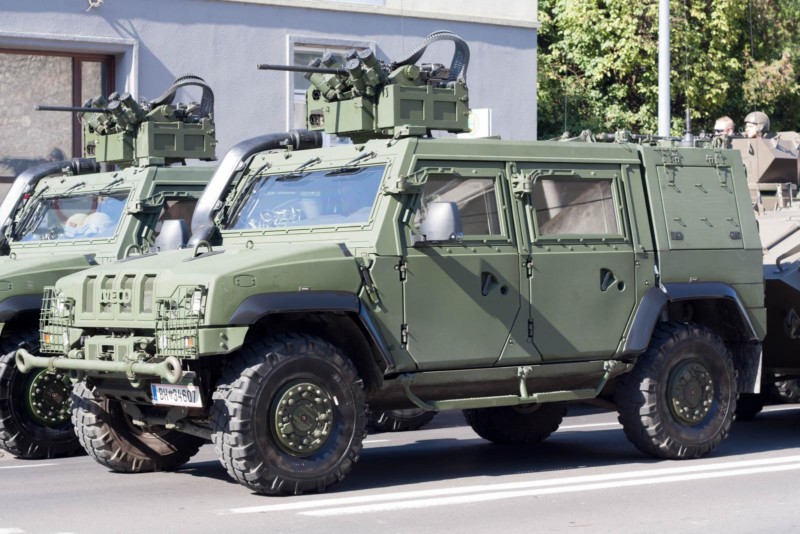
Initially, military vehicles are usually factory-painted with a spray gun, using hard wearing paint that can stand up to rain, sunlight, and even chemical agents. Whereas many older paints were semi-gloss, modern camouflage colors tend to be very flat. Austrian gear used to be painted in RAL7013 “Braungrau” (“Brown Grey”, actually a brownish olive drab), newer gear acquired from other countries usually comes in NATO Green. All these colors will eventually fade, as almost no paint is entirely resistant to UV light. Furthermore, one batch of paints might slightly vary from another, making spot painting a fun job.
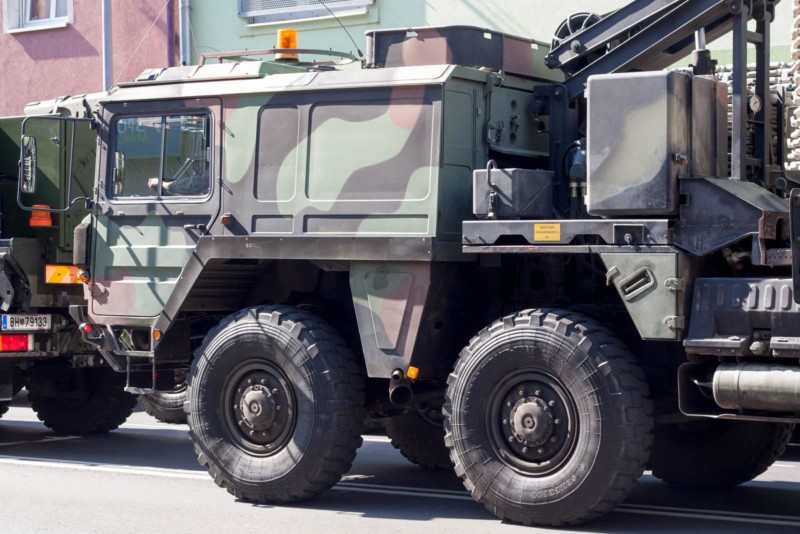
Details of an ÖAF heavy truck in the old RAL7013 scheme. Notice the difference in tone between the box and the fuel tank. Also some nice streaking.
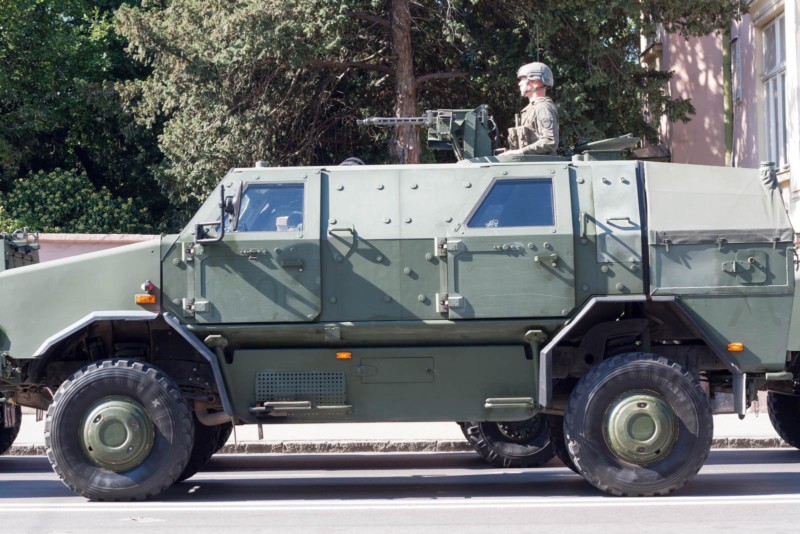
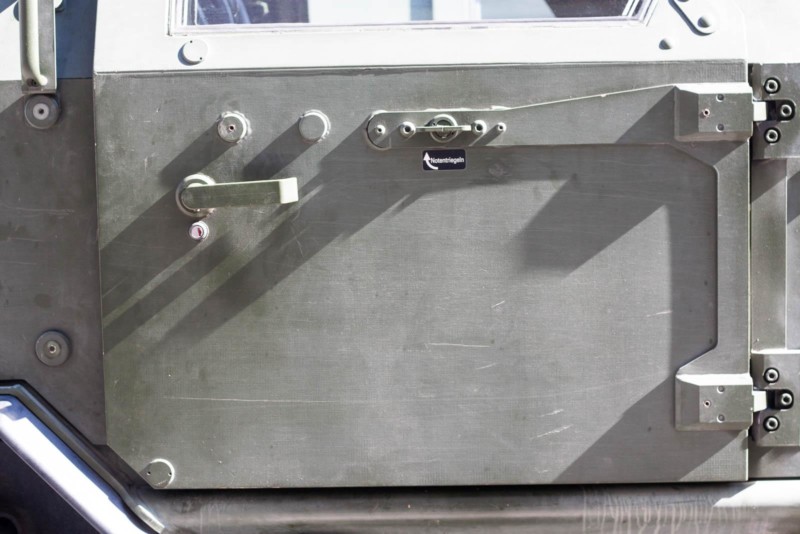
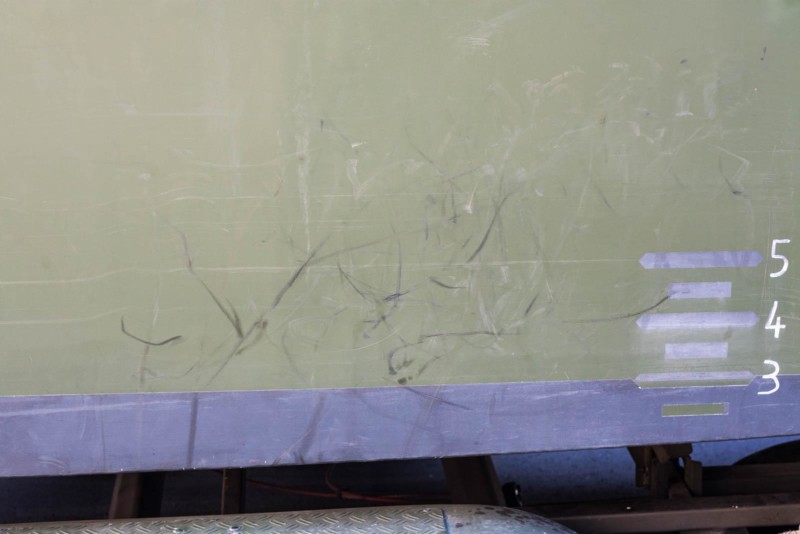
An ATF Dingo 2 in NATO Green. Of interest are the scratches on the rear door, and the faint remnants of tactical markings on the driver's door and beneath the fuel filler. Notice the difference in tone between the hood and the rest of the vehicle, a result of the metals having different textures.
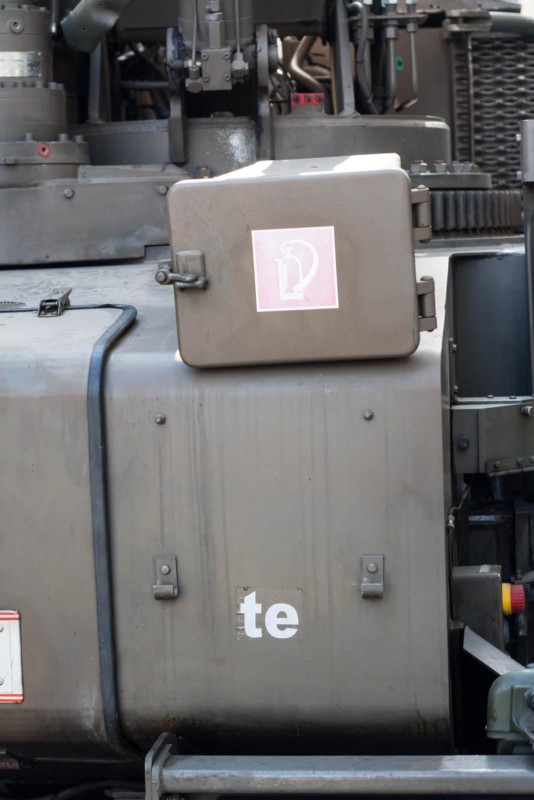
Close enough for government work. Whatever the markings on this water container used to say, they were painted over with a roller and little care for color fidelity.
Camouflage Paterns.
There is an ongoing discussion about “hard edge” vs. “soft edge” camouflage. So let's see what we've got here…
This ÖAF 10-ton truck sports a standard NATO three-tone camouflage, factory-applied and by-the-book. And then there is the box behind the cab… Looks like someone's Tamiya tape came off during painting. The rear body might have been added to an existing chassis and painted to match the front.
This one looks somewhat freehanded. The demarcation between brown and green is especially interesting. Also note how badly the flat paint reacts to any kind of grease or oil.
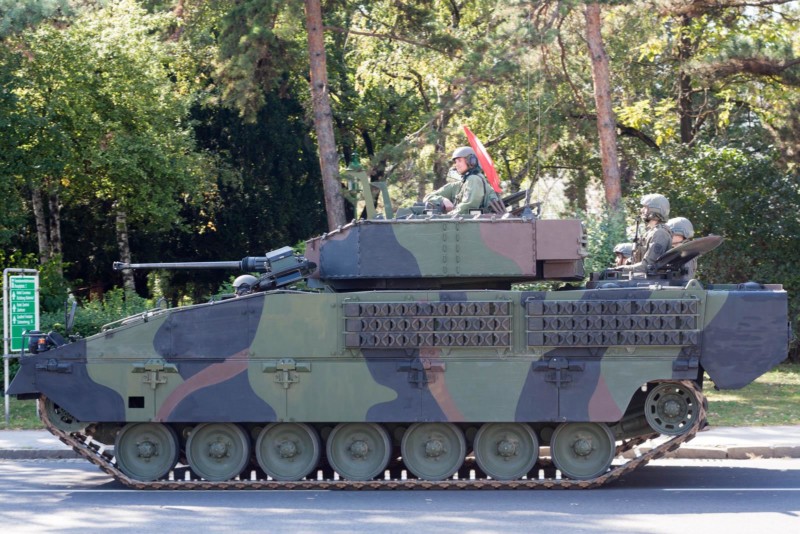
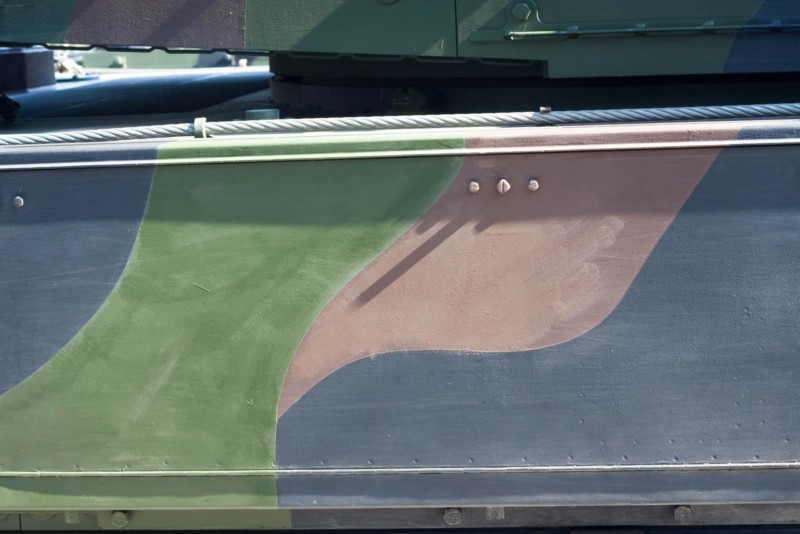
Good tape job on this AFV Ulan. Or is this freehand?
Nope. You can literally feel the ridge where the paint bumped against whatever template was used.
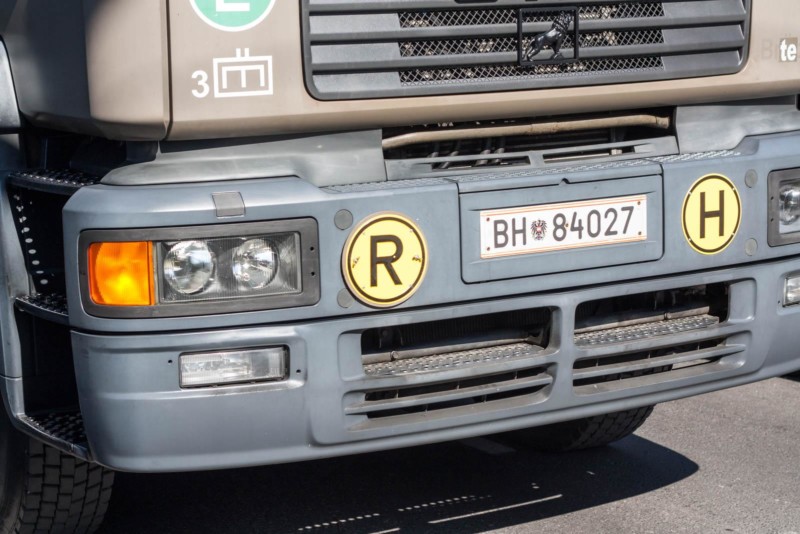
Many modern vehicles have plastic bumpers, and the black ones are prone to massive discoloration due to sunlight. Compare the bumper to the frame around the headlights. They once used to be the same color.
Wear.
Things get bumped around in military service. And when they got bumped around enough, someone will be there to paint over the bruises.
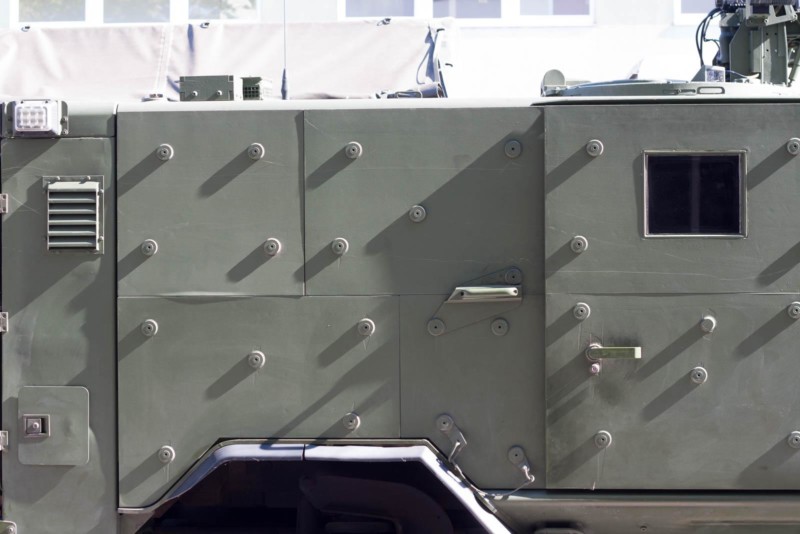
Side shots of an ATF Dingo 2. The rough texture of the armor plating scratches easily, and again the flat paint does not respond too kindly to grubby fingers.
Fine chipping and not-so-fine brush work on a truck. Proves the point that paint chips “can never be too small”.
Splashes, yay! Not sure what is going on here, as the rest of this vehicle was spotless.
This part has something for everyone. To reproduce all this, you could easily use four different techniques.
They almost got away with hiding the rust…
… but not quite.
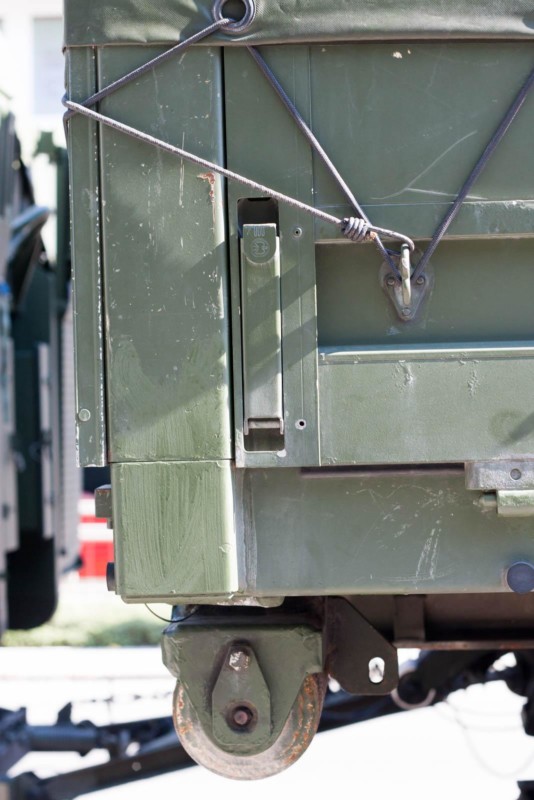
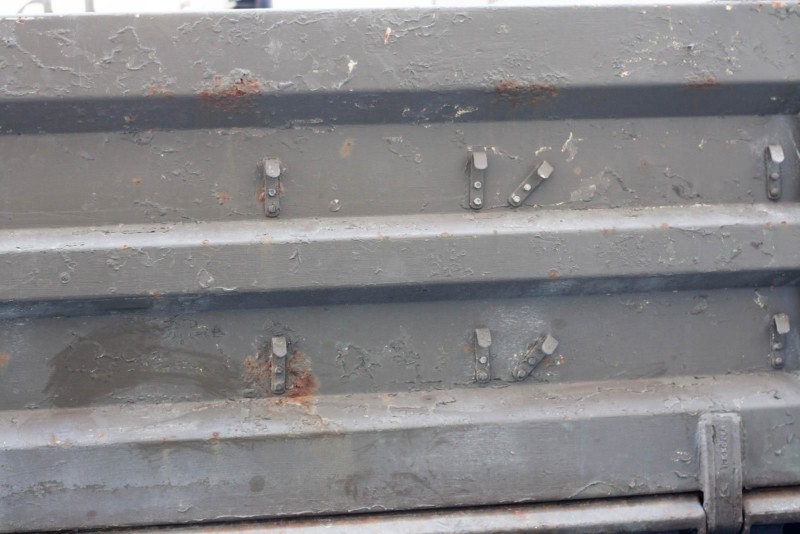
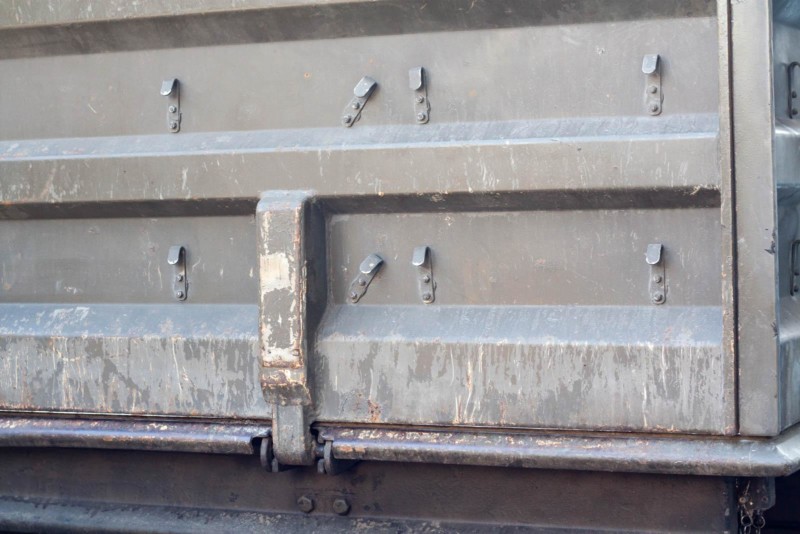
This truck seems to have been repainted a number of times. Note how the aluminium hooks chip, but do not rust - if you want to keep it realistic, you need to know what the real thing is made of.
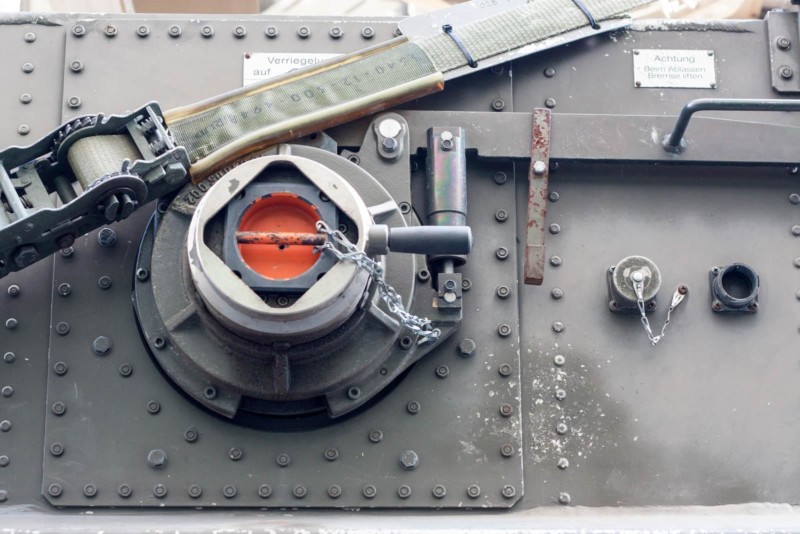
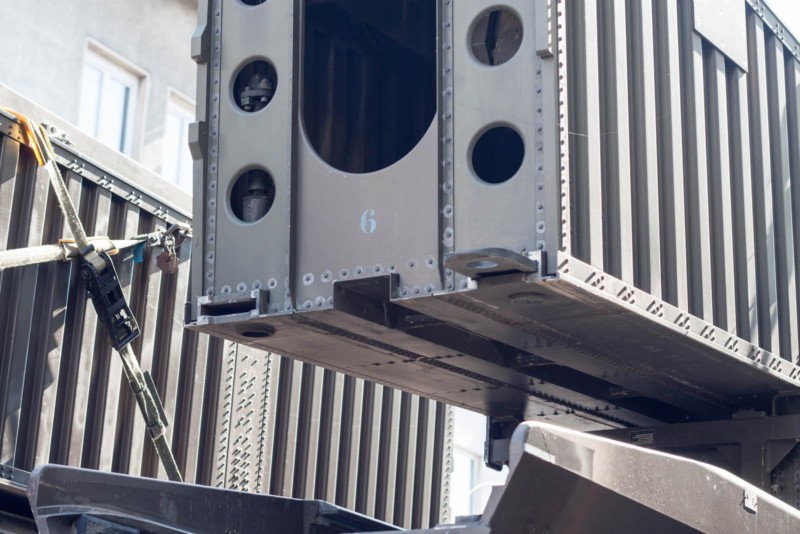
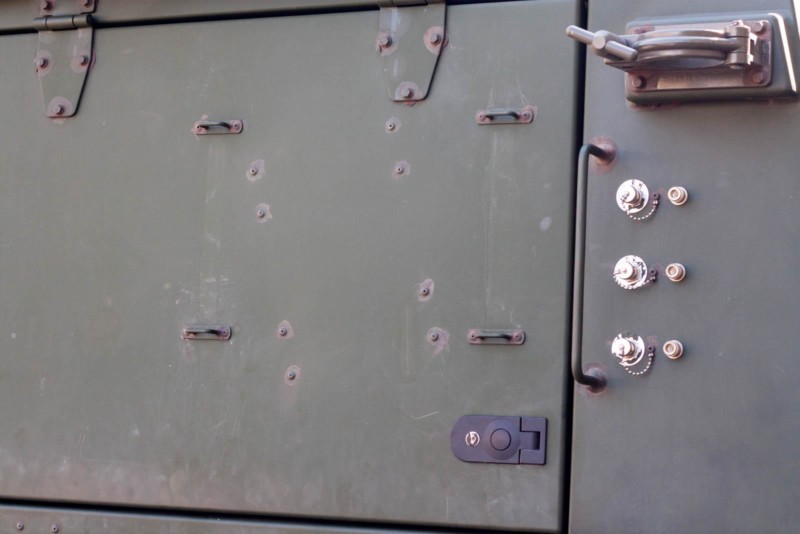
Now this is some corrosion control. One wonders if the poor guy counted the rivets while painting around them.
Same here. Looks like the old RAL paint was used to cover the rivets on this NATO Green vehicle.
A rigid hull boat, looking as if a bunch of toddlers tested their crayons on it.
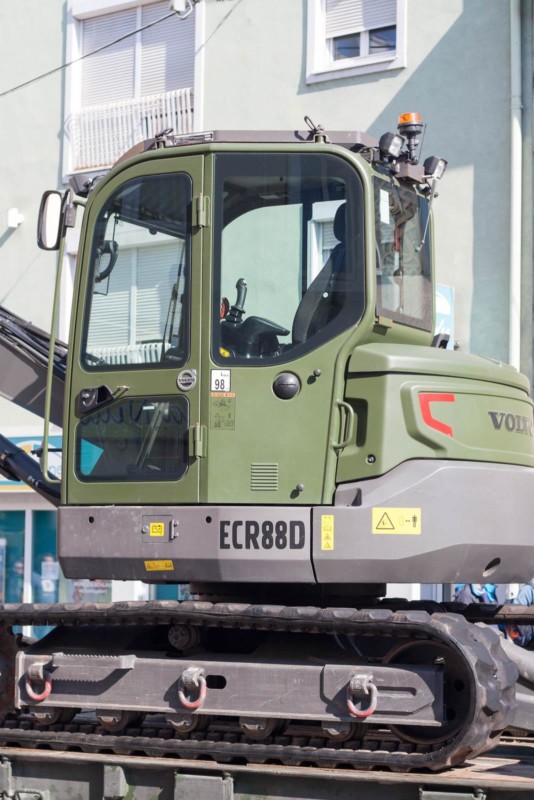
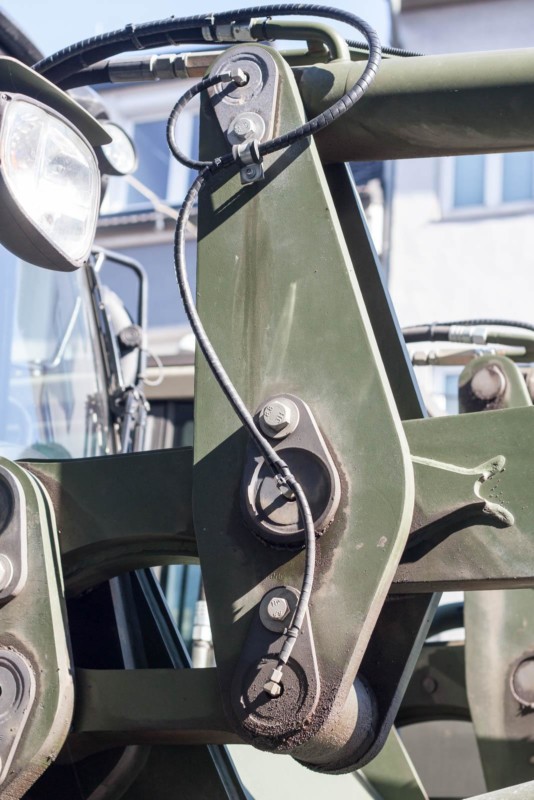
A shiny new small excavator…
… as long as you do not look too close.
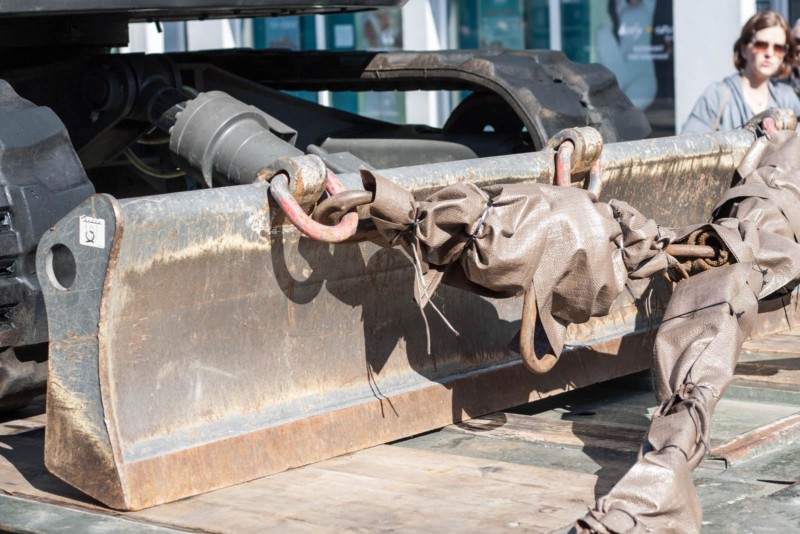
The same vehicle, its business end having seen some work.
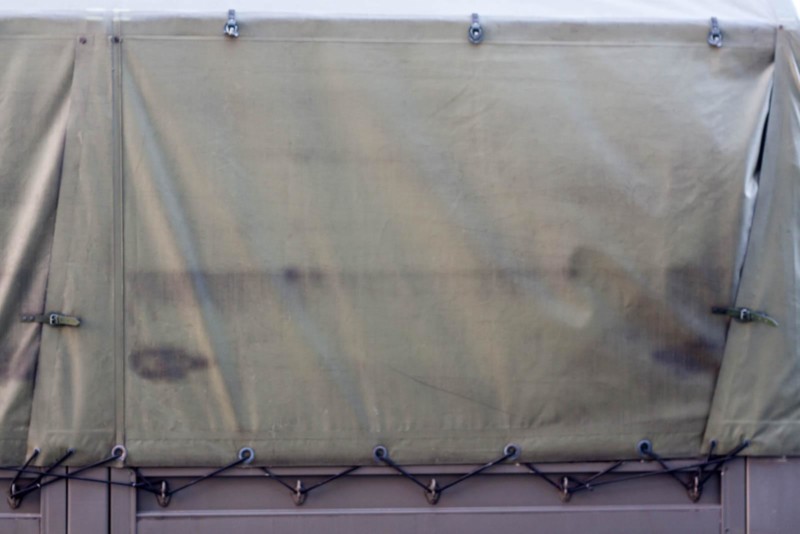
Suddenly, a tarp. This one has been rolled up for some time, leaving a distinct dirt line.
Finally. Some thoughts on all this.
A model maker whose opinions I really respect tends to lose it when people start talking about “over-weathered” or “under-weathered” models. In his view, there is only good or bad storytelling. I could not agree more. When you know what story you want your model to tell, you will know what to do, and you will know if and how much you want to weather it.
It is your model, and you should do with it whatever you like. This article is not meant to say you need to add wear and tear to your model in order to live a happy life. On the other hand, if you just got started with weathering, these images might give you an idea what you can do with your model to help it tell its story.



An insightful look into the "real world", Boris...thanks.
How relaxing it is to build a factory-fresh motorbike.
Since when is modelling meant to be relaxing? Can't compute. Must chip.
Useful article! Thanks for sharing your "research."
Nice work, Boris!
I' not a tank fanatic, but the article is very intersting.
Thank you Boris - brilliant article that helps a lot. It seems that the moment military hardware is unpacked it starts taking on 'character'!
GREAT ARTICLE! (With some excellent example pictures.) The "splashes photo looks like some type of tow vehicle that had a hydraulic line rupture and like you mentioned, flat paint and oil do not play well together! I myself am a minimalist weatherer. I like my planes to look like pampered warbirds, but if something is used it shows evidence of it. (My D-day C-47 is the only plane I've gone full tilt on as I was showing it during actual operation. (There is even an old chipped prop and a bright shiny new one.)
Thank you for this Boris!
All these subtle nuances of bleached paint. What a lovely challenge to replicate that on your model!
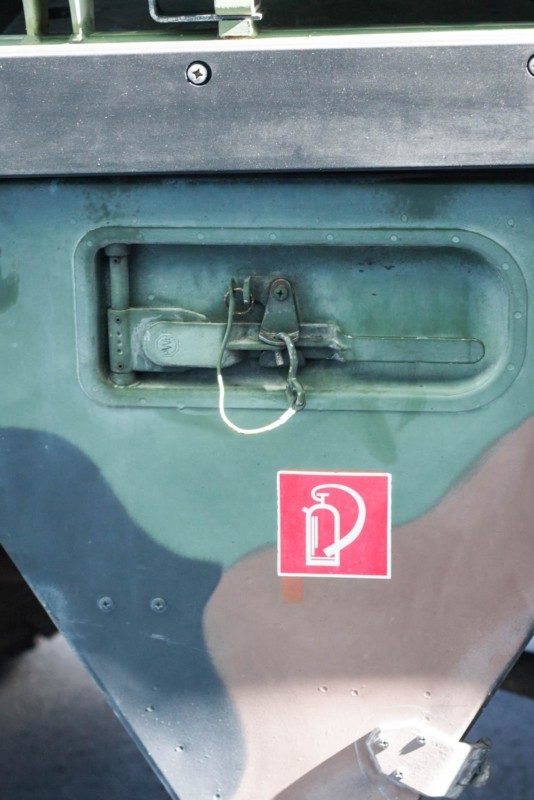
There is another aspect to it too; the shine. You can see it in pic no. 8. The handle that gets touched by greasy hands is shinier than the surrounding surfaces.
Hello Boris,
Thanks for sharing these pictures with us.
The moment, the material leaves the factory (vehicle/ship/airplane) the weathering starts immediately. Interesting to see on your pictures, is the fact that templates are being used on the vehicles.
I recently saw a movie, were was shown, what a wet runway does to the underside of a Airbus A380. During a six hour turn-around stop, the aircraft was washed completely, to get rid of the dirt. Dirt causes resistance, so more fuel and more money. I could clearly see, that washing the airplane, needed around 8 people, that were busy for more than 3 hours.
Regards, Dirk / The Netherlands.