HK 1/32 DH Mosquito BMk XVI build Pt. 4
So after having read the many fine articles in my references and online about how fragile and touchy the main gear assemblies were for this kit I decided to approach these parts very carefully and examine a better way to get these thingies together.
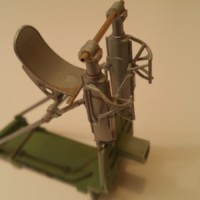
First the reason why they are so fragile: the legs both mount to a K-shaped part (D32) that has 2 more parts attached to them, after you have added the keyed wheels and tires to the lower legs. This pivot/mount is very finely molded but with so much weight added so soon (the wheels) its almost inevitible that the stress will break the pivot pins clean off. Since I had decided on using Brassin's resin wheels the weight would make the problem worse. To compound the problem even more, the legs use keyed stub axles, require you paint and assemble the wheels and the landing gear parts and put them together before anything else gets done. There has to be a better way!
There is. Not for the faint of heart at first, but once done is easy and it worked!
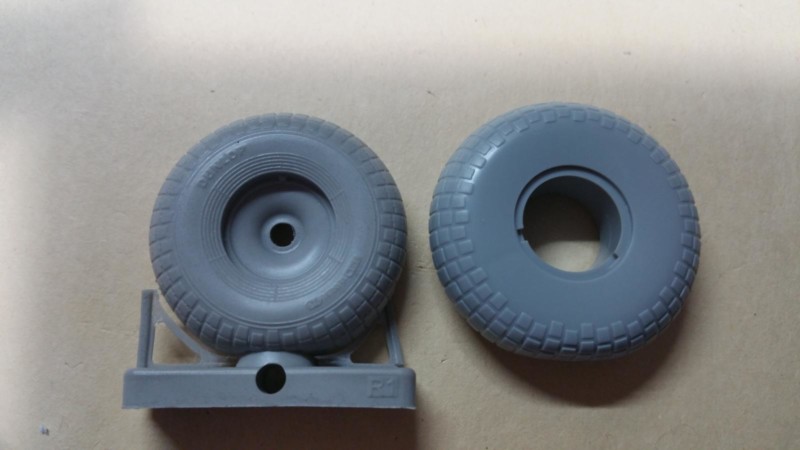
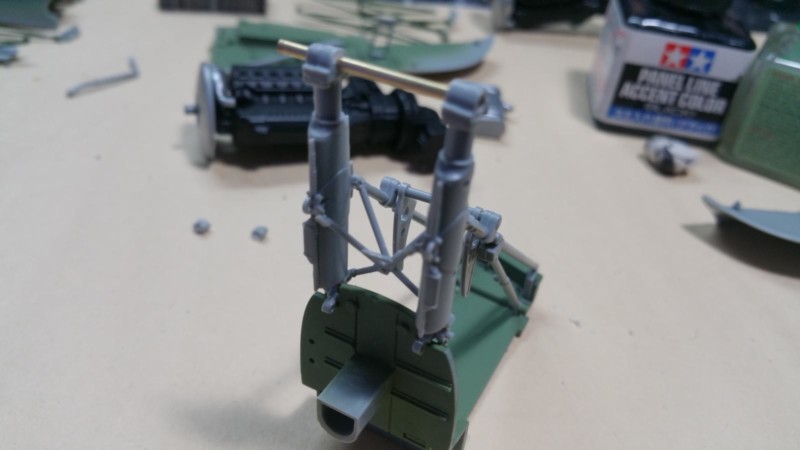
First, I had recieved a set of the Brassin Mossie wheels for the HK kit that were keyed, but the set only includes the single brake setup used on the earlier Mk4 series, not the dual setup for the latter mks. The reason I decided to use the Brassin wheels is obvious from the comparison pic: The HK wheels are 9% larger and devoid of any detail, looking decidedly "stalky". So I went ahead and ordered the set for the Tamiya kit. I has the hubs I needed And were not keyed, so I could drill straight thru them on center. So I went ahead and cut off the keyed axle stubs off the legs and drilled a 1/16th" hole with a pin vice, making sure I was keeping the holes true so the axle wouldn't bind. For an axle I got some K&S 1/16th" brass tubing. I inserted the axle into the holes I drilled and used that setup to keep everything aligned for the next stage of the assembly process. Be Very Careful NOT to get cement on the pivoy points for the leg struts when assembling the legs, they need to be able to pivot in order to fit into the gear roof mounting points.
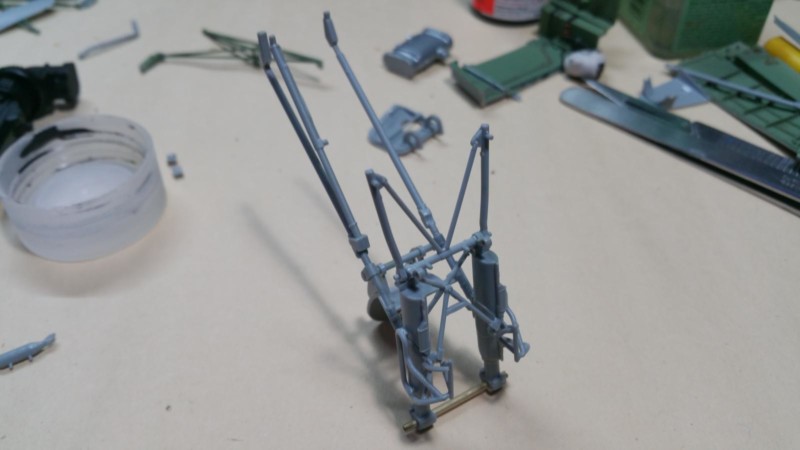
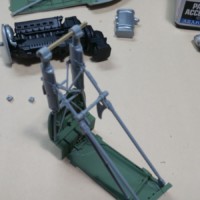
I used a blob of Blu tack to hold the legs upright while I assembled the remaining braces to the legs using Tamiya Extra thin cement. Note again: DO NOT cement the leg pivot points to the pins on which the are mounted, the assy needs to be able to articulate in order to insert into the firewall mounting holes. A dry fit will show exactly what I mean. I took my time and constantly checked the alignment, these parts are fragile and have precious little contact surface to each other piece. The only real pain was the fender, it has no locating recesses to indicate where the mounts are attached to and the contact points on the struts are barely there. Time and TETC eventually worked.
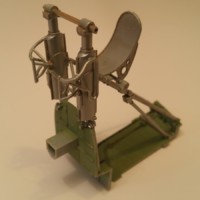
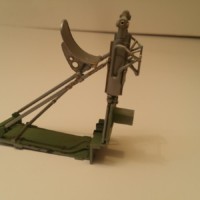
After letting each gear set up rock solid for a few hours I went ahead and added the bumpers(?) to each leg. HK did a great job with the molding, albeit the are slightly overscale, but they capture the Rube Goldberg look to T!
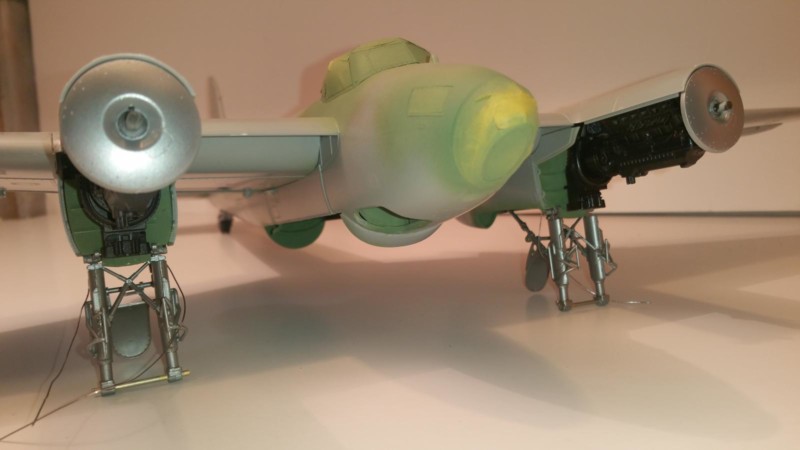
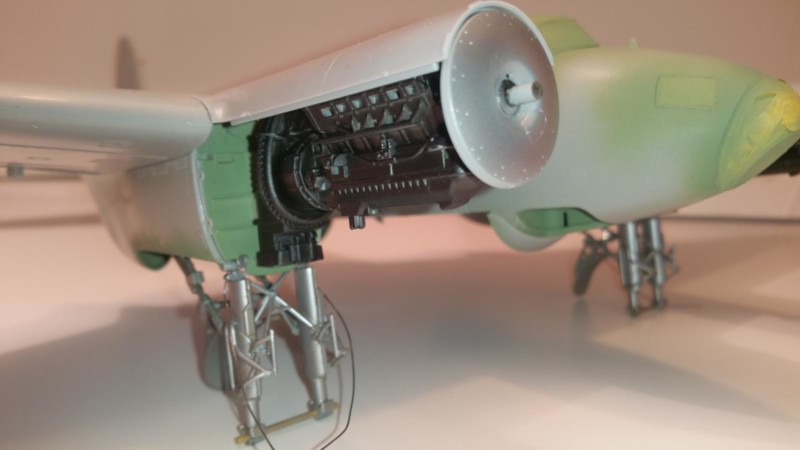
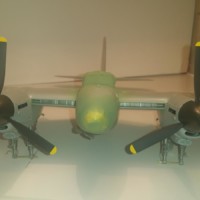
After checking the alignment one more time I fitted the wheels to see how everything looked and Yowza! It worked! I painted both gearsets Alclad semi-flat aluminum, used some Tamiya brown panel wash on the parts to show some grime and wear, then carefully fitted the parts all together.After the gearsets were installed in the nacelles and the nacelles closed up the gear is actually much strongerthan I had reason to hope. Not gonna be doing some hard landings mind you, but not as touchy as I expected either...
Finally, I went ahead and installed the nacelles to the wings. These snap into place so once you here that Click, that's it, they are In! And with that, My Mossie is on her legs!
Next episode: Adding the engines and panels.
Thanx for following!
Good fix there, Juan.
Coming along quite nicely, sir. 🙂
Great work Juan! Nice to see this kit actually being built.
The landing gear themselves were detailed models! Very good techniques, Juan.