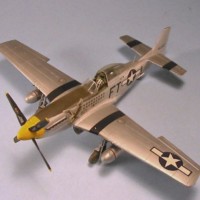
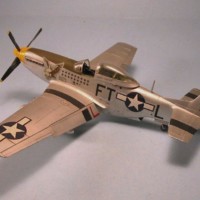
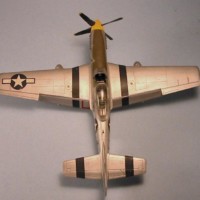
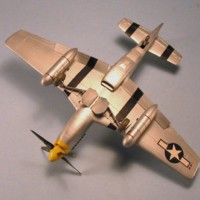
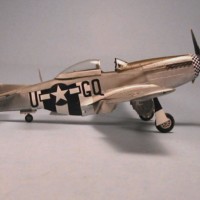
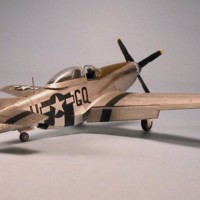
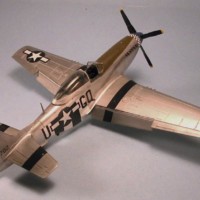
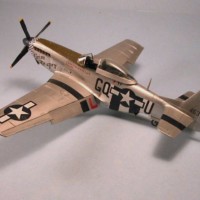
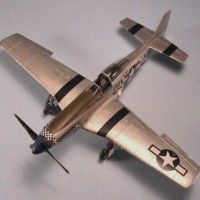
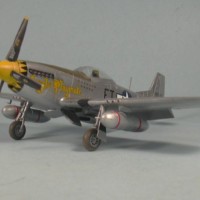
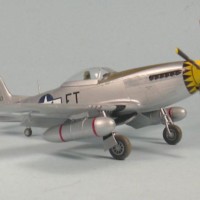
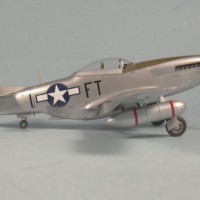
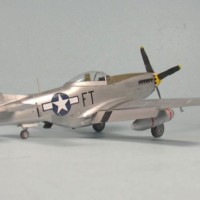
Tamiya P-51Ds of the 354th Fighter Group
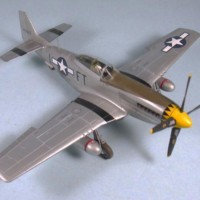
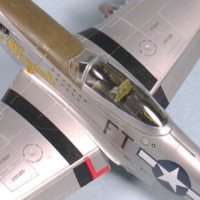
These were done around 2002-03. True Details cockpits and Falcon canopies.
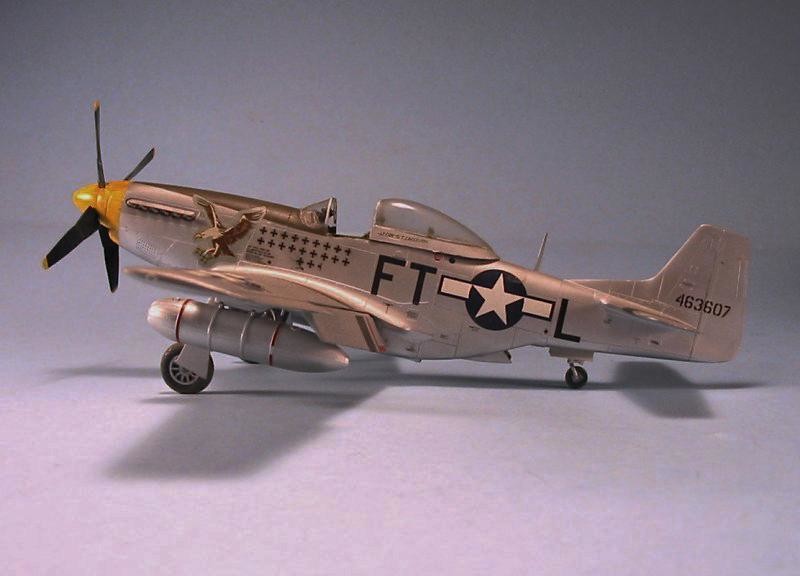
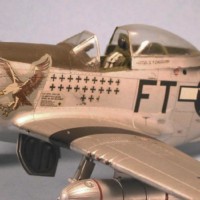
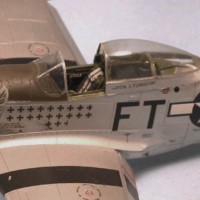
"Eagle"
Glenn Eagleston was one of the original pilots in the "Pioneer Mustang" 354th Fighter Group and the group's top-scoring ace. "Eagle" with its beautiful striking eagle artwork was his final Mustang, which he flew from the time the group re-equipped with Mustangs from P-47s in February 1945 to the end of the war.
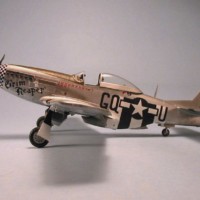
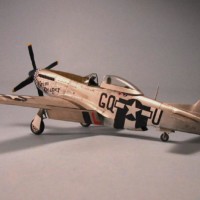
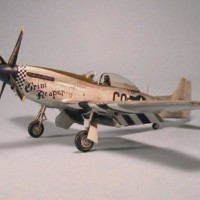
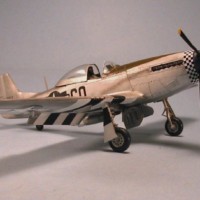
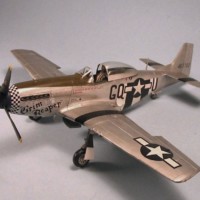
"Grim Reaper"
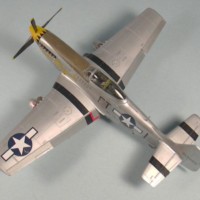
“Grim Reaper” represents the middle period of 354th FG markings, between D-Day and their re-equipment with the P-47 that fall, with individualized squadron markings on the nose - in this case a blue-and-white checkerboard and blue spinner for the 355th Fighter Squadron - with the D-Day invasion stripes only on the lower surfaces. This happens to be the only model I have ever done with the D-Day stripes as decals - to me the decals are more difficult to do than painting the stripes, but that might be because I am so familiar with the process. The natural metal finish was done with a base coat of SNJ Aluminum, with various small areas masked off and painted with Testors ModelMaster Metalizer paints. As an airplane operating in a forward area, the exhaust stains and oil stains are more prominent than would be the case for an airplane based back in England. The decals are from an early Aeromaster sheet which is currently out of production.
On July 8, two flights led by Captain Lowell Brueland of the 355th FS had reached the limit of their fuel on an uneventful mission when they were directed against a large gaggle of 20 Fw-190 Jabos at low level and 40 Bf-109s at altitude. Brueland claimed two ‘109s in the first pass, with one more destroyed, a damaged and a probable in the ensuing low-level air battle. The flight scored 12 Bf-109s and Fw-190s, making it the largest individual air battle for the 354th during the fighting in Normandy.
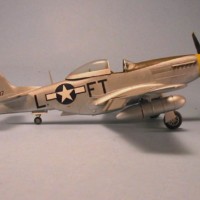
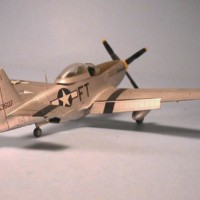
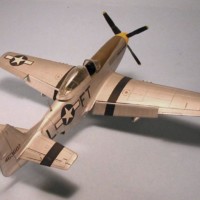
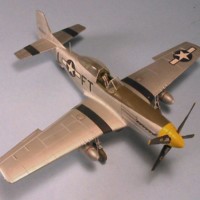
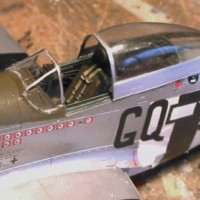
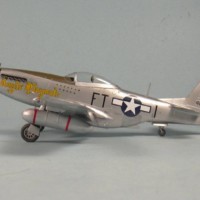
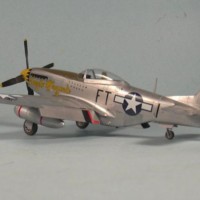
"Angel's Playmate"
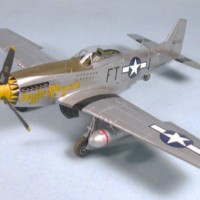
Bruce Carr, a latecomer to the 354th FG, was originally assigned to the 363rd Fighter Group, which he felt was not "aggressive enough." Facing court-martial for "over-aggressiveness" in the air and an insubordinate attitude on the ground, he managed a transfer to the 353rd Squadron of the 354th FG through the good offices of Glenn Eagleston, where his aggressive attitude was more in tune with the ethos of the group. His score of 14 air-to-air victories placed him #4 in the group, while his additional 11 strafing victories made him the "top ace" of the group according to 1945 rules. In October 1944 he was shot down behind German lines. He managed to get onto a Luftwaffe airfield and steal a Fw-190, which he flew back to his base. Decals for this model come from an old Aeromaster sheet.
The kits:
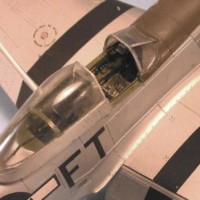
The major shortcoming of both the Tamiya kit and its ICM clone is the cockpit. While the Tamiya version of the P-51D cockpit can be acceptable, there are good resin cockpits for both versions. True Details (Squadron) makes a really excellent cockpit for the P-51D that is also relatively inexpensive at around US$7.00. Given the visibility of the P-51D cockpit under that bubble canopy (open or closed) a modeler who wants to get the most out of their model is well-advised to use this cockpit.
That said, this resin cockpits can also be the source of one of the biggest mistakes a modeler can make in building the kit - and when it comes to the point one realizes they have made the mistake, it is permanently un-correctable. This is a result of the kit design, with the one-piece lower wing. When you use this resin cockpit, it is absolutely essential that you thin down the sides of the plastic fuselage halves in the area of the cockpit by at least half, and that you sand down the resin cockpit interior walls till they are thin enough that you can see light through them. If you don't, the result will be that after you fit the resin cockpit, the fuselage will be just a little bit wide. Then, when you attach the wing sub-assembly, the widened fuselage will force the wing to bend down to widen the attachment area and fit the fuselage. This happens by so small an amount that you will not notice any difficulty assembling the wing to the fuselage. You'll know you have made the mistake when you look at your model and realize the wing has either zero dihedral or a slight anhedral, viewed head-on. Like I said, at that point, you aren't going to be pulling the wing off the fuselage, pulling the fuselage halves apart and scraping off that nice resin cockpit you glued in place with cyanoacrylate glue. The solution here is to take the time in preparation and thin down the fuselage sides, thin down the cockpit walls, and test fit everything beforehand. If you do, you'll have a really good-looking model.
Another item I highly recommend are the Squadron/Falcon vacuform canopies. Be sure to get the ones that are listed for the Tamiya kits. You can get either the “Los Angeles” or the “Dallas” canopies for the P-51D. If you buy the Falcon “P-51D Special” set, you will also get the early “tear drop” bubble canopy, which is considerably different from the “standard” canopies





Very nice Mustangs !
Geesh! Great looking Ponies!
Beautious 'Stangs, TC. 🙂
The Eagleston plane is my favorite, but they all are very nice. I've been looking at several of my unbuilt Tamiya T-bolt kits and thinking about building one he flew.
Great back story and warning, thanks
Looks great, Tom! Can't go wrong with Mustangs, and these are great!
Thanks for the hints regarding the interior, too.
Is the new Airfix kit going to make these modifications redundant?
To an extent. The Airfix kit cockpit is much more acceptable and looks very good when finished. People who can't get enough detail will still want to get the True Details cockpit, but most sane people will be fine with what they find in the box. The canopy is more problematic. You can get it to sit right but it takes modification to do so. Those who have the Falcon canopies will be well-advised to use the sliding portion for an open cockpit. Almost all of the Tamiya "defects" are dealt with by the new Airfix kit.
Great story to go with each subject.
More good-looking Stangs to add to the stable!