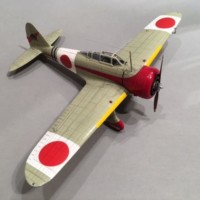
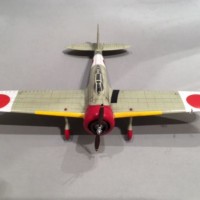
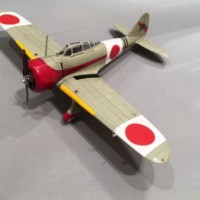
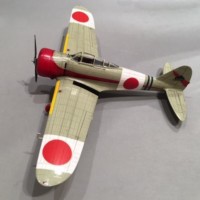
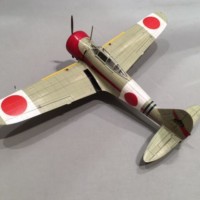
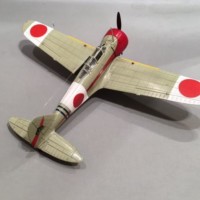
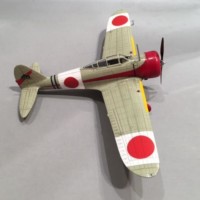
1/48 Hasegawa Ki-27 Nakajima Type 97 “Nate” 246th Hiko Sentai
This article is part of a series:
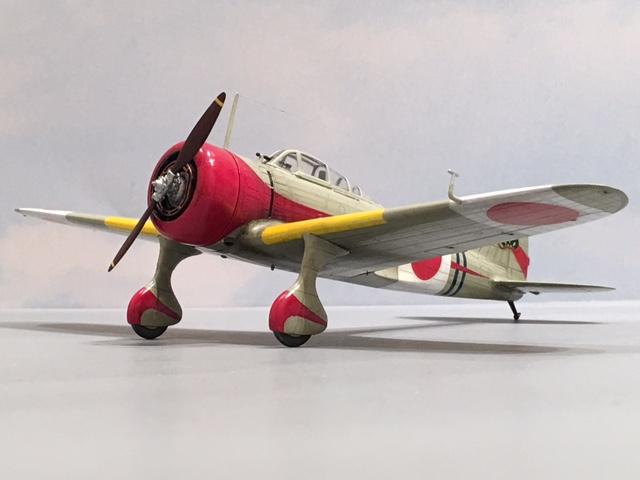
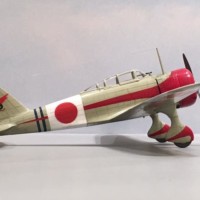
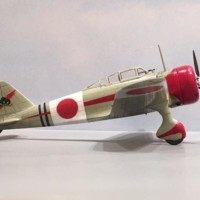
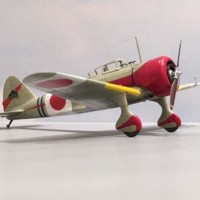
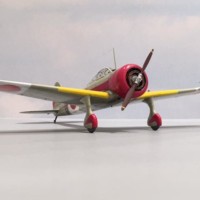
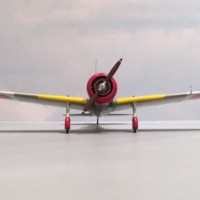
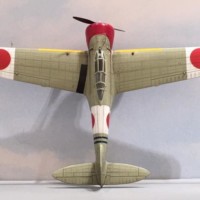
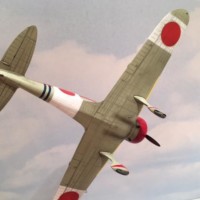
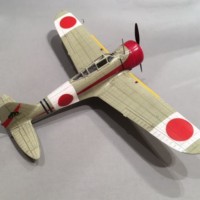
Here's one I finished up a few days ago. I finally got around to posting up some photos... I was inspired to post this plane after looking at the excellent posting by John Clark with his "Nate".
This is a fairly recent edition of this nice little kit. I think this one is from the mid 1990's. Hasegawa releases this kit on occasion with new decals. The original version of this model was manufactured back in the 1970's by a company called Mania. They are no longer in business, and Hasegawa ended up with the molds, along with some of the employees from what I have read online...
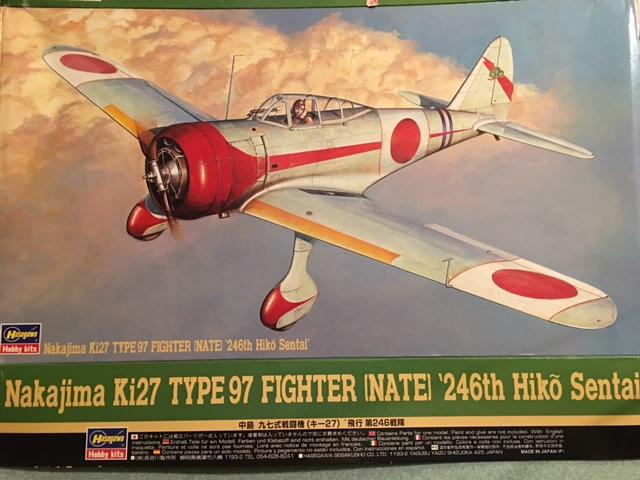
Here's the box art, which happens to be rather nice I think.
I am really surprised that there are not more of these planes built. The fit is still rather nice. I didn't have to use a drop of putty anywhere during the build.
The Ki-27 was operated with numerous paint schemes. The plane was given the Allied Code Name of "Nate". Fighter planes were given "Male" or "Boy" names, and Bombers were given "Female" or "Girl" names
They were initially used in China, and during the Nonmohan Incident. The type was operated as a front line fighter with the Imperial Japanese Army Air Forces until it was gradually replaced by the Nakajima Ki-43 "Oscar". Then it was relegated to Home Defense units and fighter training schools. Some of these "Nate's" were even used on Late War Kamikaze missions...
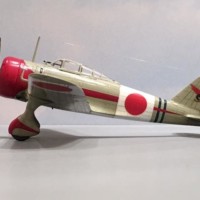
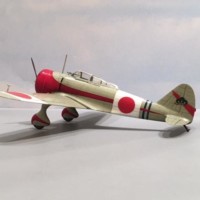
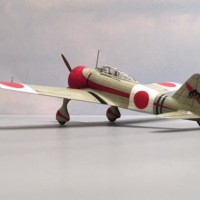
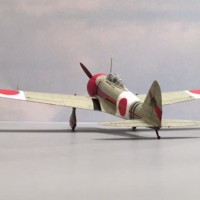
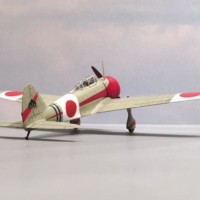
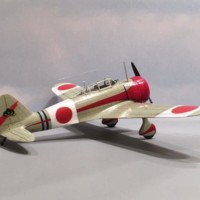
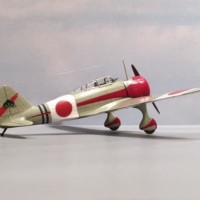
My particular built was modeled after a plane that flew with the 246th "Hiko Sentai" which was primarily a Japanese Island "Home Defense" Unit. Most of the time, the Home Defense planes had a white "bandage" applied behind the Hinomaru markings. These type of fighter protection units were necessary after the Doolittle Raid on April 18th, 1942. This Raid caused the Japanese to pull back units that would otherwise have been used against the Allies.
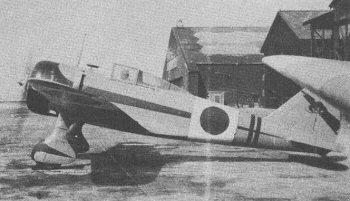
I found a photo of the actual plane online...
When I started this build, I wanted something that was going to be an easy build. Since this plane has a single base color, I thought this would fit the bill... But then I made things a little more complicated because I wanted to paint on the various colors that were represented with decals.
Here's a link to the build journal, where I built two of these little guys at the same time...
I tried something new with these and used an oil wash to bring out the panel lines.
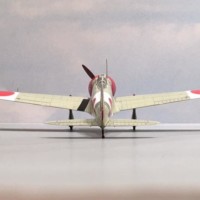
The base color was Tamiya XF-14, Japanese Army Grey. I used Tamiya "Smoke" for the exhaust stains. Overall this was a fun little kit. My only complaint was the clear parts as they are not all that clear and the fit is not all that good. Still they are not too bad, especially when you consider the age of this kit...I have had worse.
But after a dip in some "Future" the canopy looks much better.
I believe that Hasegawa has recently released this little gem of a kit again. It builds up rather quickly do the limited number of parts. If I didn't want to spray on areas that were provided as decals, this one would have been done a long time ago.
If you have one of these in your stash, build it... You will be very happy you did.
Here's wishing that we all have a Happy / Healthy New Year, along with more time to do what we love to do... gluing plastic bits together.
As usual, comments are encouraged.

Really terrific work, Louis! Your builds are always superbly finished.
Thanks Drew ! I appreciate the compliments. Tomorrow night I hope to post up some photos of the companion to this build. Take care.
This is a great build! Nice back round info too.
Thanks Robert.
Immaculate work, Louis...and great photographic work as well.
Thanks Craig, I appreciate the compliments buddy... I'm going to build a light box soon... Hopefully this will help the pictures by getting rid of the shadows. Happy New Year !
Love it! Absolutely love it! Especially the line, "If you have one of these in your stash, build it…………… You will be very happy you did." A man after my own heart!
I do have one, and I WILL build it, based on your recommendation!
Terrific build, and I saw the way you attached the wheels, BTW, very, very clever.
I say go for it Freddie and build it ! I can't take credit for how I installed the wheels though. That was someone else from another website who came up with it. I simply "borrowed" the idea...
I sure wish I had seen your in-progress on the wheels. I installed mine in the spats already painted thinking I could Mask them...epic fail. I ended up brush painting them again after the camouflage was done.
I was concerned about this problem for the same reasons. I just happened across this solution totally by accident, when I was searching for information on the planes. I figured I would post it here too so others could possibly benefit from the experiences I had during the build.
Thanks again John.
Nicely done, Louis. I think you nailed it. This is a gem of a kit. My canopy was warped very badly but that was really the only problem. Love your markings on this one.
Your posting with your build is what prompted me to get it in gear and finish this one up. It really is a sweet little kit to build. I don't have any left in the stash but if I ever end up with another one, I wouldn't hesitate to build it too. Thanks for the kind words my friend. Happy New Year.
Outstanding, Louis! These lesser-known Japanese planes are very interesting to me. Growing up in pre-internet days, I thought that Zeros, Bettys, and a few Tonys were all the Japanese used. At least that was all I heard about until "Air Classics" featured a few IJN & Army planes.
Bravo, my friend!
Happy New Year to you AND all the other great folks here on iModeler. May your workroom carpet or flooring never eat another small part!
I used to get the "Air Classics'" Magazines too, up until I left home when I joined the Army. It was a great magazine...
Thanks for the best wishes, and may the carpet monster go hungry !
Happy New Year buddy...
Very nice work, Louis. Hasagawa and Tamiya always take extra care with their homeland subjects, and as others have said, this is a great Empire of the Sun subject.
I have noticed that most, (if not all) of the Japanese subjects modeled by these companies are very nice kits. I'm sure they have a great market for them at home, and selling them abroad is like icing on the cake for them...
Thanks for the kind words my friend, and Happy New Year.
Hey Louis, great job , I particularly like the way Hasegawa have the shape of the red flash on the wheel spats wrong and you have it correct ,very good attention to detail.
N.
Thanks Neil. This time I was lucky enough to have a picture of the actual plane on hand, and that helped considerably. Happy New Year.
Well Louis, you may fit another one in before the year ends - but this is really great! It would be a good way to sign of the year! I really like the panel/rivet details - really well done! And the paint job is sensational!
Hey Paul ! I am planning on posting up the other "Nate" later on tonight... I like how the oil wash brought out the panel lines and rivets too. The solid mono tone paint scheme was lacking something, so I tried the wash out for my first time, and it helped considerably I think.
Now I'm going to try and knock out another one before the year is over by finishing up one of the Hasegawa F6F Hellcats from the "Year of the Cat" GB.
Take care my friend and Happy New Year .
Well Louis, you may fit another one in before the year ends – but this is really great! It would be a good way to sign off the year! I really like the panel/rivet details – really well done! And the paint job is sensational!
Nicely done Louis on a subject that's not often seen. Happy New Year buddy.
Thanks Tom, Happy New Year to you too ! It's a shame that we don't see more of them as it's a great little kit. Fairly simple to build, I think it has around 30 parts or so...
Very neat work, Louis, interesting history and research, but is Nate really a boys' name?
Thanks George ! Yes Nate is short for "Nathaniel" or "Nathan" I believe... Glad you enjoyed the article my friend.
Another nice one. That paint job is particularly noteworthy.
Thanks Tom for the compliments.
Beautiful job on this Louis! You did a great job getting that intricate paint job to perfection, and it really is a stand-out!
The box art is what led me to making the purchase. I really liked the colorful plane in the picture...Once I saw how the decals were supposed to be fitted on the kit, that's when I decided to paint them on, instead of trying to use a bunch of setting solution and all of the other little tricks to get the decals to snuggle down.
I normally don't have too much luck getting decals to conform around complex surfaces.
Thanks Greg ! This one stands out in the display case for sure since it's so colorful...
Incredible job with rivets, looks fantastic!