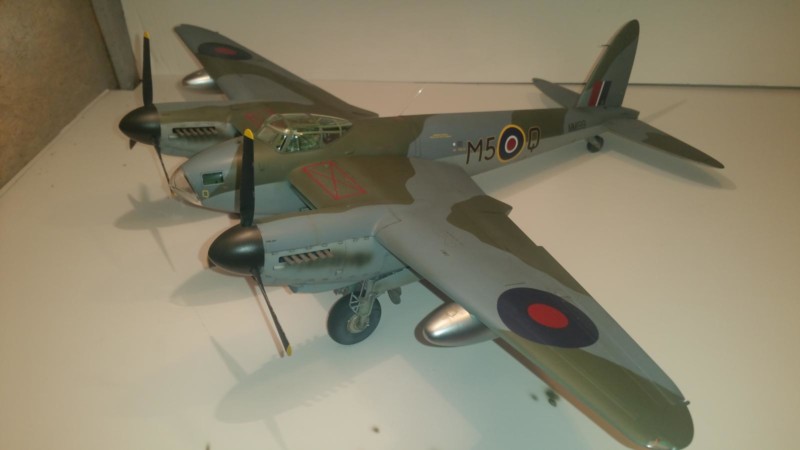
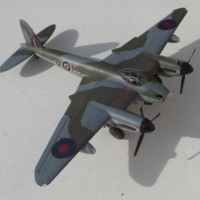
HK 1/32 DH Mosquito BMk XVI Q Queenie, 128 Sq, RAF, Wyton, England late 1944
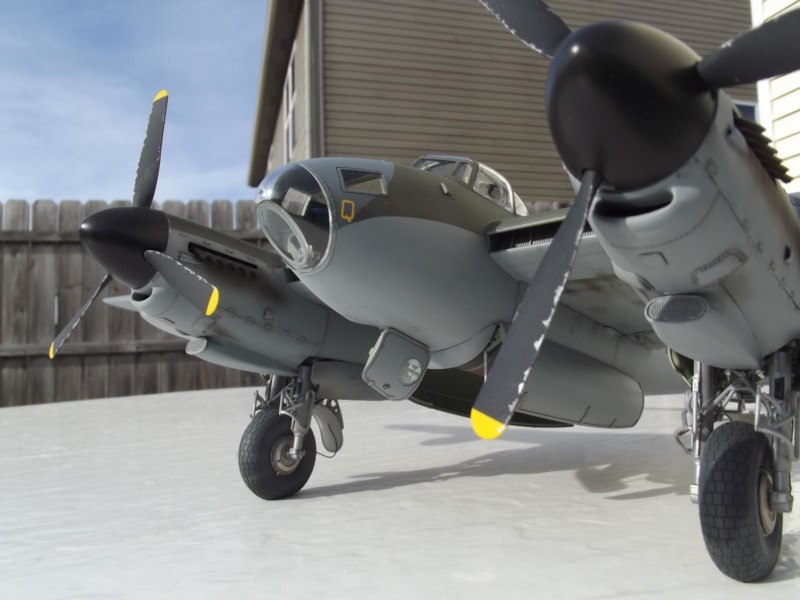
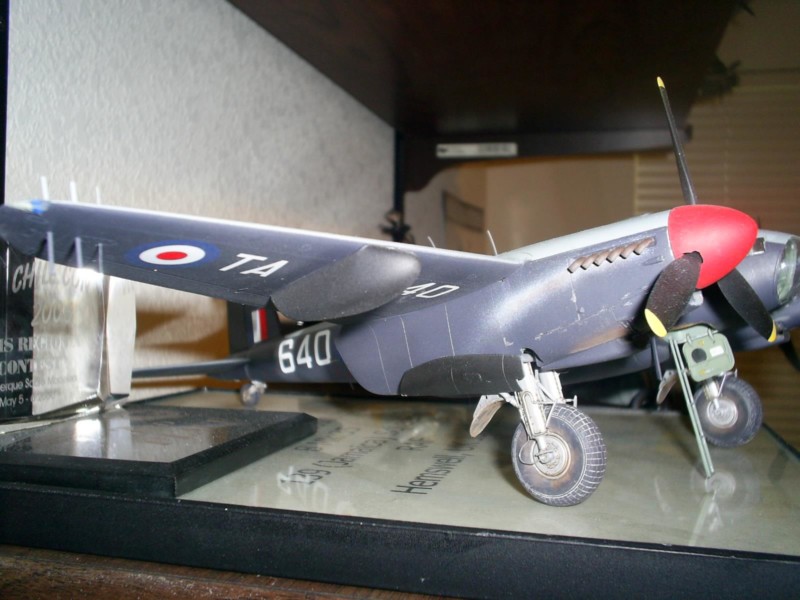
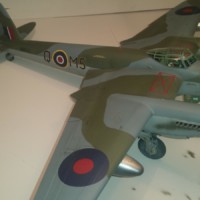
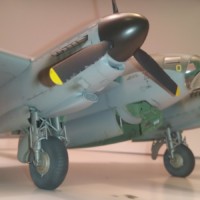
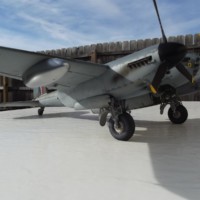
Here is the completed model of HK's rendition of the Mighty Mosquito B Mk XVI. I have read a number of less than glowing reviews as well as a number of equally glowing reviews on this kit and the truth as always lays somewhere in between. I'll explain quickly:
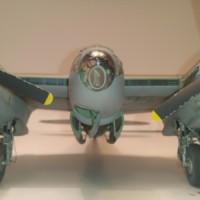
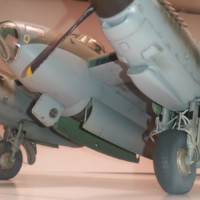
There are a number of inaccuracies, omissions, and clunky renditions that take this kit out of the realm of the Tamiya UberMegaSuperAccuracy sphere, such as the lack of spinner backplates, the missing crew door latches when the closer bar is included, the sparse detailing in the rear cockpit, the missing Gee nav unit, the grossly inaccurate radiator intake shapes, and the underwhelming detail in the bomb bay. I also have to question the shape of the nose, which seems somewhat small to my Mark 1 eyeball but looks correct comparing it to some of the profiles in my references. Now that you have been made aware, correcting most of these issues are relatively simple as long as you are armed with good references! The rad intake and nose shape would take some substancial mods, and unless it Really bothers you its not really worth the effort.
On the plus side I had a BLAST building this kit! It almost clicks together and I didn't use any filler anywhere, a tribute to the moldmakers art. It builds fast and with just a little extra effort really builds into a remarkably accurate replica of the real thing! It is not in the same stratosphere as Tamiya's FBVI but few kits are. I think Tamiya missed the bus by not issueing the @-stage Mossie versions in 1/48 or 1/72, which really only needed new engine nacelle components. The clear parts are second to none and the assembly sequence make for an enjoyable experience, and I will happily build the next version, the PR Mk35 and add the extra detailing to my heart's content...Heck I might even have to build the movie version of the Erzatz "633 Squadron" FBVI's!
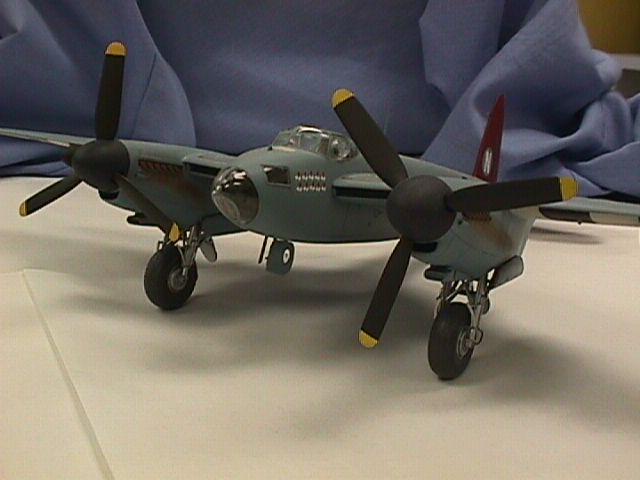
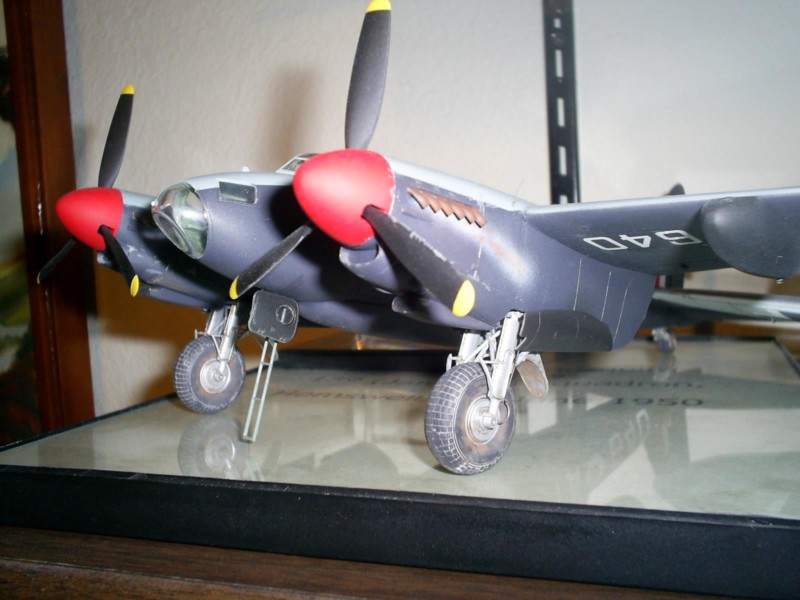
I have also included a few pic of my previous conversions, both are Tamiya's BIV in 1/48, one is a PR9 with Paragon's engines and the other is a Bmk35 using CMK's conversion set and Koster's vac form bulged bombbay doors. Comments welcome!
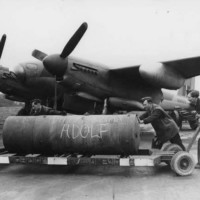

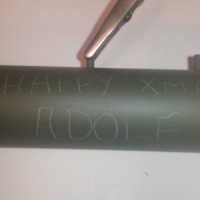
Your Mossie looks great, and I really like it ! (The wording on the ordnance is perfectly timed for this time of year BTW...).
I agree that it would be great for Tamiya to release a later variant of the 1/48 scale Mosquito...I would purchase a few of them. I didn't realize it was only a matter of changing the engine nacelle parts.
I have B / PR Mk IV in 1/48 scale sitting on the build pile, scheduled for early next year. Thanks for posting.
Thanx! There were several aftermarket conversions for the 2-stage Merlin nacelles, in both 1/72 and 1/48 scale. I built 2 Tamiya 1/48 2 stage Mossies, one is a PR9 using an old Paragon resin conversion and the other a PR16 using the controversial CMK conversion set. I also built an NF35 in 1/72 using a Tamiya Mr 19th and a PART resin conversion set. Guess I will post a few pics of them too! All of them involve cutting off the engine portion of the nacelles and grafting the resin engine in its place. Still hoping for Barracuda Productions to release a full resin nacelle. Hth!
I would love to see some more pictures of your builds... Thank you.
Maybe you could write up separate articles and include more photos of these planes ? Time permitting ? They all look fantastic (as do the original posting).
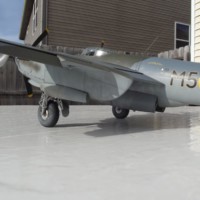
Looks fantastic. It really has the flown but pampered for warbird look I go for. The undercarriage and exhaust stacks really caught my eye. What techniques did you use for them? (To me the tires look like they were dusted with some gunship grey over the black.)
Thank you! I use Tamiya a critics exclusively. I base coat the "tire" with Nato Black, then sprayed German Gray on the sidewalls. Then I mottled a very thin layer of Rubber black for a blotchy effect. Finally, I spray a very thin layer of Buff around the circumference of the wheel. I'very seen more dramatic effects but I'm satisfied with how they turned out.
For the exhaust I used Tamiya's Dark Iron, which I brush painted then just after the paint dried I burnished some Burnt Umber and Ocre pastels with a stiff brush. I have used this technique for years and am happy to share the tip! For the exhaust stains were done using a very thin 50/50 mix of flat black and red brown, sprayed at very low pressure as faint strip below the stacks, then blended together. Hth!
Thanks Juan. I think exhaust stacks can be tricky because there is a sweet spot between new/shiny and rusty/crusty and you nailed it.
It may not be on a par with the Tamiya kit (few are), but it nonetheless looks like a Mosquito to ME...and a nice one at that!
Little "inaccuracies" never bothered me anyhow.
Thanx, Craig! It really is a fun kit to build, it is a good one to do if you're coming off a bad case of AMS! Pretty much stress free!
Juan, your Mossie is a beautiful rendition of a beautiful aircraft! I especially like the message to Herr Scheisskopf!
Beautifully finished & weathered, my friend.
The kit includes the decal for the xmas messege, but I opted to use a prismacolor pencil instead of dealing with the decals silvering! Thanx again!
Nice to see it finished, Juan, it looks just great, although it's difficult to photograph such a large model indoors. Merry Christmas!
Thanx, George! Yes, it is a bit of a handful to manuever outside for the final pics, but luckily I have 18" wide shelves in my hobby room so I can actually build and display these monster builds! Because next up will be the Revell He-111!
A great looking model - well done!
Thanx for following along!
Great work Juan - thanks for your review of the build too, its nice to hear from someone who has actually built this kit ! As for your Mossie she certainly looks the part to me - great to see the bomber version too.
I really enjoyed building this kit! Thanx!
You have inspired me to break down and pull my kit out.
Great build Juan, it looks awesome, thanks for posting!. I think you're right about the nose, though- if you compare to the Tamiya 1/48 BIV or period photos the small windows behind the nose transparency are in the wrong alignment
I found a thread over at Barracudacals Ready Room over on FB that actually addresses this very issue, Clive. The side windows on the real thing are parallel to the thrust line, whereas on the kit they are more like parralelograms. Also apparently the drawings the kit was based on was not accurate dimensionally so the whole nose section is too small and too narrow. Well at least forewarned is forearmed! Thanx for the comment!